Home>Production & Technology>Stereo>How To Remove 2002 Honda Accord Stereo
Stereo
How To Remove 2002 Honda Accord Stereo
Published: November 18, 2023
Learn how to remove the stereo from your 2002 Honda Accord easily and efficiently. Follow these step-by-step instructions to upgrade or replace your car stereo.
(Many of the links in this article redirect to a specific reviewed product. Your purchase of these products through affiliate links helps to generate commission for AudioLover.com, at no extra cost. Learn more)
Table of Contents
- Introduction
- Tools and Materials Needed
- Step 1: Disconnect the Negative Terminal of the Battery
- Step 2: Remove the Dash Trim Panel
- Step 3: Unfasten the Stereo Mounting Screws
- Step 4: Disconnect the Wiring Harness and Antenna
- Step 5: Remove the Factory Stereo
- Step 6: Install the New Stereo
- Step 7: Reconnect the Wiring Harness and Antenna
- Step 8: Secure the Stereo with Mounting Screws
- Step 9: Reattach the Dash Trim Panel
- Step 10: Reconnect the Negative Terminal of the Battery
- Conclusion
Introduction
So, you’ve decided it’s time to upgrade the audio system in your 2002 Honda Accord. Whether you’re looking for better sound quality or more advanced features, replacing the factory stereo is a great way to achieve your goal. In this guide, we will walk you through the step-by-step process of removing the 2002 Honda Accord stereo, making way for your new and improved audio system.
Upgrading your stereo might seem like a daunting task, especially if you’re not familiar with car electronics. However, with the right tools and instructions, it can be a straightforward and rewarding DIY project. Along with providing clear directions, we will also offer some essential tips and tricks to make the process smoother and ensure a successful installation.
Before we dive into the details, it’s important to have the necessary tools and materials on hand. Gathering everything you need beforehand will save you time and frustration during the removal process. So, let’s go over the essential items you’ll need to complete the job.
Tools and Materials Needed
To remove the stereo from your 2002 Honda Accord, you will need the following tools and materials:
- Trim removal tools: These are specialized tools designed to safely remove trim pieces without causing damage to the interior of your car. They typically come in a set with various shapes and sizes to tackle different types of clips and fasteners.
- Socket set: A socket set will be necessary to unfasten the mounting screws that hold the stereo in place. Make sure you have a set that includes both metric and standard sizes, as some screws may require specific measurements.
- Wire harness adapter: Since your new stereo may have different wiring connections than the factory one, a wire harness adapter will be needed to ensure a proper connection between the car’s wiring and the new stereo.
- Antenna adapter: Similar to the wire harness adapter, an antenna adapter is required if your new stereo has a different antenna connection than the factory one.
- Electrical tape: Electrical tape is useful for securing and insulating any exposed wires to prevent shorts and ensure a reliable electrical connection.
- Cloth or towel: Having a cloth or towel handy will help protect your car’s interior as you work. It can be used to cover any surfaces that may come into contact with your tools or to clean up any dirt or debris that accumulates during the process.
Having these tools and materials prepared will make the stereo removal process much smoother. Additionally, it is always a good idea to read through the instructions that come with your new stereo to ensure you have any additional tools or accessories that may be required.
Step 1: Disconnect the Negative Terminal of the Battery
Before you begin removing the stereo, it’s important to disconnect the power source. This ensures your safety and prevents any accidental damage to the electrical components of your vehicle. Follow these steps to disconnect the negative terminal of the battery:
- Locate the negative terminal on your car’s battery. The negative terminal is usually marked with a “-” symbol and is attached to a black cable.
- Using a wrench or a socket, loosen the nut on the negative terminal. Rotate the wrench counterclockwise to loosen the nut, but be careful not to fully remove it just yet.
- Once the nut is loose, carefully lift the negative cable off the terminal and set it aside. Make sure it doesn’t come into contact with any metal surfaces.
- To ensure safety, you can wrap the exposed end of the negative cable with electrical tape. This helps prevent accidental contact and potential electrical shortages.
By disconnecting the negative terminal of the battery, you eliminate the risk of electrical shock and protect your vehicle’s electronic components. It’s important to remember that some vehicles may have additional steps or precautions when disconnecting the battery, so always consult your owner’s manual for specific instructions related to your Honda Accord model.
With the negative terminal of the battery disconnected, you can proceed to the next step of removing the stereo: removing the dash trim panel. This panel covers the area where the stereo is installed and will need to be removed to gain access to the stereo itself.
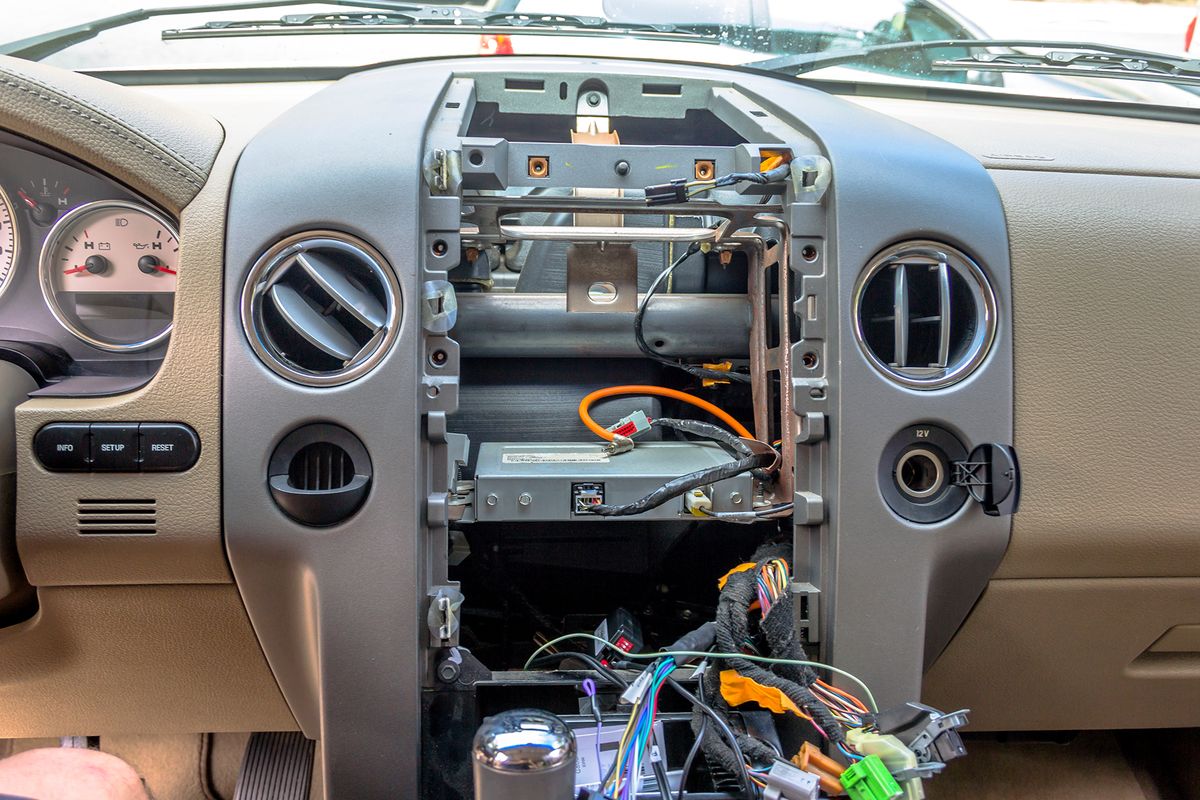
Step 2: Remove the Dash Trim Panel
Once you have disconnected the negative terminal of the battery, you can proceed with removing the dash trim panel. The dash trim panel is the plastic piece that surrounds the stereo and other control buttons on your Honda Accord’s dashboard. Follow these steps to remove it:
- Using your trim removal tools, gently pry off the dash trim panel. Start from one corner and work your way around, releasing the clips that hold it in place. Be careful not to force or bend the panel, as it can easily crack or break.
- Once you have loosened all the clips, carefully remove the dash trim panel from the dashboard. Set it aside in a safe place, ensuring it doesn’t get scratched or damaged.
- Take a moment to inspect the area behind the trim panel for any hidden screws or fasteners. Some vehicles may have additional screws that need to be removed before you can proceed to the next step. If you find any, use your socket set to unfasten them.
Removing the dash trim panel gives you access to the stereo mounting screws and wiring harness. It’s essential to be gentle and patient during this step to avoid any damage to the trim or surrounding components. Taking your time and using the proper tools will ensure a smooth and successful removal.
With the dash trim panel removed, you are ready to move on to the next step: unfastening the stereo mounting screws.
Step 3: Unfasten the Stereo Mounting Screws
With the dash trim panel removed, you can now focus on unfastening the stereo mounting screws. These screws secure the stereo unit to the dashboard and need to be removed to detach the stereo from the vehicle. Follow these steps:
- Locate the stereo mounting screws. They are typically located at the corners or sides of the stereo unit, securing it to the dashboard. Use your socket set to unfasten the screws by turning them counterclockwise.
- Once you have removed all the screws, carefully set them aside in a safe place. It’s a good idea to keep them together in a small container or bag to prevent misplacement.
Unfastening the stereo mounting screws allows you to free the stereo unit from its position in the dashboard. However, before you can completely remove the stereo, you need to disconnect the wiring harness and antenna cables.
Remember, each vehicle may have slightly different screw locations or types of screws, so be sure to note their positions as you remove them. Taking pictures or labeling the screws can be helpful when it comes time to reassemble everything.
With the stereo mounting screws removed, you can now proceed to the next step: disconnecting the wiring harness and antenna.
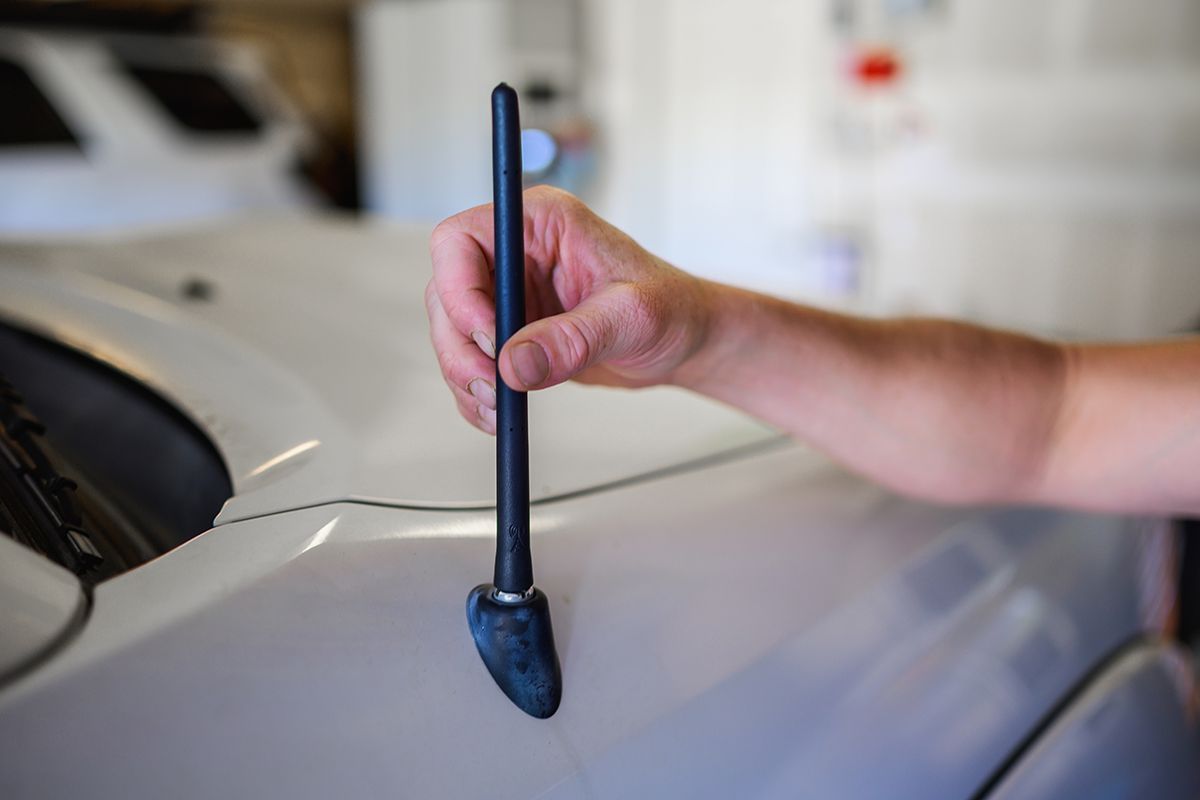
Step 4: Disconnect the Wiring Harness and Antenna
Now that you have unfastened the stereo mounting screws, it’s time to disconnect the wiring harness and antenna connections from the stereo unit. Follow these steps:
- Locate the wiring harness connected to the back of the stereo unit. This harness contains all the electrical connections for the stereo’s functionality.
- Gently press the release tab on the wiring harness connector and carefully pull it out from the stereo unit. Be cautious while doing this to avoid damaging the wires or the connector itself.
- Next, locate the antenna cable connected to the back of the stereo. It’s typically a thicker cable with a small plastic connector at the end.
- Squeeze the sides of the antenna connector and pull it straight out from the back of the stereo unit to disconnect it.
Once you have disconnected both the wiring harness and antenna, you can proceed to remove the factory stereo from the dashboard. Before doing so, it’s a good idea to inspect the connector and cables to ensure they are in good condition and free from any damage or corrosion.
By disconnecting the wiring harness and antenna, you are now ready to completely remove the factory stereo from your 2002 Honda Accord. This will make way for the installation of your new stereo, which we will cover in the next steps.
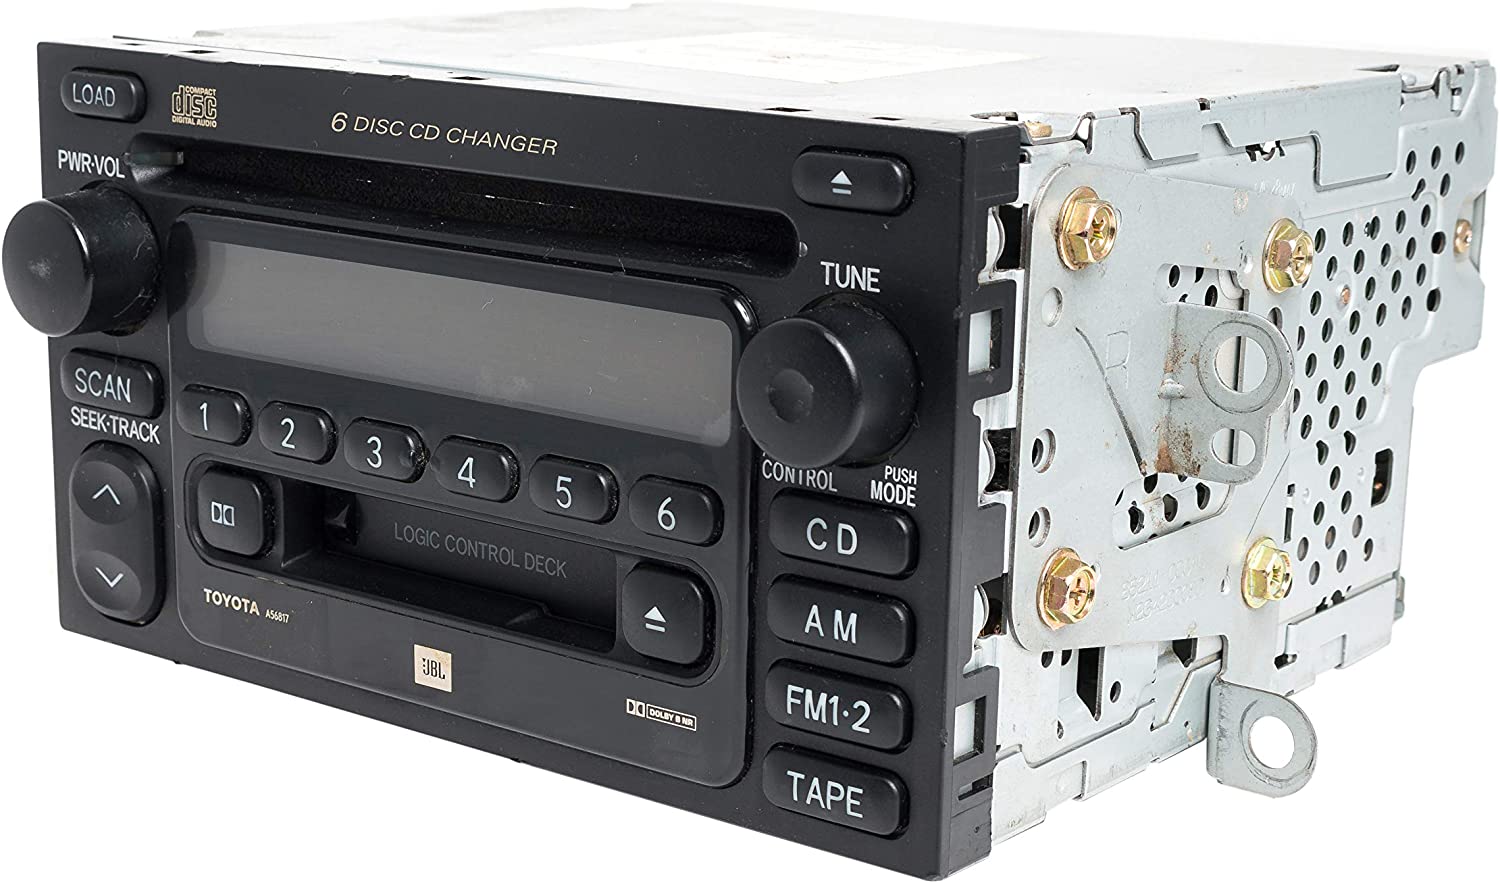
Step 5: Remove the Factory Stereo
With the wiring harness and antenna disconnected, you can now remove the factory stereo from the dashboard. Follow these steps:
- Gently pull the stereo unit out from the dashboard. Use even pressure on both sides to ensure a smooth and controlled removal.
- If the stereo feels stuck or doesn’t come out easily, double-check that all the mounting screws are removed and that the wiring harness and antenna are disconnected.
- Once the stereo is free from the dashboard, carefully slide it out and set it aside in a safe place.
As you remove the factory stereo, be mindful of any wires or cables that may still be connected. Avoid pulling or twisting them to prevent any damage.
By successfully removing the factory stereo, you have completed the initial step of the process. Now, it’s time to install your new stereo and enjoy an upgraded audio experience in your 2002 Honda Accord.
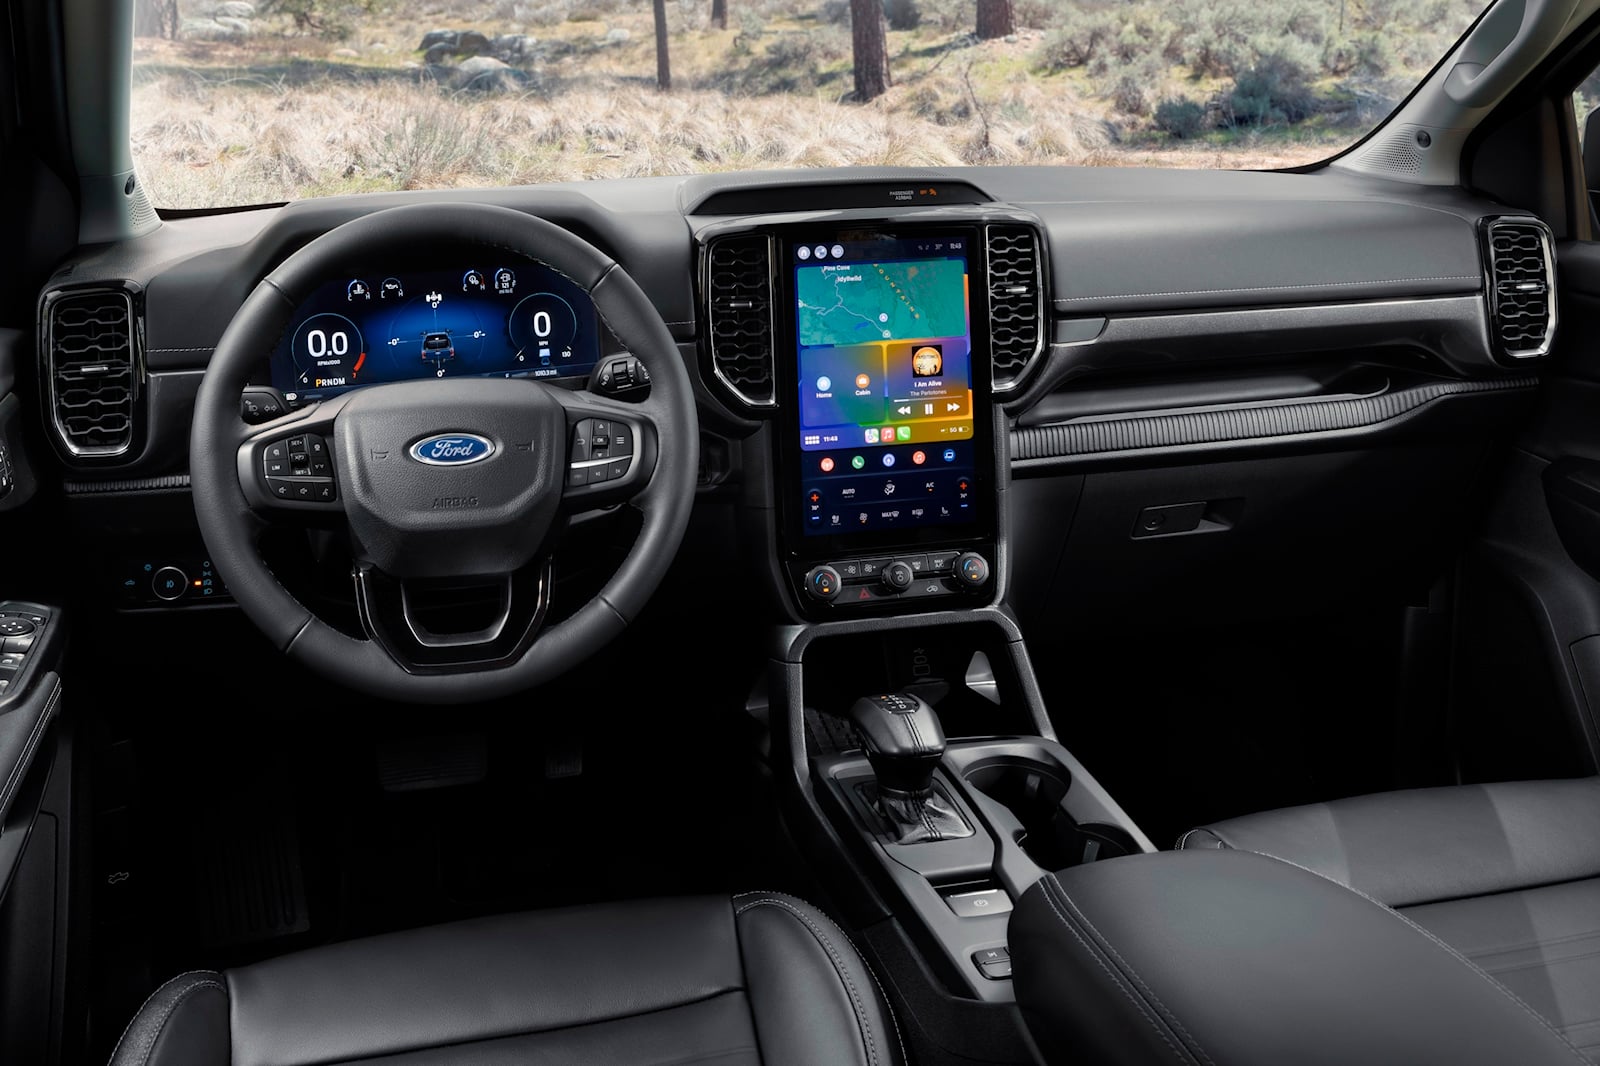
Step 6: Install the New Stereo
Now that you have removed the factory stereo, it’s time to install your new and upgraded stereo in your 2002 Honda Accord. Follow these steps:
- Take your new stereo unit and position it correctly in the dashboard. Make sure it aligns with the mounting holes and is flush with the surrounding trim.
- Connect the wiring harness adapter to the corresponding connector on the back of the new stereo unit. Ensure a secure and snug connection.
- Connect the antenna adapter to the antenna connector on the back of the new stereo. Push it in until it clicks into place.
- Slide the new stereo unit into the dashboard until it is fully seated. Be careful not to force it or damage any of the surrounding components.
As you install the new stereo, remember to be gentle and take your time to ensure a proper fit. Pay attention to any additional features or accessories that may need to be connected to the new stereo, such as USB cables, auxiliary inputs, or Bluetooth adapters.
With the new stereo securely installed, you are ready to reconnect the wiring harness and antenna to ensure everything functions properly.
Proceed to the next step to reconnect the wiring harness and antenna to your newly installed stereo.
Step 7: Reconnect the Wiring Harness and Antenna
Now that you have installed the new stereo into your 2002 Honda Accord, it’s time to reconnect the wiring harness and antenna to ensure proper functionality. Follow these steps:
- Take the wiring harness connector from the vehicle’s wiring and connect it to the corresponding connector on the back of your new stereo. Ensure a secure and snug connection by pressing it in until it clicks into place.
- Next, take the antenna cable connector and connect it to the antenna input on the back of your new stereo. Push it in firmly until it is fully seated.
Ensure that both connections are secure and properly aligned, as loose connections can affect the performance of your stereo system. Take a moment to double-check that all the connectors are properly seated and that there are no loose wires.
Reconnecting the wiring harness and antenna completes the electrical connection between your new stereo and your car’s system. This step is vital for the functionality of your audio system, including radio reception and speaker operation.
With the wiring harness and antenna reconnected, you are now ready to secure the stereo in place by installing the mounting screws.
Step 8: Secure the Stereo with Mounting Screws
Now that the wiring harness and antenna are reconnected, it’s time to secure your new stereo in place using the mounting screws. Follow these steps:
- Take the mounting screws that you removed earlier and align them with the mounting holes on the side or corners of your new stereo unit.
- Insert each screw into its corresponding mounting hole and use your socket set to tighten them clockwise. Ensure that each screw is securely fastened, but be cautious not to overtighten and potentially damage the stereo or its housing.
Securing the stereo with the mounting screws is crucial for stability and preventing any unwanted movement while driving. It helps maintain the proper alignment and prevents unnecessary stress on the wiring and connectors.
Once all the mounting screws are secure, double-check that the stereo unit is firmly in place and doesn’t wiggle or shift when touched.
With the new stereo securely mounted, you can move on to the next step of reattaching the dash trim panel to complete the installation process.
Step 9: Reattach the Dash Trim Panel
With the new stereo securely in place, it’s time to reattach the dash trim panel to give your installation a clean and finished look. Follow these steps:
- Take the dash trim panel that you removed earlier and align it with the openings in the dashboard.
- Gently press the trim panel back into place, starting from one side and working your way around. Make sure the clips on the back of the trim panel align with the corresponding slots in the dashboard.
- Apply even pressure with your hands to ensure that the trim panel snaps back into place. Be careful not to use excessive force, as it can damage the clips or the panel itself.
As you reattach the trim panel, take note of any additional tabs, clips, or screws that were removed during the initial removal process. Ensure that they are properly aligned and inserted back into their original positions to ensure a secure and flush installation.
Once the dash trim panel is reattached, take a moment to inspect the edges and corners for any gaps or misalignment. Gently press on any areas that appear to be uneven to ensure a snug fit.
With the dash trim panel securely in place, you’ve completed the reinstallation of the trim and are now ready for the final step of reconnecting the negative terminal of the battery.
Step 10: Reconnect the Negative Terminal of the Battery
As the final step of the installation process, it’s crucial to reconnect the negative terminal of the battery. Follow these steps:
- Locate the negative terminal on your car’s battery. It is usually marked with a “-” symbol and connected to a black cable.
- Align the negative cable connector with the negative terminal and carefully push it onto the terminal.
- Using a wrench or socket, securely tighten the nut on the negative terminal in a clockwise direction. Ensure that it is tightly fastened but be cautious not to overtighten.
By reconnecting the negative terminal of the battery, you are restoring the power source to your vehicle and completing the installation process. It allows the new stereo to receive power and function correctly.
Before concluding, take a moment to double-check that all the connections, including the wiring harness, antenna, and battery terminal, are secure and properly tightened.
Now, you can sit back, relax, and enjoy your newly installed stereo in your 2002 Honda Accord. Whether you’re looking to enjoy superior sound quality, advanced features, or enhanced connectivity options, this upgrade will surely enhance your overall driving experience.
Remember, if you encounter any difficulties during the installation process or have concerns about your specific car model, it’s always a good idea to consult the instruction manual for your new stereo or seek professional assistance.
Conclusion
Congratulations! You have successfully removed the factory stereo and installed a new one in your 2002 Honda Accord. This DIY project allows you to enjoy upgraded sound quality, advanced features, and a personalized audio experience. The process may seem intricate, but by following the step-by-step instructions and using the right tools, you can accomplish it with confidence.
Throughout the installation, it’s important to prioritize safety by disconnecting the negative terminal of the battery and being cautious when handling electrical components. Remember to be gentle when removing the dash trim panel, unfastening the mounting screws, and disconnecting the wiring harness and antenna.
Properly aligning and securing the new stereo with the mounting screws, reconnecting the wiring harness and antenna, and reattaching the dash trim panel contribute to a professional and polished installation. Finally, don’t forget to reconnect the negative terminal of the battery to restore power to your vehicle.
If you encounter any difficulties or have questions, refer to the instruction manual that comes with your new stereo or consider reaching out to a professional installer for assistance. They can offer guidance and expertise to ensure a smooth installation process.
With your new stereo in place, it’s time to enjoy your favorite tunes, connect your devices, and make the most out of your driving experience. Sit back and immerse yourself in a world of enhanced audio quality and modern features.
As with any DIY project, be sure to take pride in your accomplishment and enjoy the satisfaction that comes with successfully upgrading your car’s stereo system. Happy driving and happy listening!