Home>Devices & Equipment>Subwoofer>How To Connect A Subwoofer With Speaker Wire
Subwoofer
How To Connect A Subwoofer With Speaker Wire
Published: January 22, 2024
Learn how to connect a subwoofer to your speakers using speaker wire, ensuring optimal sound quality and bass performance. Step-by-step instructions for setting up your subwoofer for a superior audio experience.
(Many of the links in this article redirect to a specific reviewed product. Your purchase of these products through affiliate links helps to generate commission for AudioLover.com, at no extra cost. Learn more)
Table of Contents
Introduction
Welcome to the world of deep bass and immersive audio! If you’re looking to take your audio experience to the next level, a subwoofer is an essential component to consider. A subwoofer is designed to reproduce low-frequency sounds accurately, adding depth and impact to music, movies, and games.
However, connecting a subwoofer to your audio system may seem like a daunting task, especially if you’re not familiar with speaker wires and audio equipment. But fear not! In this article, we will guide you through a step-by-step process on how to connect a subwoofer with speaker wire, making the installation process a breeze.
Before we dive into the technical details, it’s important to understand why a subwoofer is a valuable addition to any audio setup. The human ear is sensitive to a wide range of frequencies, and while regular speakers can handle midrange and high-frequency sounds quite well, they often struggle to reproduce deep bass accurately. This is where a subwoofer comes in. By focusing solely on low-frequency reproduction, a subwoofer allows you to feel and hear those earth-shattering explosions, rumbling basslines, and thunderous sound effects in all their glory.
Whether you’re a dedicated audiophile, a home theater enthusiast, or just someone who appreciates good sound quality, adding a subwoofer to your audio system will greatly enhance your listening experience. With that in mind, let’s now move on to the step-by-step process of connecting a subwoofer to your audio setup.
Step 1: Determine the Compatibility
Before you start connecting your subwoofer with speaker wire, it’s important to ensure that your subwoofer and audio system are compatible with each other. Here are a few things to consider:
- Subwoofer and receiver compatibility: Check if your subwoofer is compatible with your audio receiver or amplifier. Most subwoofers feature various connectivity options such as RCA or speaker wire connections. Make sure your receiver has the appropriate output for connecting your subwoofer.
- Power requirements: Check the power requirements of your subwoofer and ensure that your audio system has enough power to drive it. You don’t want to overload your amplifier or receiver.
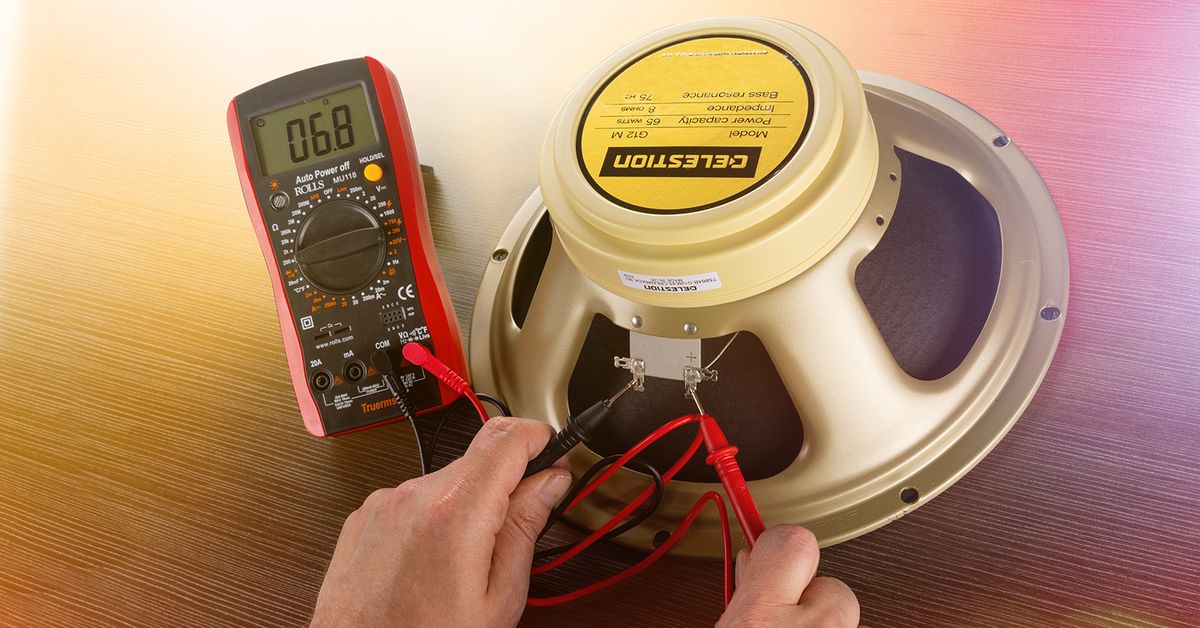
- Impedance matching: Pay attention to the impedance (measured in ohms) of both your subwoofer and your receiver. Matching the impedance will ensure optimal sound quality and prevent any damage to your equipment.
If you’re uncertain about compatibility, consult the user manuals of your subwoofer and receiver or reach out to the manufacturers for guidance. It’s better to be safe than sorry and avoid potential issues down the line.
Once you’ve confirmed compatibility, you can proceed to the next step of gathering the necessary materials for the connection process.
Step 2: Gather the Necessary Materials
Now that you have determined the compatibility of your subwoofer and audio system, it’s time to gather all the necessary materials for the connection process. Here’s a list of items you will need:
- Subwoofer: Ensure you have the appropriate subwoofer that matches your audio system’s requirements.
- Speaker wire: Choose a high-quality speaker wire with the appropriate gauge for your setup. Thicker gauge wires are recommended for longer distances or higher power requirements.
- Audio receiver or amplifier: Make sure you have a compatible receiver or amplifier to connect your subwoofer.
- Wire cutters/strippers: These tools will come in handy for cutting and stripping the speaker wire.
- Connectors: Depending on the connection type on your subwoofer and receiver, you may need connectors such as RCA plugs or banana plugs.
It’s important to invest in good-quality materials to ensure optimal sound performance and reliability. Using subpar cables or connectors can result in signal loss or poor audio quality. Now that you have gathered all the necessary materials, let’s move on to preparing the subwoofer and speaker wire for connection in the next step.
Step 3: Prepare the Subwoofer and Speaker Wire
Before you connect your subwoofer to the audio system, it’s important to prepare both the subwoofer and the speaker wire for the connection. Follow these steps:
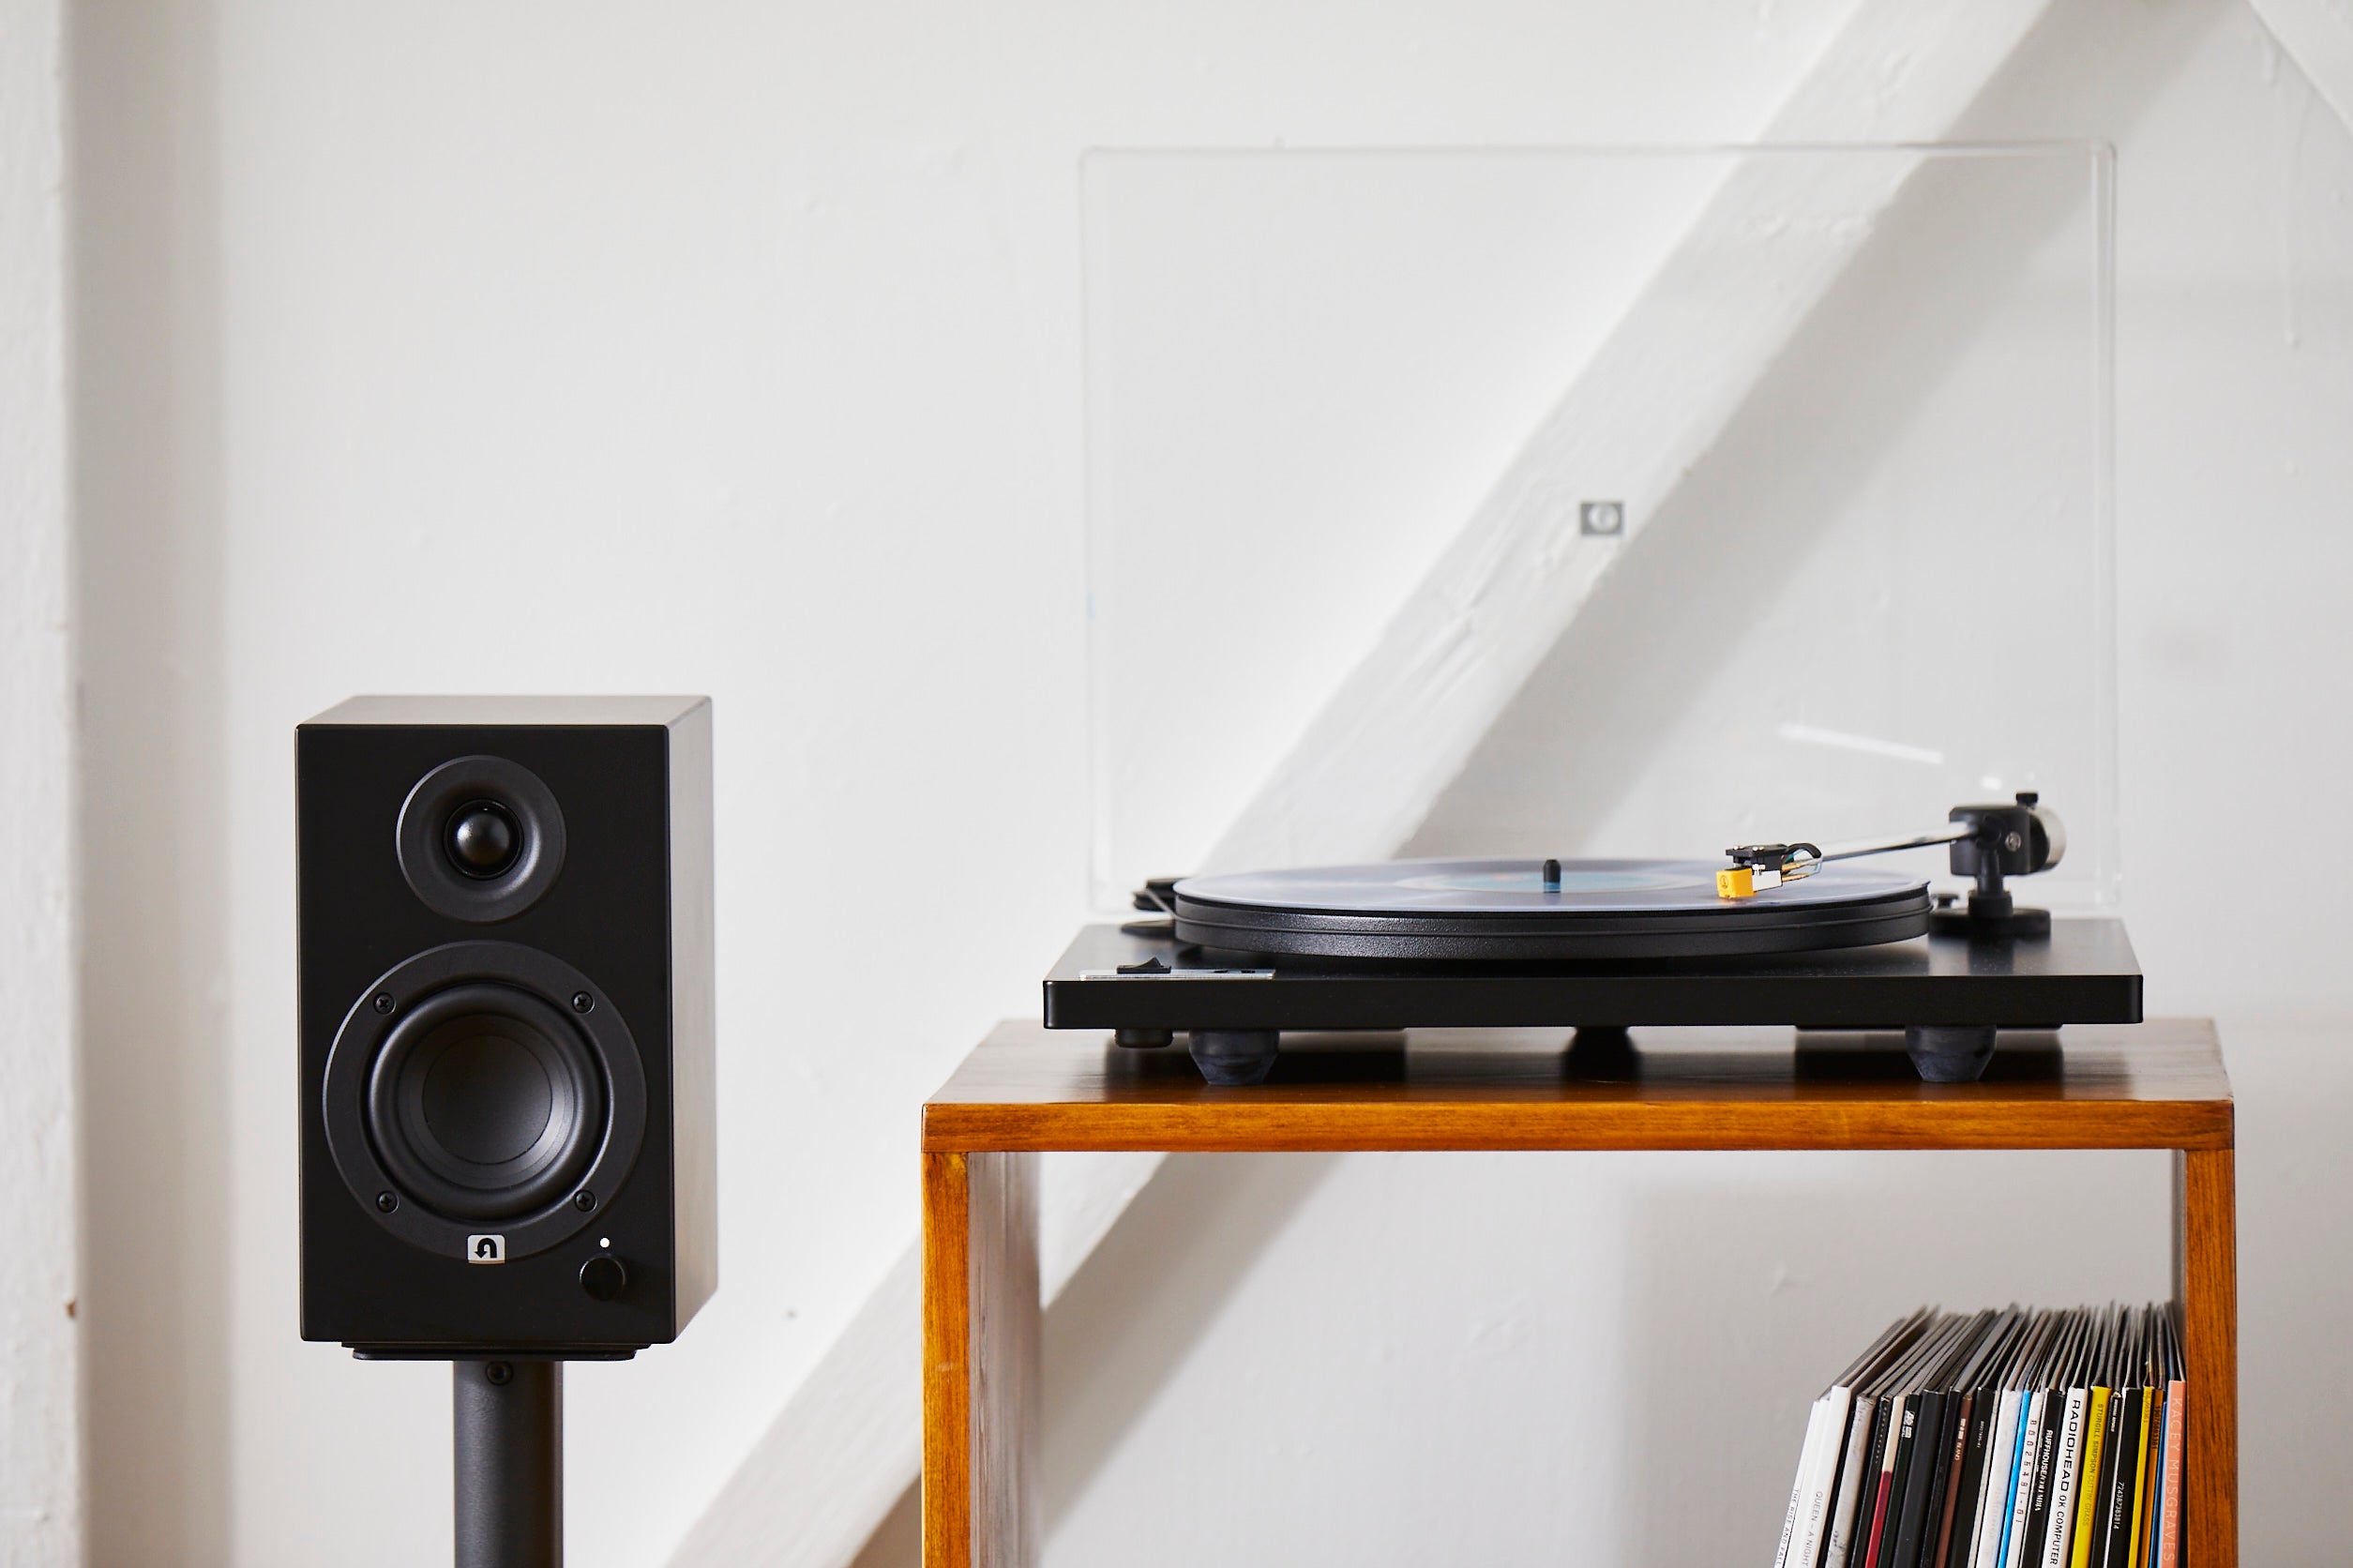
- Subwoofer placement: Choose an ideal location for your subwoofer in the room. Place it on the floor near the front of the room or in a corner for optimal bass response. Make sure it’s not obstructed by furniture or other objects.
- Subwoofer power: Connect the power cable to the back of the subwoofer and plug it into a power outlet. Ensure that the power switch is turned off before connecting any other cables.
- Speaker wire preparation: Measure the distance between your subwoofer and the receiver. Cut the speaker wire to the appropriate length, leaving some extra length for flexibility. Use wire cutters to strip about half an inch of insulation from each end of the wire.
- Connector installation (if required): If your subwoofer or receiver requires connectors, install the appropriate connectors on the ends of the stripped speaker wire. Follow the instructions provided with the connectors for proper installation.
By preparing the subwoofer and speaker wire in advance, you’ll have a smoother and more organized connection process. Once you’ve completed the preparation steps, you’re ready to move on to connecting the subwoofer to the receiver in the next step.
Step 4: Connect the Subwoofer to the Receiver
Now, it’s time to connect your subwoofer to the audio receiver or amplifier. Follow these steps:
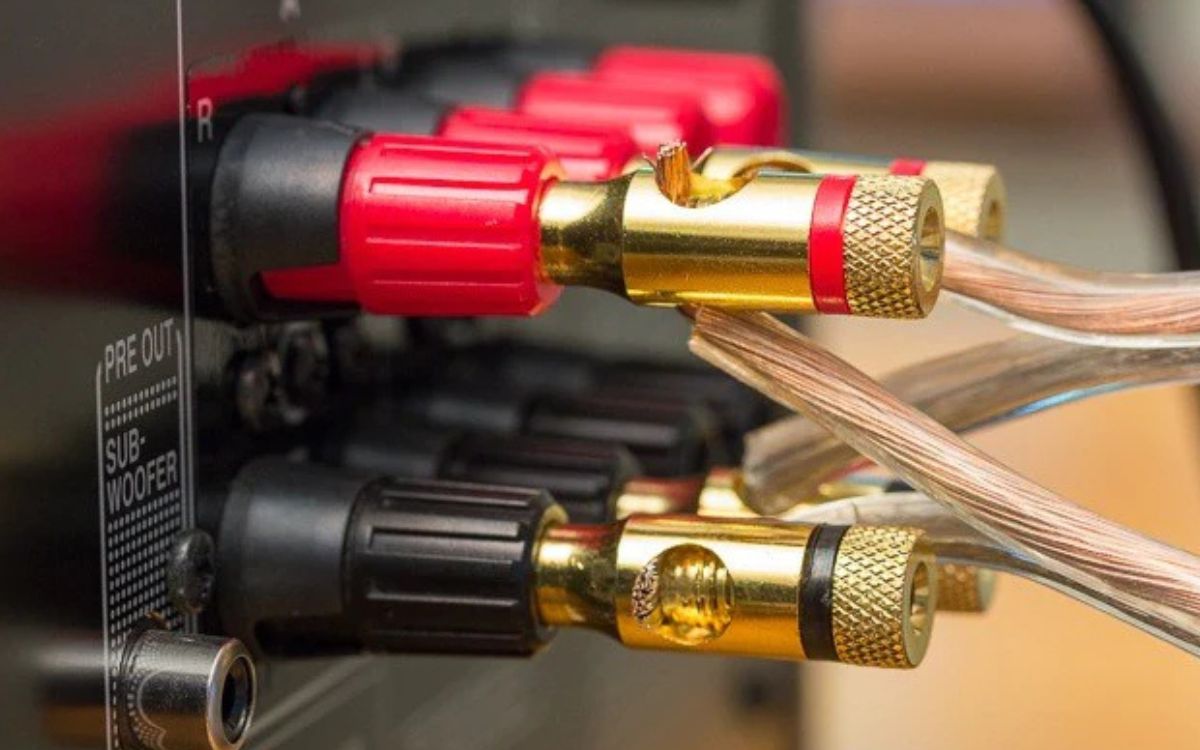
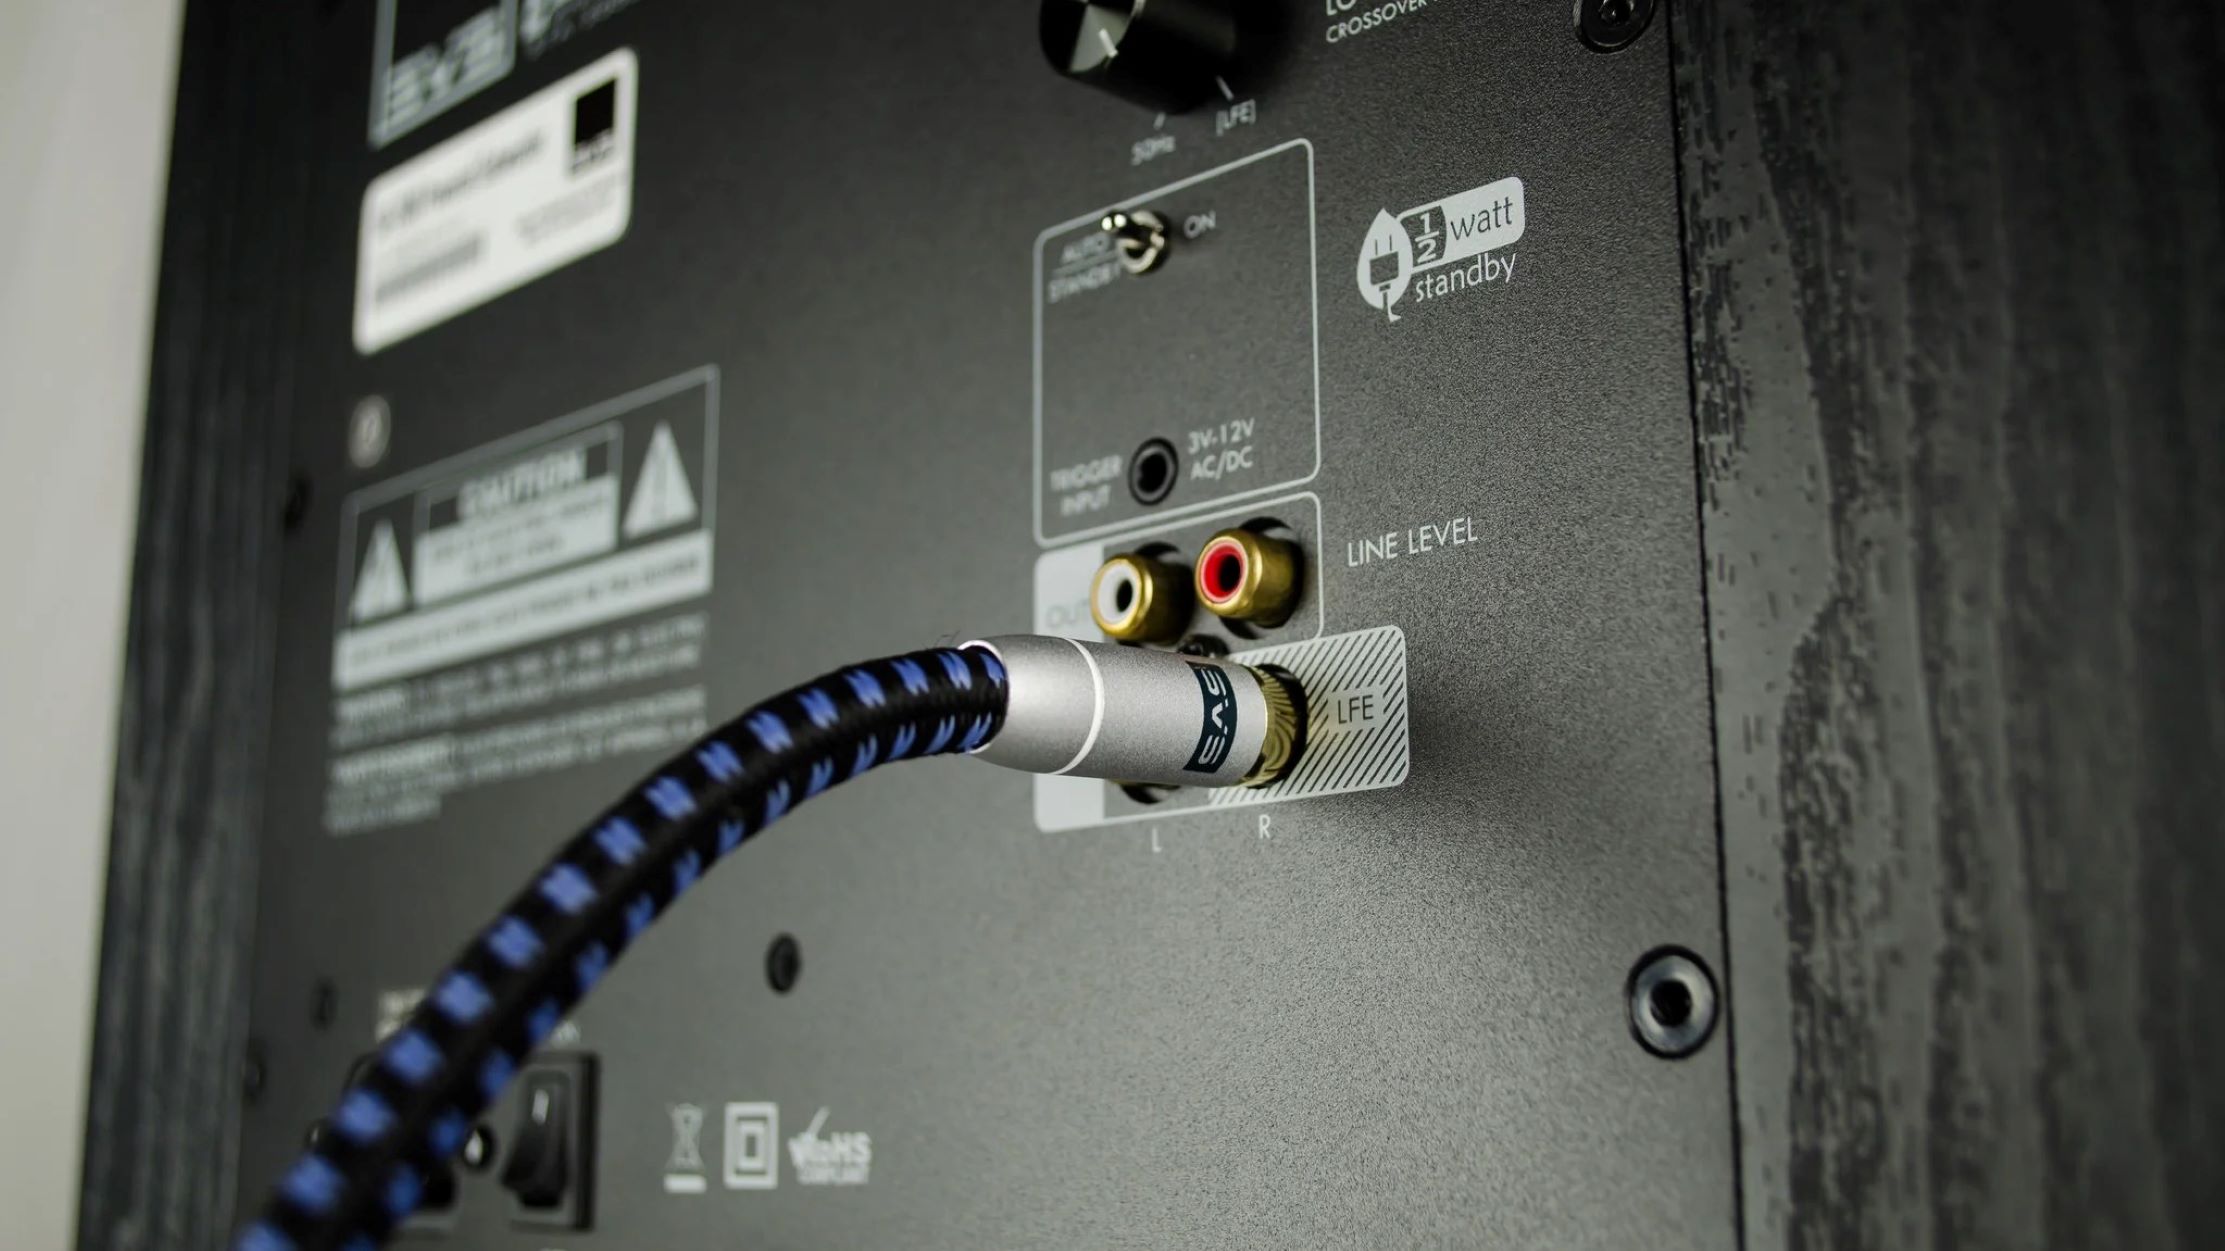
- Locate the subwoofer output: Look for the “Subwoofer Out” or “LFE (Low-Frequency Effects)” output on the back panel of your audio receiver or amplifier. It is usually color-coded as orange or has an “LFE” label.
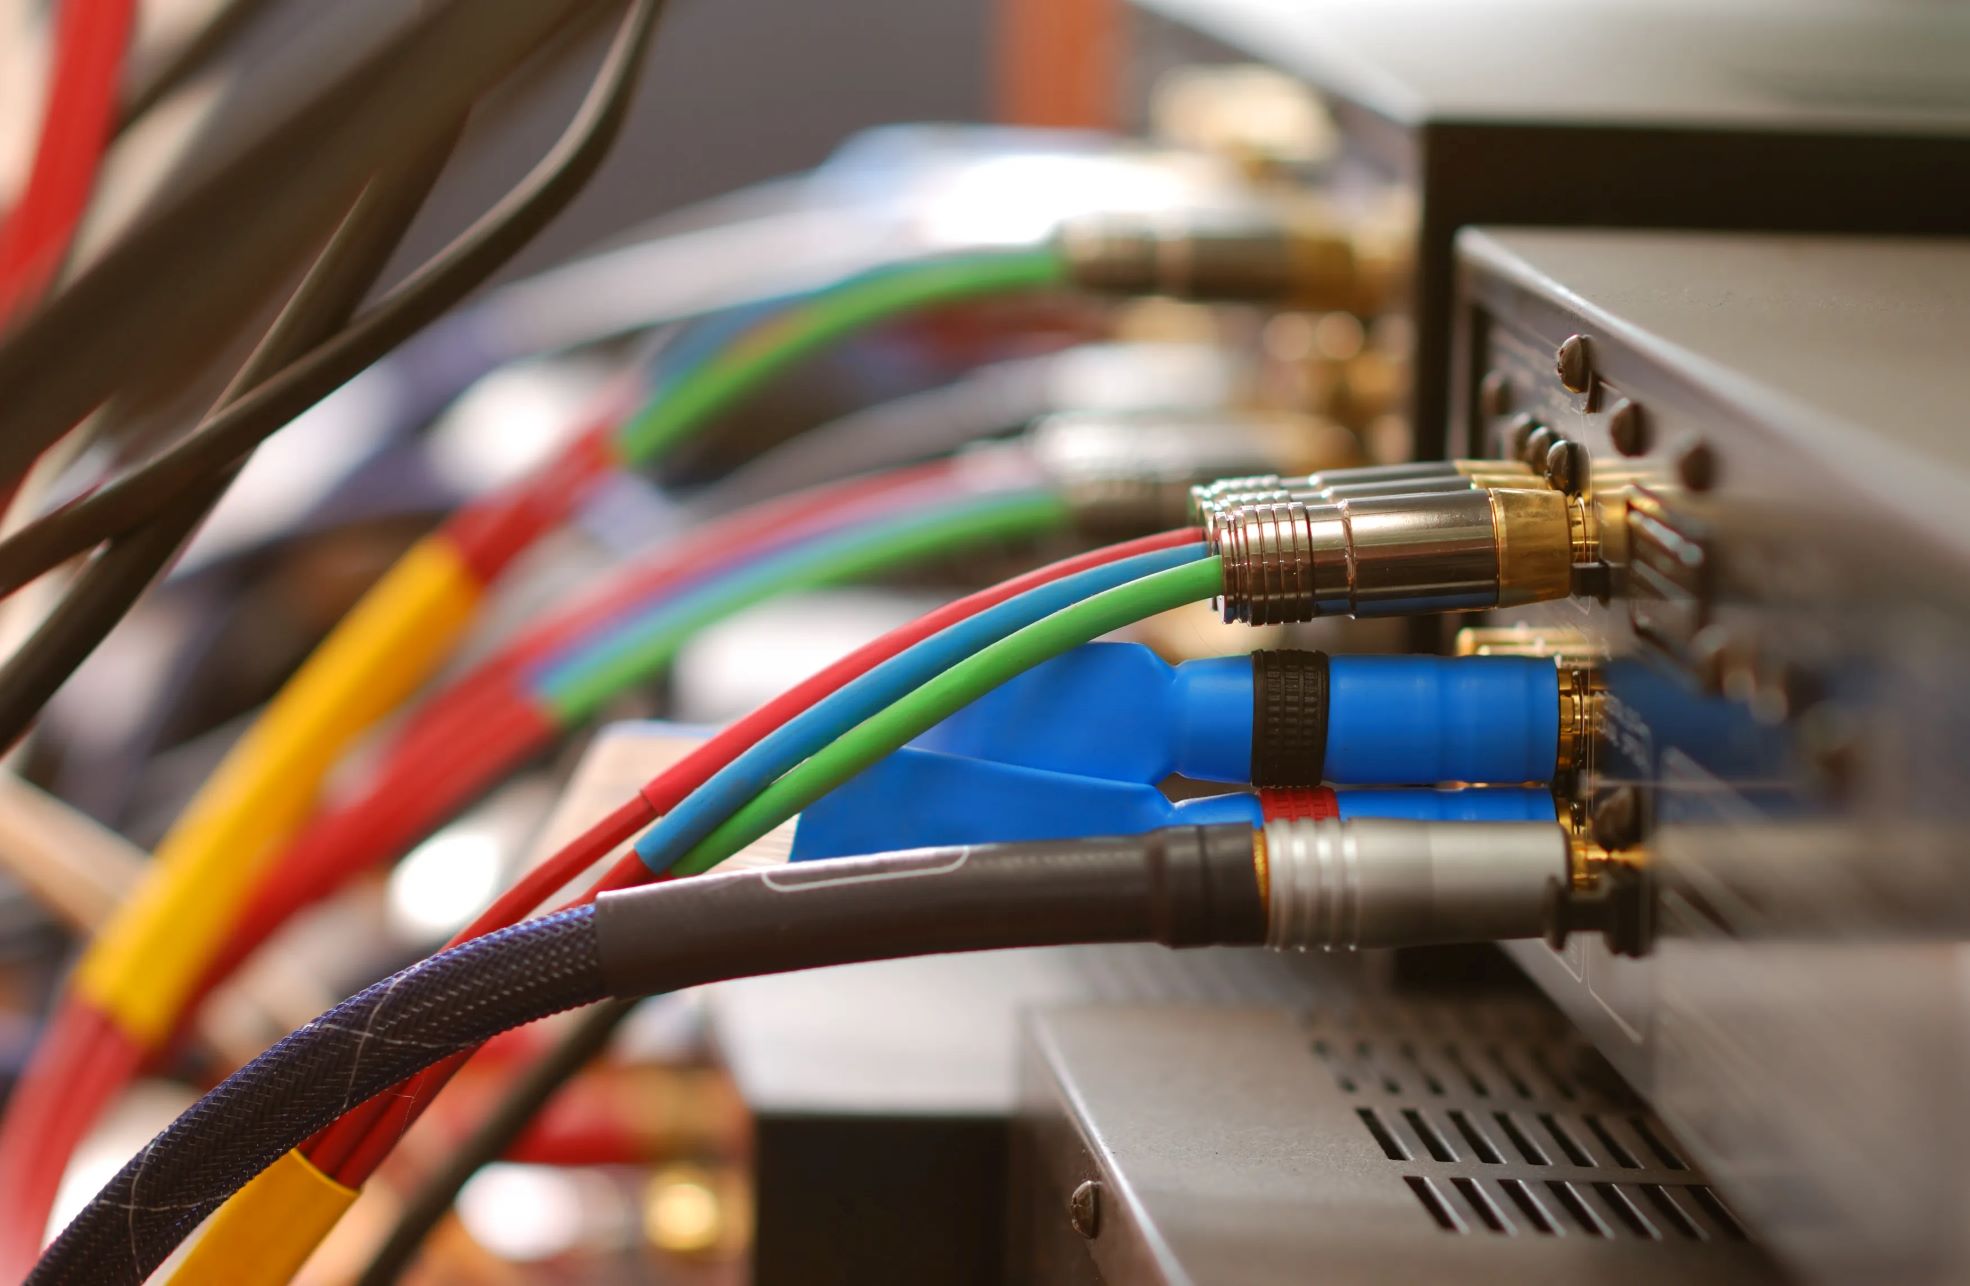
- Connect the subwoofer cable: Take one end of the subwoofer cable and insert it into the subwoofer output on the receiver. Ensure a secure connection by firmly pushing the cable into the socket. If your subwoofer uses RCA inputs, connect the RCA plugs to the corresponding color-coded ports.
- Connect the other end of the cable: Take the other end of the cable and connect it to the corresponding input on the back of the subwoofer. Again, if your subwoofer uses RCA inputs, match the color-coded plugs with the appropriate ports.
- Tighten the connections: Once the cable is connected to both the receiver and subwoofer, make sure the connections are tight and secure. Loose connections can lead to signal loss and affect the performance of your subwoofer.
- Power on the subwoofer and receiver: Turn on the power switch of both the subwoofer and the audio receiver or amplifier. Ensure that the subwoofer is receiving power and that it is properly connected.
Once you have completed these steps, your subwoofer should now be connected to the audio receiver. Proceed to the next step to connect the subwoofer to the speakers.
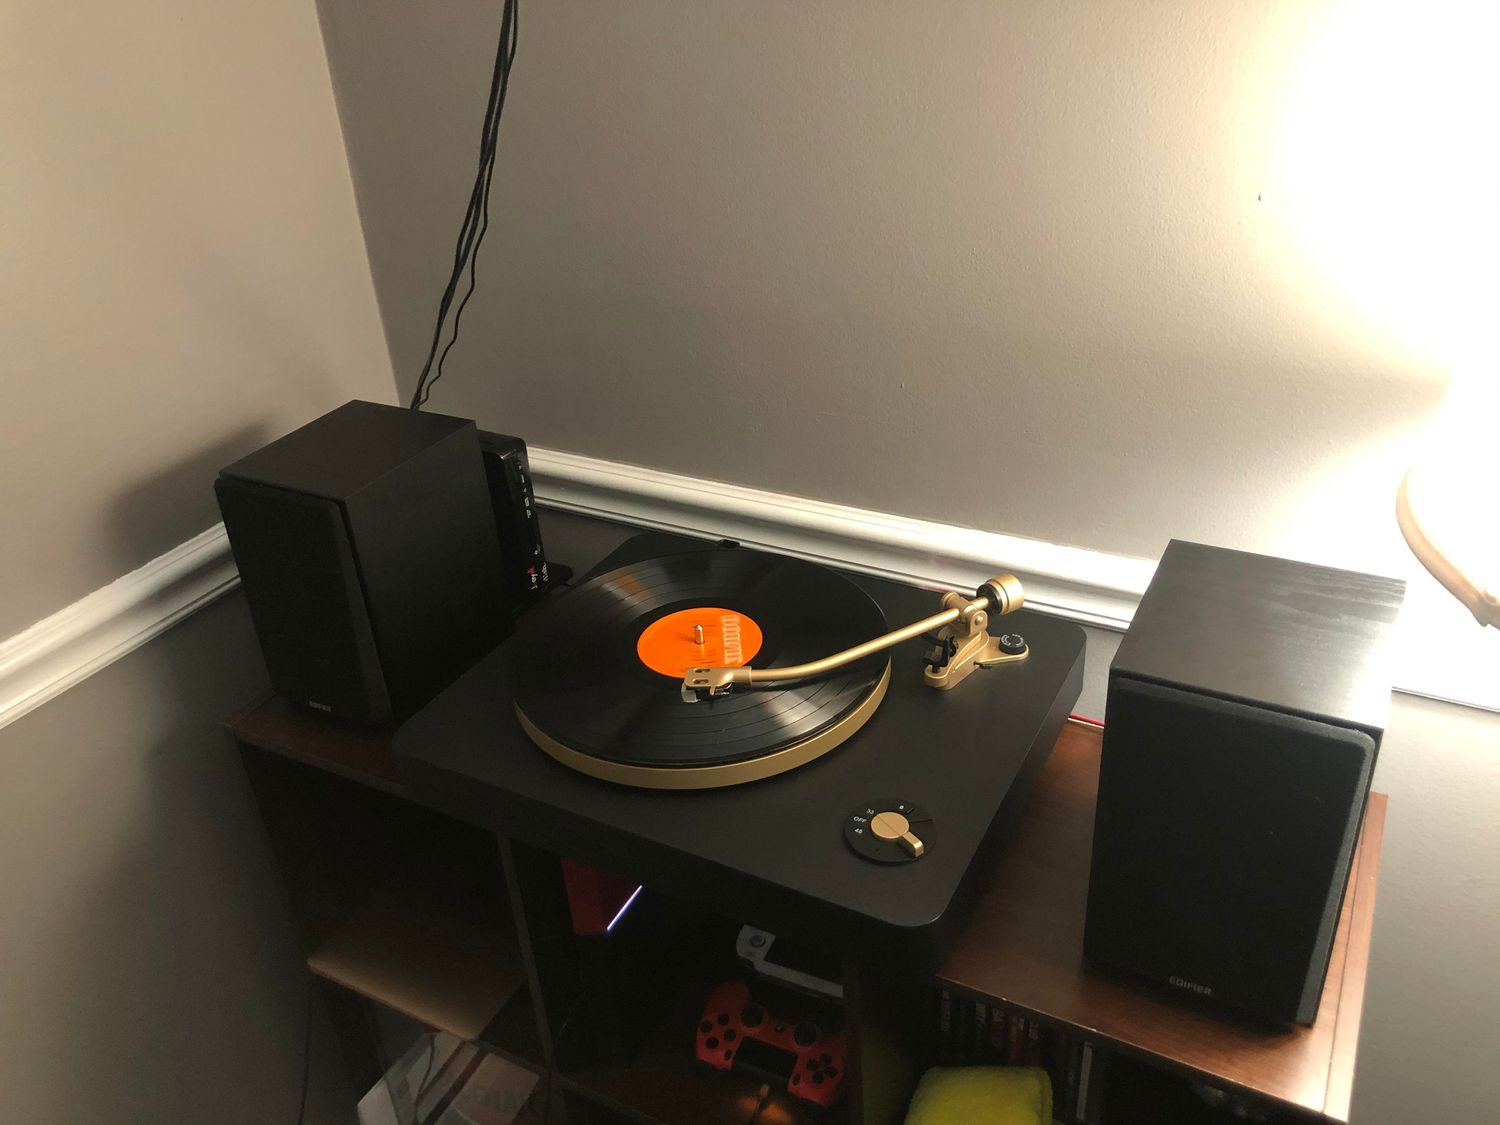
Step 5: Connect the Subwoofer to the Speakers
Now that you’ve successfully connected the subwoofer to the audio receiver, it’s time to connect the subwoofer to your speakers. Follow these steps:
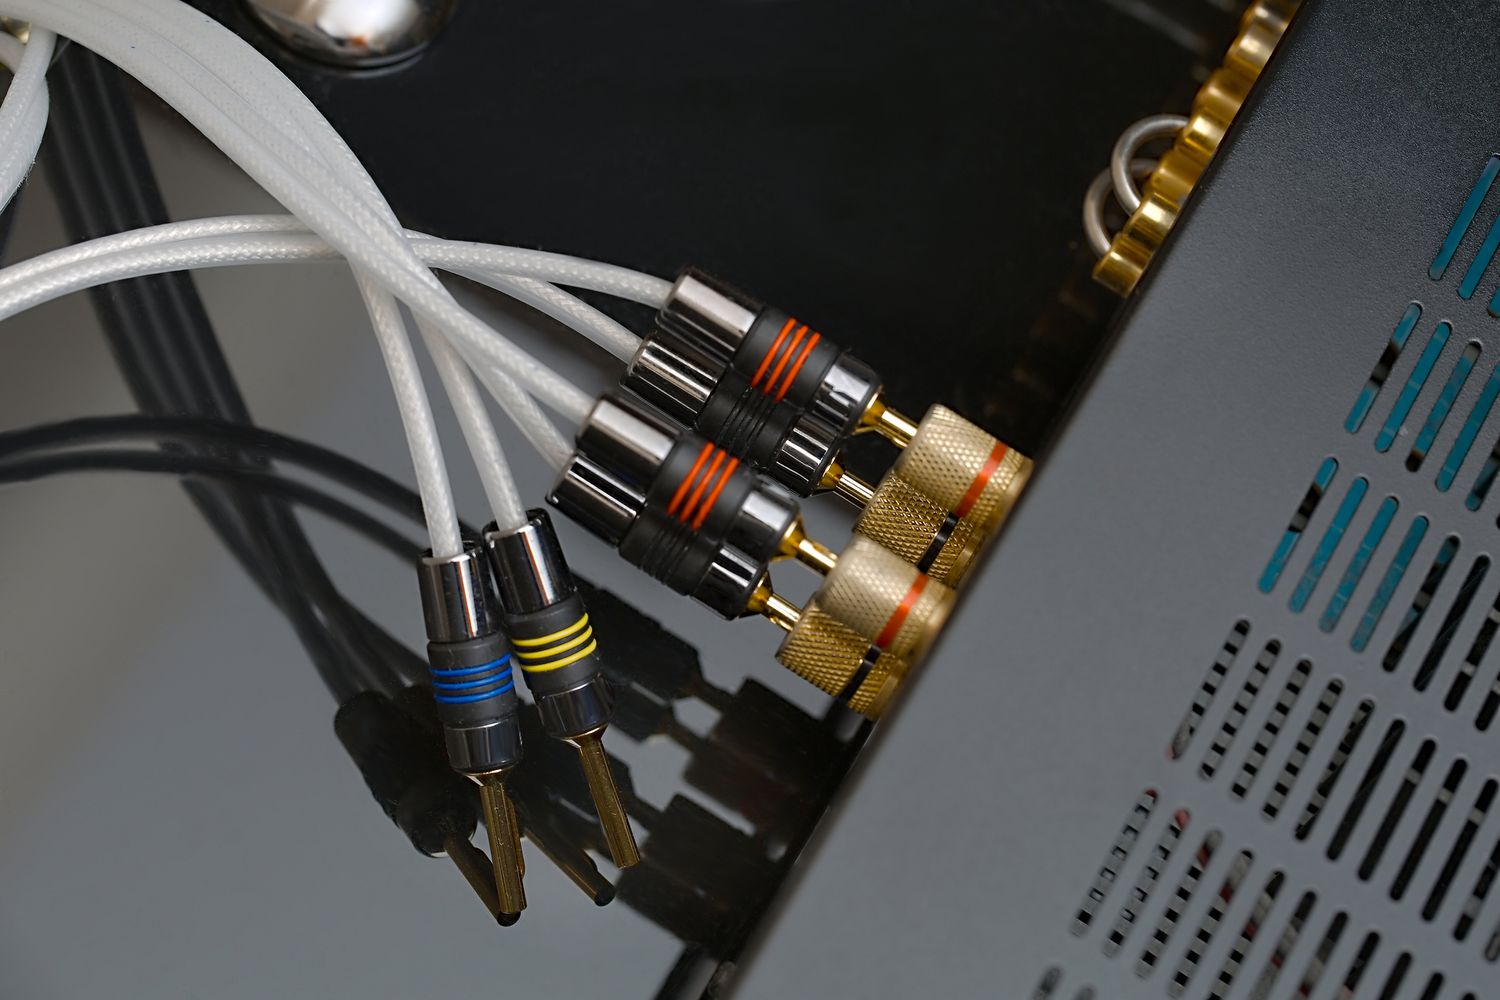
- Identify the speaker wire terminals: Locate the speaker wire terminals on the back of the subwoofer. These terminals are usually labeled as “Speaker In” or “Speaker Inputs”.
- Prepare the speaker wire: If you haven’t done so already, cut the speaker wire to the desired length and strip off about half an inch of insulation from each end.
- Connect the speaker wire to the subwoofer: Insert the stripped end of the speaker wire into the corresponding speaker wire terminals on the subwoofer. Make sure the positive (+) and negative (-) ends of the wire match the terminals.
- Connect the other end of the speaker wire to the speakers: Take the other end of the speaker wire and connect it to the corresponding speaker terminals on your main speakers or surround sound system. Again, match the positive (+) and negative (-) ends of the wire with the correct terminals.
- Tighten the connections: Ensure that all the speaker wire connections are secure and tight. Loose connections can result in poor audio quality or signal loss.
Once you have connected the subwoofer to the speakers, you’re ready to move on to the final step in the process—testing the setup.
Step 6: Test the Setup
After connecting the subwoofer to the speakers, it’s important to test the setup to ensure everything is working correctly. Follow these steps to test your subwoofer:
- Play audio content: Select a piece of audio content that contains deep bass or low-frequency sounds. This could be a movie with explosions, a bass-heavy music track, or a video game with rumbling effects.
- Adjust the settings: Access the audio settings on your receiver or amplifier and make any necessary adjustments. This includes adjusting the volume, crossover frequency, and subwoofer level settings to achieve the desired balance between the subwoofer and the main speakers.
- Listen for the bass: Pay close attention to the bass output from your subwoofer. It should be clear, impactful, and seamlessly integrated with the main speakers. If you hear any distortion, muddiness, or lack of bass, you may need to adjust the settings further.
- Perform a bass test: You can also find dedicated bass test tracks or videos online that specifically test the performance of subwoofers. This can help you assess the low-frequency capabilities of your subwoofer and fine-tune the settings accordingly.
- Make adjustments if needed: If you’re not satisfied with the bass response, revisit the settings on your receiver or amplifier. Experiment with different crossover frequencies and subwoofer levels until you achieve the desired balance and impact.
Remember that every room and audio system is different, so it may take some trial and error to optimize the subwoofer settings. Take the time to fine-tune the setup to your preferences and enjoy the improved audio experience.
With the setup successfully tested and optimized, you can now sit back, relax, and enjoy the immersive and deep bass performance that your subwoofer brings to your audio system.
Conclusion
Congratulations! You have successfully connected your subwoofer to your audio system using speaker wire. By following the step-by-step process outlined in this article, you have unlocked the power of deep bass and enhanced your audio experience.
Connecting a subwoofer to your audio setup may seem daunting at first, but with a little knowledge and guidance, it becomes a straightforward task. Determining compatibility, gathering the necessary materials, and preparing the subwoofer and speaker wire are important first steps. From there, connecting the subwoofer to the receiver and the speakers becomes a seamless process.
Remember to test your setup and make any necessary adjustments to achieve the desired balance and impact of the bass. Fine-tuning the settings on your receiver or amplifier will help you optimize the performance of your subwoofer and ensure a truly immersive audio experience.
Whether you’re a dedicated audiophile, a home theater enthusiast, or simply someone who wants to elevate their audio setup, a subwoofer adds that extra dimension to your sound. With the deep, resonating bass, your music, movie soundtracks, and games will come to life like never before.
Now that you have successfully connected your subwoofer, get ready to experience audio like you’ve never experienced it before. Sit back, relax, and enjoy the power and depth of your newfound sub-bass capabilities. Happy listening!