Home>Production & Technology>Surround Sound>How To Wire Surround Sound Speakers
Surround Sound
How To Wire Surround Sound Speakers
Modified: January 22, 2024
Discover the best way to wire your surround sound speakers with our step-by-step guide. Achieve immersive audio in your home theater setup with our expert tips and techniques.
(Many of the links in this article redirect to a specific reviewed product. Your purchase of these products through affiliate links helps to generate commission for AudioLover.com, at no extra cost. Learn more)
Table of Contents
Introduction
Welcome to the world of surround sound! If you’re a movie enthusiast or a music lover, you know that a truly immersive audio experience can take your entertainment to the next level. Surround sound systems are designed to replicate the feeling of being surrounded by sound, enveloping you in a rich and dynamic audio landscape.
However, setting up a surround sound system might seem daunting at first, especially when it comes to properly wiring the speakers. But fear not! In this article, we will guide you through the step-by-step process of wiring surround sound speakers, ensuring that you can enjoy the optimal audio experience in your home theater or living room.
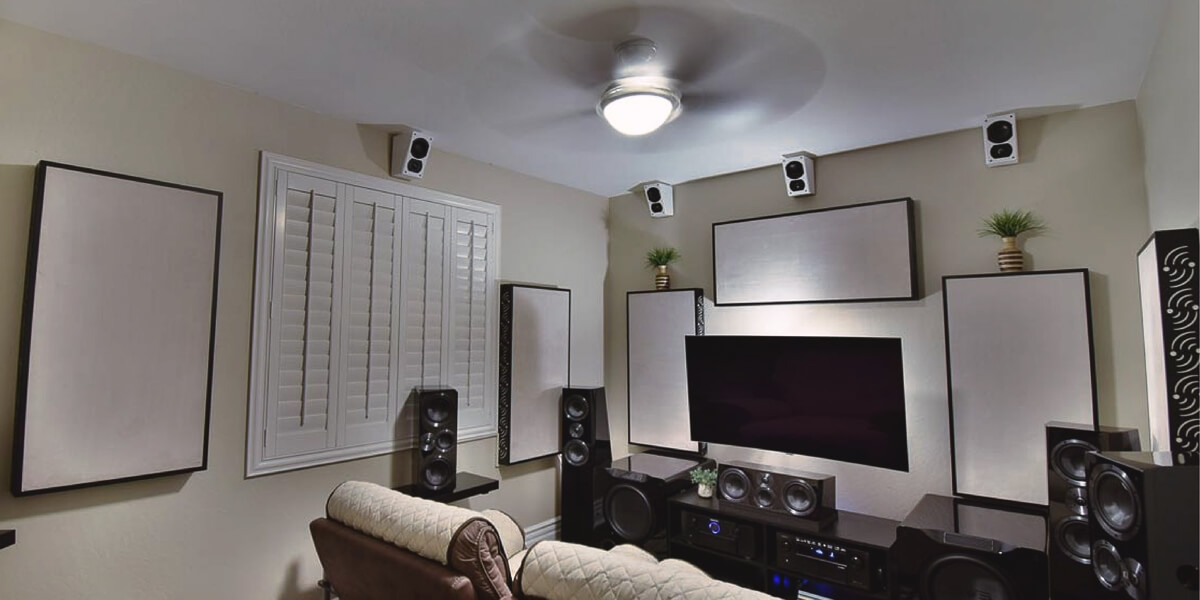
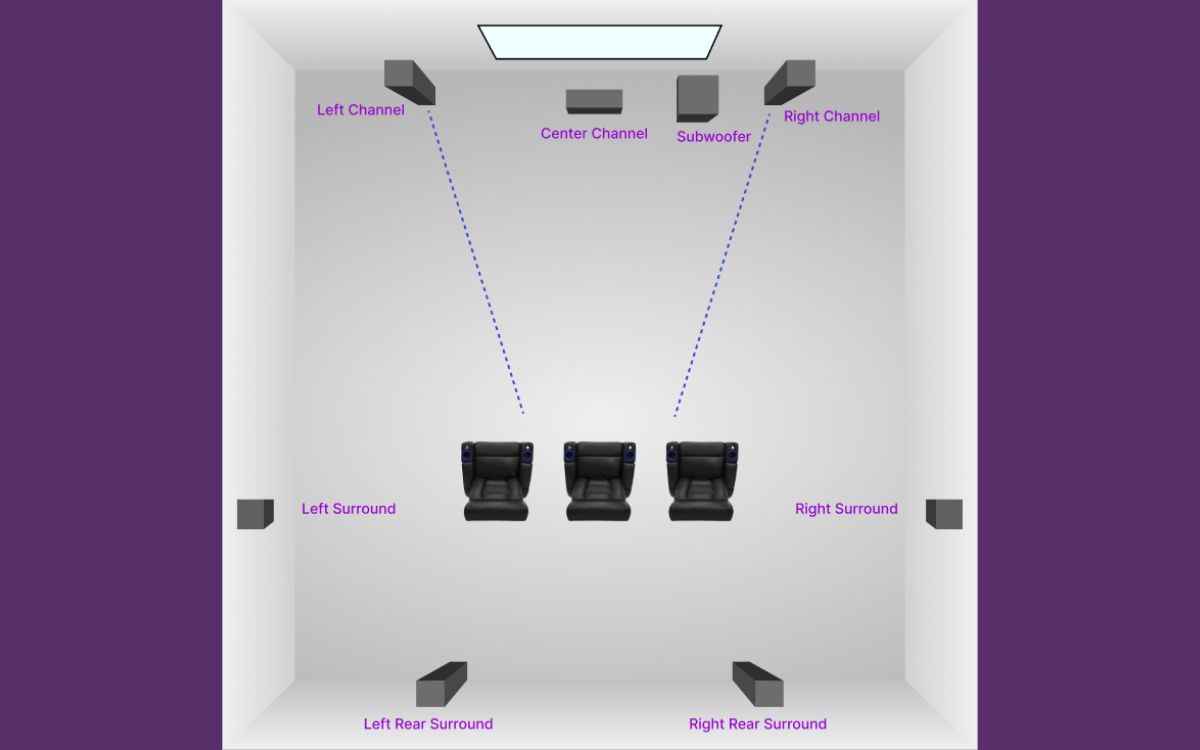
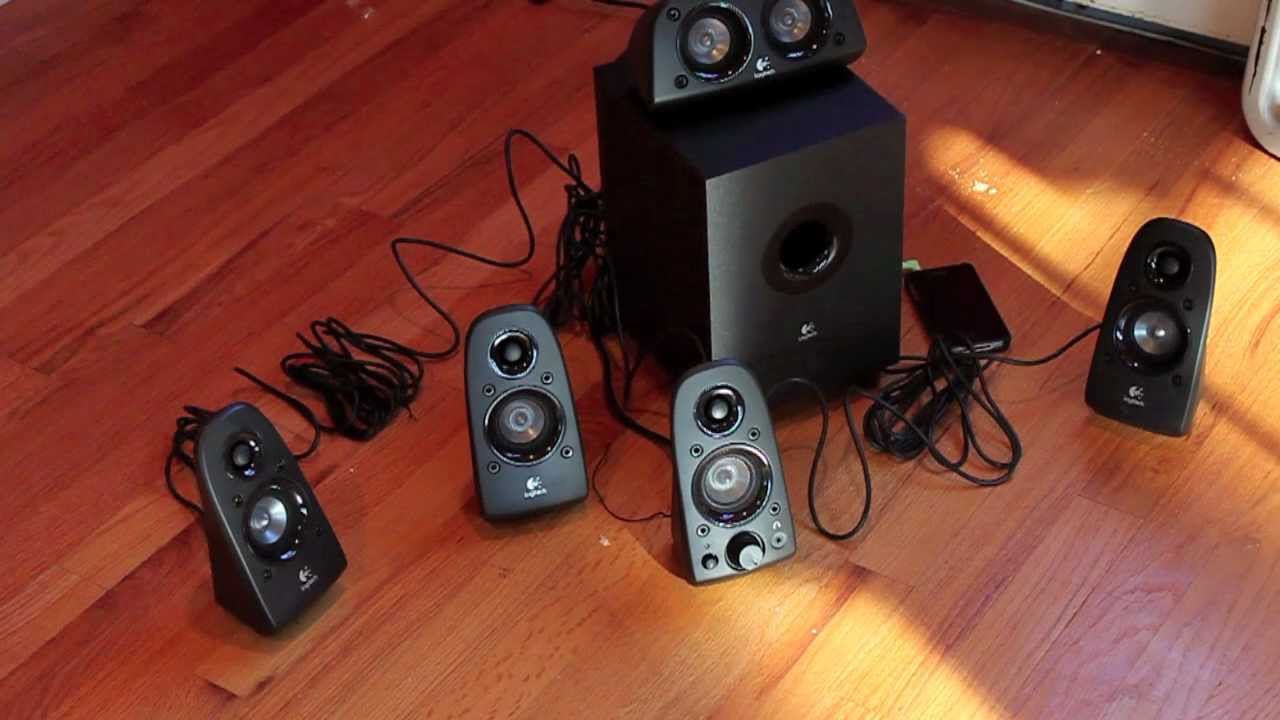
Before diving into the technicalities, it’s important to mention that there are different types of surround sound systems, such as 5.1, 7.1, and even more advanced configurations. The most common is the 5.1 system, which consists of five speakers (front left, front right, center, rear left, and rear right) and a subwoofer. These speakers work together to create a realistic and immersive audio experience.
Now, let’s get started on the journey of wiring your surround sound speakers. From determining speaker placement to connecting the wires, we’ll cover all you need to know to set up your system like a pro. So, grab your tools and let’s dive in!
Step 1: Determine Speaker Placement
Before diving into the wiring process, it’s crucial to determine the optimal placement for your surround sound speakers. Proper speaker placement plays a vital role in creating a seamless and immersive audio experience. Here are a few guidelines to help you decide:
- Front speakers: The front speakers, including the front left, front right, and center speakers, are the foundation of your surround sound setup. The front left and front right speakers should be positioned at ear level when sitting in your primary listening area. The center speaker, responsible for dialogues and vocals, should be placed just above or below your display.
- Rear speakers: The rear speakers, also known as surround speakers, complete the surround sound experience by reproducing ambient and background sounds. Ideally, they should be positioned slightly behind and to the sides of your listening area, facing towards the center of the room. This placement helps create a sound field that envelops you.
- Subwoofer: The subwoofer is responsible for delivering deep and powerful bass. Unlike the other speakers, the subwoofer’s placement is less critical, as it primarily reproduces low-frequency sounds that are less directional. Experiment with different positions to find the spot that provides the best balance of bass response in your room.
Keep in mind that every room is unique, and the ideal speaker placement may vary depending on the size, shape, and acoustics of your space. Take the time to experiment and fine-tune the positions to achieve the best sound quality.
Additionally, consider factors such as the distance of the speakers from walls or obstructions and the symmetry of the setup. Strive for balanced speaker placement to ensure an even distribution of sound throughout the room.
Once you have determined the ideal speaker placement, it’s time to mark the positions and move on to the next step: running the speaker wires.
Step 2: Measure and Mark Speaker Locations
Now that you have determined the optimal placement for your surround sound speakers, it’s time to measure and mark the exact locations where the speakers will be installed. This step ensures accuracy and precision when running the speaker wires and positioning the speakers.
Follow these steps to measure and mark the speaker locations:
- Measure the distances: Using a measuring tape or ruler, measure the distance from your listening area to each speaker location. This will help you determine the appropriate length of speaker wire needed.
- Mark the positions: Once you have the measurements, use a pencil or masking tape to mark the positions on the walls or floors, indicating where each speaker will be placed. Make sure to mark both the front and rear speaker locations accurately.
- Check for obstructions: Before proceeding, double-check for any potential obstructions such as furniture, doors, or windows that may obstruct the speaker placement or the running of speaker wires. Make adjustments to your markings if necessary.
Take your time during this step to ensure precise measurements and markings. Remember that proper alignment and spacing between speakers contribute to an optimal surround sound experience.
Additionally, consider any aesthetic preferences or room limitations when marking the speaker locations. You may want to hide the speaker wires by routing them through walls or using wire management solutions for a cleaner and more organized look.
Once you have measured and marked the speaker locations, you are ready to move on to the next step: running the speaker wires from the receiver to the speakers.
Step 3: Run Speaker Wires from Receiver to Speakers
With the speaker locations marked, it’s time to run the speaker wires from your receiver to each speaker. This step involves routing the wires discreetly and ensuring a clean installation.
Follow these steps to run the speaker wires:
- Plan the wire route: Assess the layout of your room and plan the most efficient route for running the speaker wires from your receiver to each speaker location. Consider the position of furniture, walls, and any other obstacles that may affect the wire’s path.
- Prepare the wires: Depending on the distance from the receiver to the speakers, cut the speaker wires to the required length, leaving some extra length to facilitate proper connections. Strip off a small portion of insulation from each wire end to expose the copper conductors.
- Route the wires: Begin by running the speaker wires along the planned route, using wire clips or adhesive-backed cable tracks to secure them to the walls or baseboards. Ensure that the wires are hidden as much as possible to maintain a clean and uncluttered appearance.
- Keep wires separate: If you are using multiple pairs of wires for different speakers, make sure to keep them separate and avoid crossing or twisting them to prevent any interference or signal loss.
- Leave extra slack: At each speaker location, leave some extra slack in the wires to allow for adjustments during the installation process. It’s easier to trim excess wire later than to run out of wire length.
During the wire routing process, take care to avoid sharp bends or kinks in the wires, as these can disrupt the signal quality. Maintain a smooth and gentle curve when making turns or corners.
Remember to be patient and meticulous when running the wires. This step sets the foundation for a seamless and reliable audio connection between your receiver and speakers.
Once you have successfully routed the speaker wires, it’s time to move on to the next step: connecting the wires to the speakers.
Step 4: Connect Wires to Speakers
Now that you have successfully run the speaker wires to each speaker location, it’s time to connect the wires to the speakers themselves. This step ensures proper electrical connections and allows the speakers to receive the audio signals from the receiver.
Follow these steps to connect the wires to the speakers:
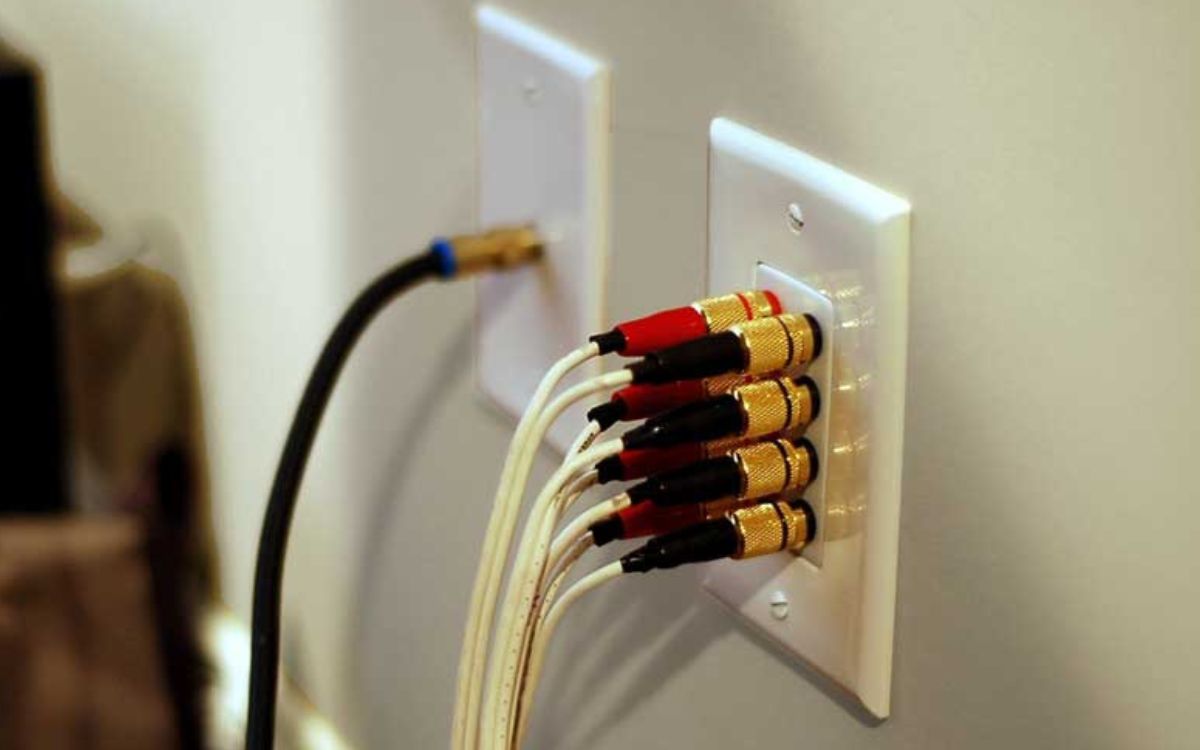
- Identify positive and negative terminals: Each speaker will have two terminals for the positive (+) and negative (-) connections. These terminals are often color-coded for easy identification, with red indicating the positive terminal and black indicating the negative terminal. Check the speaker’s manual or markings to confirm.
- Prepare the wire ends: Strip off a small portion of insulation from the wire ends, exposing the copper conductors. Twist the exposed wires slightly to prevent any loose strands that could cause poor connectivity.
- Connect the wires: Starting with one speaker, take the stripped end of the wire and insert it into the corresponding terminal. For example, insert the positive wire into the positive terminal and the negative wire into the negative terminal. Ensure a tight and secure connection by pressing the terminal down or tightening any screws or binding posts.
- Repeat for all speakers: Repeat the same process for each speaker, making sure to connect the wires according to their respective polarity. Double-check the connections to ensure accuracy.
- Check for wire strain: After connecting the wires, check that there is no unnecessary strain or tension applied to the connections. The wires should have some slack to allow the speakers to be moved or adjusted if needed.
It’s crucial to ensure proper polarity when connecting the wires. Reversing the polarity can lead to phase cancellation and affect the overall sound quality. By connecting the positive wire to the positive terminal and the negative wire to the negative terminal for each speaker, you will maintain the correct polarity.
Once you have connected the wires to all the speakers, you’re now ready to move on to the final step: connecting the wires to the receiver.
Step 5: Connect Wires to Receiver
Now that you have connected the wires to the speakers, the final step is to connect those wires to the receiver. This step ensures that the audio signals from your receiver are properly transmitted to each speaker, allowing you to enjoy your surround sound system to its fullest potential.
Follow these steps to connect the wires to the receiver:
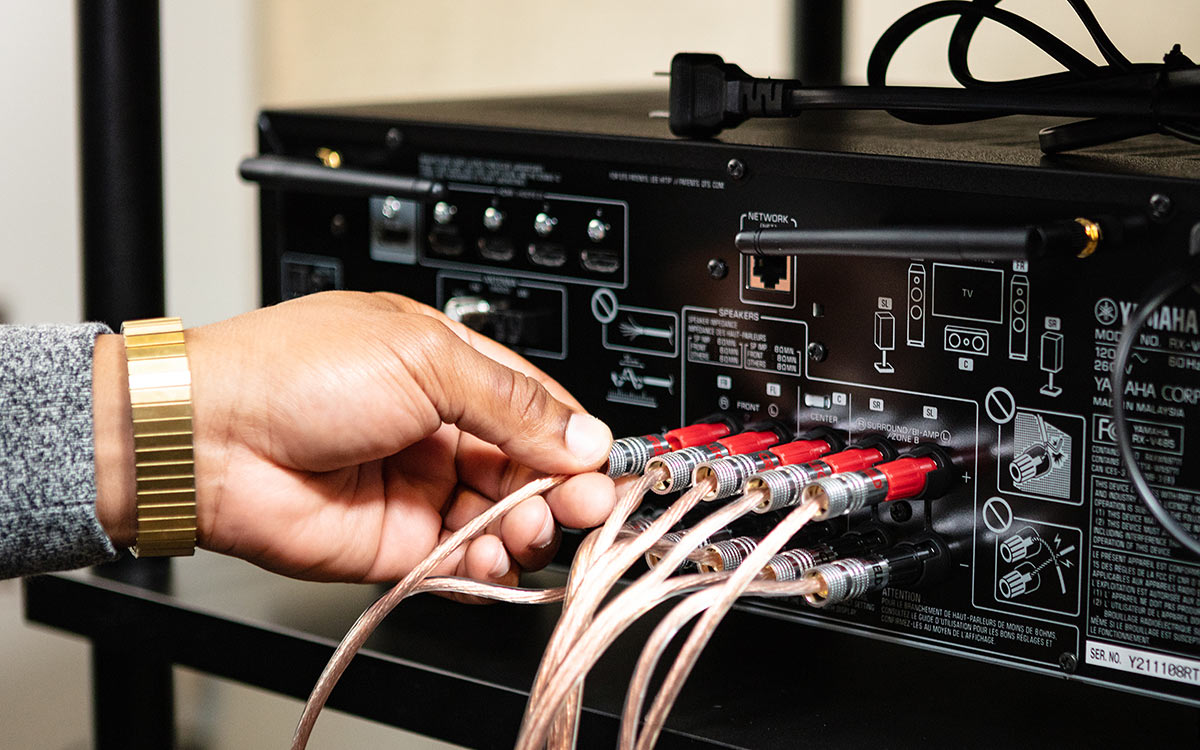
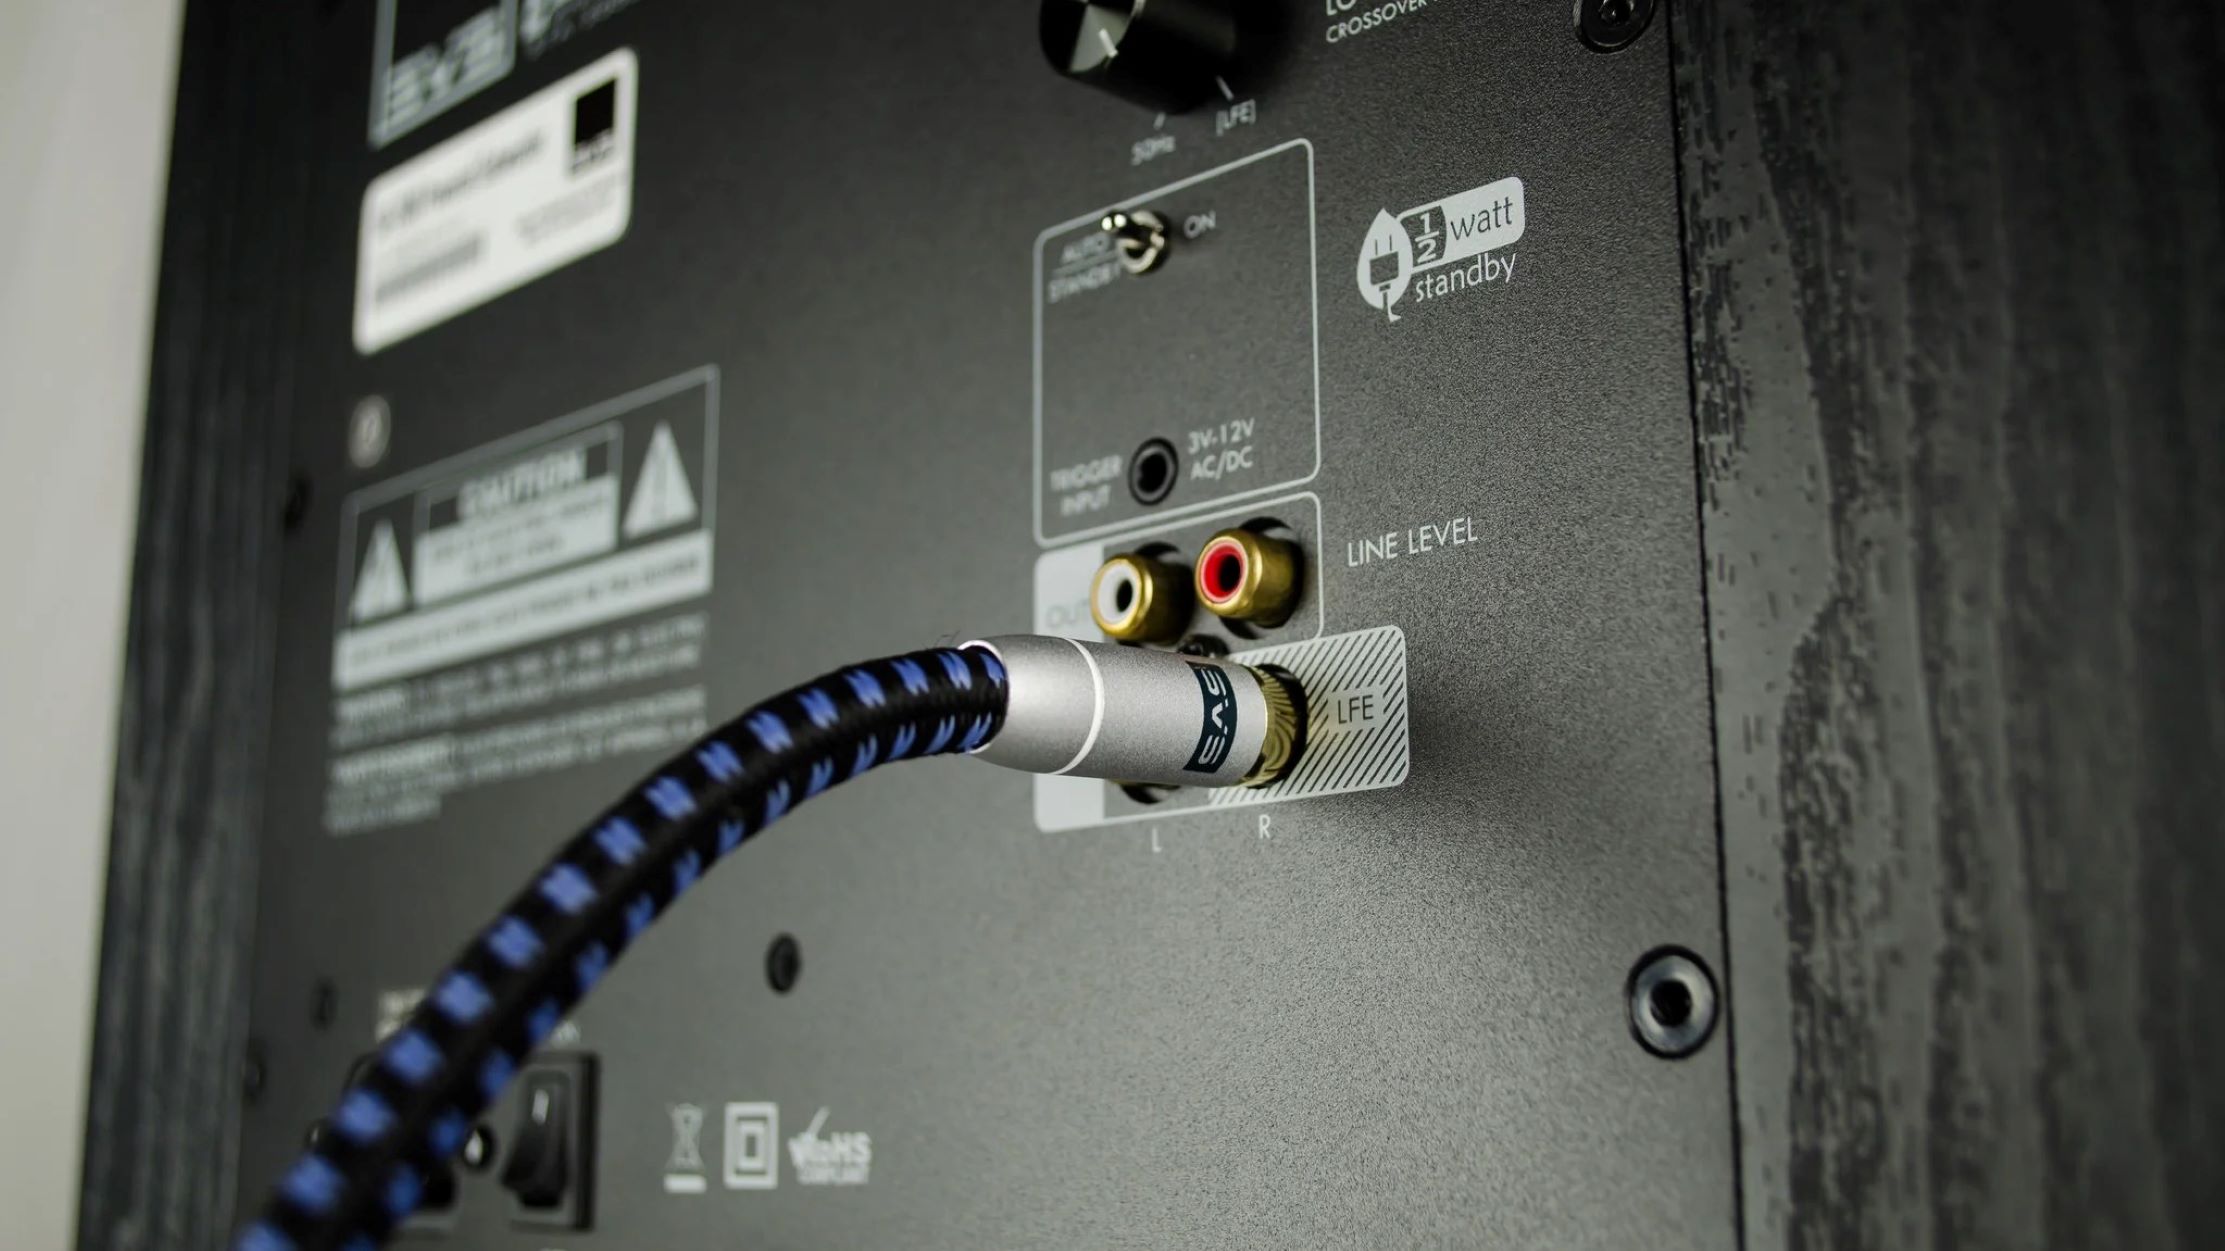
- Locate the speaker terminals: On the back of your receiver, you’ll find the speaker terminals labeled for each channel. These terminals are usually color-coded to match the speaker wire connections. Refer to your receiver’s manual if needed.
- Identify the corresponding wires: Identify the wires that are connected to each speaker and trace them back to their respective channel on the receiver.
- Connect the wires: Starting with one speaker, find the corresponding terminal on the receiver and insert the stripped end of the wire into the matching terminal. Ensure a secure connection by tightening any screws or binding posts.
- Repeat for all speakers: Repeat the same process for each speaker, connecting the wires to their respective channels on the receiver. Double-check the connections to ensure accuracy.
- Check for loose connections: After connecting all the wires, check that each connection is secure and tight. Loose connections can result in poor audio quality or intermittent signal loss.
- Tidy up the wires: Once all the connections are secure, tidy up the wires by using cable ties or wire management solutions to keep them organized and minimize clutter.
By connecting the wires to their corresponding terminals on the receiver, you establish a direct and reliable audio connection between the receiver and the speakers. This allows the receiver to send the audio signals accurately to each channel for a true surround sound experience.
With the wires successfully connected to the receiver, you have completed the wiring process. Congratulations! All that’s left is to test your surround sound system and enjoy the immersive audio experience.
Step 6: Test the Surround Sound System
After completing the wiring of your surround sound system, it’s essential to test it to ensure everything is functioning as expected. Testing allows you to verify the audio quality and speaker placements, making any necessary adjustments for the optimal surround sound experience.
Follow these steps to test your surround sound system:
- Set up the audio source: Connect your audio source, such as a DVD player, Blu-ray player, or streaming device, to the receiver using the appropriate audio cables. Make sure the source device is set to output audio through the receiver.
- Turn on the receiver and speakers: Power on the receiver and turn on each speaker. Double-check that the speaker connections are secure and that all speakers are receiving power.
- Configure the audio settings: Access the receiver’s audio settings menu and ensure the correct speaker configuration is selected. This typically includes specifying the number of speakers in your setup (e.g., 5.1) and adjusting any speaker size or distance settings if necessary.
- Play a test audio source: Choose a test audio source that allows you to identify sound coming from each speaker individually. Many receivers offer built-in test tones or audio calibration features, which emit a sound from each speaker in sequence. Alternatively, you can use a surround sound test disc or streaming service with dedicated test materials.
- Verify speaker output: As the test audio plays, verify that sound is coming from each speaker as expected. Walk around the room and listen for equal sound distribution from all speakers, ensuring that the surround sound effect is well-balanced.
- Make necessary adjustments: If you notice any discrepancies in sound levels or improper speaker output, return to the receiver’s audio settings and make adjustments accordingly. You may need to fine-tune individual speaker levels or recalibrate the overall audio setup.
Through the testing process, you can confirm that all speakers are functioning correctly, the audio is properly balanced, and the surround sound effect is fully realized. Don’t be afraid to play around with different audio sources or movie scenes to fully immerse yourself in the surround sound experience.
Congratulations! With your surround sound system successfully wired and tested, you can now sit back, relax, and enjoy the high-quality audio experience that surround sound provides.
Conclusion
Congratulations on successfully wiring your surround sound speakers! By following the step-by-step process outlined in this article, you have positioned your speakers, run the necessary wires, and connected everything to your receiver. Now, you can enjoy a truly immersive audio experience in your home theater or living room.
Remember, the key to achieving the best results with surround sound is proper speaker placement, accurate wire routing, and secure connections. Take the time to measure and mark the speaker locations, run the wires discreetly, and ensure tight connections at both the speakers and the receiver.
Once everything is set up, don’t forget to test the system to ensure optimal performance and make any necessary adjustments to the audio settings. This will guarantee that you experience the full potential of your surround sound system and enjoy balanced sound from all directions.
Keep in mind that every room is unique, and experimentation may be needed to find the perfect speaker placement and audio settings for your space. Don’t hesitate to make adjustments and fine-tune your setup to suit your preferences and the acoustics of your room.
Now, sit back, relax, and immerse yourself in the captivating world of surround sound. Whether you’re watching movies, playing games, or listening to music, the enveloping audio experience will bring your entertainment to life.
Enjoy the crisp dialogue, impactful sound effects, and immersive surround sound that will enhance every moment of your favorite movies and music. Get ready to be transported into the heart of the action with your newly wired surround sound system.