Home>Devices & Equipment>Subwoofer>How To Wire A Powered Subwoofer In A Car
Subwoofer
How To Wire A Powered Subwoofer In A Car
Published: January 22, 2024
Learn how to properly wire a powered subwoofer in your car and enhance your audio experience. Step-by-step guide for installing a subwoofer in your vehicle.
(Many of the links in this article redirect to a specific reviewed product. Your purchase of these products through affiliate links helps to generate commission for AudioLover.com, at no extra cost. Learn more)
Table of Contents
- Introduction
- Step 1: Gather the necessary tools and materials
- Step 2: Locate a suitable mounting position for the subwoofer
- Step 3: Disconnect the car battery for safety
- Step 4: Prepare the wiring for installation
- Step 5: Connect the power and ground wires to the battery
- Step 6: Run the RCA cables from the head unit to the subwoofer
- Step 7: Connect the remote turn-on wire to the head unit
- Step 8: Connect the speaker wires to the subwoofer
- Step 9: Securely mount the subwoofer in the designated location
- Step 10: Reconnect the car battery and test the subwoofer
- Conclusion
Introduction
When it comes to creating a powerful and immersive audio experience in your car, a powered subwoofer is a must-have accessory. A subwoofer is designed to reproduce low-frequency sounds, adding depth and richness to your music. Whether you enjoy thumping bass-heavy beats or want to enhance the overall audio quality in your vehicle, a subwoofer can make a significant difference.
Wiring a powered subwoofer in your car may seem like a complex task, but with the right tools and knowledge, it can be a straightforward process. In this guide, we will walk you through the step-by-step process of wiring a powered subwoofer in your car to help you achieve that deep, rumbling bass you desire.
Before we dive into the details, it’s important to note that the steps outlined in this guide are general instructions. The specific steps may vary depending on the make and model of your car and the type of subwoofer you are installing. Always refer to the manufacturer’s instructions for precise wiring information.
Now, let’s get started on the journey to enhance your car audio system with a powerful subwoofer!
Step 1: Gather the necessary tools and materials
Before you begin the installation process, it’s essential to gather all the tools and materials you’ll need. This will ensure a smooth and efficient installation. Here’s a list of the items you should have on hand:
- Powered subwoofer
- Subwoofer wiring kit
- Wire cutter/stripper
- Socket set or wrench
- Electrical tape
- Screwdriver set
- Panel removal tools
- Wire connectors
- Fuse holder and fuse
The powered subwoofer is the heart of your audio system and will be responsible for delivering the low-frequency sounds. Make sure you choose a subwoofer that is compatible with your car’s audio setup and provides the power and performance you desire.
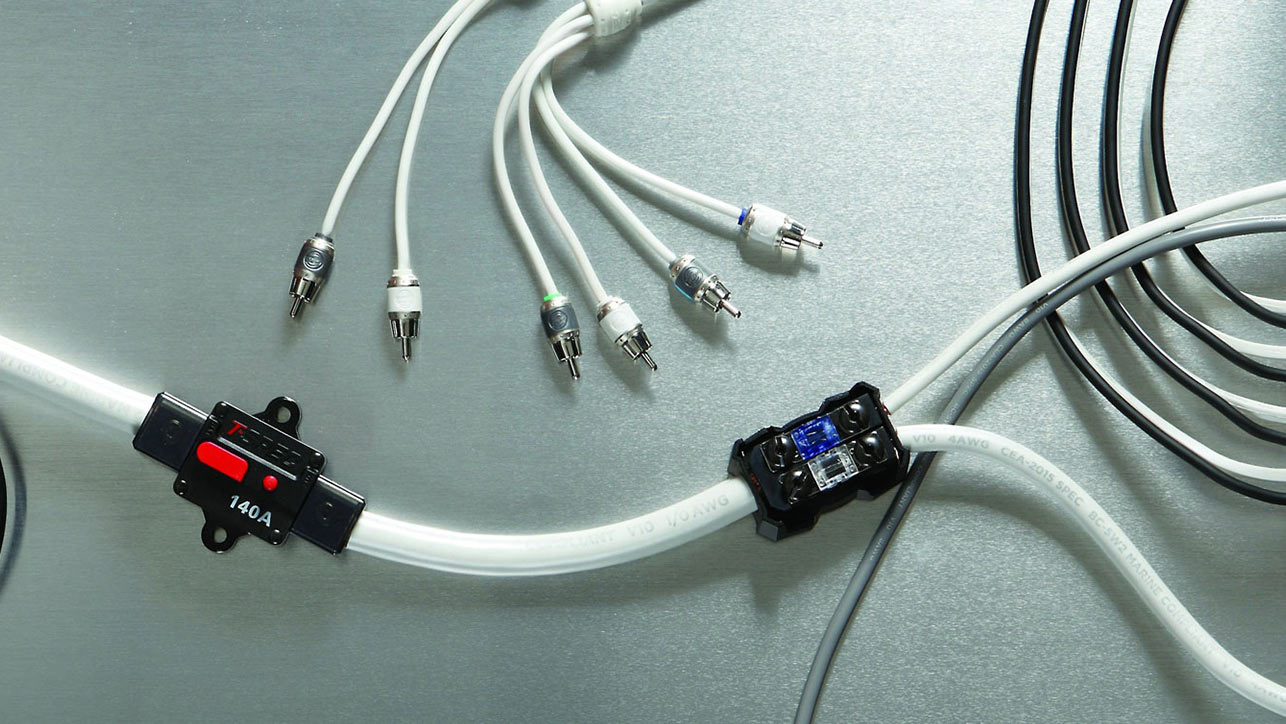
The subwoofer wiring kit is crucial for connecting the subwoofer to your car’s electrical system. It typically includes power and ground wires, RCA cables, and a remote turn-on wire. Ensure that the kit is of high quality and suitable for your subwoofer and vehicle.
A wire cutter/stripper will be needed to prepare the wires for installation. It allows you to strip the insulation from the wires and cut them to the appropriate lengths.
To secure the subwoofer and access the necessary components in your car, you’ll need a socket set or wrench and a screwdriver set. These tools will help you remove panels and fasten the subwoofer in place.
Lastly, electrical tape, wire connectors, a fuse holder, and a fuse are essential for properly securing and protecting the wiring connections. These items will help prevent short circuits and ensure the safety of your car’s electrical system.
By gathering these tools and materials beforehand, you’ll be well-prepared to complete the installation smoothly and efficiently.
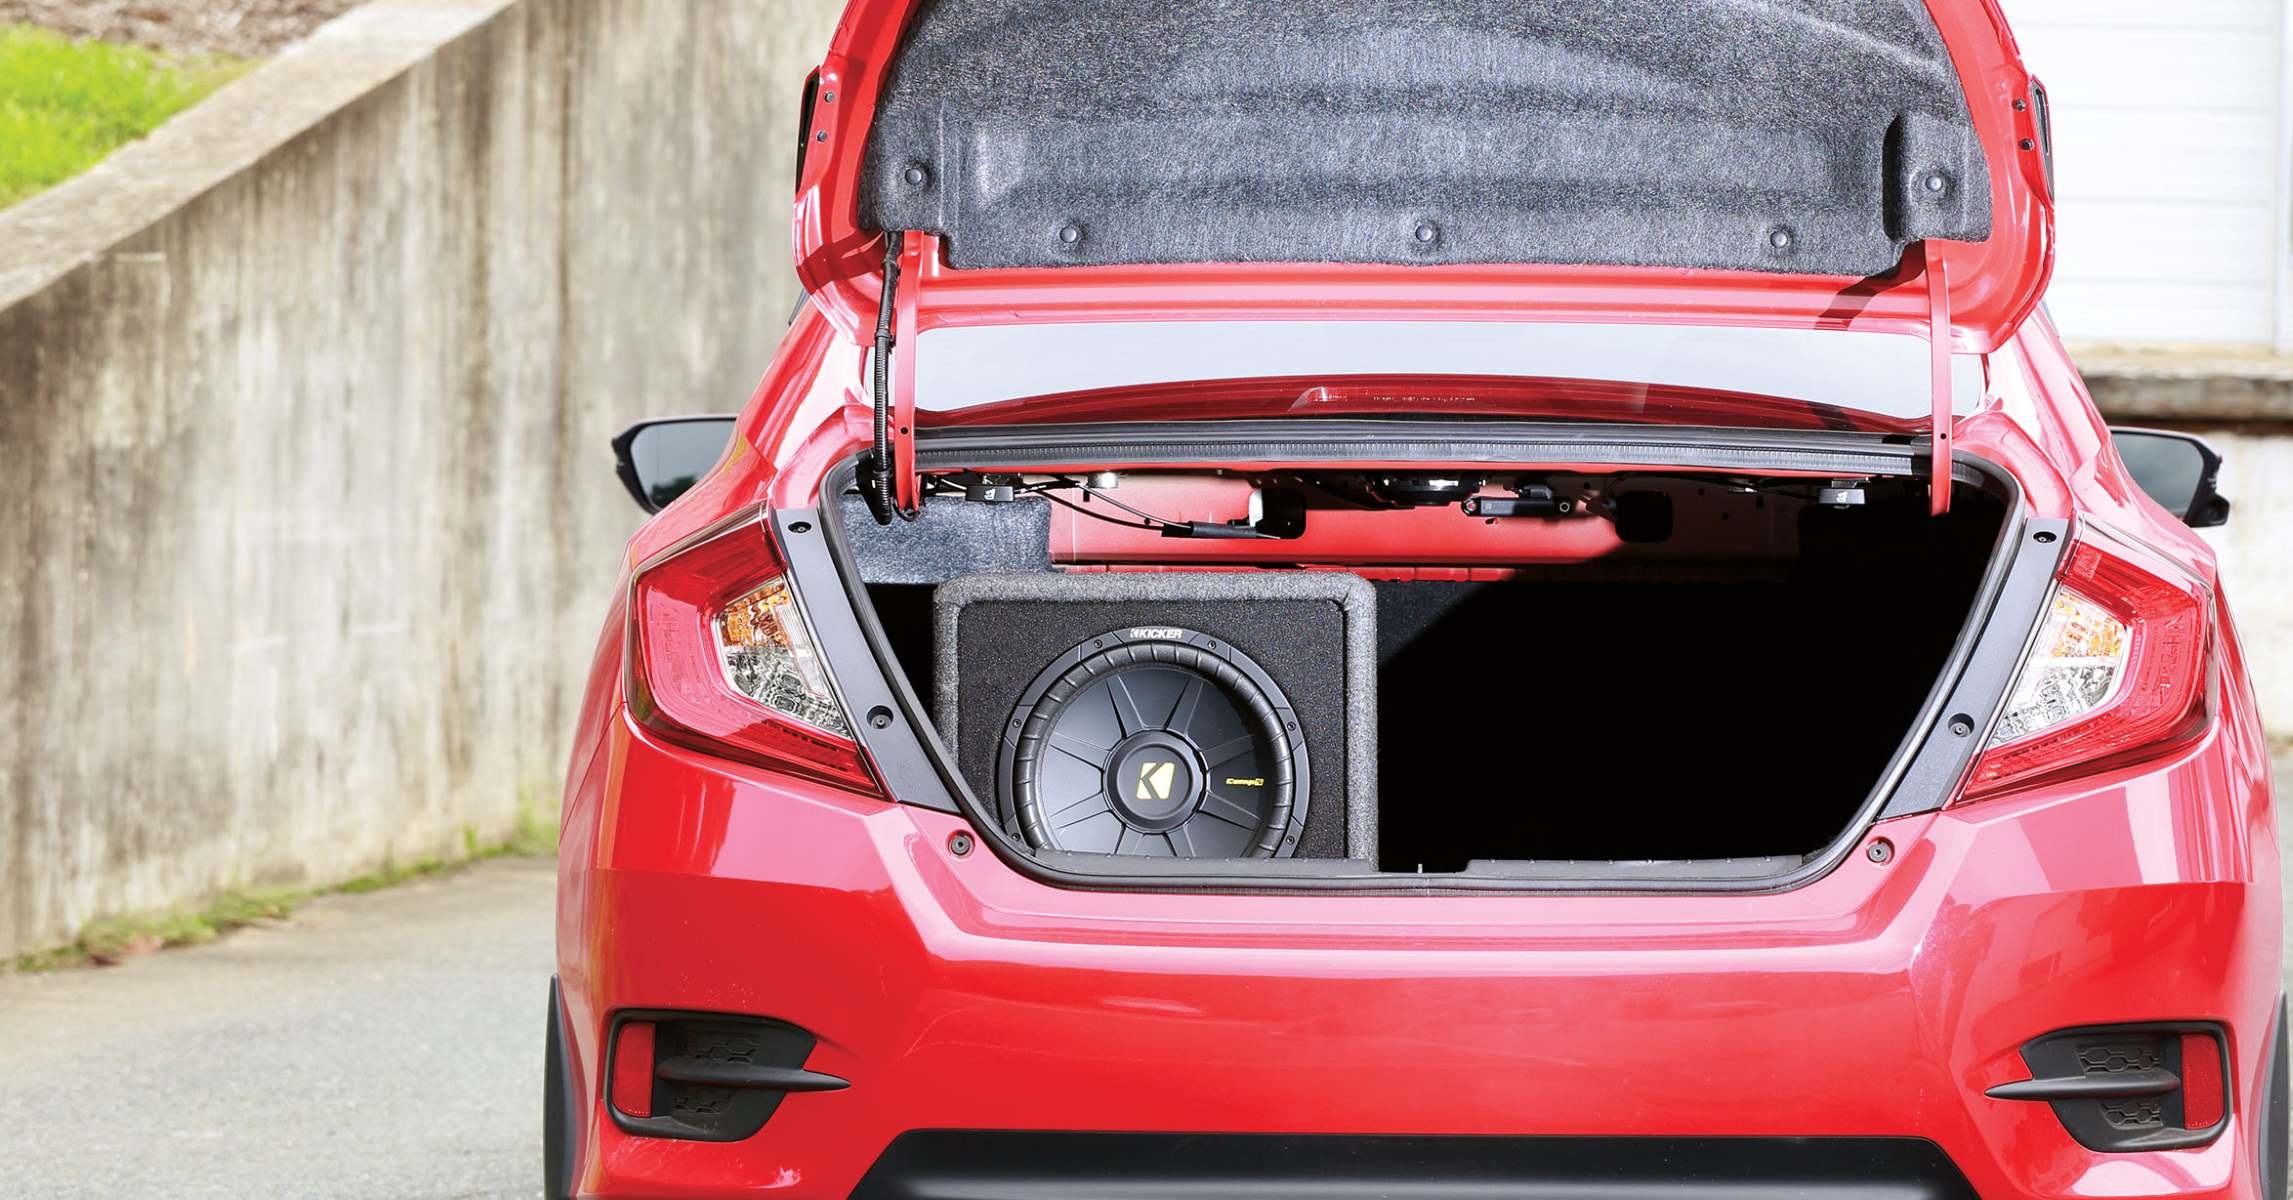
Step 2: Locate a suitable mounting position for the subwoofer
The next step in wiring a powered subwoofer in your car is to find a suitable mounting position for the subwoofer. The location you choose will depend on various factors, including the size of your subwoofer, the layout of your car’s interior, and personal preference.
When considering a mounting position, keep in mind that the subwoofer should be placed in an area where it can effectively radiate sound waves throughout the vehicle. Ideally, it should be situated in a spot that allows for maximum bass impact and blends seamlessly with the overall aesthetics of your car’s interior.
Here are a few common mounting positions to consider:
- Trunk: Mounting the subwoofer in the trunk is a popular choice for many car owners. The trunk provides ample space and allows for a clean installation. You can either place the subwoofer on the floor of the trunk or mount it against the back seat.
- Under seat: If you have limited space in your car, mounting the subwoofer under the seat can be a viable option. There are specially designed compact subwoofers that fit perfectly under the seat without compromising on sound quality.
- Spare tire well: Some car models have a spare tire well that can be utilized as a mounting location for the subwoofer. This not only saves space but also keeps the subwoofer securely hidden.
- Custom enclosures: If you prefer a more custom and integrated look, you can opt for a custom enclosure that is designed to fit in specific areas of your car, such as the side panels or the center console.
When selecting the mounting position, consider factors such as accessibility, ease of installation, and the impact on your car’s cargo space. Additionally, ensure that the chosen location allows for proper airflow and ventilation to prevent overheating of the subwoofer.
Once you have identified a suitable mounting position, make any necessary adjustments to the surrounding area to accommodate the subwoofer. This may involve removing panels, drilling holes for mounting brackets, or using existing fastening points for secure installation.
By carefully selecting a suitable mounting position, you can ensure optimal performance and integration of your subwoofer into your car’s audio system.
Step 3: Disconnect the car battery for safety
Prior to starting any electrical work on your car, it is important to disconnect the car battery to ensure your safety and prevent any potential damage to the electrical components of your vehicle.
Here’s how to safely disconnect the car battery:
- Locate the car battery: The car battery is typically found in the engine bay or the trunk of the vehicle. Consult the owner’s manual if you’re unsure.
- Identify the negative terminal: The negative terminal is marked with a minus (-) sign and is usually black. Take note of its location.
- Prepare necessary tools: You may need a socket wrench or a combination wrench to loosen the nut or bolt that secures the negative terminal.
- Wear safety gloves: It is advisable to wear safety gloves to protect your hands and minimize the risk of electric shock.
- Loosen the nut or bolt: Use the appropriate wrench to loosen the nut or bolt securing the negative terminal. Turn it counterclockwise until you can safely remove the cable from the battery.
- Disconnect the negative terminal: Carefully lift the cable from the negative terminal and set it aside in a position where it won’t accidentally come into contact with the battery.
- Secure the cable: To prevent accidental reconnection, you can wrap the cable end in electrical tape or secure it in a way that ensures it won’t make contact with the battery terminal.
By disconnecting the car battery, you eliminate the risk of electrical shocks and minimize the chances of short circuits or damage to your car’s electrical system during the installation process.
Remember, when you have completed the installation and are ready to reconnect the battery, follow the above steps in reverse. Reconnect the negative terminal by securing the cable and tightening the nut or bolt in a clockwise direction.
Now that the car battery is safely disconnected, you can proceed with the wiring process without any concerns for your safety or potential damage to your vehicle.
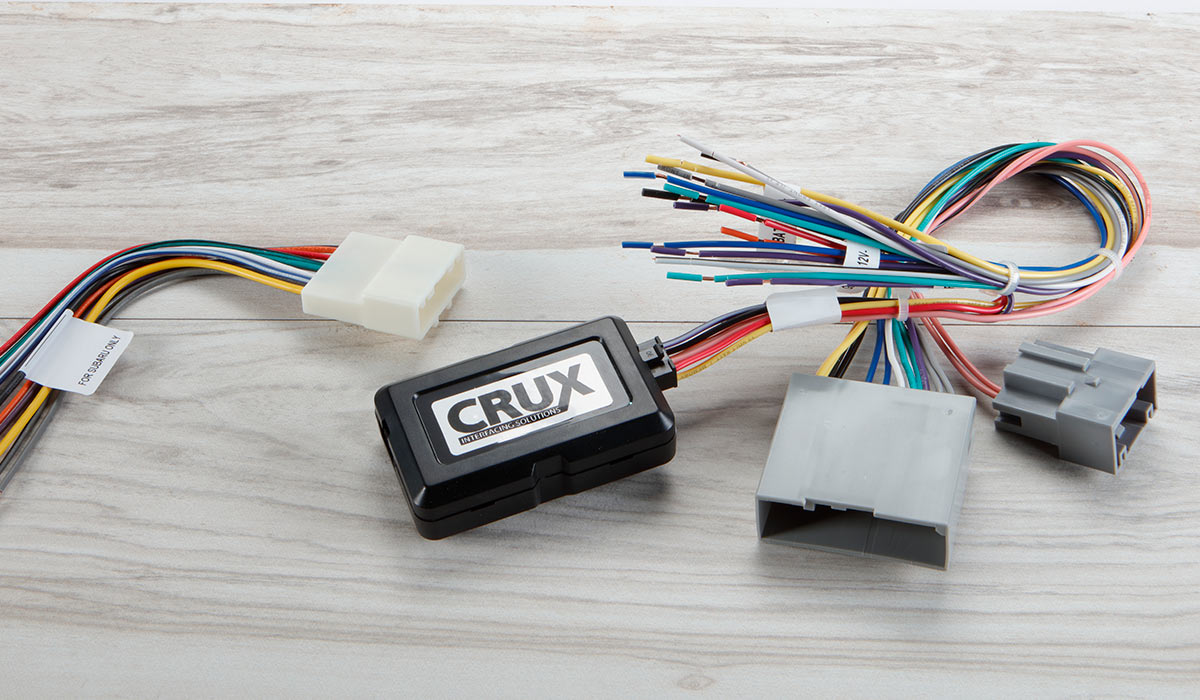
Step 4: Prepare the wiring for installation
Now that the car battery is safely disconnected, it’s time to prepare the wiring for the installation of your powered subwoofer. Properly preparing the wiring will ensure a clean and secure connection, allowing for optimal audio performance.
Follow these steps to prepare the wiring:
- Measure and cut the power and ground wires: Using a wire cutter/stripper, measure the distance from the subwoofer to the car battery. Cut the power and ground wires from the wiring kit to the appropriate length, adding a few extra inches for flexibility.
Preparing the wiring before installation is crucial for a successful and reliable subwoofer setup. Taking the time to measure, cut, strip, and connect the wires properly will ensure that the power is delivered efficiently to your subwoofer, resulting in optimal performance and sound quality.
Once you have completed the preparation process, you are now ready to proceed with the installation of your powered subwoofer in the car.
Step 5: Connect the power and ground wires to the battery
With the wiring prepared, it’s time to connect the power and ground wires from your subwoofer to the car battery. This step is crucial, as it establishes the power source for your subwoofer, allowing it to function properly.
Follow these steps to connect the power and ground wires:
- Locate the positive terminal of the car battery: The positive terminal is usually marked with a plus (+) sign and is typically red in color. Make sure you identify the correct terminal to avoid any mishaps.
- Connect the power wire: Take the end of the power wire (the one with the fuse holder) and securely connect it to the positive terminal of the car battery. Simply place the wire connector over the terminal, making sure it is snug and secure. If necessary, use a wrench or socket set to tighten the connection.
- Find a suitable grounding point: Look for a nearby metal ground point in the engine bay or the car’s chassis. This can be a bolt or a designated grounding point. Ensure that the surface is clean and free of any rust or paint.
- Connect the ground wire: Take the end of the ground wire (typically black) and attach it to the grounding point. Use a wrench or socket set to secure it tightly and establish a solid connection.
- Check the connections: Once the power and ground wires are connected, double-check to ensure that they are secure and not loose. Gently tug on the wires to ensure they are firmly attached.
Connecting the power and ground wires to the car battery establishes the electrical connection that powers your subwoofer. It is crucial to ensure a secure and tight connection to prevent any potential power loss or electrical issues.
Remember to exercise caution while working with the car battery and ensure that the connections are made correctly. If you have any doubts or concerns, consult a professional or refer to the manufacturer’s instructions for your specific subwoofer and vehicle.
With the power and ground wires securely connected, you are one step closer to enjoying the enhanced audio experience that a powered subwoofer brings to your car.
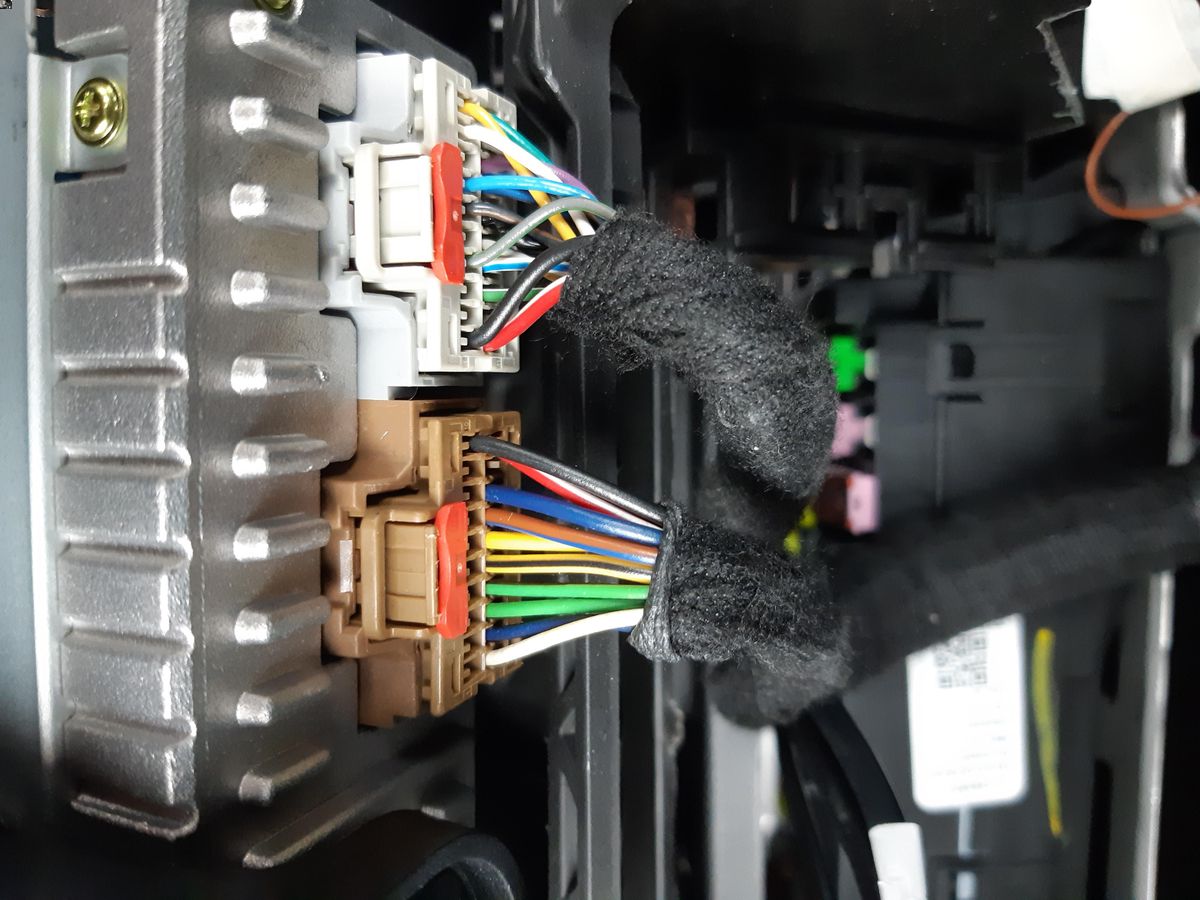
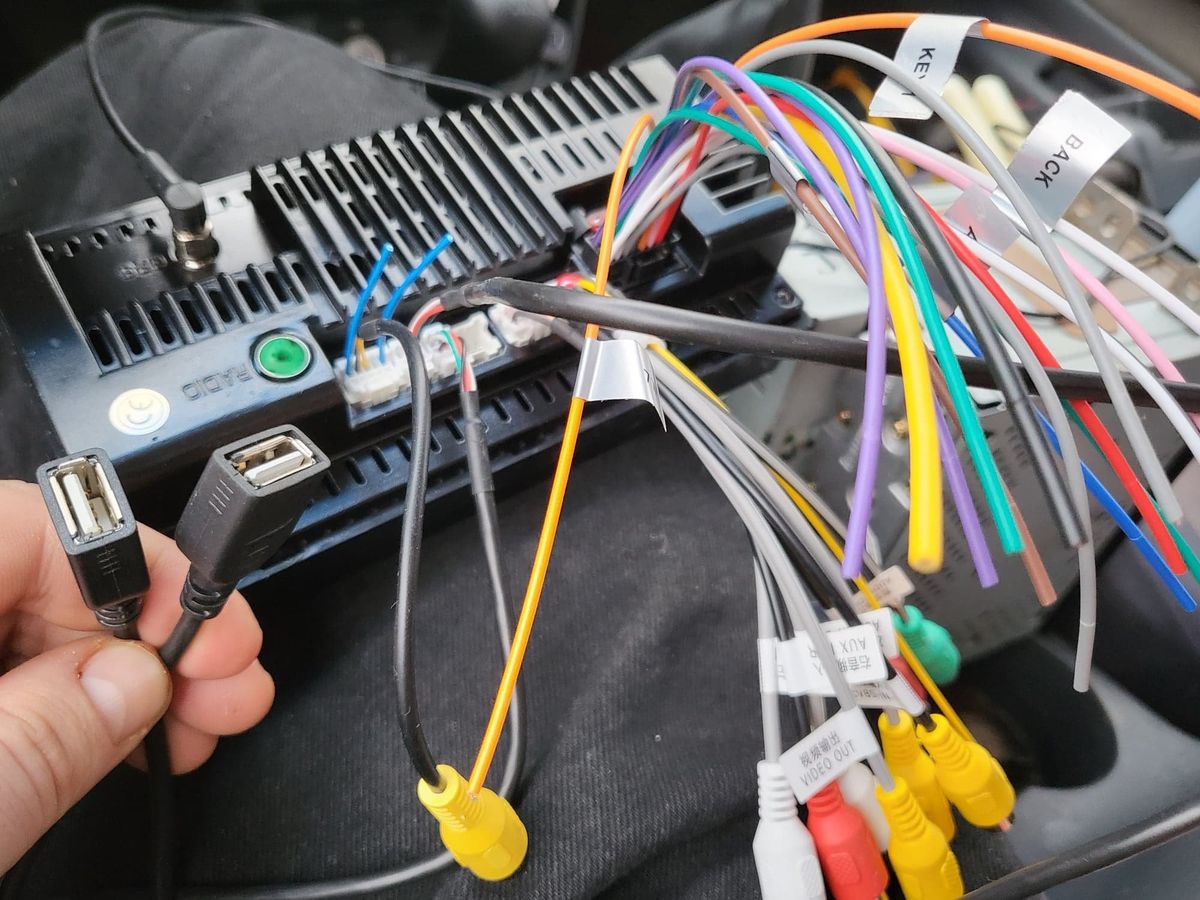
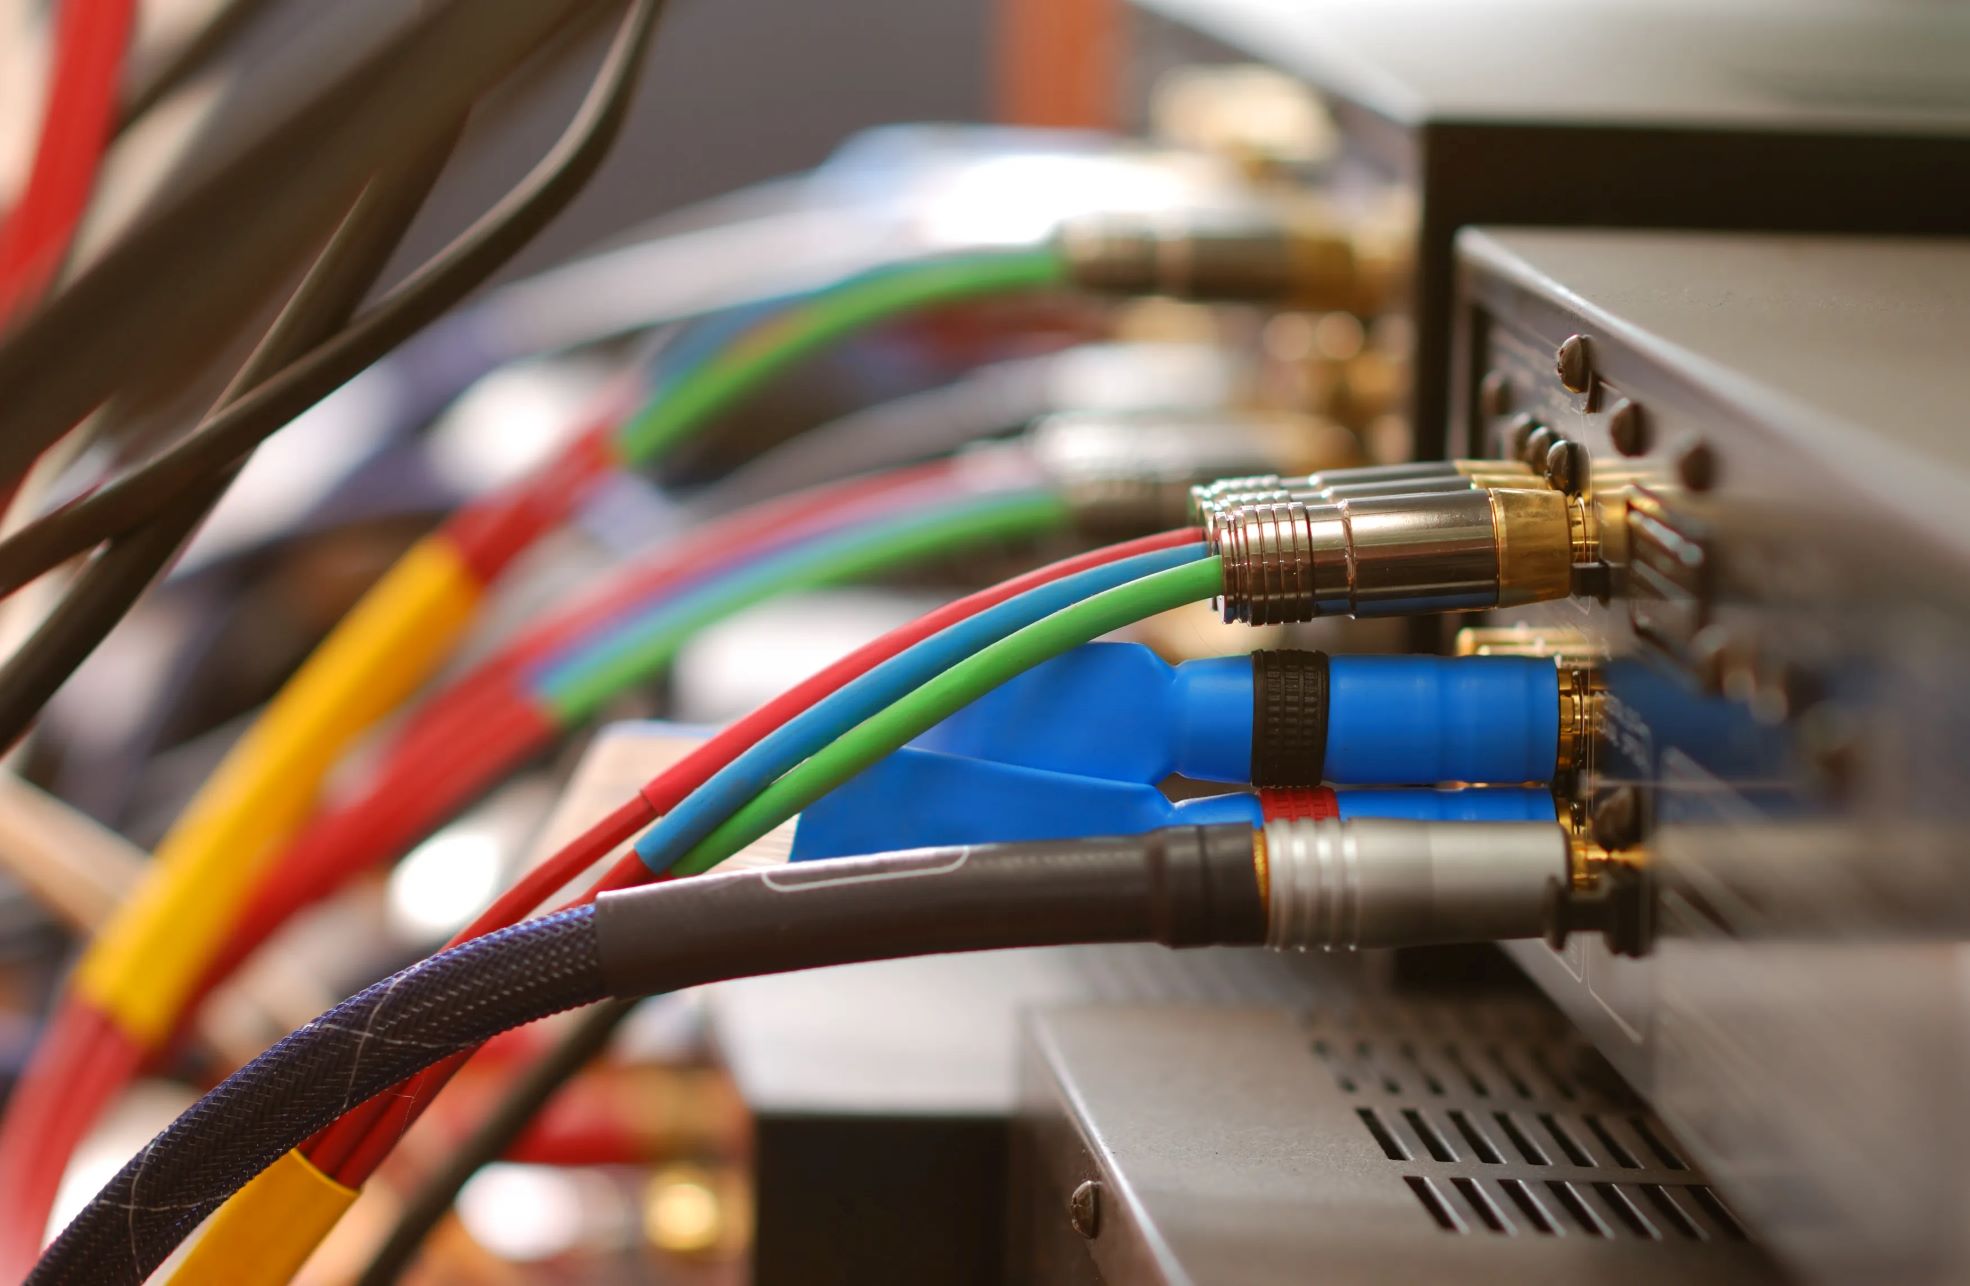
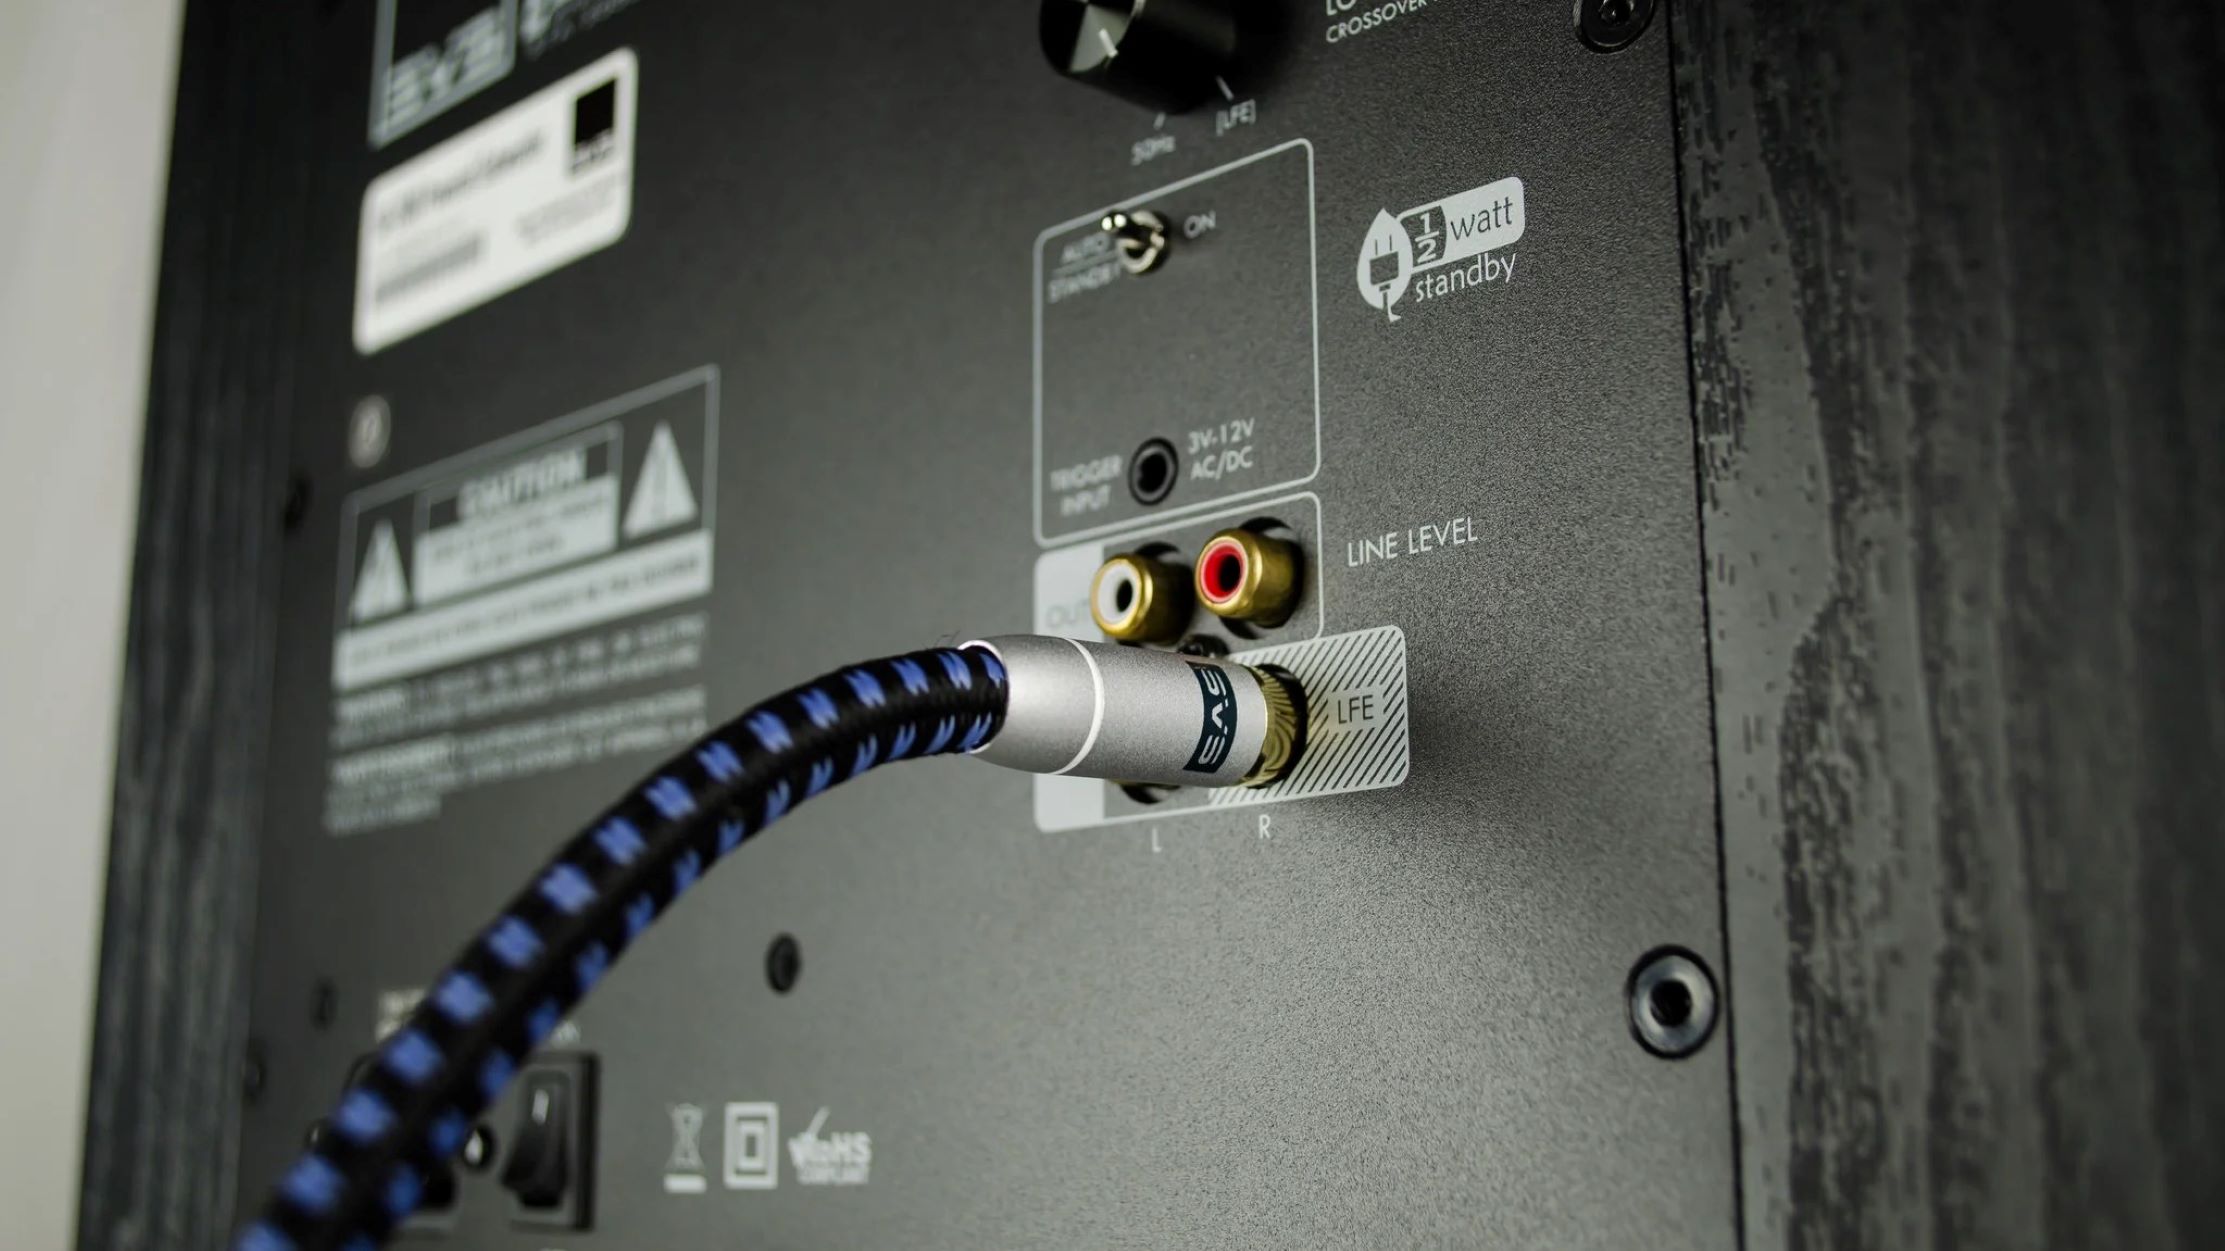
Step 6: Run the RCA cables from the head unit to the subwoofer
In order for the audio signal to reach your subwoofer, you need to establish the connection between the head unit (the main control unit of your car’s audio system) and the subwoofer. This is done using RCA cables, which transmit the audio signal.
Follow these steps to run the RCA cables:
- Determine the route: Plan the path that the RCA cables will take from the head unit to the subwoofer. This may involve lifting carpeting, removing trim panels, or utilizing existing cable routing channels
Running the RCA cables from the head unit to the subwoofer is a crucial step in ensuring that the audio signal is properly transmitted. Taking care to choose the appropriate routing and securely connecting the cables will help maintain signal integrity and prevent any unwanted noise or interference.
Remember to check the length of the RCA cables before starting the installation process. It’s always a good idea to measure the distance between the head unit and the subwoofer to ensure you have cables of adequate length. If needed, you can purchase extension cables to bridge the gap.
With the RCA cables properly connected, you are one step closer to achieving the optimal audio experience in your car with the powered subwoofer.
Step 7: Connect the remote turn-on wire to the head unit
In addition to the power and audio connections, a powered subwoofer requires a remote turn-on wire to trigger its operation. This wire allows the subwoofer to turn on and off automatically with the head unit, ensuring seamless integration into your car’s audio system.
Follow these steps to connect the remote turn-on wire:
Connecting the remote turn-on wire ensures that your subwoofer powers on and off in sync with the head unit. This convenience feature allows you to enjoy your favorite music without manually turning the subwoofer on and off every time.
It’s essential to properly route and secure the remote turn-on wire alongside the other wiring to maintain a clean and organized installation. Taking care in the connection process will ensure a seamless integration of your subwoofer into your car’s audio system.
With the remote turn-on wire connected, you have successfully established the necessary control link between the head unit and the subwoofer, bringing you one step closer to an enhanced audio experience in your car.
Step 8: Connect the speaker wires to the subwoofer
Connecting the speaker wires to the subwoofer is the next crucial step in the installation process. This allows the subwoofer to produce sound and deliver those deep, impactful bass frequencies. Follow these steps to connect the speaker wires:
- Determine the speaker wire polarity: Most speaker wires are color-coded, with one wire typically labeled as positive (+) and the other as negative (-). Identify the polarity of the speaker wires by their color or markings, paying attention to maintain consistency throughout the installation process.
Properly connecting the speaker wires to the subwoofer is vital for achieving the best audio performance. Making sure to match the wire polarity and securely connecting the wires will result in accurate sound reproduction and prevent any audio distortion.
Take your time to ensure that the speaker wire connections are secure and free from any frayed or loose strands. This will help maintain a reliable and quality audio signal to your subwoofer.
With the speaker wires connected, the subwoofer is now ready to produce powerful, low-frequency audio, adding depth and impact to your car’s audio system.
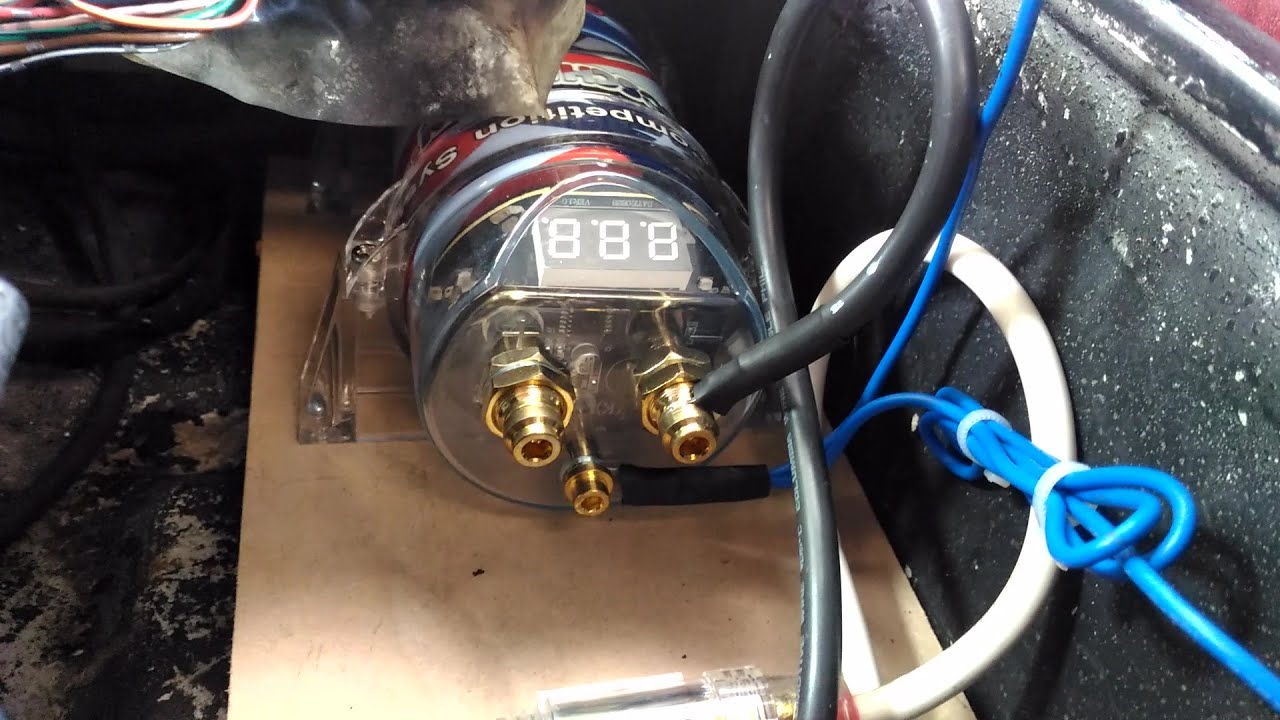
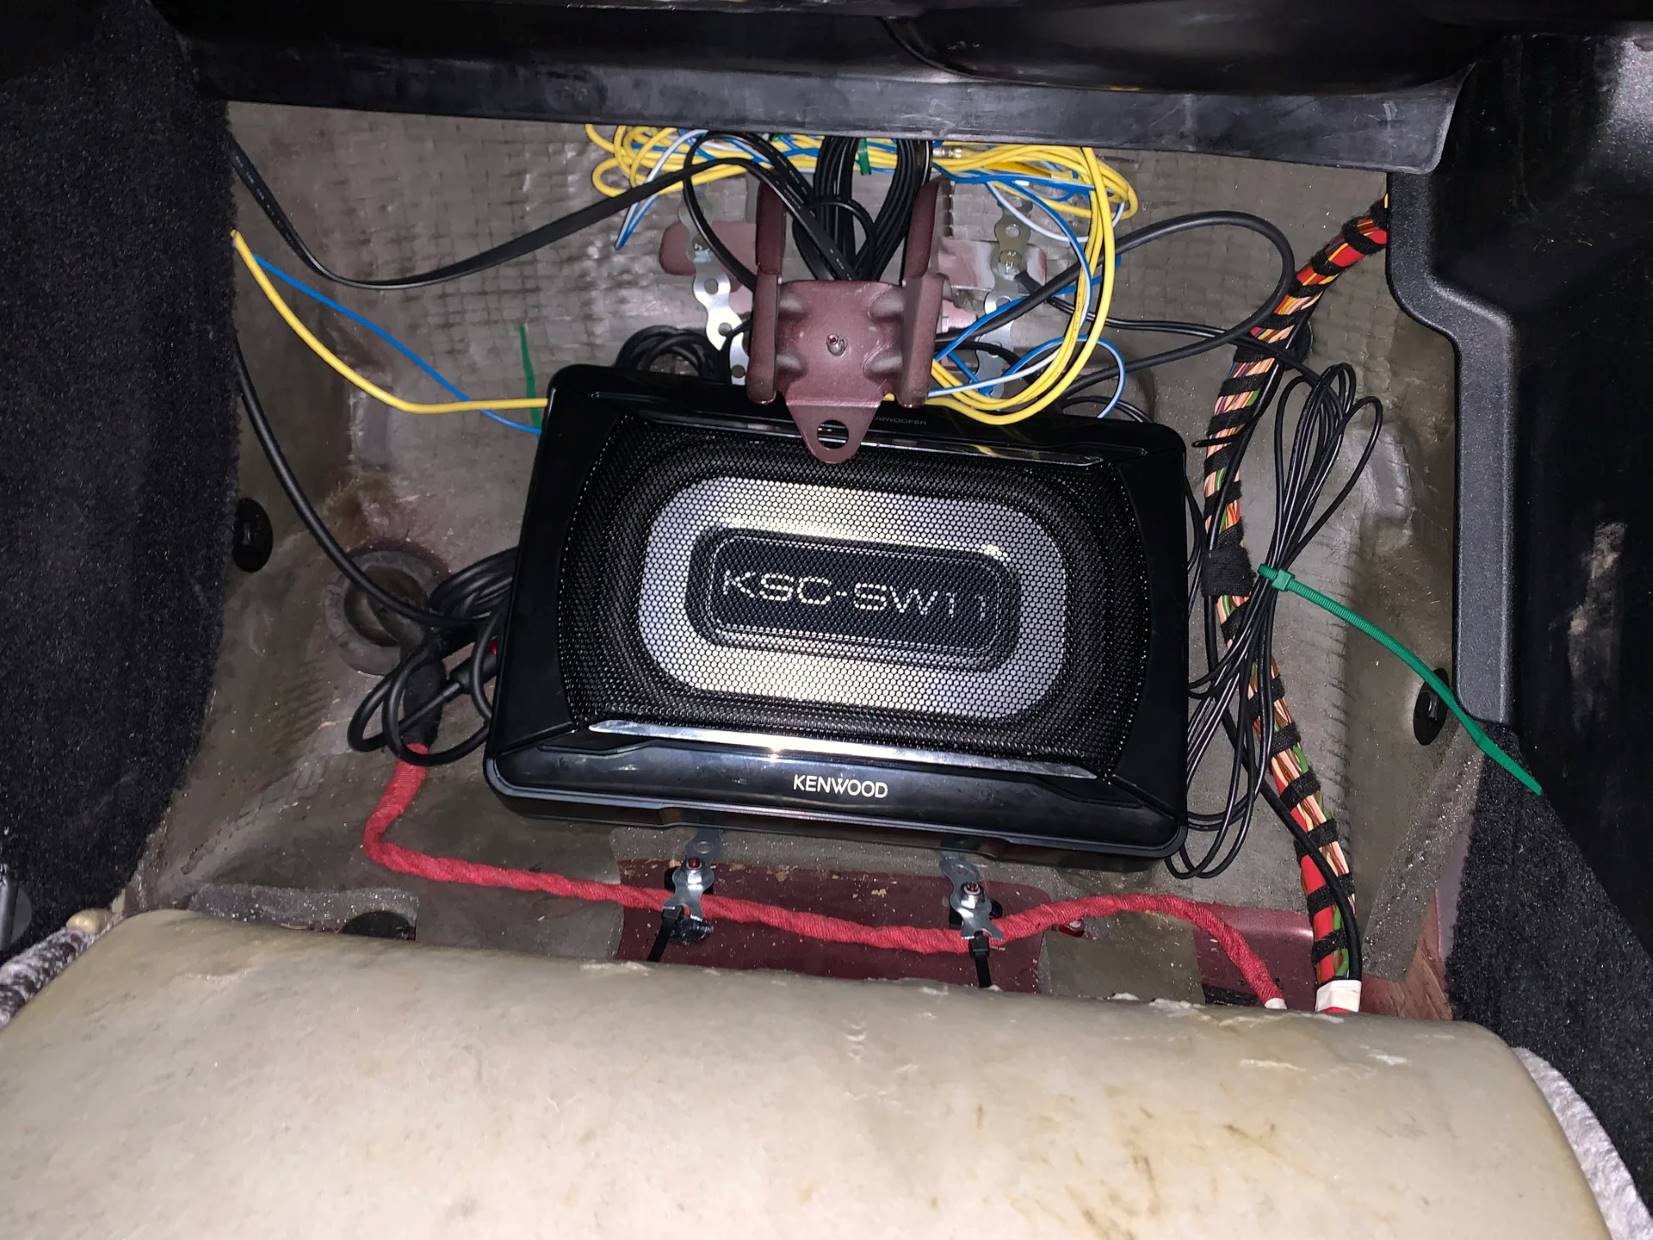
Step 9: Securely mount the subwoofer in the designated location
Now that all the necessary wiring connections have been made, it’s time to securely mount the subwoofer in the designated location within your car. Proper mounting ensures that the subwoofer stays in place during vehicle movement and optimizes its performance. Follow these steps to securely mount the subwoofer:
- Prepare the mounting area: Clean and clear the mounting area to ensure a smooth surface. Remove any debris, screws, or obstructions that may interfere with the installation.
- Position the subwoofer: Place the subwoofer in the designated location, aligning it with the mounting holes or brackets if provided. Make sure it fits snugly and is centered in the area.
- Secure the subwoofer: Use the appropriate screws or mounting brackets provided with the subwoofer to secure it in place. If mounting in the trunk, you may need to drill pilot holes for the screws. Ensure that the subwoofer is tightly secured to prevent any vibrations or movement.
- Double-check the positioning: Verify that the subwoofer is installed horizontally or vertically, as specified by the manufacturer. This ensures optimum sound dispersion and performance.
It is important to follow the manufacturer’s instructions for mounting the subwoofer. Some subwoofers may have specific requirements or recommendations for installation to prevent damage or performance issues.
If you are installing the subwoofer in a custom enclosure or a pre-existing cutout in your car, ensure that the dimensions match and the subwoofer fits properly. This will also help achieve better sound quality and prevent any rattling or vibrations.
By securely mounting the subwoofer, you can enjoy the full impact of the low-frequency sound, while also ensuring the subwoofer remains in place and protected.
Step 10: Reconnect the car battery and test the subwoofer
With the subwoofer securely mounted and all the wiring connections completed, it’s time to reconnect the car battery and test the subwoofer to ensure everything is working correctly. Follow these steps to reconnect the battery and test the subwoofer:
- Remove any tools or debris: Make sure all tools and any debris from the installation process are removed from the car. Clear out the area around the battery to prevent any accidental damage.
- Reconnect the battery: Locate the negative terminal of the car battery. Using the appropriate wrench, reattach the negative cable to the terminal. Tighten the connection securely, ensuring it is snug and stable.
- Turn on the vehicle: Start the vehicle’s engine and allow it to run for a few moments. This will allow the electrical system to reset and power up.
- Test the subwoofer: Turn on the car’s audio system and play some music that includes deep bass tracks. Listen for the presence of the subwoofer and assess the quality and impact of the bass. Check that the subwoofer is producing sound and that it blends well with the other speakers in your car.
- Make adjustments if necessary: If the subwoofer is not functioning correctly or the bass sounds off, double-check all the connections and ensure they are secure. Adjust the volume and settings on the head unit, if necessary, to optimize the sound output of the subwoofer.
Testing the subwoofer after reconnecting the car battery is crucial to ensure that everything is working as intended. Use this opportunity to fine-tune the audio settings and achieve the desired balance between the subwoofer and the rest of the audio system.
If you notice any issues or the subwoofer is not performing as expected, refer to the troubleshooting section in the subwoofer’s manual or consult a professional for assistance.
Once you’re satisfied with the performance of the subwoofer, sit back, relax, and enjoy the enhanced audio experience in your car.
Conclusion
Wiring a powered subwoofer in your car can take your audio system to the next level by adding deep, rumbling bass and enhancing the overall music listening experience. While the process may seem daunting at first, following the step-by-step instructions will ensure a successful installation.
In this guide, we covered the essential steps to wire a powered subwoofer in a car. From gathering the necessary tools and materials to securely mounting the subwoofer, each step plays a crucial role in creating a seamless audio integration.
By disconnecting the car battery for safety and preparing the wiring properly, you can ensure a reliable and efficient electrical connection. Running the RCA cables and connecting the remote turn-on wire enables seamless communication between the head unit and the subwoofer.
Properly connecting the speaker wires and securely mounting the subwoofer are key to achieving optimal sound quality and preventing any unwanted vibrations or movement. Finally, reconnecting the car battery and testing the subwoofer confirm that everything is functioning as intended.
Remember to refer to the manufacturer’s instructions for your specific subwoofer and vehicle to ensure accurate installation. If you have any doubts or concerns, it’s always advisable to consult a professional for assistance.
With the powered subwoofer successfully wired and installed in your car, you can now enjoy a rich and immersive audio experience that will make every drive more enjoyable. Feel the deep bass, experience the power, and let the music come alive!