Home>Devices & Equipment>Yamaha>How To Reset Yamaha Receiver
Yamaha
How To Reset Yamaha Receiver
Published: February 6, 2024
Learn how to reset your Yamaha receiver in just a few simple steps. Get your audio system back to its optimal settings with our expert guide.
(Many of the links in this article redirect to a specific reviewed product. Your purchase of these products through affiliate links helps to generate commission for AudioLover.com, at no extra cost. Learn more)
Table of Contents
Introduction
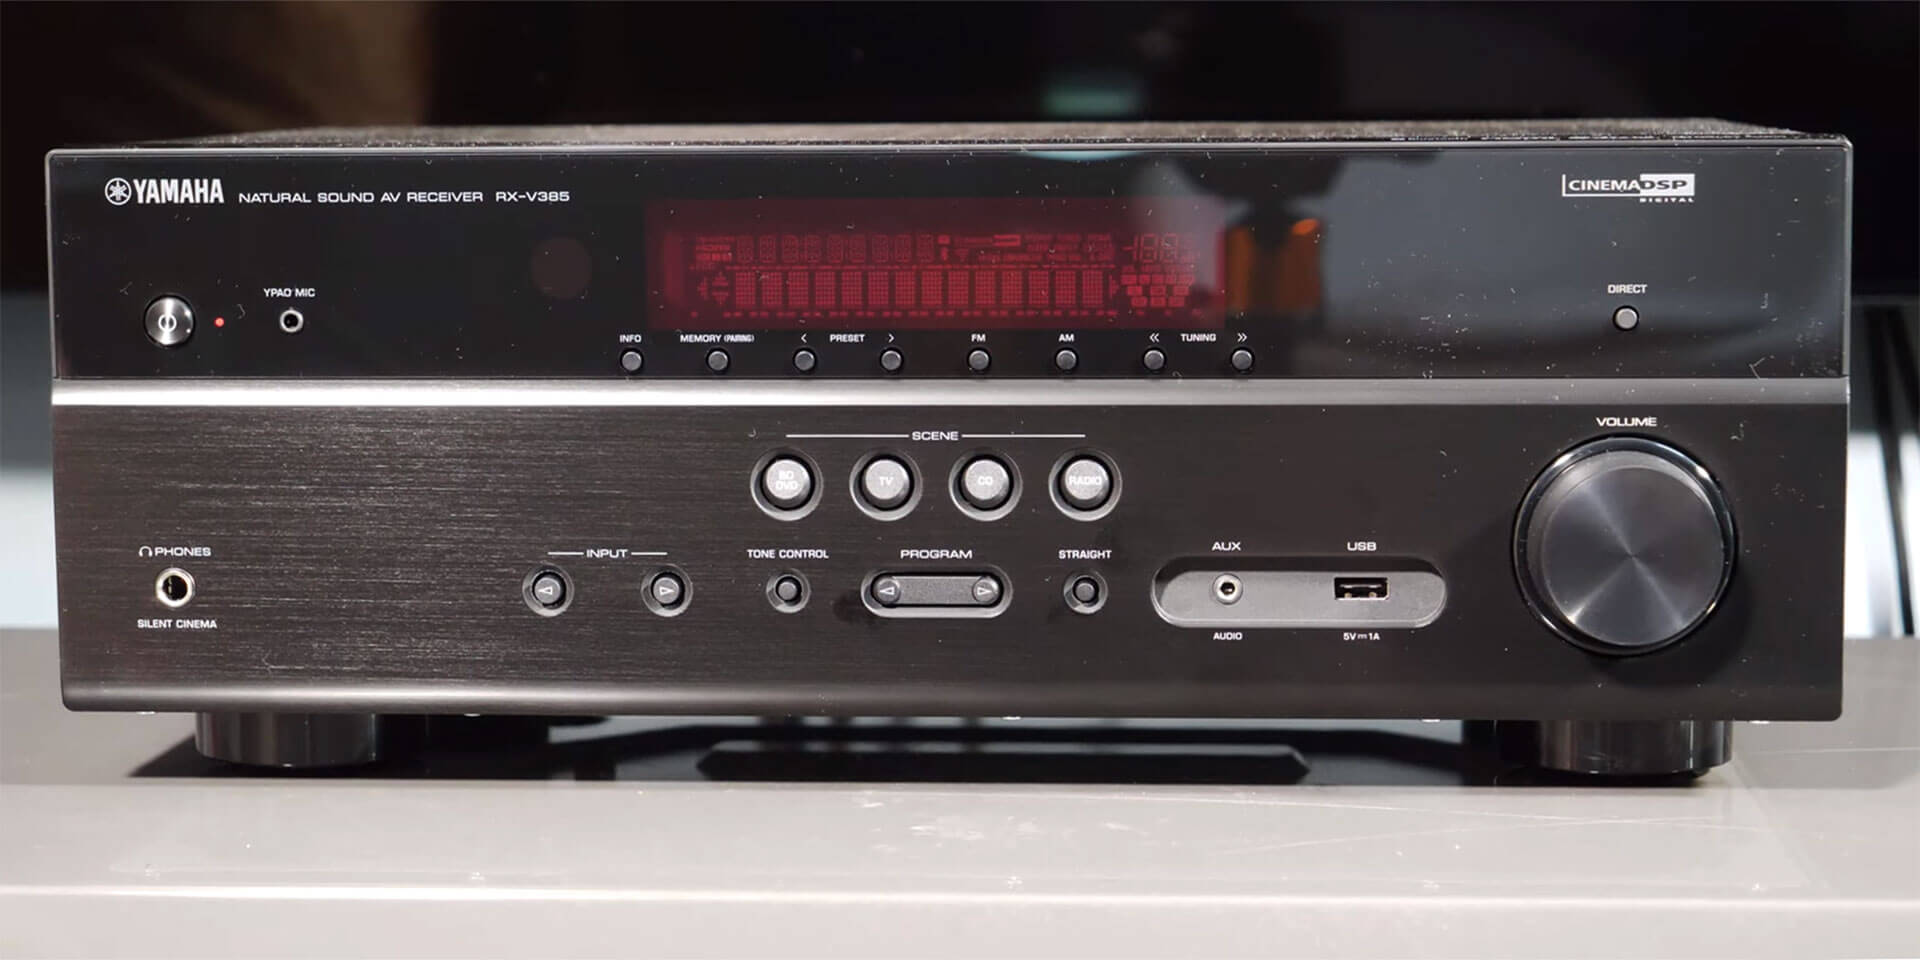
Yamaha is a renowned brand in the realm of audio equipment, specializing in the production of high-quality receivers. These receivers serve as the central hub for all your audio needs, connecting various devices such as speakers, TVs, and gaming consoles. Over time, you may encounter issues with your Yamaha receiver that can be resolved by performing a reset. Whether you are experiencing connectivity problems or audio irregularities, a reset can often be the solution.
In this article, we will guide you through the process of resetting your Yamaha receiver, providing step-by-step instructions to make the task easier for you. We will cover various scenarios such as factory resetting, resetting network settings, and even resetting the remote control code. Additionally, we will share some troubleshooting tips to help you overcome common issues that may arise during the reset process.
Before we delve into the details, it is important to note that resetting your Yamaha receiver should be a last resort. You should first try other troubleshooting steps such as checking connections, updating firmware, and adjusting settings. However, if all else fails, a reset can often resolve persistent problems and restore your receiver to its default state.
In the next section, we will discuss the preparations you need to make before proceeding with a reset.
Preparing for Resetting
Before you embark on resetting your Yamaha receiver, it is important to take a few preparatory steps to ensure a smooth and successful reset process. Here are some essential things to consider:
- Backup your settings: Resetting your Yamaha receiver will restore it to its factory defaults, which means you will lose all your personalized settings, including your preferred audio settings and network configurations. It is highly recommended to take note of your current settings or take a picture of the settings menu so that you can easily reconfigure them after the reset.
- Disconnect all peripheral devices: To avoid any interference during the reset process, it is advisable to disconnect all peripheral devices connected to your Yamaha receiver. This includes speakers, TVs, gaming consoles, or any other devices that are currently connected. Disconnecting these devices will ensure a clean reset and minimize the chances of any issues arising.
- Ensure a stable power source: It is crucial to have a stable power source when performing a reset. Sudden power interruptions or fluctuations can potentially cause damage to the receiver or disrupt the reset process. Make sure your Yamaha receiver is plugged into a reliable power outlet and consider using a surge protector to safeguard against power surges or electrical anomalies.
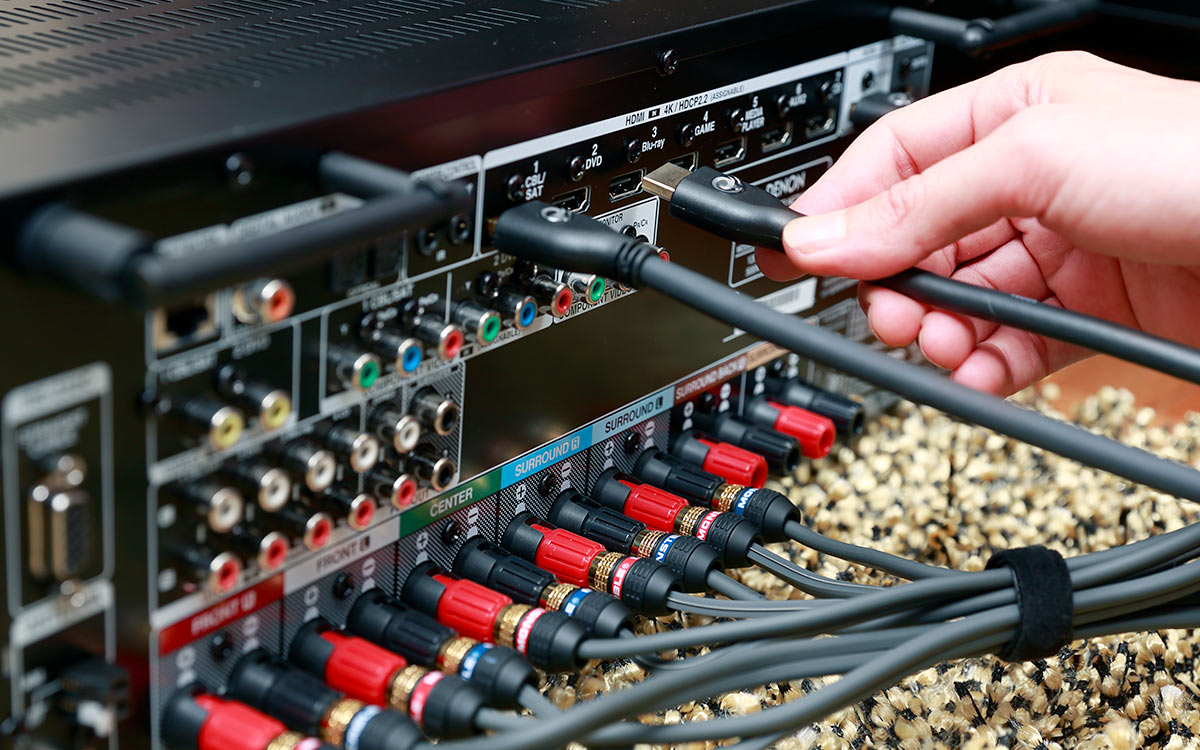
- Gather the necessary equipment: To facilitate the reset process, gather the necessary equipment such as the Yamaha receiver remote control, an HDMI cable (if applicable), and any other cables that are required for your specific setup. Having these items readily available will save you time and ensure a hassle-free reset experience.
By following these preparatory steps, you will be well-equipped and ready to proceed with resetting your Yamaha receiver. In the next section, we will guide you through the process of performing a factory reset.
Performing a Factory Reset
If you are facing persistent issues with your Yamaha receiver and other troubleshooting steps have failed to resolve them, performing a factory reset can be a viable solution. This reset will restore your receiver to its original factory settings, erasing all customized configurations and returning it to a clean slate. Here’s how you can perform a factory reset:
- Ensure that your Yamaha receiver is powered on and properly connected to a stable power source.
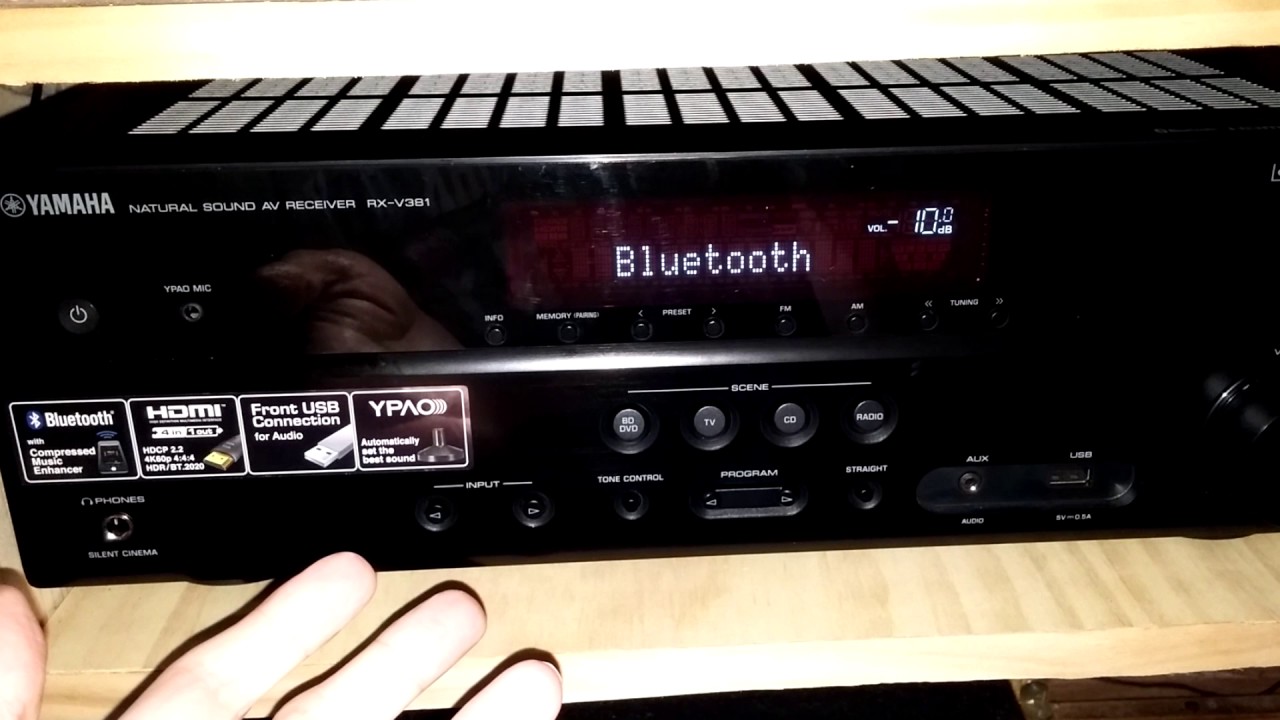
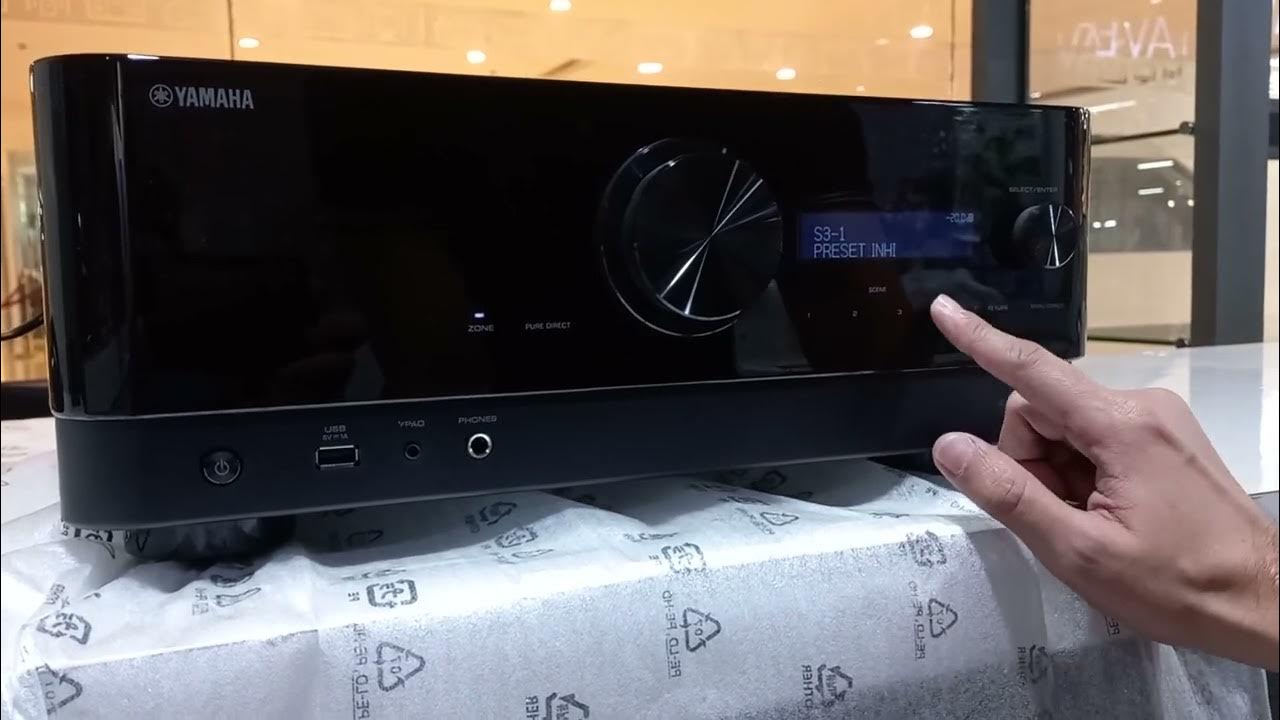
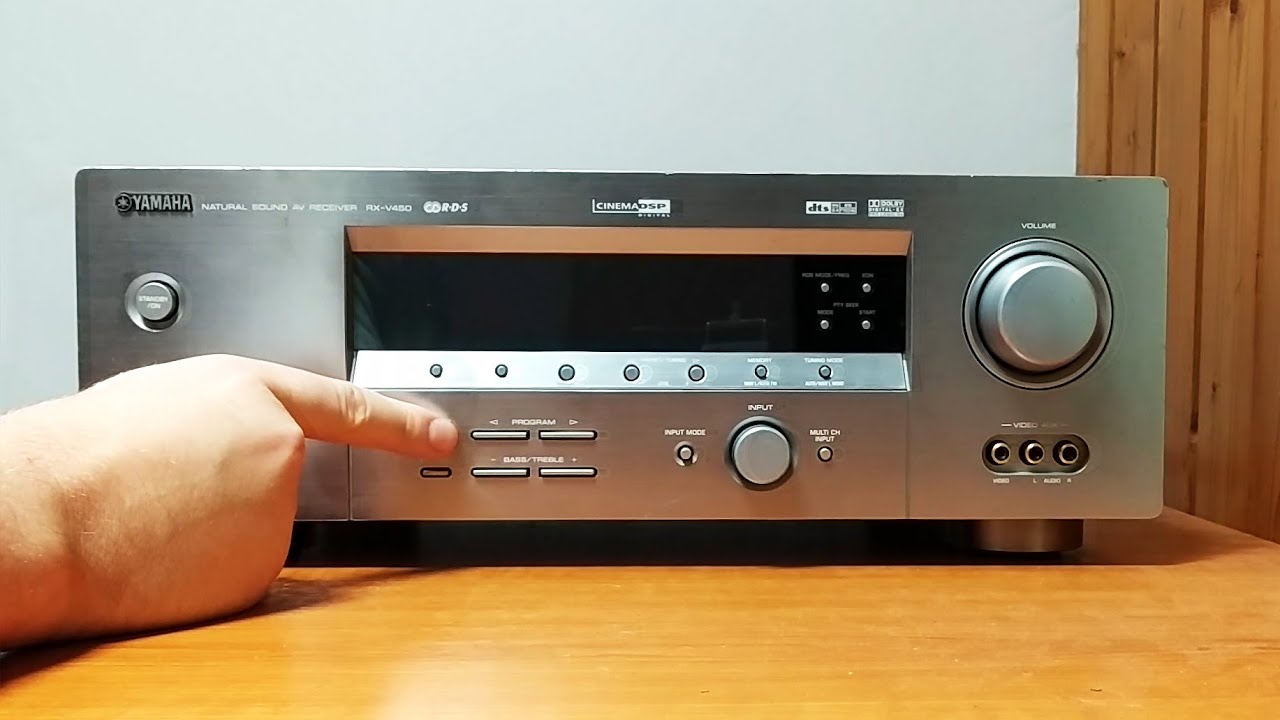
- Locate the power button on your receiver and press and hold it for approximately five seconds. This will initiate the reset process. You may need to consult your receiver’s user manual to identify the exact location of the power button, as it may vary depending on the model.
- While holding the power button, you will see the receiver’s display screen flash or show a message indicating that it is entering the reset mode. Continue to hold the power button until the display screen shows a confirmation message for the reset. This message will vary depending on the model but will typically state that the receiver will be restored to its factory defaults.
- Once you see the confirmation message, release the power button and wait for the reset process to complete. This may take a few minutes, during which the receiver may power off and then power back on automatically.
- After the reset is complete, you will need to go through the initial setup process again. This includes selecting your language, configuring audio settings, and connecting to your desired network.
- Remember to refer to your user manual or consult Yamaha’s official website for specific instructions tailored to your receiver model, as the steps may vary slightly.
Performing a factory reset is a drastic step, and it should only be done when all other troubleshooting measures have failed. However, it can effectively resolve stubborn issues and provide a fresh start for your Yamaha receiver. In the next section, we will explore how to reset the network settings on your receiver.
Resetting the Network Settings
If you are experiencing connectivity issues or are unable to connect your Yamaha receiver to your network, resetting the network settings can often resolve the problem. Here’s a step-by-step guide on how to reset the network settings on your Yamaha receiver:
- Power on your Yamaha receiver and make sure it is connected to a stable power source.
- Using the remote control, navigate to the receiver’s setup menu. The setup menu is typically accessible by pressing the “Menu” or “Setup” button on the remote control.
- Within the setup menu, look for an option related to network settings or network configuration. The exact location and naming of this option may vary depending on your receiver model, so consult your user manual for specific guidance.
- Once you have located the network settings, select the option to reset or restore the network settings. This option may be labeled as “Network Reset,” “Network Restore,” or something similar.
- Confirm your selection to reset the network settings. You may be prompted to enter a password or provide confirmation before proceeding with the reset. Follow the on-screen instructions to complete the reset process.
- After the network settings reset, you will need to set up your network connection again. This typically involves selecting your network name (SSID) from the available list and entering the password to establish the connection.
- Follow any additional prompts or instructions on the screen to complete the network setup process.
Resetting the network settings can often resolve common network-related issues, such as connection drops, Wi-Fi instability, or difficulty accessing online streaming services. However, it is important to note that this reset will also erase any custom network configurations that you have made, so be prepared to reconfigure your network settings after the reset.
If you are still experiencing network issues after resetting the network settings, it may be necessary to troubleshoot further or contact Yamaha customer support for assistance.
Next, we will explore how to reset the remote control code on your Yamaha receiver.
Resetting the Remote Control Code
If you’re facing difficulty in controlling your Yamaha receiver with the remote control, or if the remote control is not responding as expected, resetting the remote control code can help resolve the issue. This process will restore the remote control’s default settings, allowing it to properly communicate with your receiver. Here’s how you can reset the remote control code on your Yamaha receiver:
- Make sure your Yamaha receiver is powered on and properly connected to a power source.
- Locate the remote control setup button on your receiver. The location of this button may vary depending on your receiver model, so refer to your user manual for specific guidance.
- Press and hold the remote control setup button for a few seconds until the indicator light on the receiver starts flashing.
- While the indicator light is flashing, press the code reset button on your remote control. The location of this button may vary, so refer to your remote control’s user manual for the exact location.
- Release both buttons and wait for the indicator light on the receiver to stop flashing. This indicates that the remote control code has been successfully reset.
- Test the functionality of your remote control by trying various functions, such as volume control or input selection, to ensure that it is working as expected.
- If the remote control is still not working properly, try replacing the batteries with fresh ones. Sometimes, low battery power can cause issues with remote control functionality.
Resetting the remote control code should help resolve any issues related to remote control functionality. However, if the problem persists, it is recommended to consult the Yamaha customer support or refer to your receiver’s user manual for further troubleshooting steps or remote control replacement options.
In the next section, we will provide some troubleshooting tips to assist you in the Yamaha receiver reset process.
Troubleshooting Tips for Yamaha Receiver Reset
While resetting your Yamaha receiver can often resolve various issues, it’s possible to encounter challenges during the reset process. To help you overcome any obstacles, here are some troubleshooting tips to keep in mind:
- Ensure proper connections: Before attempting a reset, double-check all audio and video connections to ensure they are secure and properly plugged in. Loose or faulty connections can lead to issues during the reset process.
- Refer to the user manual: Each Yamaha receiver model may have specific instructions or variations in the reset process. Be sure to consult the user manual or visit Yamaha’s official website for detailed guidance tailored to your specific model.
- Power cycle the receiver: If you encounter any issues during the reset process, try power-cycling the receiver by turning it off, unplugging it from the power source, waiting for a few minutes, and then plugging it back in. This can help resolve temporary glitches or software errors.
- Contact Yamaha customer support: If you have followed all the steps outlined in the troubleshooting guide and are still experiencing difficulties with your Yamaha receiver, it may be best to reach out to Yamaha customer support. They have the expertise to assist you further and provide personalized solutions to your specific issue.
- Update firmware: Outdated firmware can sometimes cause issues with your Yamaha receiver. Check the Yamaha website for any available firmware updates and follow the instructions to install them. Updating the firmware may address any bugs or glitches that could be affecting the reset process.
By following these troubleshooting tips, you will be able to navigate any hurdles that may arise during the Yamaha receiver reset process. Remember to exercise caution and reach out for assistance if needed. In the concluding section, let’s recap the essential points covered in this article.
Conclusion
Resetting your Yamaha receiver can be an effective way to resolve various issues that you may encounter, such as connectivity problems, audio irregularities, or remote control malfunctions. By following the proper steps and taking necessary precautions, you can restore your receiver to its default settings and potentially overcome persistent problems.
In this article, we provided a comprehensive guide on how to reset your Yamaha receiver. We discussed the importance of preparing for the reset, including backing up your settings and disconnecting peripheral devices. We then provided detailed instructions on performing a factory reset, resetting network settings, and resetting the remote control code.
Additionally, we shared troubleshooting tips to help you overcome any challenges that may arise during the reset process. It’s important to ensure proper connections, consult the user manual, power cycle the receiver if needed, and reach out to Yamaha customer support for further assistance if required.
Remember, a reset should be considered as the last resort when other troubleshooting steps have failed. It is always advisable to try alternative solutions and settings adjustments before resorting to a reset.
We hope that this article has provided you with clear and concise instructions for resetting your Yamaha receiver. By following these steps, you can effectively address common issues and restore your receiver to optimal functionality. Please refer to your specific receiver model’s user manual or contact Yamaha customer support for further guidance or model-specific instructions. Enjoy your Yamaha receiver and its exceptional audio capabilities!