Home>Devices & Equipment>Yamaha>How To Turn On Decoder On Yamaha Receiver
Yamaha
How To Turn On Decoder On Yamaha Receiver
Published: February 6, 2024
Learn how to turn on the decoder on your Yamaha receiver effortlessly. Enhance your audio experience with the Yamaha decoder feature.
(Many of the links in this article redirect to a specific reviewed product. Your purchase of these products through affiliate links helps to generate commission for AudioLover.com, at no extra cost. Learn more)
Table of Contents
Introduction
Welcome to this guide on how to turn on the decoder on a Yamaha receiver. If you’re an audio enthusiast or someone who loves the thrill of immersive sound experiences, then you may be familiar with Yamaha’s range of high-quality receivers. These receivers are designed to deliver exceptional audio performance and support various audio sources and formats, including decoders.
A decoder is an essential component in a home theater setup or audio system as it helps decode audio signals and optimize them for enhanced audio playback. In a Yamaha receiver, the decoder is responsible for processing different audio formats such as Dolby Atmos, DTS:X, and more, ensuring that you get the best sound quality possible.
While Yamaha receivers are feature-packed and offer numerous functions, powering on the decoder is a crucial step to enjoy its benefits fully. In this article, we will walk you through the step-by-step process of turning on the decoder on your Yamaha receiver.
Before we begin, it is essential to note that the exact steps may vary slightly depending on the specific model of Yamaha receiver you own. However, the general process outlined here should apply to most Yamaha receivers.
Now, let’s dive into the steps of powering on the decoder on your Yamaha receiver and unlock the full potential of your audio system.
Step 1: Locate the Power Button
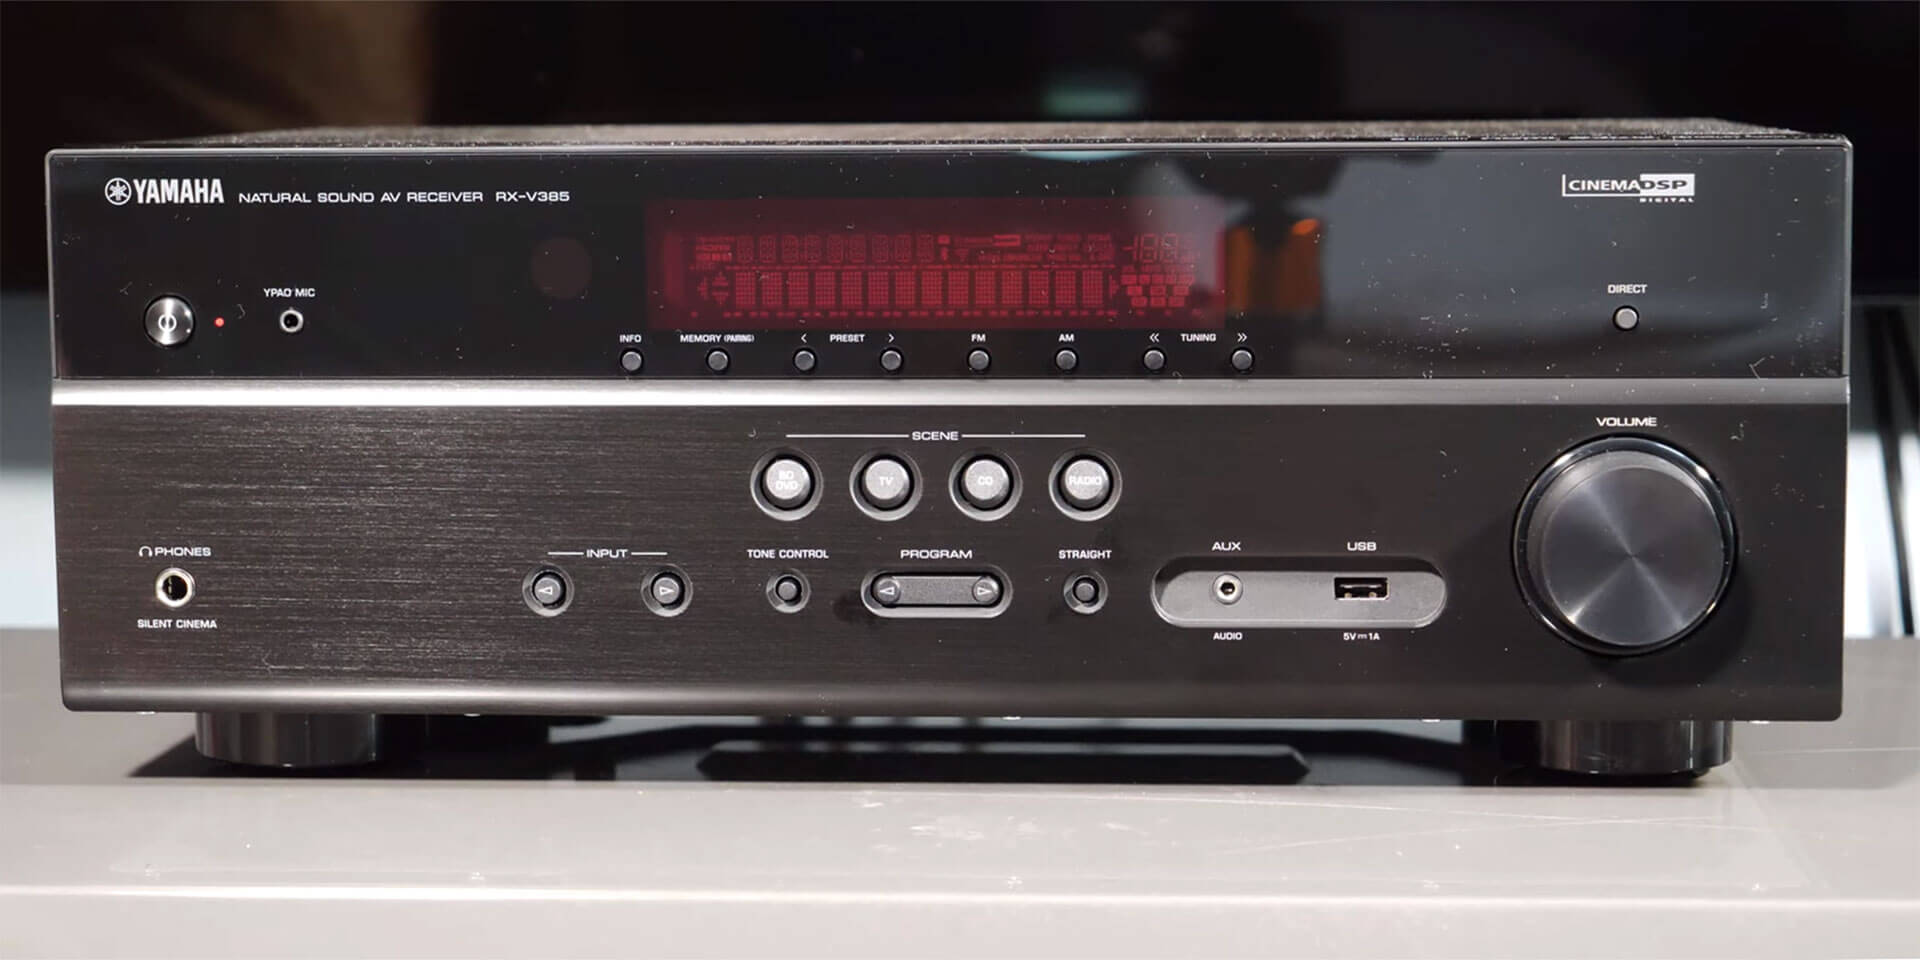
The first step in turning on the decoder on your Yamaha receiver is to locate the power button. The power button is the control that allows you to turn the receiver on or off. Depending on the model, the power button may be located on the front panel of the receiver or on the remote control.
If the power button is on the front panel, take a look at the top or the front face of the receiver. You should see a button labeled “Power” or with the universally recognized power symbol (a circle with a line). It might be a physical button that you press, or it could be a touch-sensitive button that you gently tap to activate.
If you are using the remote control, look for a button with a similar power symbol or a button explicitly labeled “Power” on the remote control. It is typically located near the top or the center of the remote control.
Remember that Yamaha receivers come in different models and designs, so it’s essential to consult the user manual or the product documentation specific to your receiver model if you’re having trouble locating the power button.
Once you have identified the power button on your Yamaha receiver, you’re ready to move on to the next step and power on the decoder.
Step 2: Power On the Decoder
After locating the power button on your Yamaha receiver, the next step is to power on the decoder. The decoder is responsible for processing audio signals and ensuring optimal audio playback quality. Turning on the decoder will enable it to perform its function and enhance your audio experience.
To power on the decoder, follow these simple steps:
- Ensure that your Yamaha receiver is plugged into a power source and turned on. The receiver needs to be powered on for the decoder to function.
- Locate the decoder power button on your receiver or remote control. The decoder power button is usually labeled “Decoder” or “Decoder On.” It may be a separate button or integrated into the receiver’s power button.
- If the decoder power button is on the front panel, press it to turn on the decoder. If you’re using a remote control, press the decoder power button to activate the decoder. Some models may require you to press and hold the decoder power button for a few seconds.
- Once the decoder is powered on, you may hear a click or see a visual indicator on the receiver’s display confirming that the decoder is active and ready to process audio signals.
It’s important to note that some Yamaha receivers have an automatic decoder power-on feature, where the decoder turns on automatically when you power on the receiver. In such cases, you don’t need to perform any additional steps to power on the decoder.
Now that the decoder is powered on, you can proceed to the next step of connecting the decoder to your Yamaha receiver to ensure proper audio signal flow and an immersive sound experience.
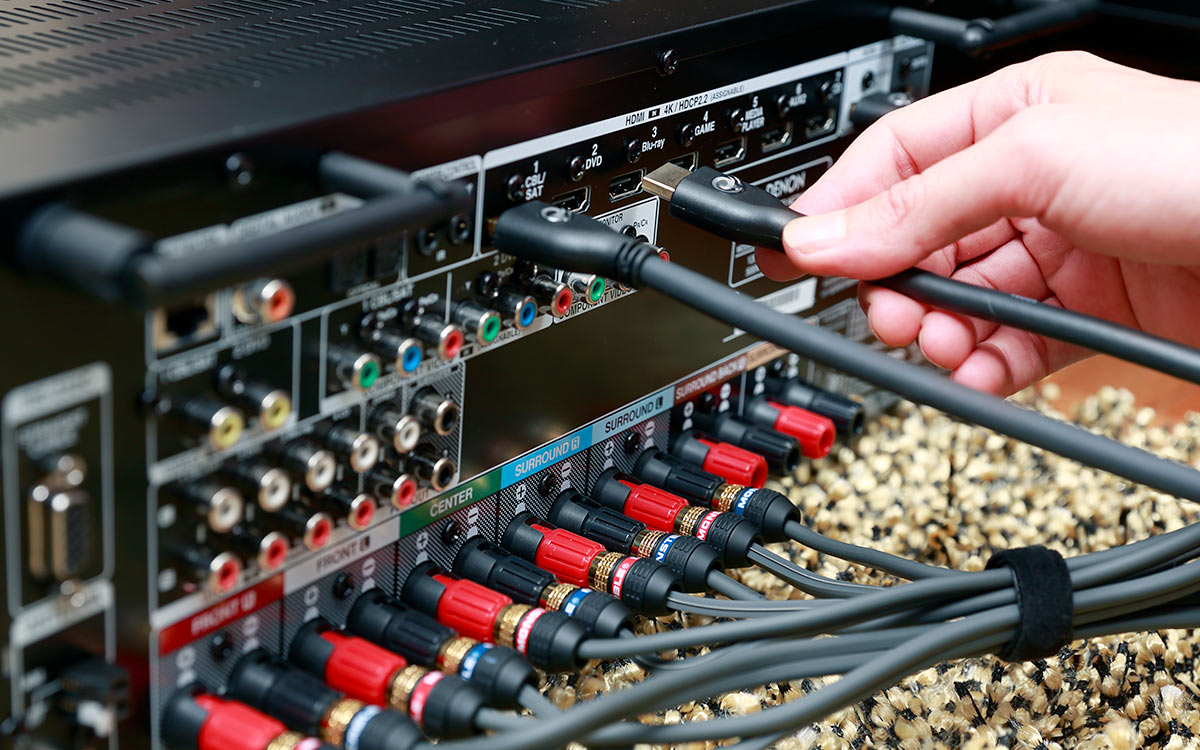
Step 3: Connecting the Decoder to the Yamaha Receiver
Now that the decoder is powered on, it’s time to connect it to your Yamaha receiver. Properly connecting the decoder will ensure the smooth flow of audio signals and allow the receiver to process and optimize the sound for your listening pleasure.
Follow these steps to connect the decoder to your Yamaha receiver:
- Identify the audio output port on the decoder. It is usually labeled as “Audio Out” or “Decoder Out.” This port is where you will connect the decoder to your receiver.
- Locate the corresponding audio input port on your Yamaha receiver. It is typically labeled “Audio In” or “Decoder In.” Ensure that you choose a compatible input port that matches the output port on the decoder.
- Take an appropriate audio cable (such as an HDMI cable, RCA cable, or optical cable) that is compatible with both your decoder and Yamaha receiver.
- Connect one end of the audio cable to the audio output port of the decoder.
- Connect the other end of the audio cable to the corresponding audio input port on your Yamaha receiver.
- Ensure that the cable is securely connected, with a snug fit on both ends, to avoid any audio signal loss.
Once the decoder is connected to the Yamaha receiver, you have established the audio signal path, allowing the receiver to receive and process the audio signals from the decoder.
It is worth mentioning that the specific ports and cable types may differ depending on the model of your decoder and Yamaha receiver. Refer to the user manual or product documentation of your devices for more detailed instructions on the specific ports and cable types to use for optimal connectivity.
With the decoder properly connected, you can move on to the next step and switch on your Yamaha receiver to start enjoying the enhanced audio experience.
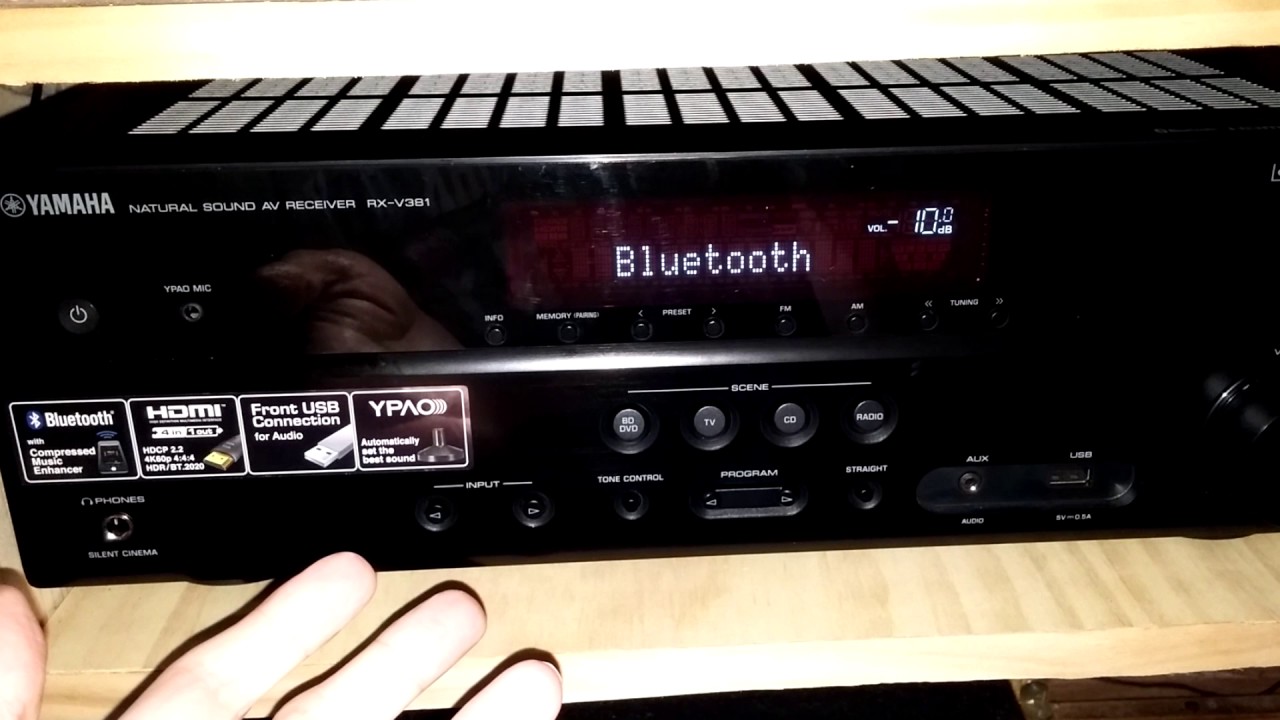
Step 4: Switch On the Yamaha Receiver
Now that the decoder is connected to your Yamaha receiver, it’s time to switch on the receiver. Powering on the receiver will enable it to receive and process the audio signals from the connected decoder, delivering immersive sound quality to your speakers.
Follow these steps to switch on your Yamaha receiver:
- Ensure that your receiver is plugged into a power source and that the power cord is securely connected.
- Locate the power button on your Yamaha receiver or the remote control. The power button is typically labeled “Power” or features a universally recognized power symbol (a circle with a line).
- If the power button is on the front panel of the receiver, press it to power on the receiver. If you’re using a remote control, press the power button to activate the receiver.
- Wait a few seconds for the receiver to power up. You may notice lights or indicators turning on, indicating that the receiver is booting up.
- Once the receiver is powered on, it will establish a connection with the decoder and be ready to receive the audio signals.
It’s important to note that some Yamaha receivers may have a standby mode where they consume minimal power but are still ready to receive signals. In such cases, you might need to press the power button twice – once to switch on the receiver from standby mode and again to activate it fully.
After switching on the Yamaha receiver, you’re now ready to select the decoder as the input source and start enjoying the enhanced audio experience it provides. This will be covered in the next step.
Step 5: Select the Decoder as the Input Source
With your Yamaha receiver powered on, the next step is to select the decoder as the input source. This will ensure that the audio signals processed by the decoder are routed to your speakers for optimal sound output.
Follow these steps to select the decoder as the input source:
- On the front panel of your Yamaha receiver, look for the “Input Select” or “Source” button. This button allows you to cycle through the available input sources.
- Press the “Input Select” or “Source” button repeatedly until you reach the input source corresponding to the decoder. This source may be labeled “Decoder,” “Aux,” “Digital In,” or similar.
- If your Yamaha receiver is equipped with a display panel, you may see the selected input source displayed on the screen.
- Alternatively, if you’re using the remote control, locate the “Input Select” or “Source” button and press it to cycle through the available input sources until you find the one corresponding to the decoder. Again, look for labels such as “Decoder,” “Aux,” or “Digital In.”
Once you have selected the decoder as the input source, the Yamaha receiver will now route the audio signals processed by the decoder to the connected speakers or audio output devices.
It’s important to note that the specific input source labels may vary depending on your Yamaha receiver model. Refer to the user manual or product documentation for more detailed instructions specific to your receiver.
Now that you have selected the decoder as the input source, you can proceed to the final step of adjusting the volume and other audio settings to fine-tune your audio experience.
Step 6: Adjust the Volume and Other Audio Settings
After selecting the decoder as the input source on your Yamaha receiver, you can now adjust the volume and customize other audio settings to suit your preferences and create the perfect sound experience.
Follow these steps to adjust the volume and other audio settings:
- Locate the volume control knob or buttons on the front panel of your Yamaha receiver. The volume control is usually labeled “Volume” or features “+” and “-” symbols.
- Turn the volume control knob clockwise to increase the volume or counterclockwise to decrease it. Alternatively, if your receiver has volume control buttons, press the “+” button to raise the volume and the “-” button to lower it.
- Gradually adjust the volume to a comfortable level, ensuring that it is not too loud or too soft for your liking.
- In addition to the volume, your Yamaha receiver may offer various other audio settings that you can customize. These settings might include bass, treble, balance, sound modes, and other advanced audio features.
- Consult your Yamaha receiver’s user manual or on-screen display menu to explore and adjust the available audio settings. Use the remote control or front panel buttons to navigate through the settings and make changes as desired.
- Experiment with different audio settings to find the optimal balance and sound signature that best suits your preferences and the content you’re listening to.
Remember to test your audio settings by playing different audio sources, such as music, movies, or games, to evaluate the impact of your adjustments and ensure the desired audio quality.
By fine-tuning the volume and audio settings on your Yamaha receiver, you can achieve an immersive and personalized audio experience that brings your favorite content to life.
Congratulations! You have successfully learned how to turn on the decoder on your Yamaha receiver and make necessary audio adjustments for an enhanced listening experience.
Conclusion
In conclusion, turning on the decoder on your Yamaha receiver is a straightforward process that allows you to unlock the full potential of your audio system. By following the steps outlined in this guide, you can power on the decoder, connect it to the receiver, select it as the input source, and adjust the volume and other audio settings to enjoy an immersive sound experience.
Yamaha receivers are known for their exceptional audio performance and support for various audio formats, making them a popular choice among audio enthusiasts and home theater enthusiasts alike. The decoder plays a vital role in processing audio signals and optimizing them for optimal sound quality, ensuring that you enjoy the best audio experience possible.
Remember to consult the user manual or product documentation specific to your Yamaha receiver model for any model-specific instructions or features. It’s important to follow the manufacturer’s guidelines and recommendations to ensure the proper functioning of your receiver and decoder.
We hope that this guide has provided you with the necessary information and guidance to successfully power on the decoder on your Yamaha receiver. Now, you can sit back, relax, and immerse yourself in the immersive audio experience that your Yamaha receiver and decoder combo bring to your entertainment setup.
Whether you’re enjoying movies, music, or games, the enhanced sound quality provided by the decoder will elevate your audio experience and create a more immersive and engaging environment.
Now, go ahead and power on your decoder, connect it to your Yamaha receiver, and embark on a journey of high-quality audio that will bring your entertainment to life.