Home>Production & Technology>Sound Bar>How To Hook Up A Sound Bar To Yamaha Receiver
Sound Bar
How To Hook Up A Sound Bar To Yamaha Receiver
Modified: January 22, 2024
Learn how to easily connect a sound bar to your Yamaha receiver and enhance your audio experience. Find step-by-step instructions and tips for a seamless hookup.
(Many of the links in this article redirect to a specific reviewed product. Your purchase of these products through affiliate links helps to generate commission for AudioLover.com, at no extra cost. Learn more)
Table of Contents
Introduction
Welcome to our guide on how to hook up a sound bar to a Yamaha receiver. Sound bars have become increasingly popular in home theater setups due to their compact size and superior audio quality. However, connecting a sound bar to a receiver can be a bit tricky, especially if you’re not familiar with the different audio connections and settings. In this article, we will provide you with a step-by-step guide on how to properly connect a sound bar to a Yamaha receiver, ensuring you get the best audio experience possible.
Yamaha is known for producing high-quality audio equipment, including their line of receivers. These receivers offer a variety of audio outputs, allowing you to connect different audio devices, including sound bars. By connecting a sound bar to your Yamaha receiver, you can enjoy immersive sound for movies, music, and other audio sources.
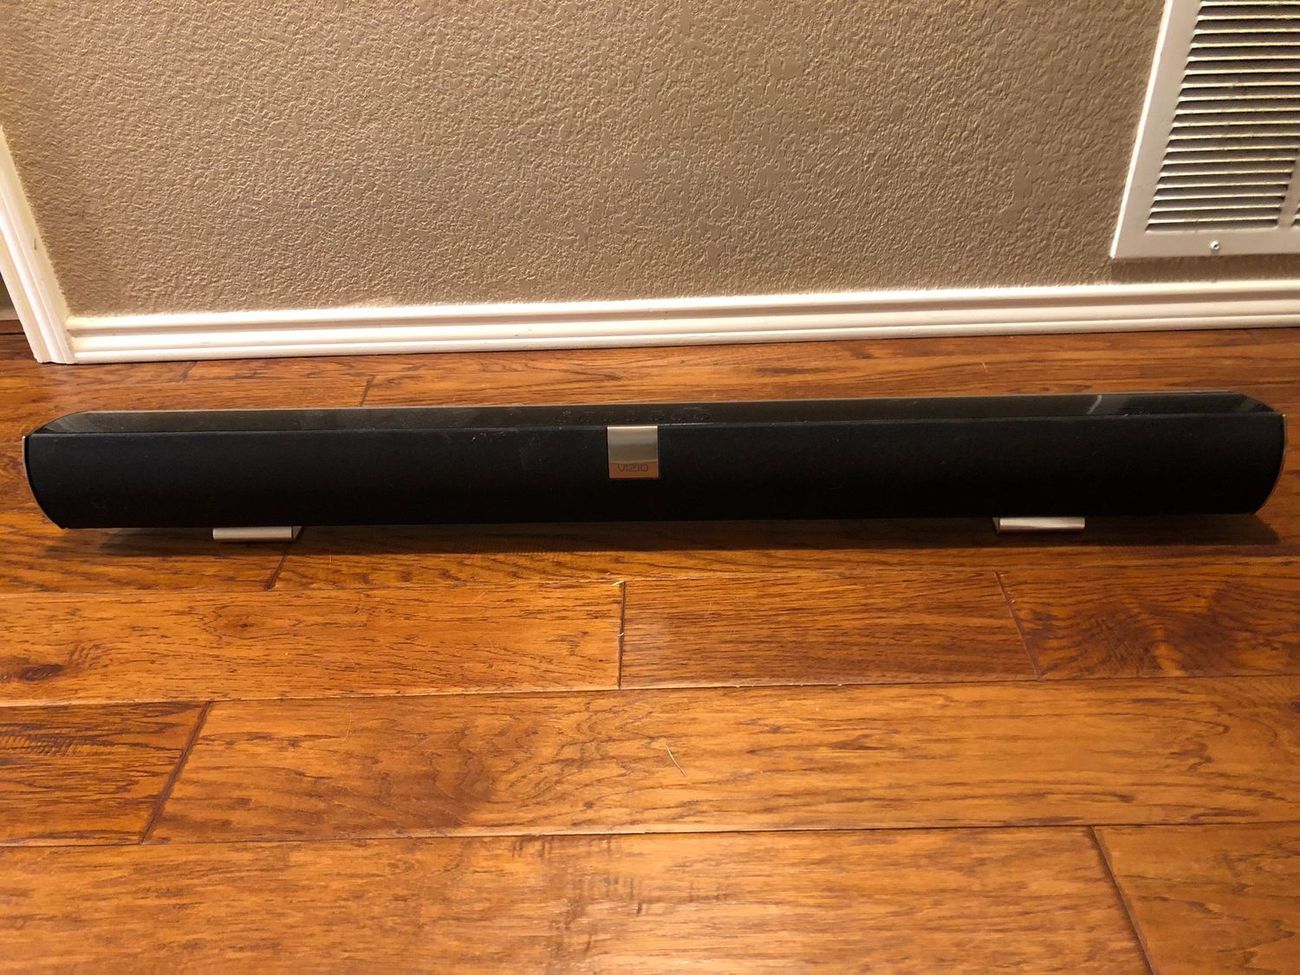
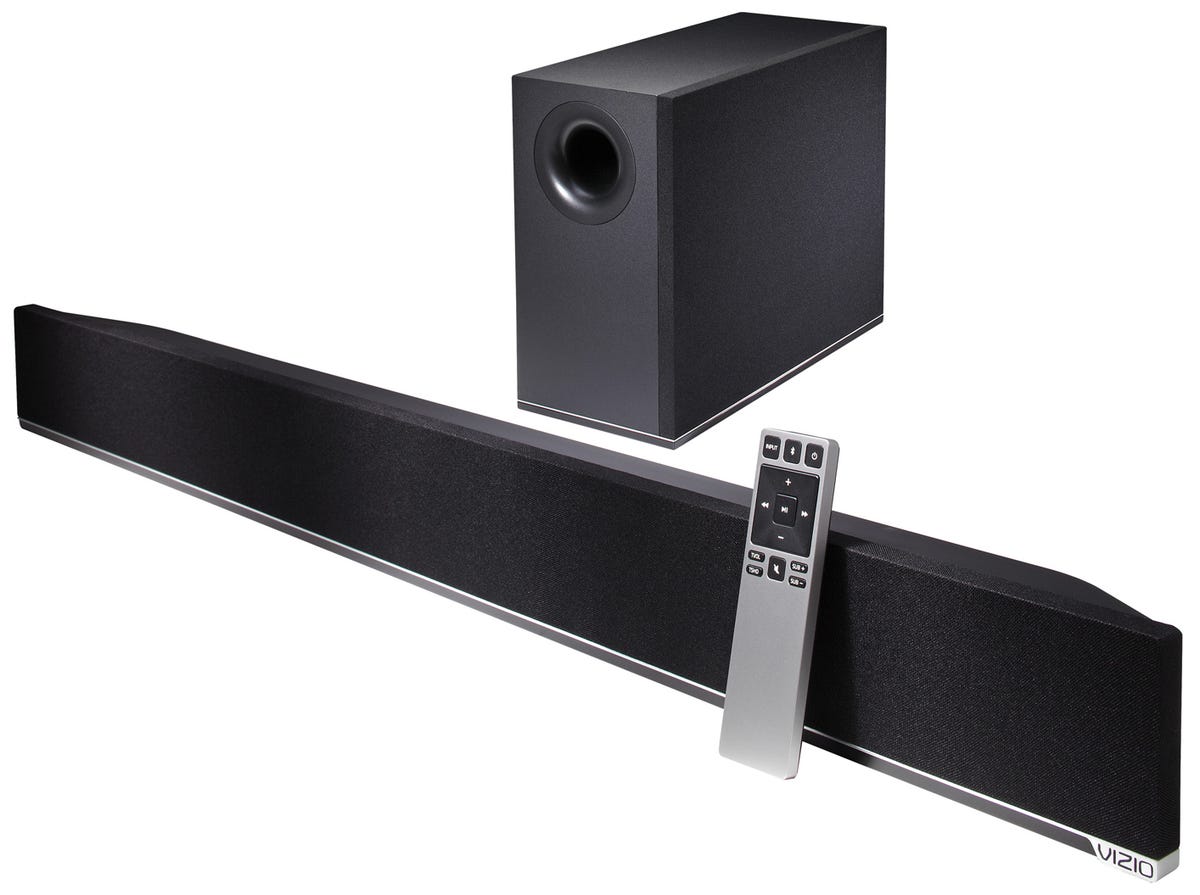
Before we dive into the steps, let’s briefly go over what a sound bar is and why it’s a great addition to your home theater system. A sound bar is a slim and elongated speaker that is typically placed below or above a TV. It is designed to provide a wider sound field and better audio clarity compared to the built-in speakers found in most TVs. Sound bars often come with built-in amplifiers and multiple drivers to deliver a more immersive audio experience, making them a popular choice for home theater enthusiasts.
Now that you understand the basics of a sound bar and its benefits, let’s get started on connecting it to your Yamaha receiver. With the right equipment and a few simple steps, you’ll be able to enjoy enhanced audio quality in no time!
Step 1: Gather the necessary equipment
Before you can connect your sound bar to your Yamaha receiver, it’s essential to gather all the necessary equipment. Here’s a list of what you’ll need:
- Sound bar: Ensure you have a compatible sound bar that can be connected to an audio receiver. Most sound bars have various input options, including HDMI, optical, and RCA.
- Yamaha receiver: Make sure you have a Yamaha receiver with the necessary audio outputs to connect your sound bar. Check the receiver’s specifications or user manual to determine the available audio outputs.
- Audio cables: Depending on the sound bar and Yamaha receiver’s audio connections, you may need different types of audio cables such as HDMI, optical, or RCA cables. Make sure you have the appropriate cables for your setup.
- Remote control or smartphone: You’ll need either the remote control that came with your Yamaha receiver or a smartphone with a compatible remote control app to adjust the audio settings on the receiver.
- User manual: It’s always helpful to have the user manual for both the sound bar and the Yamaha receiver on hand. The manuals will provide detailed instructions on the audio connections and settings for your specific models.
Once you have gathered all the necessary equipment, you are ready to move on to the next step: checking the audio connections on your Yamaha receiver.
Step 2: Check the audio connections on the Yamaha receiver
Before connecting your sound bar to the Yamaha receiver, it’s important to verify the available audio connections on the receiver. Different Yamaha receiver models may have varying audio output options, so it’s crucial to determine which ones are compatible with your sound bar. Here’s how you can check the audio connections on your Yamaha receiver:
- Refer to the user manual: The user manual of your Yamaha receiver will provide detailed information about the available audio connections. Look for a section that describes the audio output options, such as HDMI, optical, or RCA.
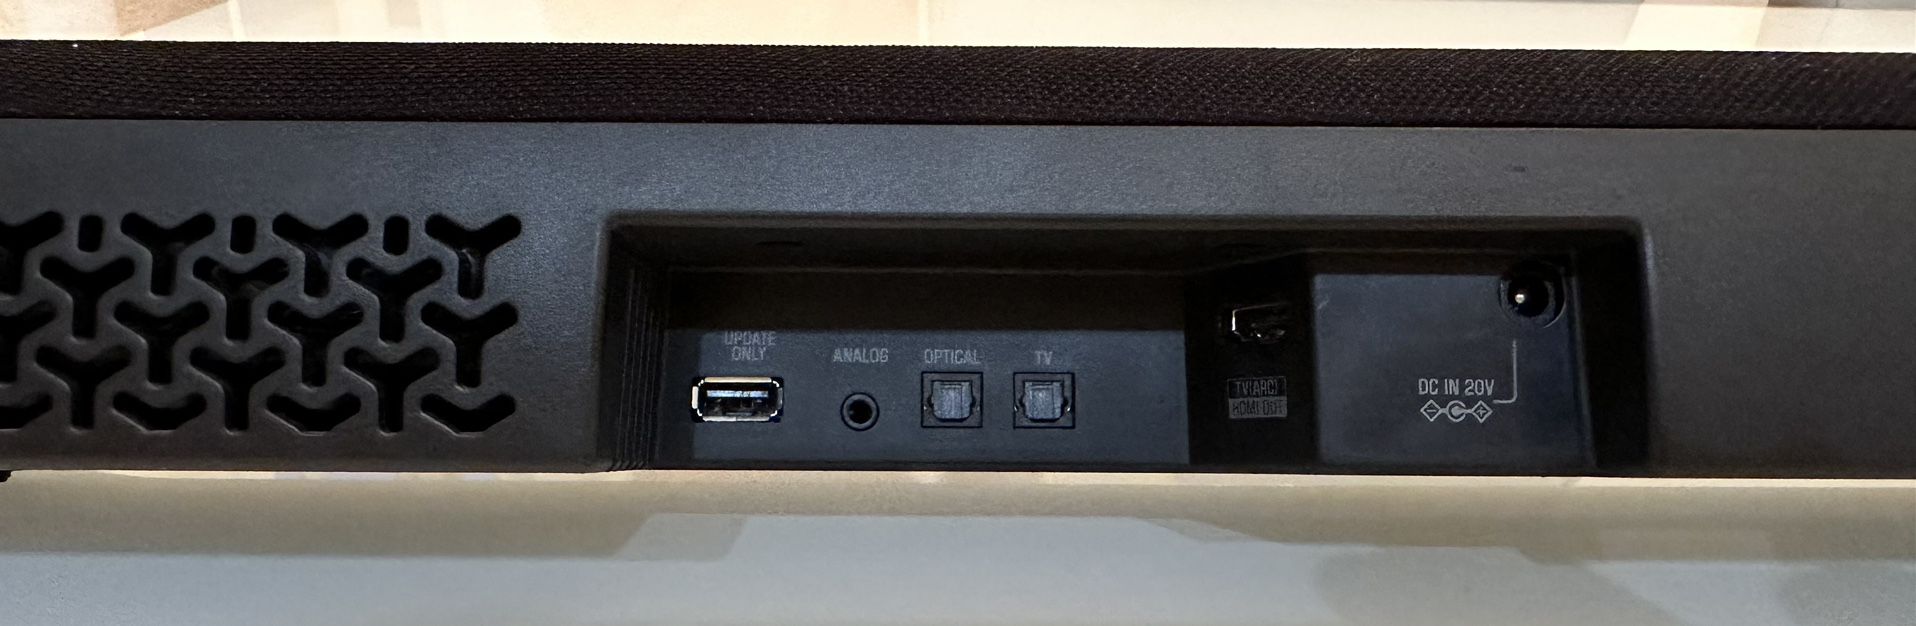
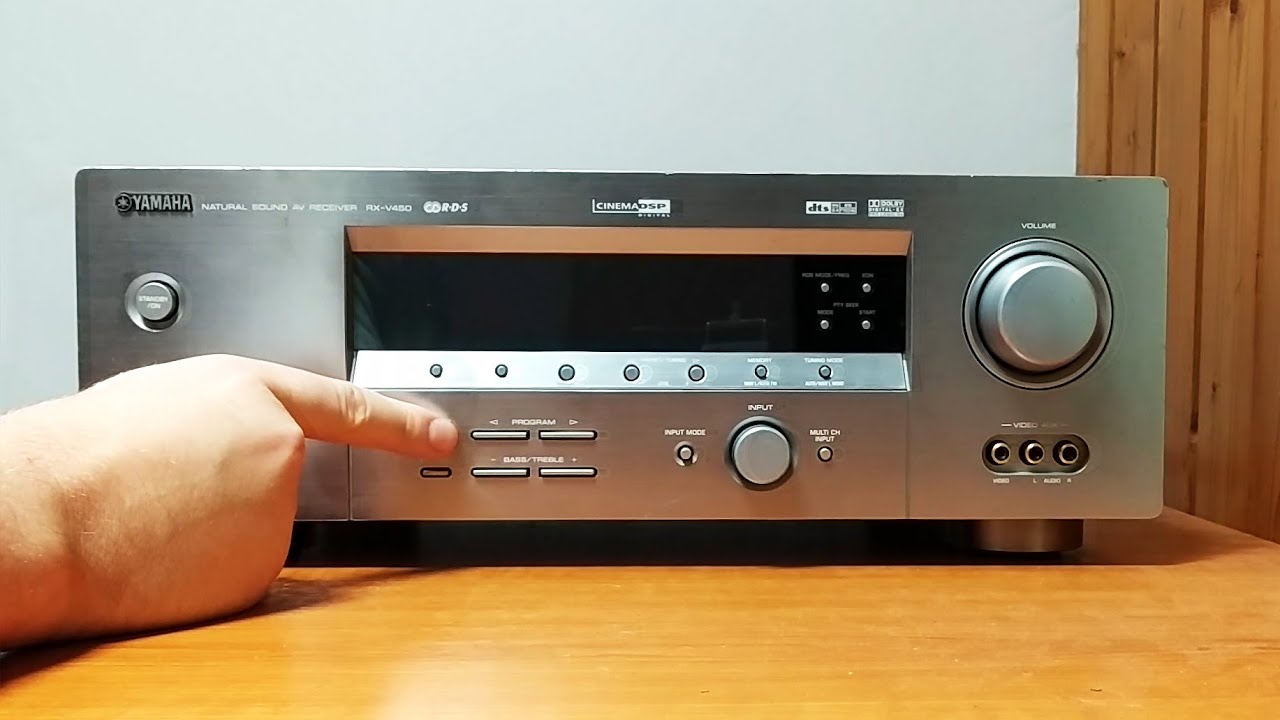
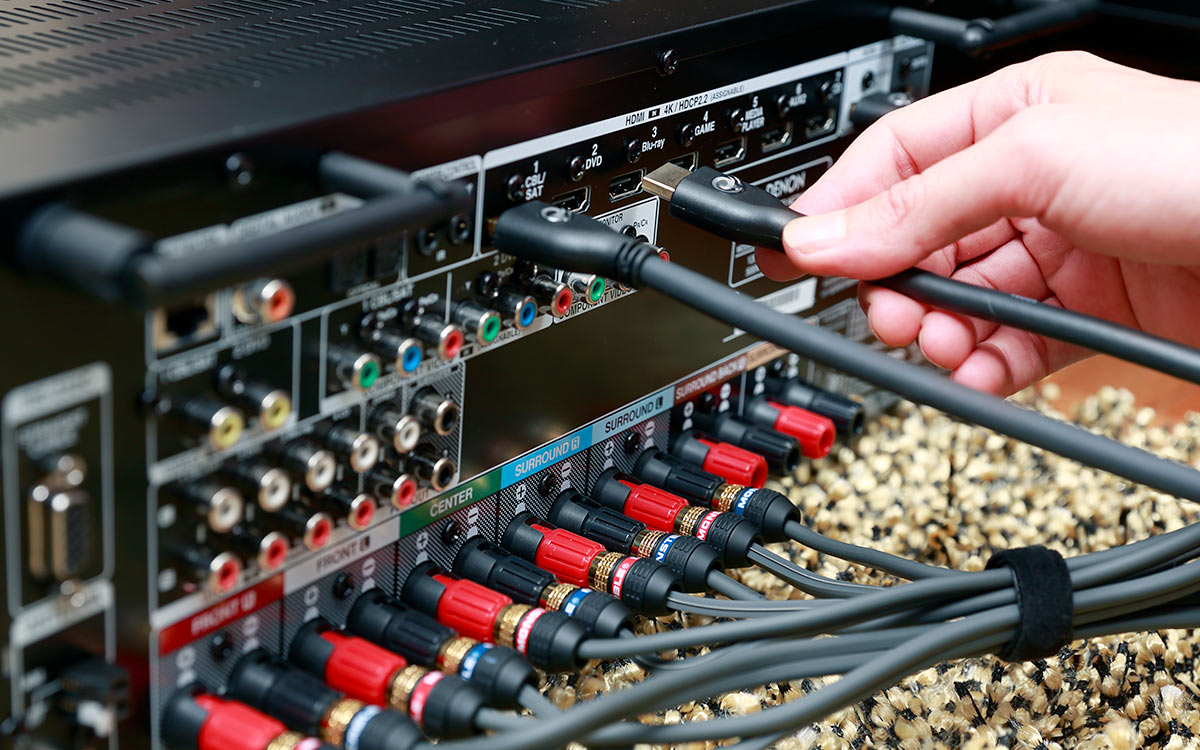
- Inspect the rear panel: Take a close look at the backside of your Yamaha receiver. You should find a variety of audio output ports. Common ports include HDMI ARC (Audio Return Channel), optical audio, and RCA outputs. Make a note of which ports are available on your receiver.
- Consider the sound bar’s input options: Take note of the audio input options on your sound bar. Common inputs include HDMI, optical, and RCA. You need to ensure that your sound bar’s input options match the available output options on your Yamaha receiver.
By examining the user manual and inspecting the audio connections on your Yamaha receiver, you will have a clear understanding of which audio outputs you can use to connect your sound bar. Once you’ve determined the available connections, you can proceed to the next step: connecting the sound bar to the Yamaha receiver.
Step 3: Connect the sound bar to the Yamaha receiver
Now that you have identified the available audio connections on your Yamaha receiver and your sound bar’s input options, it’s time to connect them. Follow these steps to properly connect your sound bar to the Yamaha receiver:
- Choose the appropriate audio cable: Select the audio cable that best matches the available audio output on your Yamaha receiver and the corresponding input port on your sound bar. For example, if both devices have HDMI ARC capabilities, you can use an HDMI cable.
- Connect one end of the audio cable to the audio output port on the receiver: Plug one end of the selected audio cable into the corresponding audio output port on the Yamaha receiver. Ensure that the connection is secure.
- Connect the other end of the audio cable to the sound bar: Plug the remaining end of the audio cable into the audio input port on your sound bar that matches the cable type you are using. Make sure the connection is tight.
- Power on your devices: Turn on both the Yamaha receiver and the sound bar. You may need to select the appropriate input source on your sound bar to receive audio from the receiver.
It’s important to note that the specific steps and cable types may vary depending on your Yamaha receiver model and sound bar. Refer to the user manuals for detailed instructions that are specific to your devices. Once you have successfully connected the sound bar to the Yamaha receiver, you can move on to adjusting the settings on the receiver for optimal audio performance.
Step 4: Adjust the settings on the Yamaha receiver
After connecting the sound bar to your Yamaha receiver, it’s crucial to adjust the audio settings on the receiver to ensure optimal sound performance. Here are the steps to follow:
- Access the audio settings menu: Using either the remote control that came with your Yamaha receiver or a compatible smartphone app, navigate to the audio settings menu. The location of this menu may vary depending on your receiver model.
- Select the appropriate audio output: In the audio settings menu, locate the option to choose the audio output. Select the output that corresponds to the audio connection you used to connect the sound bar. For example, if you used the HDMI ARC connection, select HDMI ARC as the audio output.
- Configure the audio output format: Depending on your sound bar’s capabilities and personal preferences, you can adjust the audio output format. Options may include stereo, surround sound, or virtual surround modes. Experiment with these settings to find the one that suits your audio preferences best.
- Adjust the volume levels: Test the audio by playing a movie, music, or any other audio source. Make sure the volume levels are balanced between the sound bar and the other speakers connected to the Yamaha receiver. Adjust the individual speaker levels in the audio settings menu if necessary.
- Enable any additional audio enhancements: Yamaha receivers often come with various audio enhancement features, such as equalizers, bass boost, or virtual surround sound modes. Explore these options and enable any enhancements that enhance your listening experience.
Keep in mind that the specific steps and available settings may vary depending on your Yamaha receiver model. Refer to the user manual for detailed instructions and explanations of the various audio settings available on your specific receiver.
Once you have adjusted the audio settings on your Yamaha receiver, you are now ready to test the sound bar setup and enjoy a heightened audio experience.
Step 5: Test the sound bar setup
After connecting and configuring your sound bar with the Yamaha receiver, it’s essential to test the setup to ensure everything is functioning correctly. Follow these steps to test your sound bar setup:
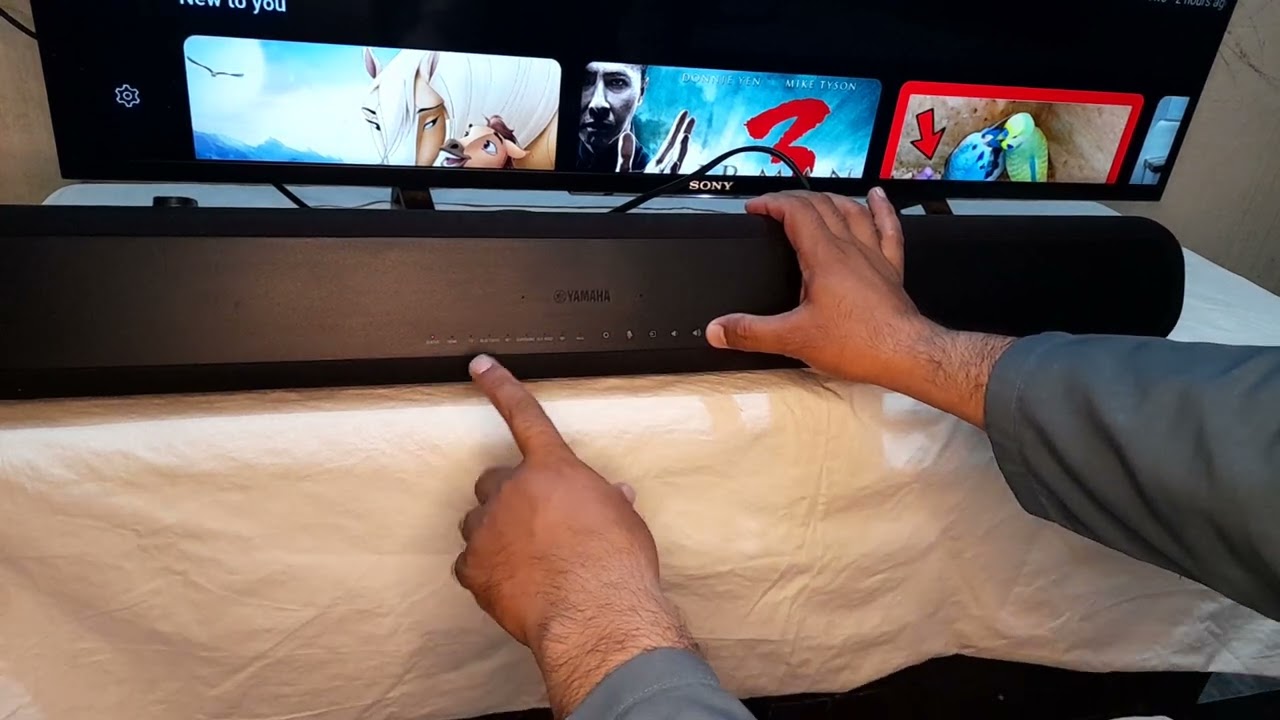
- Select the appropriate input on the sound bar: Using the sound bar’s remote control or buttons, select the input that corresponds to the audio connection you used to connect the Yamaha receiver. For example, if you connected the sound bar to the HDMI ARC port, select the ARC input.
- Play an audio source: Use your preferred audio source, like a Blu-ray player, gaming console, or media streaming device, and play a familiar piece of music, movie, or TV show. Make sure the audio source is connected to the Yamaha receiver.
- Listen for sound: As the audio plays, listen carefully to ensure that the sound is being reproduced through the sound bar. Pay attention to the clarity, volume, and presence of surround sound effects if your sound bar supports them. If you’re not hearing any sound or experiencing issues, double-check all of the connections and settings.
- Adjust the sound bar settings: If necessary, use the sound bar’s remote control or buttons to make adjustments to the sound bar’s volume, audio modes, or other settings. This will help you fine-tune the sound to your preference.
- Test different audio sources: To ensure compatibility and versatility, test the sound bar setup with various audio sources, such as different movies, TV shows, music genres, and gaming content. This will help you verify that the sound bar is consistently providing high-quality sound across different media formats.
During the testing phase, it’s beneficial to sit in different locations within your viewing area to evaluate the sound distribution and immersion. Adjustments to the placement and positioning of the sound bar may be required to optimize the audio experience. Additionally, refer to the user manuals of both the sound bar and the Yamaha receiver for any troubleshooting tips or specific setup recommendations.
By following these steps, you can ensure that your sound bar is properly connected to your Yamaha receiver and delivering the best audio performance for your home theater setup.
Conclusion
Connecting a sound bar to a Yamaha receiver can greatly enhance your home theater experience, providing immersive audio and superior sound quality. By following the step-by-step guide outlined in this article, you can successfully connect your sound bar to your Yamaha receiver and enjoy optimal audio performance. Here’s a quick recap of the steps:
- Gather the necessary equipment, including the sound bar, Yamaha receiver, audio cables, remote control or smartphone, and user manuals.
- Check the audio connections on the Yamaha receiver to determine the available audio outputs.
- Connect the sound bar to the Yamaha receiver using the appropriate audio cables.
- Adjust the audio settings on the Yamaha receiver, selecting the correct audio output and configuring any desired audio enhancements.
- Test the sound bar setup by selecting the appropriate input, playing different audio sources, and fine-tuning the sound bar settings as needed.
Remember to consult the user manuals for your specific sound bar and Yamaha receiver models, as they may contain additional instructions and recommendations.
With the proper connection and optimization, you can enjoy a more immersive and captivating audio experience for your favorite movies, music, and games. So, gather your equipment, follow the steps in this guide, and elevate your home theater setup to new sonic heights!