Home>Events & Info>Playback>How To Change Playback Quality Spotify Desktop

Playback
How To Change Playback Quality Spotify Desktop
Published: November 23, 2023
Learn how to change the playback quality on Spotify desktop and experience crystal clear audio. Enhance your listening experience with just a few simple steps.
(Many of the links in this article redirect to a specific reviewed product. Your purchase of these products through affiliate links helps to generate commission for AudioLover.com, at no extra cost. Learn more)
Table of Contents
Introduction
Spotify has become one of the most popular music streaming platforms in the world, offering a vast library of songs and personalized recommendations. When it comes to enjoying your favorite tunes on Spotify Desktop, you may want to adjust the playback quality to optimize your listening experience.
By default, Spotify sets the playback quality to a standard setting, which balances audio quality and data usage. However, if you have a stable internet connection or prefer higher sound fidelity, you have the option to change the playback quality settings. Whether you’re looking to conserve data or immerse yourself in high-quality audio, this guide will walk you through the steps to change the playback quality on Spotify Desktop.
Before we delve into the steps, it’s worth noting that changing the playback quality will affect your data usage. Higher quality settings require more bandwidth, so if you’re on a limited data plan or using a mobile hotspot, you might want to consider the trade-off between audio quality and data consumption.
Now, let’s dive into the process of changing the playback quality on Spotify Desktop.
Step 1: Launching Spotify Desktop
The first step to changing the playback quality on Spotify Desktop is to launch the application on your computer. If you haven’t already installed Spotify, you can download it from the official website or your computer’s app store.
Once Spotify is installed, double-click the desktop icon or search for “Spotify” in your computer’s search bar to launch the application. After launching Spotify, you’ll be prompted to log in using your Spotify account credentials. If you don’t have an account, you can easily create one for free.
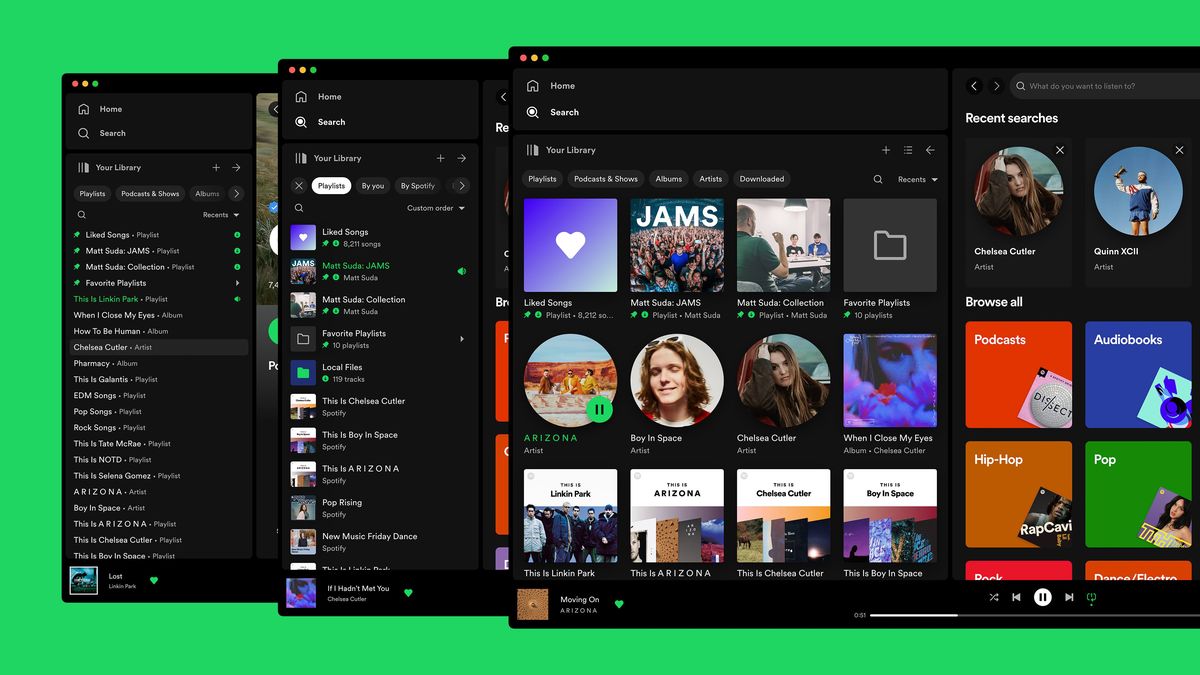
Once you’ve logged in, you’ll be greeted with the Spotify Desktop interface, where you can access your library, playlists, and music recommendations. Take a moment to familiarize yourself with the layout if you’re new to Spotify Desktop.
With Spotify Desktop up and running, we’re ready to move on to the next step: accessing the playback quality settings.
Step 2: Accessing Playback Quality Settings
Now that you have Spotify Desktop open, it’s time to navigate to the playback quality settings. These settings allow you to choose the audio quality that suits your preferences and internet connection.
To access the playback settings, follow these simple steps:
- Look for the drop-down menu located at the top left corner of the Spotify Desktop window. It is represented by three horizontal bars, also known as the “hamburger” icon.
- Click on the icon to open the main menu.
- From the menu, select “Settings.” This will take you to the Spotify settings page.
- In the settings page, scroll down until you find the “Music Quality” section.
- Under “Music Quality,” you’ll see options to adjust the playback quality for different scenarios, such as “Streaming,” “Download,” and “Normalize volume.”
Now that you’ve accessed the playback quality settings, you’re ready to move on to the next step: modifying the playback quality.
Step 3: Modifying Playback Quality
Now that you have accessed the playback quality settings in Spotify Desktop, it’s time to modify the settings to match your preferences. Spotify offers different options for streaming and downloading, allowing you to control the audio quality for each scenario.
Follow these steps to modify the playback quality:
- Under the “Streaming” section, you’ll see a drop-down menu with three options: “Low,” “Normal,” and “High.”
- Select the option that best suits your preferences. Here’s a breakdown of what each option offers:
- Low: This option provides a lower quality audio stream, ideal for conserving data or if you have a slower internet connection. It uses less bandwidth and is suitable for casual listening.
- Normal: The “Normal” option is the default setting for Spotify and offers a balance between audio quality and data usage. It provides a decent quality audio stream without consuming too much data.
- High: Choosing the “High” option will give you the best audio quality available on Spotify. This setting is recommended if you have a fast and stable internet connection and prioritize audio fidelity.
- Next, you can modify the playback quality for downloaded music by clicking on the drop-down menu under the “Download” section. The available options are the same as the streaming settings: “Low,” “Normal,” and “High.” Select the desired option based on your preferences.
- If you want Spotify to automatically adjust the volume levels of songs, you can enable the “Normalize volume” option. This feature ensures that songs play back at a consistent volume level.
Once you have made your modifications to the playback quality settings, you’re ready to save the changes. Let’s move on to the final step!
Step 4: Saving Changes
After modifying the playback quality settings to your desired preferences in Spotify Desktop, it’s important to save the changes so that they take effect whenever you use the application. Saving the changes is a straightforward process:
- Ensure that you have selected the desired playback quality options for both streaming and downloading, as well as enabling or disabling the “Normalize volume” feature.
- Once you have made your modifications, scroll to the bottom of the settings page.
- Click on the “Save” button to save your changes.
By clicking on “Save,” your new playback quality settings will be applied whenever you stream or download music on Spotify Desktop.
It’s worth noting that changing the playback quality settings in Spotify Desktop will not affect the playback quality on other devices or platforms. If you use Spotify on your mobile device or other devices, you will need to adjust the playback quality settings separately on each device or platform.
Now that you’ve successfully saved your changes, you can start enjoying your favorite music with the modified playback quality settings on Spotify Desktop.
Conclusion
Changing the playback quality on Spotify Desktop allows you to tailor your listening experience to your preferences and optimize the audio quality based on your internet connection. By following the easy steps outlined in this guide, you can modify the playback quality settings and choose between low, normal, and high quality options for streaming and downloading music.
Remember to consider your data usage and internet connection speed when selecting the playback quality settings. If you’re on a limited data plan or have a slower connection, choosing a lower quality option can help conserve data and ensure smooth playback. On the other hand, if you have a fast and stable internet connection, opting for higher quality settings will deliver the best audio fidelity for an immersive music experience.
Keep in mind that the playback quality settings you change in Spotify Desktop will not impact the settings on other devices or platforms that you use to access Spotify. To adjust the playback quality on other devices, you will need to follow similar steps specific to each device or platform.
Now that you have the knowledge to modify playback quality settings on Spotify Desktop, go ahead and fine-tune your audio experience to enjoy your favorite music with the sound quality that suits you best.
So, start exploring the world of personalized music streaming on Spotify Desktop, and immerse yourself in the magic of high-quality audio!


