Home>Events & Info>Podcast>How To Record A Podcast On A Mac
Podcast
How To Record A Podcast On A Mac
Modified: January 22, 2024
Learn how to record a podcast on a Mac with our step-by-step guide. Discover the best software and tools to create professional-quality podcasts. Start recording your podcast today!
(Many of the links in this article redirect to a specific reviewed product. Your purchase of these products through affiliate links helps to generate commission for AudioLover.com, at no extra cost. Learn more)
Table of Contents
- Introduction
- Equipment Needed
- Setting Up Your Recording Space
- Configuring Audio Settings
- Selecting a Recording Software
- Setting Up Microphone and Headphones
- Recording Your Podcast Episode
- Editing Your Podcast Episode
- Exporting and Saving Your Podcast Episode
- Uploading and Sharing Your Podcast Episode
- Conclusion
Introduction
Podcasting has become an increasingly popular form of media, allowing individuals and businesses to share their thoughts, expertise, and stories with a global audience. It is a versatile and engaging platform that allows for long-form content and fosters a deep connection with listeners.
If you’re looking to start your own podcast and have a Mac, you’re in luck! Mac computers offer a range of powerful tools and software that make recording and editing podcasts a breeze. In this article, we’ll guide you through the process of recording a podcast on a Mac, from setting up your recording space to editing and sharing your episodes.
Before diving into the technicalities, it’s important to have a clear vision for your podcast. Think about your target audience, the topics you want to discuss, and the overall tone and style of your show. This will help you craft a podcast that resonates with your listeners and keeps them coming back for more.
Now, let’s take a closer look at the equipment you’ll need to get started.
Equipment Needed
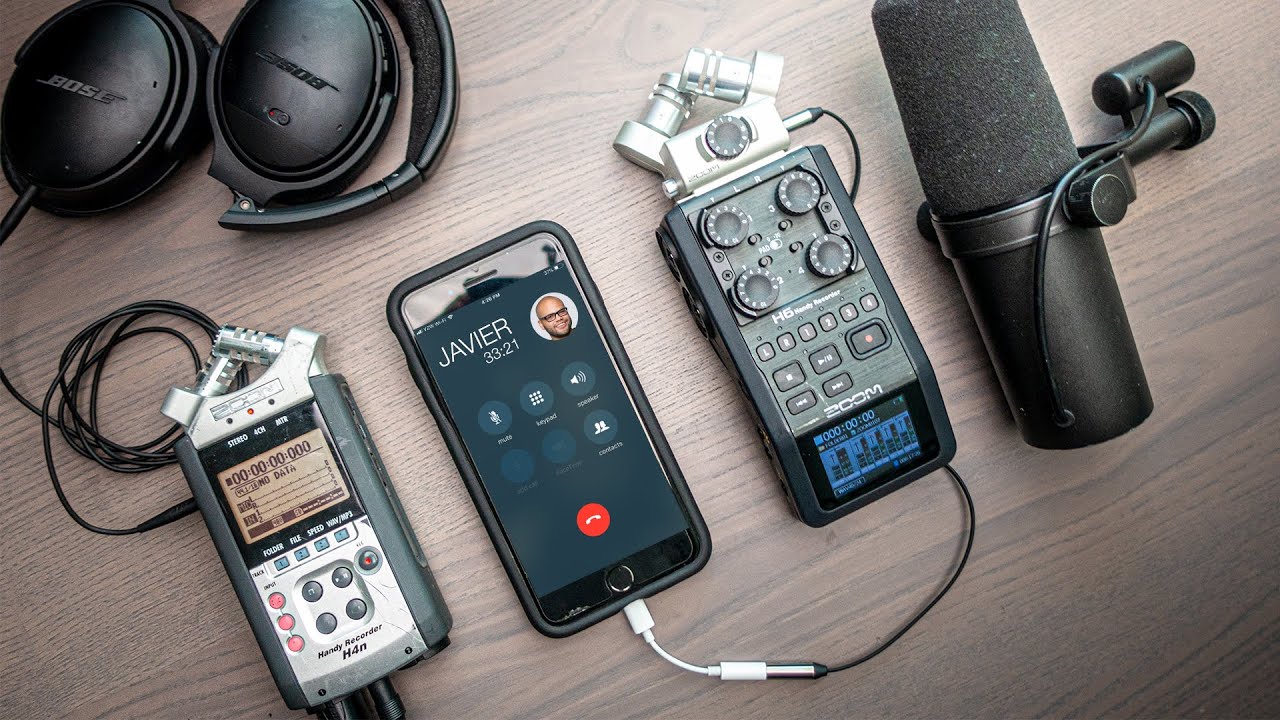
When it comes to recording a podcast on your Mac, having the right equipment is essential for high-quality audio production. Here are the key pieces of equipment you’ll need:
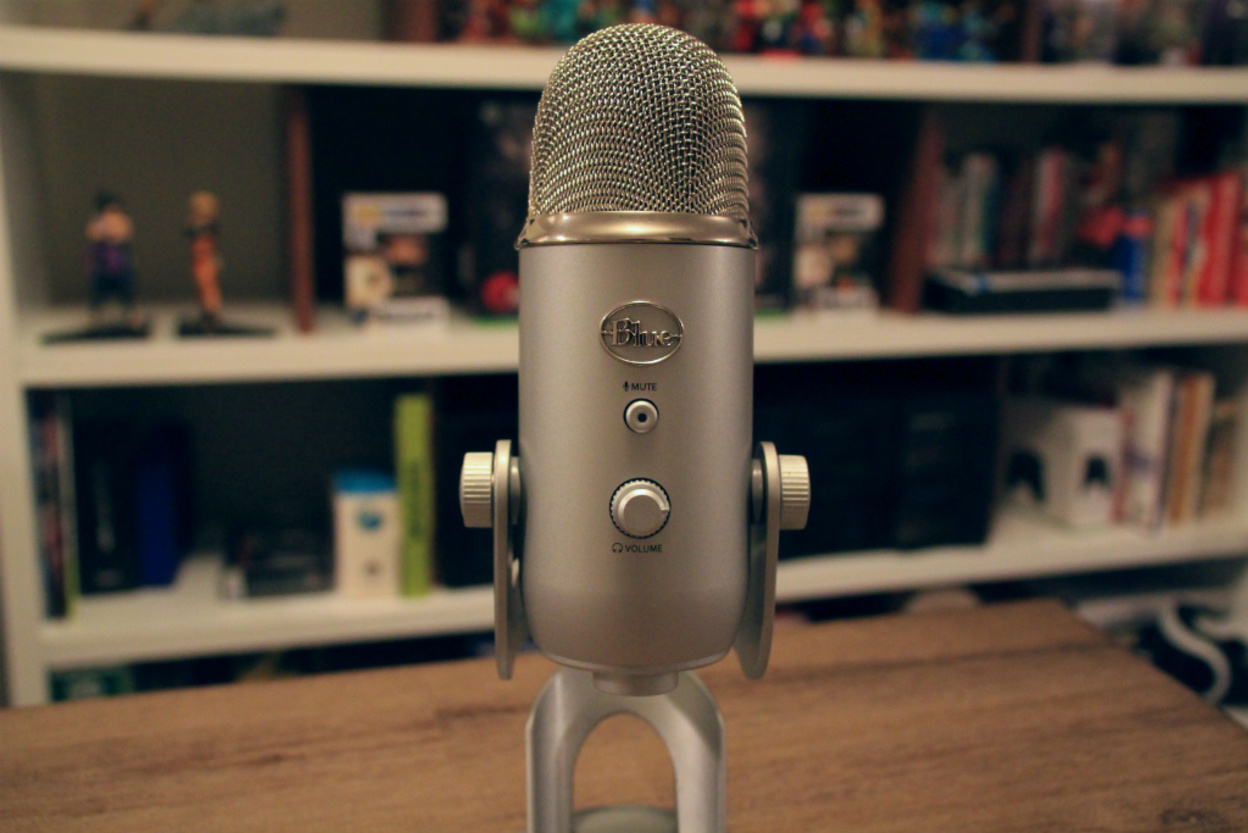
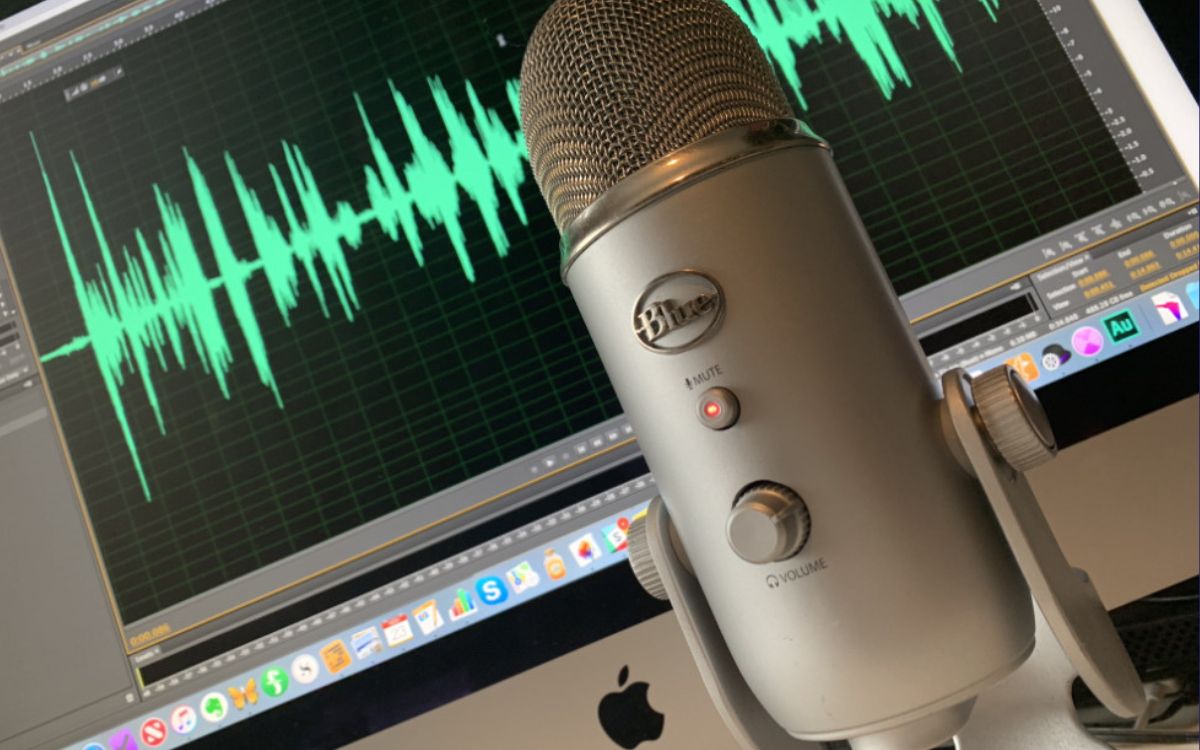
- Microphone: A good-quality microphone is the backbone of your podcasting setup. USB microphones are a popular choice as they offer simplicity and excellent sound quality. Some highly recommended options include the Blue Yeti, Audio-Technica ATR2100x-USB, and Rode NT-USB.
- Headphones: Invest in a pair of closed-back, over-ear headphones to monitor your audio while recording and editing. This will help you catch any background noise or audio issues before the final production.
- Pop Filter: A pop filter helps reduce plosive sounds (such as “p” and “b” sounds) that can cause distortion in your audio. It is a simple yet effective accessory that can significantly improve the quality of your recordings.
- Boom Arm or Mic Stand: A boom arm or mic stand allows you to position your microphone at the ideal height and angle, ensuring optimal audio capture. This helps reduce the risk of handling noise and allows for a comfortable recording experience.
- Acoustic Treatment: While not essential, acoustic treatment can greatly enhance the sound quality of your recordings. Consider investing in foam panels or bass traps to minimize echo and reverberation in your recording space.
- Pop-Up Filter or Vocal Booth: If you want to take your sound quality to the next level, you can explore pop-up filters or vocal booths. These tools help create a controlled and isolated recording environment, reducing external noise and reflections.
Remember, while it’s important to invest in quality equipment, you don’t need to break the bank. There are options available for various budget ranges, so do thorough research and read reviews before making your purchase.
With your equipment ready, let’s move on to setting up your recording space to ensure optimal audio quality for your podcasts.
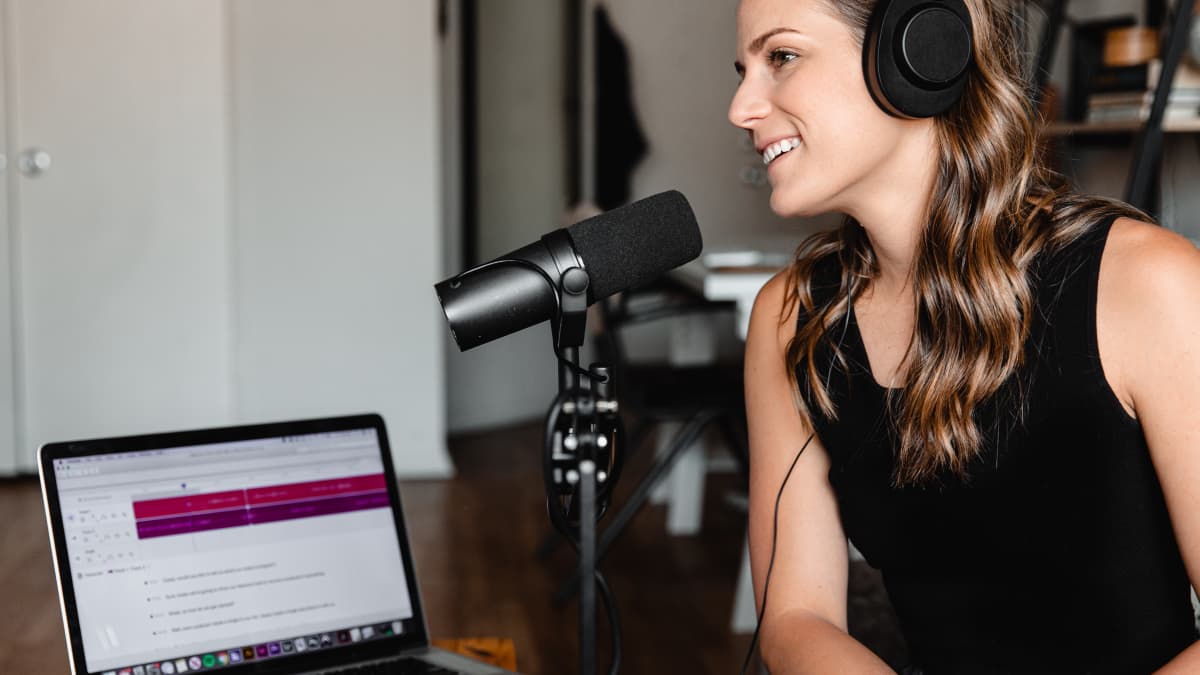
Setting Up Your Recording Space
Creating a suitable recording space is crucial for capturing clean and professional-sounding audio for your podcast. Here are a few essential considerations to keep in mind:
- Select a Quiet Space: Choose a room or area in your home that is free from excessive background noise. Avoid rooms with thin walls, near busy streets, or with noisy appliances. This will help minimize unwanted distractions during your recording sessions.
- Avoid Echoes: Ideally, select a space with minimal echo. Rooms with carpeting, curtains, and furniture tend to absorb sound and reduce reflections. If your space has hard surfaces, you can mitigate reflections by adding acoustic panels or foam to the walls.
- Clear the Clutter: Ensure that your recording space is free from clutter or objects that may create unwanted noise or vibrations. Remove any potential distractions that could interfere with the quality of your recording.
- Room Temperature and Comfort: Consider the comfort of the recording space. Ensure that the room temperature is suitable and that you have adequate ventilation to prevent discomfort during longer recording sessions.
- Position Yourself Correctly: Sit or stand a comfortable distance away from your microphone, ensuring that it is at a height that allows you to speak directly into it. Experimenting with microphone placement can help you find the optimal position for capturing your voice.
Setting up your recording space may require some trial and error to find the best configuration for your particular environment. It’s important to spend some time testing and adjusting settings to achieve the best possible audio quality. Doing so will create a professional and enjoyable listening experience for your audience.
Now that your recording space is ready, let’s move on to configuring the audio settings on your Mac.
Configuring Audio Settings
Before you start recording your podcast on your Mac, it’s important to configure the audio settings to ensure optimal sound quality and proper recording setup. Here are the steps to follow:
- Open System Preferences: Click on the Apple menu on the top left corner of your screen and select “System Preferences.”
- Go to Sound Preferences: In the System Preferences window, click on the “Sound” icon.
- Select Input and Output: In the Sound preferences, navigate to the “Input” tab and select the microphone you will be using for your podcast. Verify that the input volume is set to an appropriate level, without any distortion or background noise.
- Check Output Settings: Navigate to the “Output” tab and select the headphones or speakers you will be using for monitoring your audio. Adjust the output volume to a comfortable level.
- Configure Microphone Settings (if necessary): Some USB microphones have built-in settings that you can customize. Check the microphone manufacturer’s instructions on how to access and adjust these settings for the best audio quality.
- Test Your Audio Setup: Use the microphone to speak and monitor the sound through your headphones. Make sure you can hear yourself clearly and that there are no unusual audio issues.
Once you have configured the audio settings on your Mac, you’ll be ready to select a recording software to begin capturing your podcast episode. Continue reading to learn more about the different software options available.
Selecting a Recording Software
Choosing the right recording software is crucial for a smooth and efficient podcasting experience on your Mac. There are several options available, each with its own set of features and user interface. Here are a few popular recording software choices:
- GarageBand: If you’re just starting out and looking for a user-friendly option, GarageBand is a great choice. It comes pre-installed on Mac computers and offers a wide range of tools for recording, editing, and mixing your podcast episodes.
- Audacity: Audacity is a free and open-source software that is widely used in the podcasting community. It offers a range of features, including multi-track recording, editing, and effects. Audacity is compatible with macOS and provides a more advanced level of control for experienced podcasters.
- Adobe Audition: For podcasters seeking professional-grade software, Adobe Audition is a powerful option. It offers advanced editing capabilities, professional audio effects, and seamless integration with other Adobe Creative Cloud applications. However, it comes with a subscription fee.
- Logic Pro X: If you’re looking for a comprehensive recording and editing software specifically designed for professional audio production, Logic Pro X is an excellent choice. It offers a wide range of tools, virtual instruments, and effects to take your podcasting to the next level. However, it comes with a higher price tag and is more suitable for advanced users.
When selecting a recording software, consider your level of expertise, budget, and the specific features you require. It’s also helpful to explore tutorials and reviews to get a sense of the user experience and functionality of each software.
Now that you have chosen your recording software, it’s time to set up your microphone and headphones for optimal performance. We’ll cover that in the next section.
Setting Up Microphone and Headphones
Once you have selected your microphone and headphones, it’s important to properly set them up for optimal performance during your podcast recordings on your Mac. Here are the steps to follow:
- Connect Your Microphone: If you are using a USB microphone, simply plug it into an available USB port on your Mac. Some microphones may require additional drivers to be installed, so make sure to follow the manufacturer’s instructions.
- Position the Microphone: Set up your microphone on the boom arm or mic stand in a position that allows you to speak directly into it. Adjust the angle and distance to achieve the best sound quality. Make sure the microphone is within a comfortable reach for easy access during recordings.
- Attach the Pop Filter: If you have a pop filter, attach it to the microphone stand or boom arm. The pop filter helps minimize plosive sounds and ensures a clean audio recording.
- Connect Your Headphones: Plug in your headphones into the appropriate audio jack on your Mac or the headphone output of your audio interface (if applicable). Ensure that the headphones are securely connected and comfortable to wear during long recording and editing sessions.
- Check Microphone Input: Open your recording software and access the audio settings. Verify that your microphone is selected as the input device and that the input levels are appropriately set. Test the microphone by speaking into it and monitoring the input levels to ensure proper functionality.
- Test Headphone Output: Play back some audio or a test recording to ensure that the sound is coming through your headphones. Adjust the output volume to a comfortable level and listen for any distortions or irregularities.
It’s important to regularly check and maintain your microphone and headphones to ensure consistent performance. Clean the microphone and pop filter regularly to remove any dust or debris that may affect sound quality. Additionally, handle your headphones with care, avoiding any undue stress on the cables or connectors.
With your microphone and headphones set up properly, you’re now ready to start recording your podcast episode on your Mac. In the next section, we’ll walk you through the process of recording your podcast.
Recording Your Podcast Episode
Now that everything is set up correctly, it’s time to start recording your podcast episode on your Mac. Follow these steps to ensure a smooth and successful recording session:
- Open your chosen recording software: Launch your selected recording software, whether it’s GarageBand, Audacity, Adobe Audition, or Logic Pro X.
- Create a new project or session: Set up a new project or session within your recording software. Name it appropriately and save it to a location of your choice for easy access.
- Select the appropriate audio inputs: In the recording software, designate your selected microphone as the input source for your vocals. Make sure the microphone is active and properly recognized by the software.
- Check recording levels: Monitor the recording levels in your software, ensuring that the input levels are in the desired range. Avoid recording too softly or too loudly, as it can lead to poor audio quality.
- Adjust headphone levels: Set the volume of your headphones to a comfortable level. Ensure that you can hear your voice clearly while recording, without any distortion or background noise.
- Prepare your script or notes: If you have a script or notes for your podcast episode, have them ready to refer to during the recording. This will help you stay on track and deliver your content effectively.
- Hit record and start speaking: When you’re ready, hit the record button in your recording software and start speaking. Speak clearly and confidently, maintaining a consistent pace. Remember to avoid any unnecessary background noise or distractions.
- Take breaks when needed: If you need to pause or take a break during your recording session, do so. Later, you can edit these breaks out during the editing process.
- Review your recording: Once you’ve finished recording your episode, take some time to review your recording to ensure it meets your standards. Listen for any audio issues or mistakes that may need to be addressed during the editing phase.
Remember, practice makes perfect. Give yourself some time to get comfortable with the recording process. Don’t worry if you make mistakes or stumble over words – those can be easily fixed during the editing process.
Now that you’ve successfully recorded your podcast episode, it’s time to move on to the next step: editing and refining your recording. We’ll cover that in the next section.
Editing Your Podcast Episode
Editing plays a vital role in refining and polishing your podcast episode to deliver a professional and engaging listening experience. Follow these steps to edit your podcast episode on your Mac:
- Open your chosen editing software: Launch the editing software you have decided to use, such as GarageBand, Audacity, Adobe Audition, or Logic Pro X.
- Import your recording: Import the recorded audio file of your podcast episode into the editing software. This can usually be done by dragging and dropping the file into the editing workspace.
- Trim unwanted sections: Listen to the recording and identify any unwanted sections, such as mistakes, long pauses, or irrelevant content. Use the editing software’s tools to trim or remove these sections, ensuring a smooth flow throughout the episode.
- Enhance the audio quality: Apply audio effects and filters to improve the overall sound quality of your podcast. This may include adjusting the equalization (EQ), reducing background noise, or normalizing the audio levels for a consistent volume.
- Add music or sound effects: If desired, incorporate music or sound effects to enhance your podcast. Ensure that any copyrighted material used is properly licensed or falls within fair use guidelines.
- Adjust pacing and timing: As you listen through your recording, evaluate the pacing and timing of your speech. Make necessary adjustments to avoid any rushed or slow sections, ensuring a balanced and engaging delivery.
- Insert intros, outros, or ads: If you have recorded separate intro and outro segments or plan to include advertisements, insert them at appropriate points in your episode using the editing software.
- Smooth transitions: Apply fades or crossfades to smoothen transitions between different sections or segments of your podcast. This helps create a seamless listening experience.
- Listen and review: Once you have made your edits, listen to the edited episode in its entirety. Pay attention to any remaining audio issues or areas that may need further refinement.
Editing your podcast episode can be a creative and iterative process. Don’t be afraid to experiment, try different techniques, and trust your instincts. Remember to save your project frequently to avoid losing any progress.
With your podcast episode tightly edited and refined, it’s time to move on to the next step: exporting and saving your episode. Keep reading to learn how to do this.
Exporting and Saving Your Podcast Episode
Once you have edited your podcast episode to perfection, it’s time to export and save it in a suitable format for distribution and sharing. Follow these steps to export and save your podcast episode on your Mac:
- Select the desired export format: In your editing software, locate the export or save option. Choose a format that is widely compatible and suitable for podcasting, such as MP3 or WAV. Most podcast platforms and hosting services accept these formats.
- Set the export settings: Configure the export settings according to your preferences. This includes selecting the desired bitrate, sample rate, and audio quality. Higher bitrates and sample rates generally result in better audio quality, but they also result in larger file sizes.
- Choose the export destination: Specify the folder or location on your Mac where you want to save the exported podcast episode. Consider creating a dedicated folder to keep all your podcast episodes organized.
- Add ID3 tags and metadata: Depending on your podcast hosting platform, you may want to add ID3 tags and metadata to your exported episode. This includes information such as the episode title, description, artist, and cover art. ID3 tag editing can be done using software like iTunes or specific ID3 tag editors.
- Review and finalize: Before exporting, listen to the exported file one final time to ensure it meets your expectations in terms of quality and content. Make any necessary adjustments or edits if needed.
- Export the episode: Click the export or save button in your editing software to initiate the export process. Depending on the length of your episode and the processing power of your Mac, the export may take several minutes.
- Verify the exported file: Once the export is complete, navigate to the designated export folder and verify that the exported episode is present and functions as intended. Listen to a portion of the episode to ensure there were no issues during the export process.
Remember to save a copy of the edited project file from your editing software, in case you need to make any changes or revisit the episode in the future.
Now that you have successfully exported and saved your podcast episode, it’s time to move on to the final step: uploading and sharing your episode with your audience. Read on to learn how to do this.
Uploading and Sharing Your Podcast Episode
Now that your podcast episode is ready to be shared with the world, it’s time to upload it to a podcast hosting platform and start sharing it with your audience. Here are the steps to upload and share your podcast episode on your Mac:
- Select a podcast hosting platform: Choose a podcast hosting platform that suits your needs and budget. Popular options include Libsyn, Podbean, Anchor, and Buzzsprout. These platforms provide the infrastructure to host and distribute your podcast episodes.
- Create an account: Sign up for an account on your chosen podcast hosting platform. Follow the platform’s instructions to set up your podcast profile, including providing necessary details such as your podcast name, description, artwork, and author information.
- Upload your episode: Within your podcast hosting account, locate the option to upload a new episode. Follow the prompts to select and upload the exported podcast episode file from your Mac. Provide the relevant information, such as the episode title, description, and any additional metadata.
- Set episode details: Configure the episode details, including the episode number, release date, show notes, and any other relevant information. You may also have options to customize the artwork or add chapter markers to enhance the listener experience.
- Preview and publish: Review the episode details and ensure everything is accurate. Take advantage of any preview or playback options provided by the hosting platform to ensure the episode sounds and appears as intended. Once satisfied, publish the episode to make it available to your audience.
- Optimize for SEO: Consider optimizing your podcast episode for search engine optimization (SEO). This involves including relevant keywords in the episode title, description, and show notes to help increase its discoverability in search engines and podcast directories.
- Share your episode: Use the sharing features provided by your podcast hosting platform to distribute your episode. This may include generating an embeddable player for your website or sharing direct links to your episode on social media platforms, email newsletters, or other promotional channels.
- Engage with your audience: Encourage listeners to subscribe, leave reviews, and provide feedback on your podcast episodes. Engaging with your audience will help foster a loyal community and attract new listeners.
Keep in mind that it may take some time for your episode to propagate to podcast directories, so don’t be discouraged if it doesn’t immediately appear. Monitor your podcast hosting platform’s analytics and track your episode’s performance to gain insights into your audience and refine your podcasting strategy.
Congratulations! You have successfully uploaded and shared your podcast episode. Now, continue creating and sharing compelling content to grow your podcast and connect with your audience.
Conclusion
Recording a podcast on a Mac is an exciting and accessible way to share your thoughts, stories, and expertise with a global audience. With the right equipment, software, and know-how, you can create professional and engaging podcast episodes from the comfort of your own home.
In this guide, we’ve walked you through the essential steps to record, edit, and share your podcast episodes on your Mac. We started by discussing the equipment needed, including microphones, headphones, and accessories to ensure high-quality audio production.
We then delved into setting up your recording space, highlighting the importance of selecting a quiet and well-treated area to minimize background noise and echoes. We also emphasized the need for comfort and proper positioning while recording.
Configuring the audio settings on your Mac is crucial for achieving optimal sound quality. We provided instructions on how to access and adjust the input and output settings, ensuring your microphone and headphones are properly set up for recording.
Selecting the right recording software is crucial for a seamless podcasting experience. We discussed popular options such as GarageBand, Audacity, Adobe Audition, and Logic Pro X, each offering its own set of features and user interfaces.
We then covered the process of setting up your microphone and headphones, ensuring they are connected correctly and positioned for optimal recording quality. We also emphasized the importance of checking input and output levels to avoid any audio issues.
The next step involved actually recording your podcast episode, covering topics such as preparing your script or notes, hitting the record button, and speaking clearly and confidently into the microphone. We also highlighted the importance of taking breaks when needed and reviewing the recording before proceeding.
Once the recording was complete, we moved on to the editing process. We provided steps for trimming unwanted sections, enhancing the audio quality, adding music or sound effects, and refining the pacing and timing of your episode. We also discussed the importance of reviewing the edited episode to ensure it meets your standards.
Exporting and saving your podcast episode in a suitable format was the next topic we covered. We explained the importance of selecting the appropriate export settings, adding ID3 tags and metadata, and reviewing the exported file for any issues.
Finally, we discussed the process of uploading and sharing your podcast episode on a hosting platform. We emphasized the need for selecting a podcast hosting platform that meets your needs, uploading the episode, setting episode details, optimizing for SEO, and engaging with your audience.
Recording a podcast on a Mac can be a rewarding and creative endeavor. Take the knowledge and steps outlined in this guide, apply your unique voice and perspective, and embark on a podcasting journey that captivates and connects with listeners around the world.