Home>Instruments>Bass>How To Record Bass Guitar

Bass
How To Record Bass Guitar
Modified: February 17, 2024
Learn how to record bass guitar with expert tips and techniques. Enhance your bass tracks and achieve professional quality sound.
(Many of the links in this article redirect to a specific reviewed product. Your purchase of these products through affiliate links helps to generate commission for AudioLover.com, at no extra cost. Learn more)
Table of Contents
Introduction
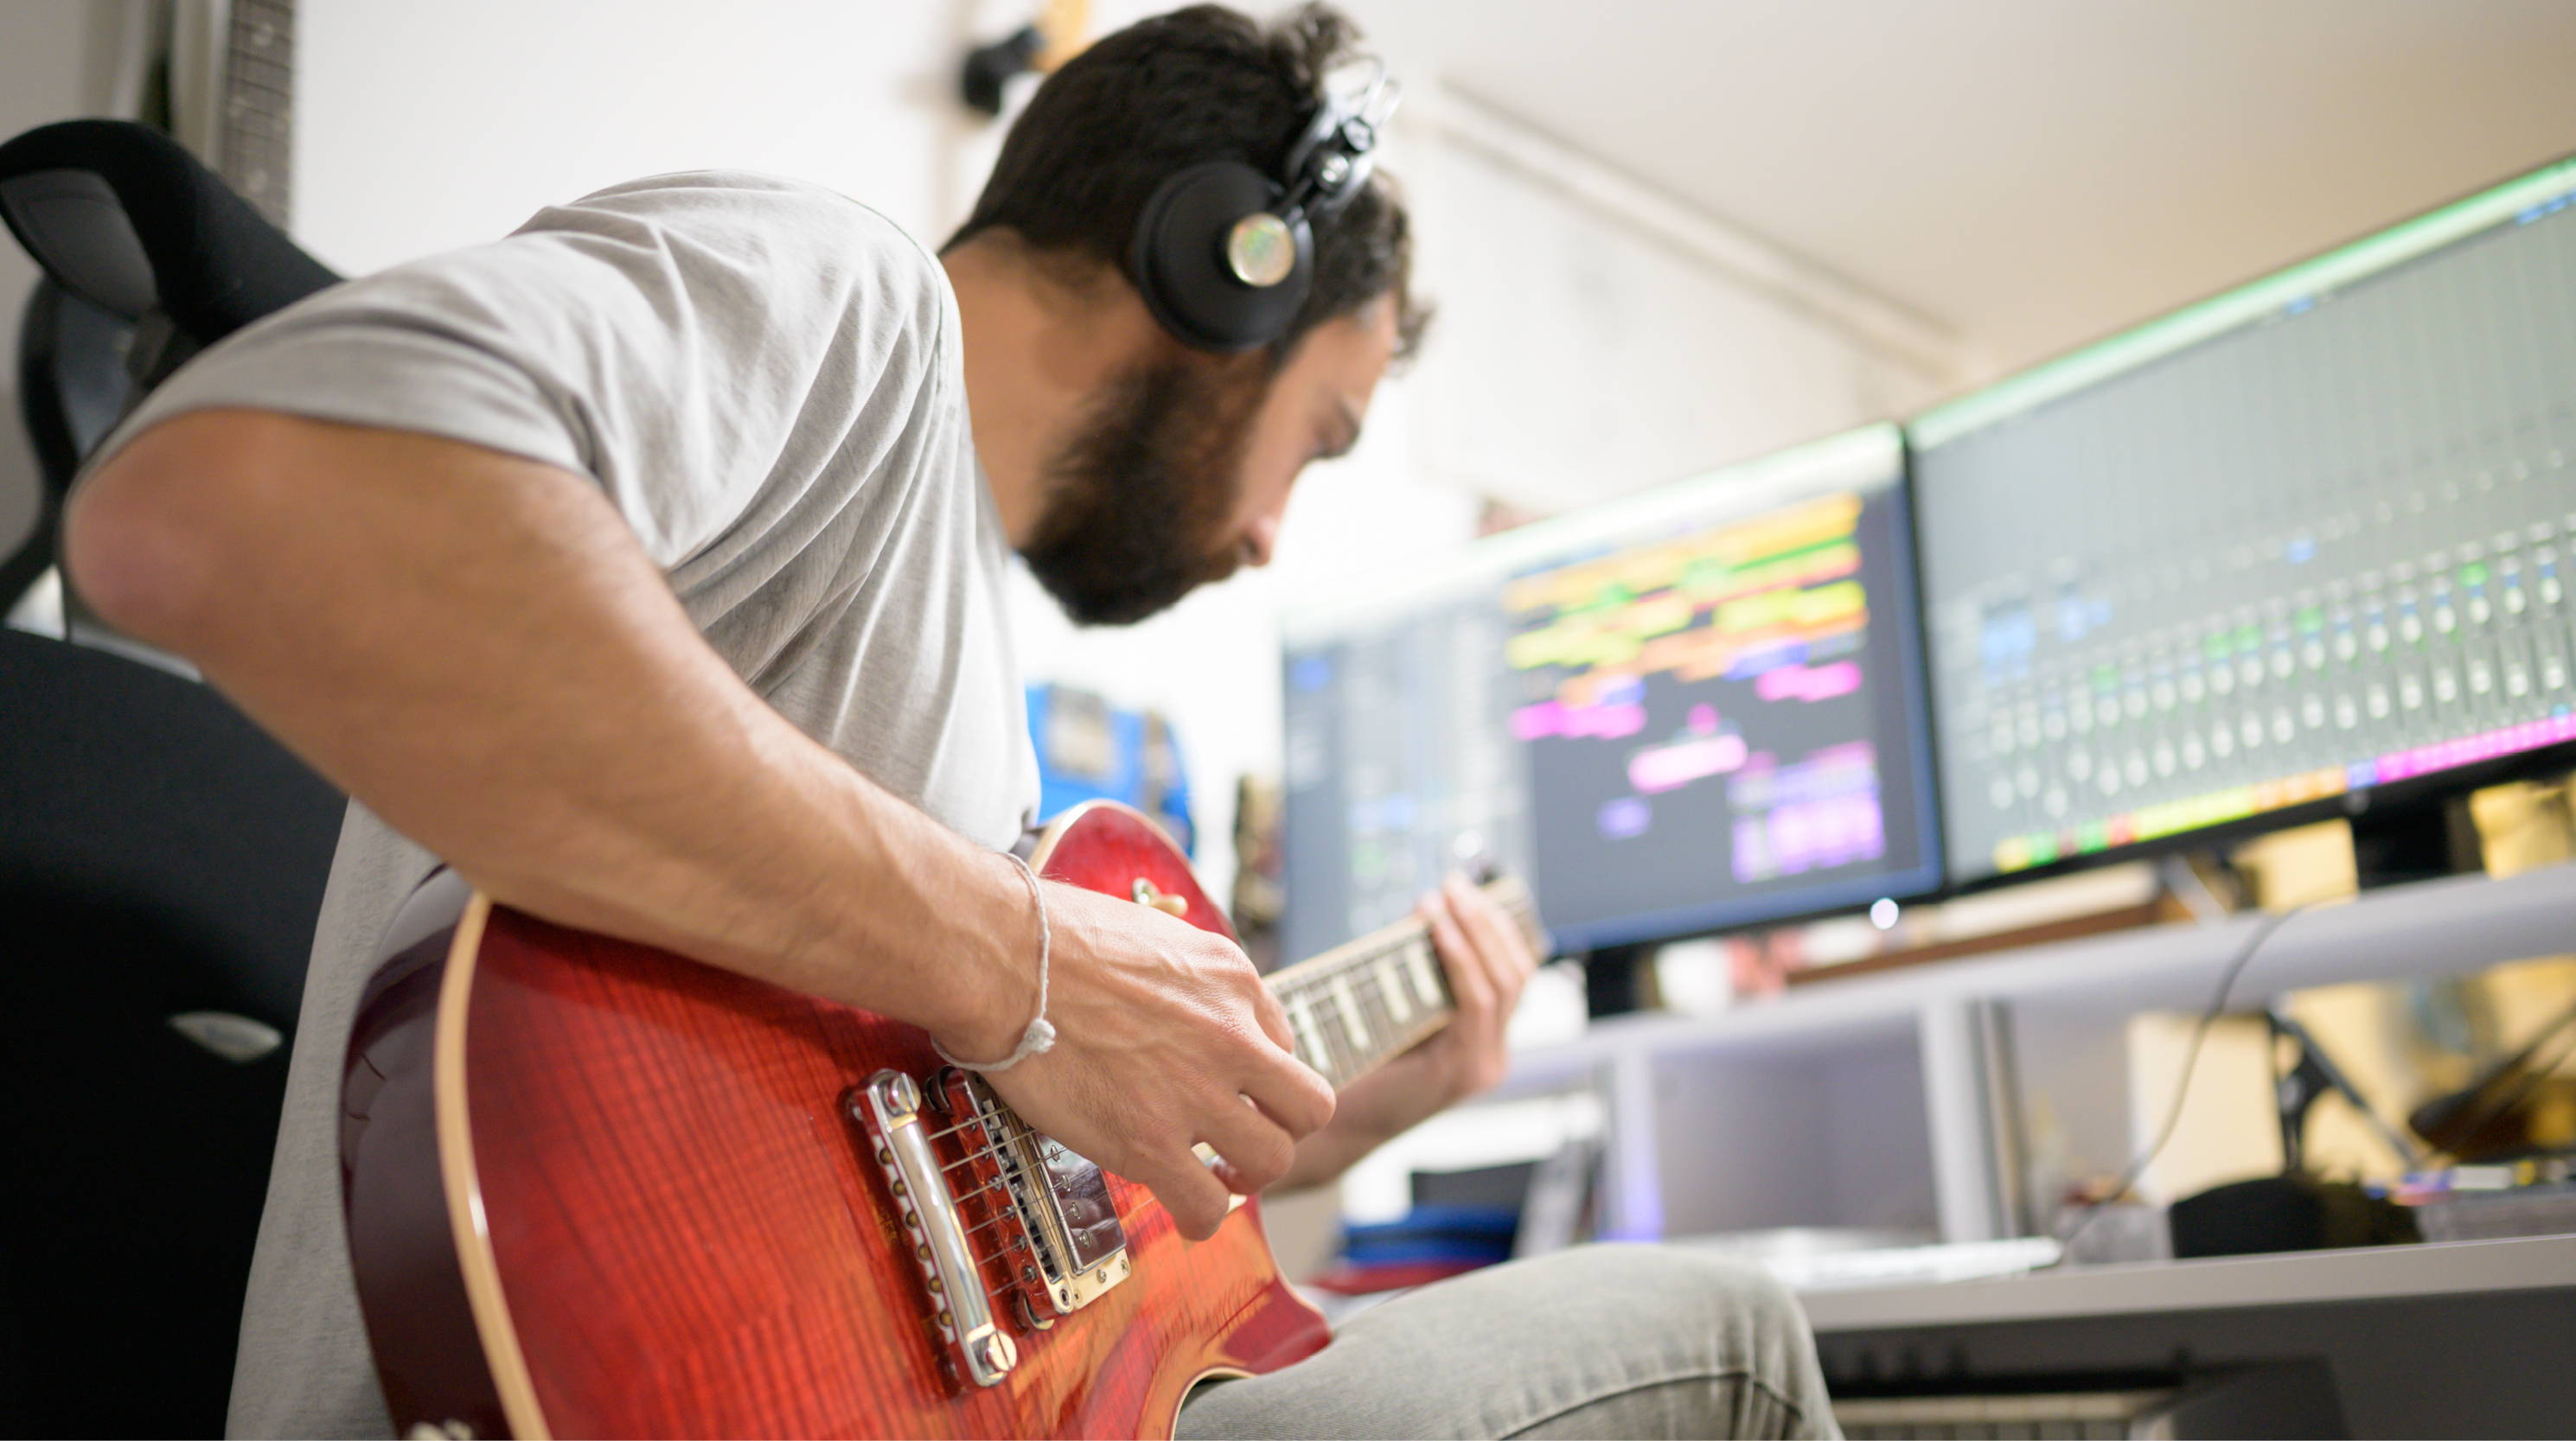
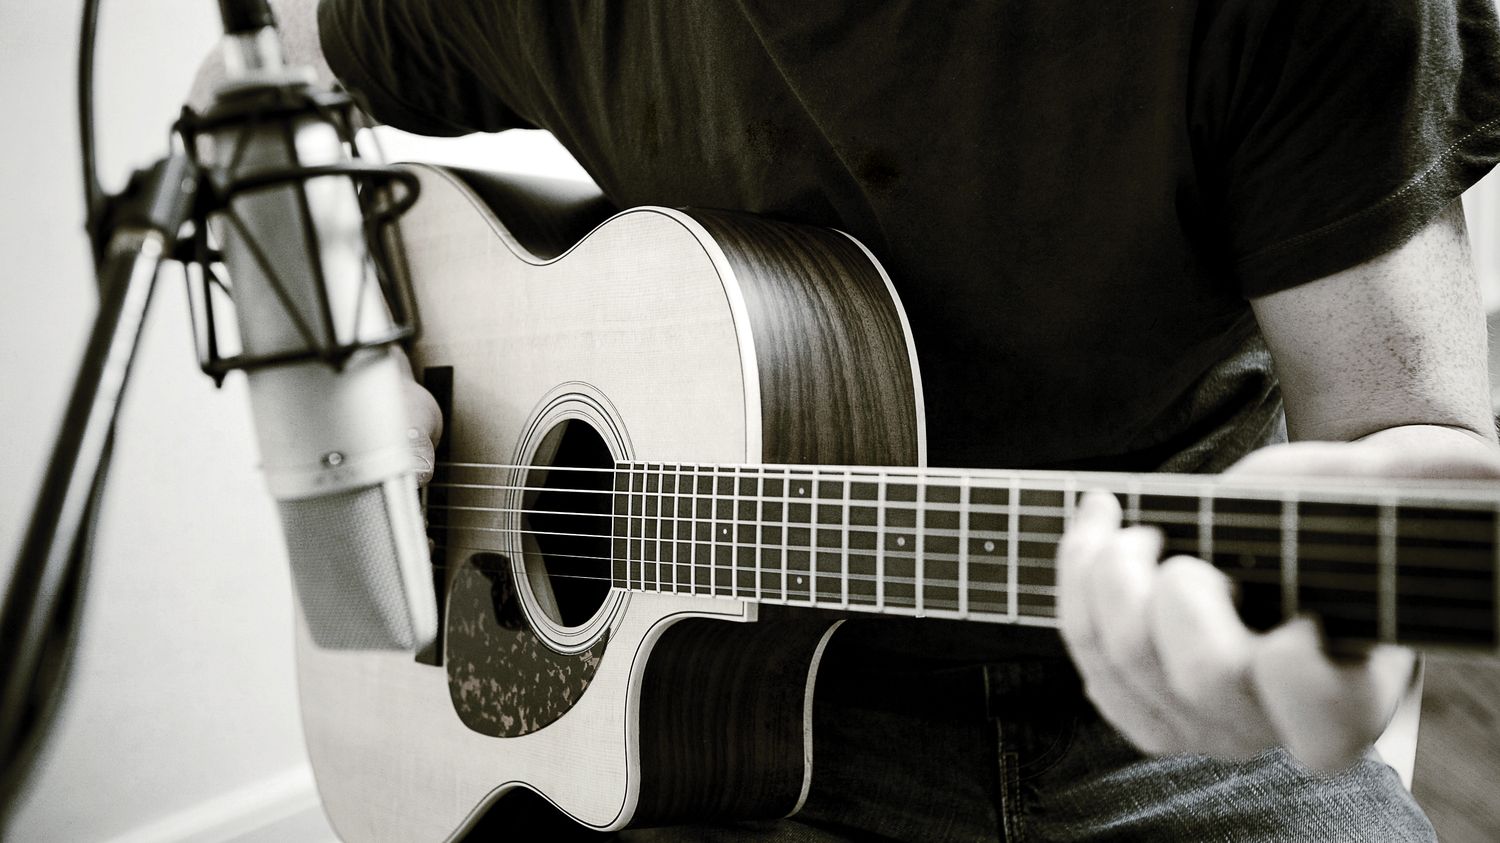
The bass guitar is an integral part of many musical genres, providing a rich and full-bodied low-end foundation to any composition. Whether you’re a beginner looking to capture your bass playing skills or a seasoned professional aiming for a high-quality recording, understanding the techniques and equipment involved in recording bass guitar can greatly enhance your final sound.
In this article, we will explore the step-by-step process of how to record bass guitar, covering everything from selecting the right equipment to editing and post-production. Whether you’re using a dedicated bass amp or a direct recording method, these guidelines will help you achieve a clear, punchy, and professional bass sound.
Before we dive into the technical aspects of recording, it’s important to note that the performance itself is key. A well-played and well-crafted bass part is the foundation of a great recording. Focus on your playing technique, timing, and tone to ensure the best possible outcome.
Now, let’s get started with the first crucial step: choosing the right equipment.
Choosing the Right Equipment
When it comes to recording bass guitar, having the right equipment is essential to capture the true essence of the instrument. Here are some key components to consider:
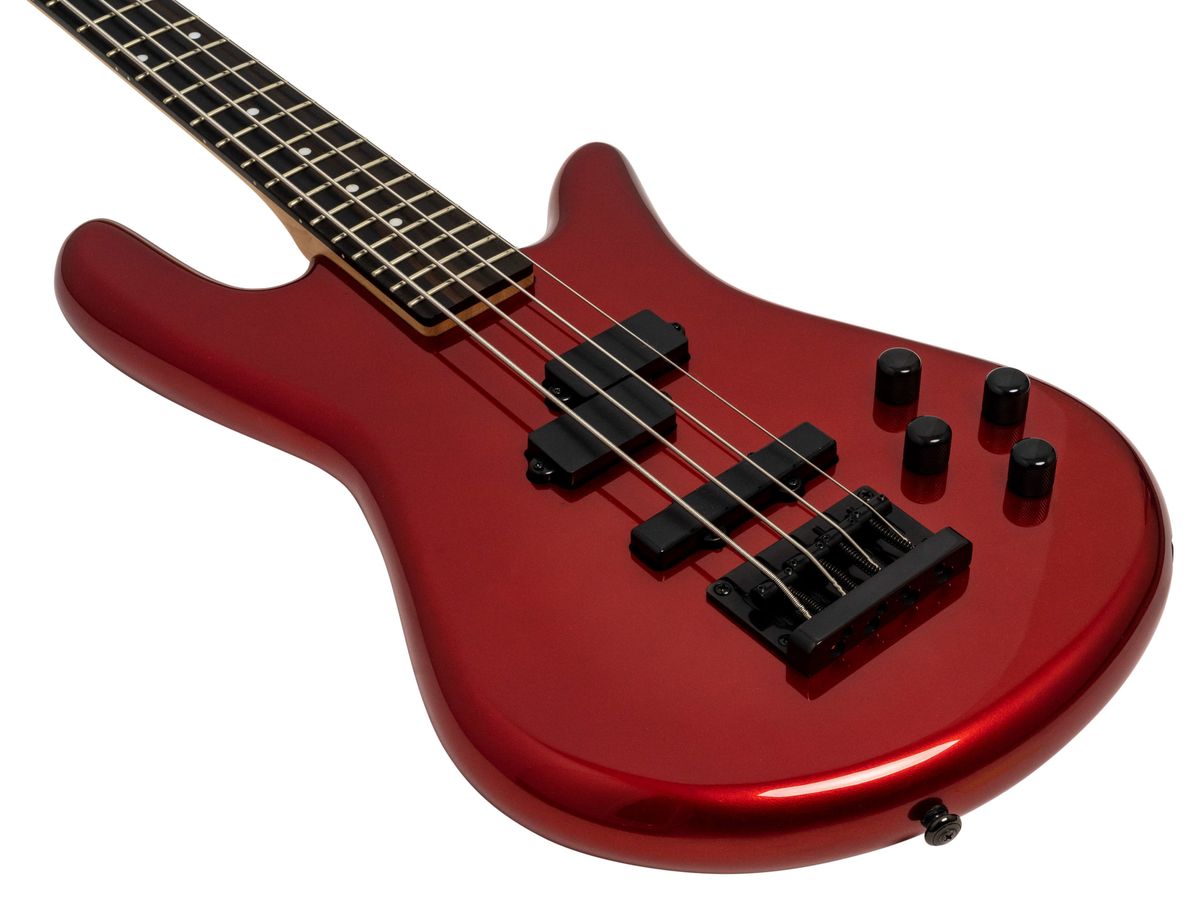
- Bass Guitar: Start by selecting a high-quality bass guitar that suits your playing style and genre preferences. Different bass guitars offer distinct tones, so consider factors such as the type of wood, pickups, and overall construction to achieve the desired sound.
- Amplifier: Choosing the right bass amplifier is crucial for shaping your tone. Options range from classic tube amps to modern solid-state amps, each with its own sonic characteristics. Experimenting with different amplifiers will help you find the perfect match for your style.
- Audio Interface: An audio interface serves as the bridge between your bass guitar and your computer. Look for an interface with high-quality preamps and suitable inputs to connect your bass guitar directly or through a microphone.
- Cables: Invest in high-quality instrument cables to ensure a clean and noise-free signal transfer. Poor-quality cables can introduce unwanted hums and signal degradation.
- Microphone: If you prefer to capture the sound of your bass amp, consider using a microphone. Dynamic microphones like the Shure SM57 are popular choices for recording bass amps, as they can handle high sound pressure levels and offer excellent frequency response.
- Headphones and Monitors: A reliable pair of studio headphones allows you to closely monitor the recorded sound. It’s also beneficial to have studio monitors, which provide an accurate representation of the low frequencies in your mix.
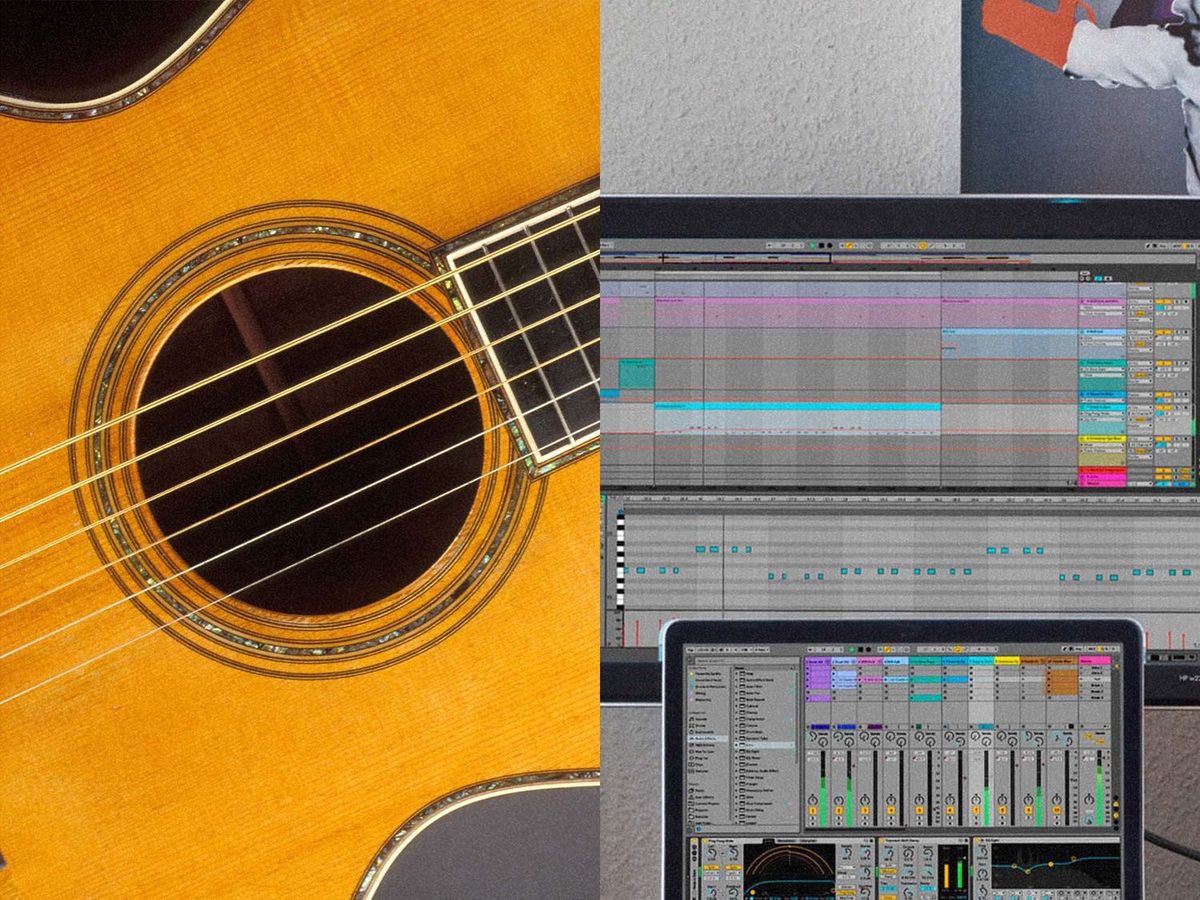
- DAW (Digital Audio Workstation): A DAW is software that allows you to record, edit, and mix your bass guitar tracks. Popular options include Pro Tools, Logic Pro, and Ableton Live. Choose a DAW that you feel comfortable working with and that suits your recording needs.
Remember, the quality of your equipment and the way you set it up can significantly impact the final sound of your bass guitar recording. Take the time to research and invest in gear that matches your budget and musical goals.
Setting Up the Recording Space
Creating an optimal recording environment is crucial for capturing a clean and professional bass guitar sound. While it may be ideal to have a dedicated soundproofed studio, there are still steps you can take to improve your recording space, even if it’s a home setup. Here’s how to set up your recording space:
- Absorb Unwanted Noise: Start by minimizing external noise that can interfere with your recording. Close windows, doors, and any other sources of background noise. You can also use soundproofing materials like acoustic foam or blankets to absorb sound reflections.
- Arrange the Room: Position your recording equipment and bass guitar in an optimal location within the room. Experiment with different placements to find the sweet spot where the bass sound is well-balanced and resonant.
- Avoid Room Resonance: Rooms can introduce unwanted resonances that color the sound of your bass guitar. To minimize this, add bass traps to absorb low-frequency resonances and use diffusers to scatter mid and high frequencies.
- Monitor Placement: Position your studio monitors or headphones in a way that allows you to accurately hear the bass frequencies. Placing them at ear level and creating an equilateral triangle with your head being the third point can help achieve a balanced and accurate listening environment.
- Maintain Good Acoustic Conditions: Consider the overall acoustics of the room. Large bare walls can create harsh reflections, so adding curtains, carpets, or other soft materials can help dampen the sound and create a more controlled recording space.
- Ensure Proper Ventilation and Temperature: It’s essential to have adequate ventilation and maintain a comfortable temperature in your recording space. Excessive heat or humidity can affect the performance of your equipment and lead to unwanted noise.
By paying attention to the setup and acoustics of your recording space, you can minimize unwanted noise, reduce room resonances, and ensure an accurate representation of your bass guitar sound. Remember, a well-controlled recording environment sets the foundation for a high-quality recording.
Preparing the Bass Guitar
Before you start recording your bass guitar, it’s essential to properly prepare the instrument to ensure optimal sound quality. Here are some key steps to consider:
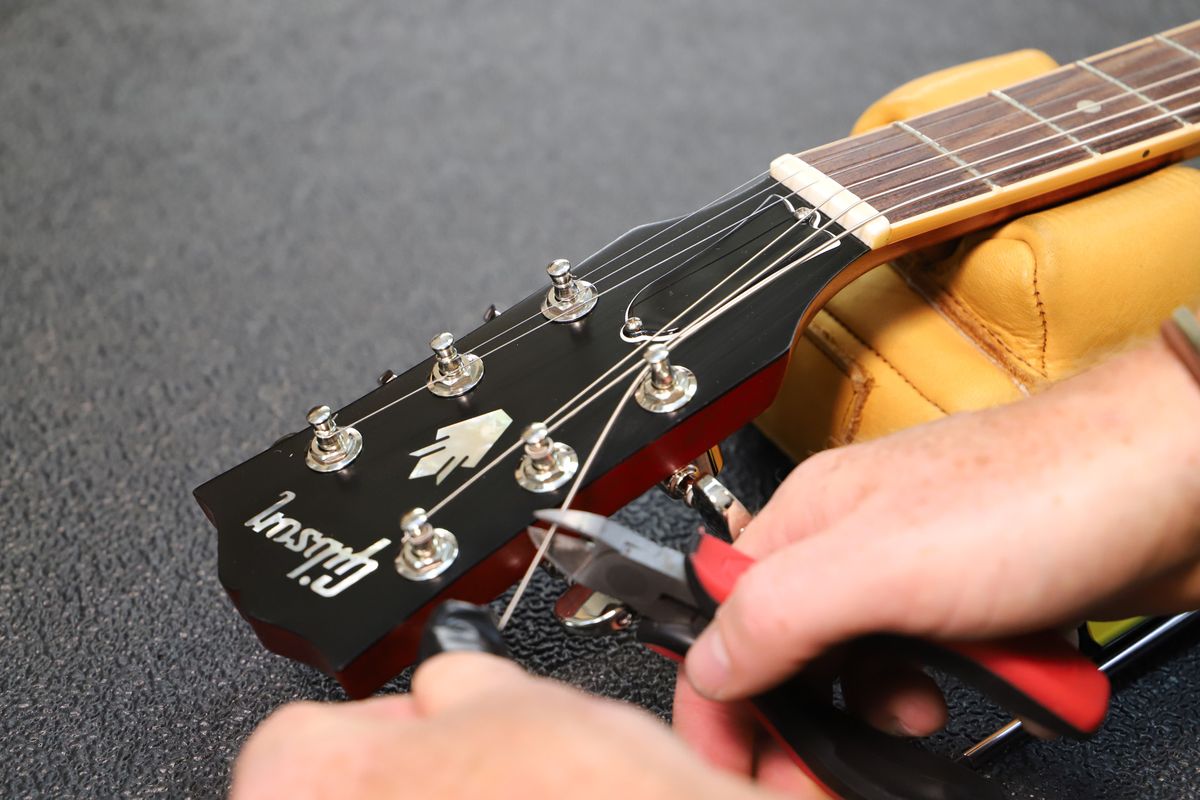
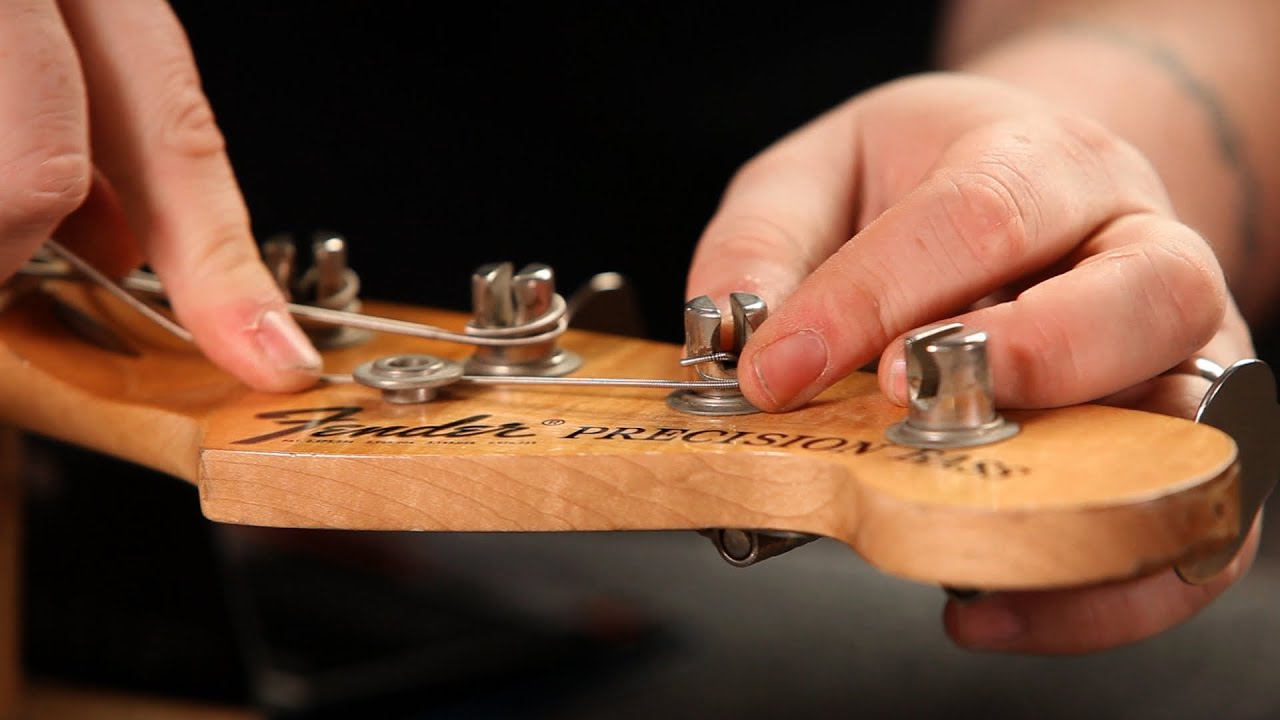
- String Maintenance: Make sure your bass guitar strings are in good condition. Old, worn-out strings can produce an undesirable tone and may cause tuning instability. Consider replacing your strings if they are dull, rusty, or have lost their elasticity.
- Tuning: Ensure that your bass guitar is in tune before recording. Using an electronic tuner or tuning app can help you achieve accurate tuning. Properly tuned strings will result in a cohesive and harmonious sound throughout your recording.
- Action and Intonation: Check the action (the height of the strings from the fretboard) and intonation (the accuracy of the pitch at different frets) of your bass guitar. Adjustments may be necessary to optimize playability and intonation. Consult a professional guitar technician if you’re unsure how to make these adjustments.
- Cleanliness: Clean your bass guitar before recording to remove any dirt, debris, or fingerprints. Use a soft cloth to wipe down the body, neck, and strings. Clean strings ensure a clear and articulate sound while preventing premature wear and corrosion.
- Check Electronics: Ensure that all the knobs, switches, and pickups on your bass guitar are functioning properly. Test each component to make sure there are no connectivity issues or unwanted noise. Address any issues before starting your recording session.
- Eliminate Buzzing or Rattling: Pay attention to any buzzing or rattling noises that may occur when playing certain notes or strings. These can be caused by loose hardware, worn frets, or improper setup. Address these issues for a cleaner and more consistent sound.
Taking the time to prepare your bass guitar before recording will ensure that it performs at its best and delivers the desired tone. By maintaining your instrument and addressing any issues in advance, you can focus on capturing a high-quality recording without any unnecessary distractions.
Connecting the Bass Guitar to the Audio Interface
Once you have your bass guitar properly prepared, it’s time to connect it to your audio interface to start recording. Here’s a step-by-step guide to help you:
- Select the Input: Identify the appropriate input on your audio interface for connecting your bass guitar. Most audio interfaces have dedicated instrument inputs labeled as “Hi-Z” or “Instrument.”
- Use a Direct Connection: If you want a clean, direct sound, connect your bass guitar directly to the instrument input using a high-quality instrument cable. This method is commonly used for recording genres like jazz, funk, or when a clean and punchy sound is desired.
- Consider Using a Direct Box: For more flexibility and tonal shaping options, you can use a direct box (DI box) between your bass guitar and the audio interface. A DI box can provide impedance matching, balanced output, and ground isolation, which can result in a cleaner and more professional sound.
- Adjust Input Gain: Set the input gain on your audio interface to an appropriate level. Start with a low gain setting and gradually increase it while playing the bass guitar. Aim for a level that captures your playing dynamics without clipping or distorting the signal.
- Monitor the Sound: Connect your headphones or studio monitors to the audio interface to monitor the sound. Ensure that you are hearing a clear and balanced representation of your bass guitar sound.
- Check for Latency: Latency, or the delay between playing your bass guitar and hearing the sound, can be an issue when recording through a computer. Adjust the buffer size in your recording software to minimize latency and ensure a real-time playing experience.
Remember to follow the manufacturer’s instructions for your specific audio interface and refer to the user manual for any additional setup requirements. Connecting your bass guitar properly to the audio interface will ensure a clean and accurate signal for recording and monitoring purposes.
Adjusting Levels and Settings
After connecting your bass guitar to the audio interface, it’s important to adjust levels and settings to ensure optimal recording quality. Here are some key steps to follow:
- Input Gain: Start by adjusting the input gain on your audio interface to achieve the desired signal level. Aim for a level that captures your playing dynamics without clipping or distorting the signal. Use the level meters on your interface or in your recording software to monitor the input levels.
- Monitor Volume: Set the volume level of your headphones or studio monitors to a comfortable level. Make sure you can clearly hear and analyze the sound without causing any discomfort or fatigue.
- Equalization (EQ): Depending on your desired tone, you may need to apply some EQ adjustments. Use EQ plugins or the built-in EQ on your audio interface or recording software to shape the bass guitar sound. Experiment with boosting or cutting frequencies to tailor the tone to fit the mix or achieve the desired sonic characteristics.
- Compression: Consider using compression to control the dynamics of your bass guitar. Compression can help to even out volume inconsistencies and add sustain to your sound. Experiment with different compression settings to find the desired balance between dynamics and control.
- Effects: If you’re looking to add some creative flair to your bass guitar sound, explore the use of effects such as reverb, chorus, or overdrive/distortion. However, exercise caution with effects and ensure they enhance the overall sound without overpowering it.
- Monitoring: Continuously monitor the sound as you adjust levels and settings. Listen for any unwanted noise, distortion, or imbalances in the mix. Make subtle adjustments until you achieve a well-balanced and satisfying bass guitar sound.
- Save Presets: Once you’ve dialed in a sound that you’re happy with, consider saving it as a preset on your recording software or audio interface. This way, you can easily recall your settings for future recording sessions.
Keep in mind that adjusting levels and settings is a subjective process and may vary depending on your musical preferences and the requirements of the specific recording. Trust your ears and make adjustments that best serve the overall mix and the sound you want to achieve.
Recording Techniques
When it comes to recording bass guitar, there are different techniques you can employ to capture the sound and performance you desire. Here are a few commonly used techniques:
- Direct Recording: This technique involves connecting your bass guitar directly to the audio interface or DI box without using an amplifier. Direct recording offers a clean, focused, and consistent sound, making it ideal for genres like funk, pop, or when a precise and controlled bass tone is desired.
- Mic’ing a Bass Amplifier: If you prefer the sound of a bass amplifier, you can use a microphone to capture the sound coming from the amp. Position a dynamic microphone, such as the Shure SM57, in front of the bass amp’s speaker. Experiment with different mic placements to find the sweet spot that captures the desired tone and character of the amplifier.
- Combining Direct Signal and Mic’d Sound: For a more versatile sound, you can blend the direct signal from your bass guitar with the sound captured from a mic’d amplifier. This technique allows you to have the clarity and control of the direct signal while capturing the warmth and character of the amplifier.
- Double Tracking: Double tracking involves recording the bass guitar part twice and panning one track to the left and the other to the right in the stereo field. This technique can add width and depth to the bass sound, creating a larger and more immersive sonic image.
- Layering: Layering involves recording multiple bass guitar parts to create a thicker and more powerful sound. This can be achieved by using different bass guitars, amplifiers, or effects. Experiment with layering to add complexity and richness to your bass recordings.
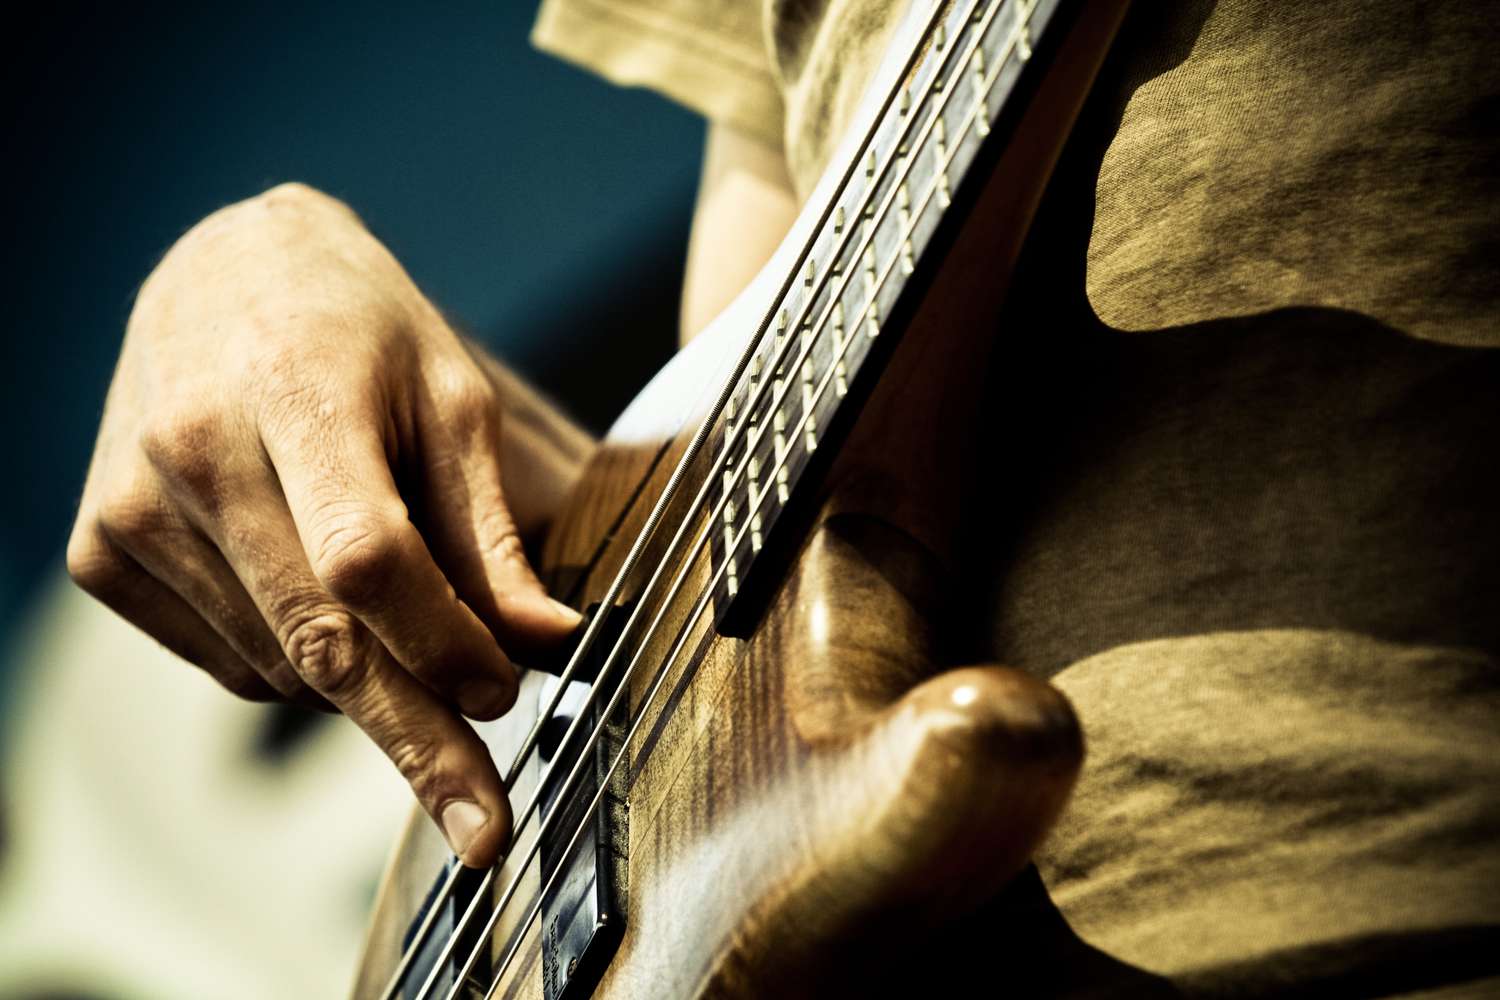
- Performance Techniques: Don’t be afraid to experiment with different playing techniques to add variation and interest to your bass parts. Techniques such as slides, pops, and slaps can bring a dynamic and expressive element to your recordings.
Remember, the recording technique you choose will depend on your musical style, the desired tone, and the overall vision for the recording. Don’t be afraid to try different techniques and embrace experimentation to find what works best for your bass guitar sound.
Editing and Post-Production
Once you have recorded your bass guitar tracks, the next step is editing and post-production. This stage allows you to refine your recordings, fix any errors, and enhance the overall sound. Here are some key steps to consider:
- Editing: Start by listening to your recordings and identifying any mistakes, unwanted noises, or inconsistencies. Use your recording software’s editing tools to cut, trim, and rearrange sections as needed. Pay attention to timing, note accuracy, and the overall flow of your bass guitar parts.
- Cleaning Up: In some cases, you may encounter unwanted noise such as background hiss, hum, or string squeaks. Use noise reduction plugins or manual editing techniques to minimize or remove these noises while preserving the integrity of your bass guitar sound.
- Comping: If you recorded multiple takes of the same bass guitar part, comping allows you to select the best sections from each take to create a cohesive and polished performance. Take the time to carefully listen to each take and choose the strongest sections to construct a seamless and expressive bass part.
- Quantizing: If your recorded bass guitar parts have timing inconsistencies, consider using quantization to correct any subtle timing issues. However, be mindful not to over-quantize, as it can remove the natural feel and groove of the performance. Aim for a balance between precision and maintaining the human element.
- Adding Effects: During post-production, you can experiment with different effects to enhance the bass guitar sound. Effects like reverb, delay, chorus, or modulation can add depth, width, and character to your bass recordings. Use them tastefully to enhance the overall mix without overpowering the bass guitar’s role in the music.
- Mixing: When mixing your bass guitar tracks, ensure that it sits well in the overall mix. Pay attention to the EQ balance, ensuring that it occupies the appropriate frequency range without clashing with other instruments. Use panning, stereo imaging, and volume automation to create space and clarity in the mix.
- Mastering: If you’re preparing your bass guitar recordings for release, consider the final mastering stage. Mastering involves finalizing the overall sound of your tracks, balancing the levels, applying compression and equalization, and preparing them for distribution in various formats.
Remember, the editing and post-production process is subjective and depends on your artistic preferences and the specific requirements of the project. Take the time to carefully listen, make adjustments, and ensure that your bass guitar tracks complement the overall mix and achieve the desired sonic result.
Conclusion
Recording bass guitar is an exciting and essential part of capturing the full sound and groove of your music. With the right equipment, recording techniques, and attention to detail, you can achieve professional-quality recordings that showcase the power and depth of the bass guitar.
Throughout this article, we’ve covered the key steps involved in recording bass guitar, including choosing the right equipment, setting up the recording space, preparing the instrument, connecting it to the audio interface, adjusting levels and settings, employing recording techniques, and finally, editing and post-production.
Remember, the performance itself is crucial, so take the time to perfect your playing technique, timing, and tone before diving into recording. Additionally, experimenting with different recording techniques, such as direct recording or mic’ing an amplifier, can provide you with a range of tonal options to suit different musical styles.
After recording, the editing and post-production stage allows you to address any mistakes, enhance the sound, and ensure that your bass guitar tracks integrate smoothly into the overall mix. Paying attention to details such as cleanliness, timing, and the use of effects can have a significant impact on the final result.
Ultimately, recording bass guitar is a creative process that requires experimentation, active listening, and attention to detail. By honing your recording skills and utilizing the techniques and guidelines discussed in this article, you can capture the true essence and soul of the bass guitar in your recordings.
So, grab your bass guitar, prepare your recording space, and let your creativity flow as you embark on the exciting journey of recording bass guitar.