Home>Production & Technology>Stereo>How To Connect Computer To Stereo Receiver

Stereo
How To Connect Computer To Stereo Receiver
Modified: January 22, 2024
Learn how to connect your computer to a stereo receiver and enjoy high-quality sound with our step-by-step guide. Enhance your audio experience by integrating your stereo system with your computer.
(Many of the links in this article redirect to a specific reviewed product. Your purchase of these products through affiliate links helps to generate commission for AudioLover.com, at no extra cost. Learn more)
Table of Contents
- Introduction
- Step 1: Gather the necessary cables and connectors
- Step 2: Locate the audio output ports on your computer
- Step 3: Find the corresponding audio input ports on your stereo receiver
- Step 4: Connect the computer to the stereo receiver using the appropriate cables
- Step 5: Adjust the audio settings on your computer and stereo receiver
- Step 6: Test the connection and enjoy your music through the stereo receiver
- Conclusion
Introduction
Connecting your computer to a stereo receiver opens up a whole new world of audio possibilities. Whether you want to listen to your favorite music with enhanced sound quality or enjoy a home theater experience, connecting your computer to a stereo receiver can greatly enhance your audio experience.
By connecting your computer to a stereo receiver, you can harness the power of your computer’s audio capabilities and play music, movies, or any other audio content through your high-quality stereo system. This allows you to enjoy a richer, more immersive sound experience that is not possible through the computer’s built-in speakers.
Additionally, connecting your computer to a stereo receiver can also enable you to take advantage of the advanced audio decoding and processing capabilities of your receiver. This means you can benefit from features such as surround sound, equalization settings, and volume control, which can further enhance your listening experience.
In this guide, we will walk you through the step-by-step process of connecting your computer to a stereo receiver, so you can start enjoying your audio content with improved sound quality and versatility. Whether you’re a music enthusiast, a movie lover, or simply looking to upgrade your computer’s audio capabilities, this guide will provide you with all the information you need to successfully connect your computer to a stereo receiver.
Step 1: Gather the necessary cables and connectors
Before you can connect your computer to a stereo receiver, you will need to gather the necessary cables and connectors. The specific cables you will need may vary depending on the input and output ports available on your computer and stereo receiver. Here are some commonly used cables and connectors:
- 1. Stereo RCA cables: These cables feature red and white connectors on each end and are used to carry analog audio signals.
- 2. 3.5mm to RCA cable: This cable has a 3.5mm audio jack on one end, which connects to your computer’s headphone or audio output port, and RCA connectors on the other end for connecting to the stereo receiver’s input ports.
- 3. HDMI cable: If your computer and stereo receiver support HDMI connectivity, you can use an HDMI cable to transmit both audio and video signals.
- 4. Optical or digital coaxial cable: These cables transmit digital audio signals and are commonly used for connecting devices with optical or digital coaxial audio ports.
Make sure to check the available audio input and output ports on your computer and stereo receiver to determine the cables and connectors you need for the connection. It’s also a good idea to measure the required cable length to ensure you have enough reach to make the connection between your computer and stereo receiver.
Once you have gathered the necessary cables and connectors, you’re ready to move on to the next step in the process of connecting your computer to a stereo receiver.
Step 2: Locate the audio output ports on your computer
In order to connect your computer to a stereo receiver, you first need to locate the audio output ports on your computer. These ports are typically located on the back or side of the computer and can vary in terms of the available options.
One of the most common audio output ports on computers is the 3.5mm headphone jack or audio output jack. This is a small circular port that is often color-coded green and is used for connecting headphones or external speakers. It can also be used to connect your computer to a stereo receiver. Simply insert one end of the cable or adapter into the audio output jack on your computer.
Another audio output port that might be available on some computers is the HDMI port. This port can transmit both audio and video signals, making it a convenient option for connecting your computer to a stereo receiver. If your computer has an HDMI port, you can use an HDMI cable to connect it directly to the HDMI input port on your stereo receiver.
Some computers also have optical audio output ports or digital coaxial output ports. These ports transmit digital audio signals and are typically used for connecting to devices that support optical or digital coaxial audio connections. If your computer has one of these ports, you can use the corresponding cable to connect it to the optical or digital coaxial input port on your stereo receiver.
Once you have located the audio output ports on your computer, you’re one step closer to connecting it to your stereo receiver. The next step is to find the corresponding audio input ports on your stereo receiver, which we will explore in the following section.
Step 3: Find the corresponding audio input ports on your stereo receiver
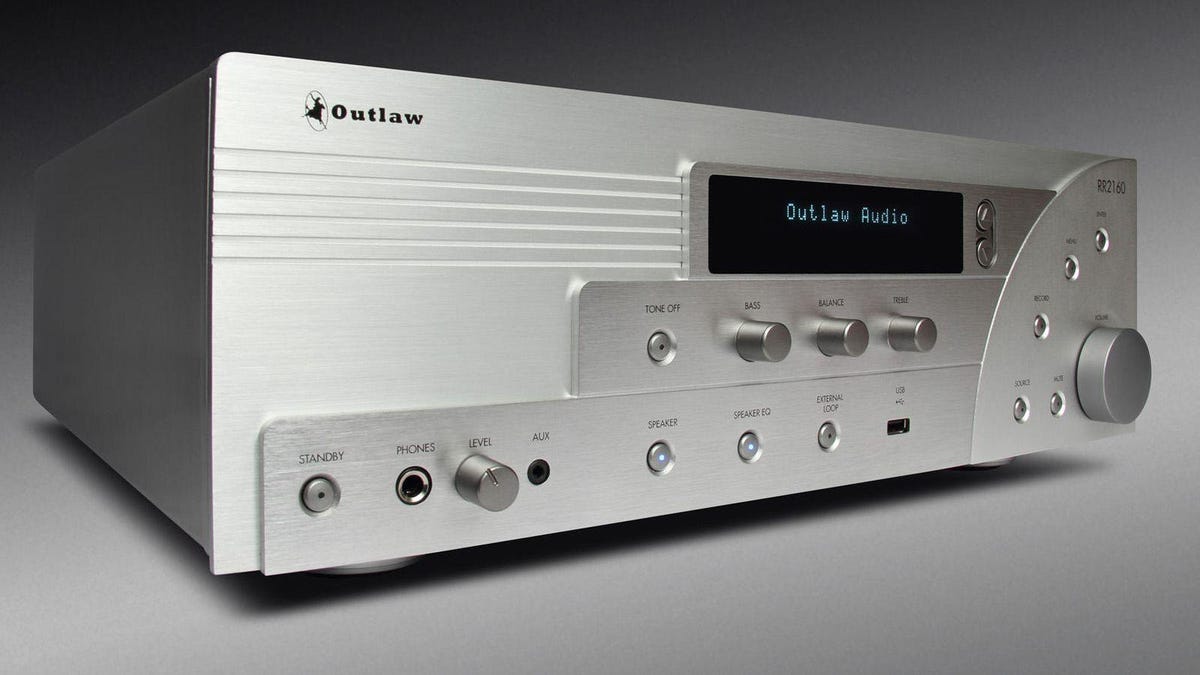
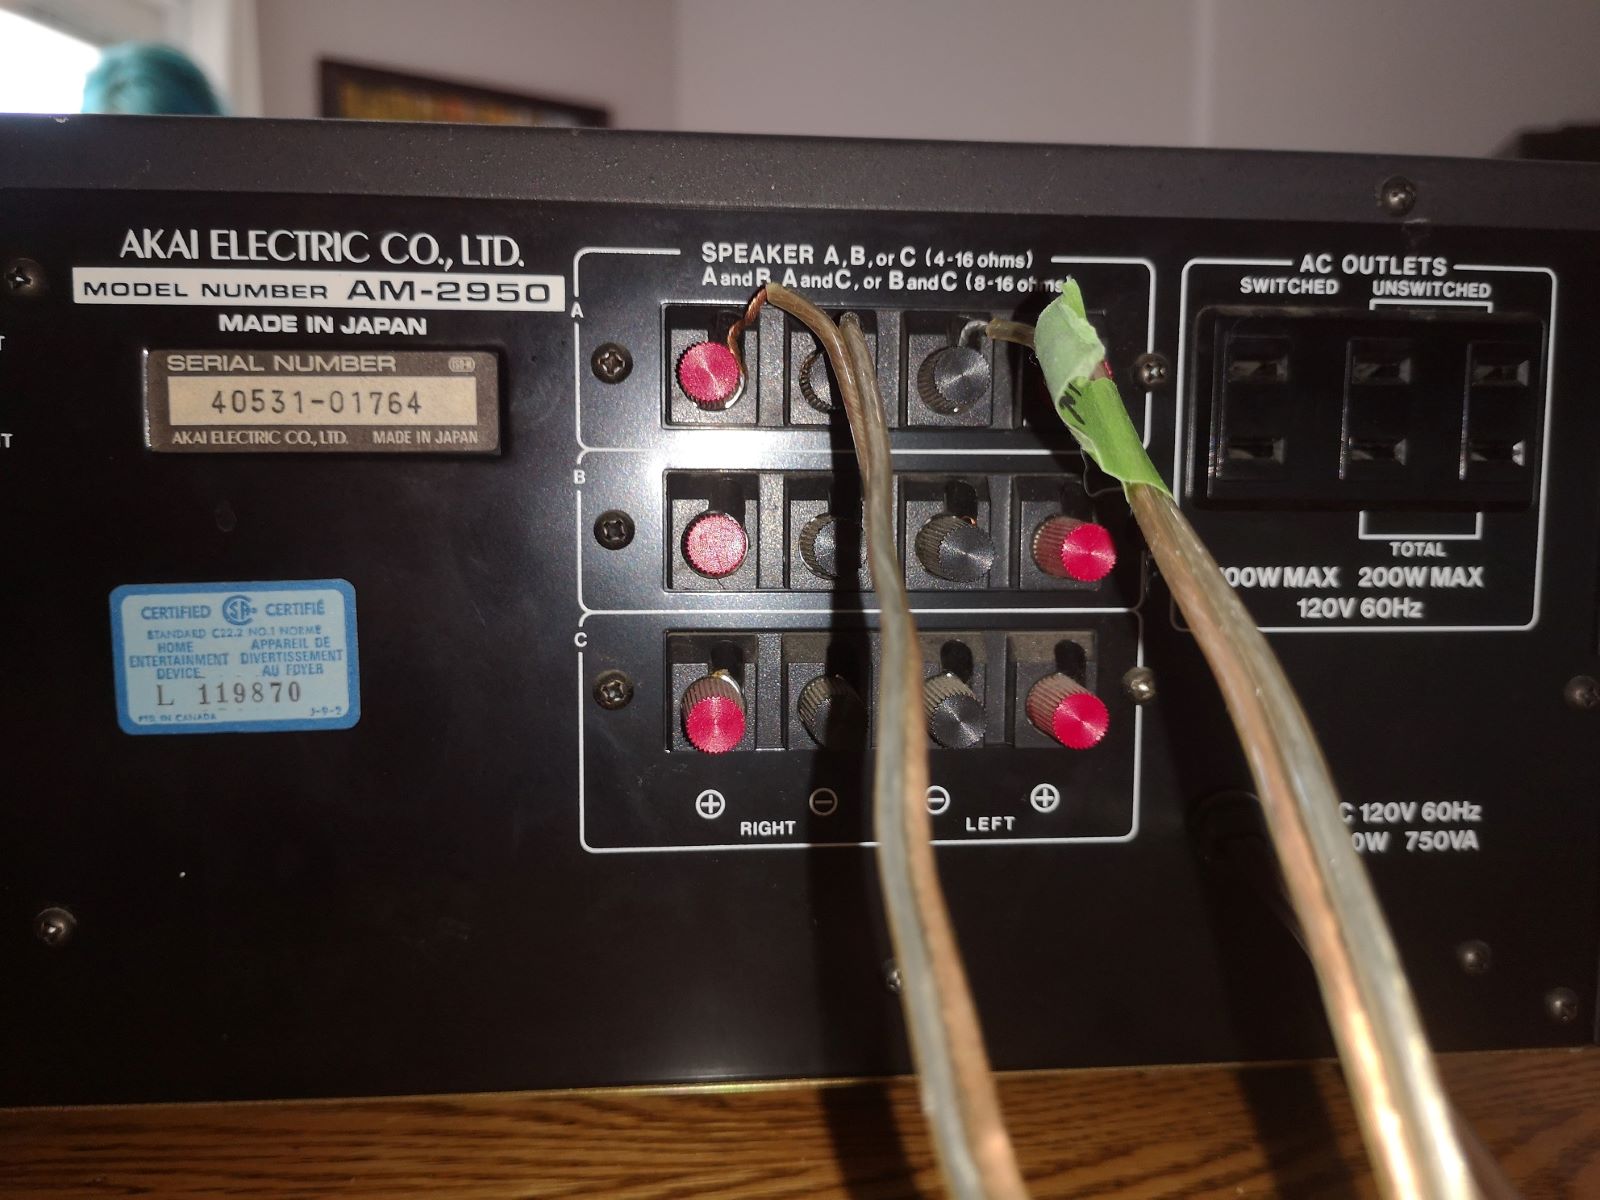
After locating the audio output ports on your computer, the next step is to find the corresponding audio input ports on your stereo receiver. These input ports are where you will connect the audio cables from your computer to allow the sound to be played through your stereo system.
The available audio input ports on a stereo receiver can vary depending on the make and model, but there are a few common types that you may encounter:
- 1. RCA input ports: These are the most common audio input ports found on stereo receivers. They usually consist of a pair of red and white connectors, corresponding to the right and left audio channels respectively. Look for the RCA input ports on your stereo receiver, typically labeled as “Audio In” or “Aux In”.
- 2. HDMI input port: Some stereo receivers have HDMI input ports that allow you to connect devices, including computers, using an HDMI cable. This enables both audio and video transmission through a single cable. Locate the HDMI input port on your stereo receiver and ensure it is labeled as an audio input.
- 3. Optical or digital coaxial input ports: These input ports are designed to receive digital audio signals and are commonly found on stereo receivers. They may be labeled as “Optical In” or “Digital In”. Look for these ports and ensure you have the corresponding optical or digital coaxial cable to make the connection.
Once you have identified the audio input ports on your stereo receiver, you are ready to proceed to the next step, which involves connecting your computer to the stereo receiver using the appropriate cables.
Step 4: Connect the computer to the stereo receiver using the appropriate cables
Now that you have identified the audio output ports on your computer and the corresponding audio input ports on your stereo receiver, it’s time to connect them using the appropriate cables. The type of cable you will use depends on the available ports on both your computer and stereo receiver.
Here are the steps to connect your computer to the stereo receiver:
- 1. If your computer has a 3.5mm headphone jack or audio output jack and your stereo receiver has RCA input ports, use a 3.5mm to RCA cable. Connect the 3.5mm end of the cable to the audio output jack on your computer and the RCA end to the corresponding input ports on your stereo receiver. Insert the red connector into the red input port and the white connector into the white input port.
- 2. If both your computer and stereo receiver have HDMI ports, use an HDMI cable to connect them. Insert one end of the HDMI cable into the HDMI output port on your computer and the other end into the HDMI input port on your stereo receiver. Make sure to select the correct HDMI input on your stereo receiver to receive the audio signal from your computer.
- 3. If your computer has an optical or digital coaxial audio output port and your stereo receiver has the corresponding input ports, use an optical or digital coaxial cable. Insert one end of the cable into the computer’s audio output port and the other end into the optical or digital coaxial input port on your stereo receiver.
Make sure to securely connect the cables to both your computer and stereo receiver to ensure proper signal transmission. Once the cables are connected, you can proceed to the next step to adjust the audio settings on your computer and stereo receiver.
Step 5: Adjust the audio settings on your computer and stereo receiver
After successfully connecting your computer to the stereo receiver, it’s important to adjust the audio settings on both devices to ensure optimal sound quality and playback experience. Here are the steps to adjust the audio settings:
- 1. On your computer, navigate to the sound settings. This can usually be done by right-clicking on the sound icon in the system tray and selecting “Sound settings” or accessing the sound settings through the Control Panel or System Preferences.
- 2. In the sound settings, select the output device as your stereo receiver. This may be listed as the specific model of your stereo receiver or simply as “External Speakers” or “HDMI Output”. Make sure to set the volume level to an appropriate level.
- 3. If you are using a software or media player to play audio, ensure that the audio output is set to the correct device. This can typically be done through the audio settings of the specific application or media player.
- 4. On your stereo receiver, access the audio settings or setup menu. This can usually be done by pressing the “Menu” or “Setup” button on your remote control or directly on the receiver.
- 5. Within the audio settings, adjust the audio levels, equalizer settings, and any other audio enhancements or effects according to your preferences. These settings can vary depending on the specific receiver model.
- 6. If you are using HDMI connectivity, ensure that the HDMI audio output is enabled in the receiver’s settings. This may involve selecting the HDMI input where your computer is connected and enabling the audio functionality.
By adjusting the audio settings on both your computer and stereo receiver, you can optimize the sound output and tailor it to your personal preferences. Take some time to experiment with different equalizer settings or audio effects to find the best sound quality for your setup.
Now that the audio settings are adjusted, you’re ready to move on to the final step – testing the connection and enjoying your music or other audio content through the stereo receiver.
Step 6: Test the connection and enjoy your music through the stereo receiver
Once you have completed the previous steps and adjusted the audio settings on your computer and stereo receiver, it’s time to test the connection and enjoy your music or other audio content through the stereo receiver.
Here’s what you need to do:
- 1. Turn on your stereo receiver and set it to the correct input source that corresponds to the connection you made in Step 4. For example, if you connected your computer using an HDMI cable, select the HDMI input channel on your stereo receiver.
- 2. Play some music or any other audio content on your computer. You can use your favorite media player or streaming service to play a song, podcast, or any audio file.
- 3. Ensure that the volume on both your computer and stereo receiver is set to an appropriate level. Start with a lower volume level to avoid any sudden loud sounds, and then adjust it to your liking.
- 4. Listen to the audio through your stereo receiver and ensure that the sound is outputting correctly and the quality meets your expectations. You should notice a significant improvement in sound quality compared to using your computer’s built-in speakers.
- 5. If necessary, fine-tune the audio settings on your stereo receiver to further enhance the sound quality. Experiment with different equalizer settings or sound modes to find the audio signature that suits your preferences and the type of content you are listening to.
By testing the connection and actively listening to your audio content through the stereo receiver, you can verify that the connection is working correctly and enjoy the enhanced audio experience provided by your stereo system.
Congratulations! You have successfully connected your computer to a stereo receiver and can now enjoy an immersive audio experience while playing music, watching movies, or engaging in any other audio activity on your computer.
Remember to adjust the volume level and audio settings as needed and feel free to explore the capabilities of your stereo receiver to optimize your listening experience.
Enjoy your music and elevate your audio enjoyment with the power of your computer connected to a high-quality stereo receiver!
Conclusion
Connecting your computer to a stereo receiver is a fantastic way to enhance your audio experience and enjoy your favorite music, movies, and other audio content with high-quality sound. By following the step-by-step process outlined in this guide, you can easily establish a connection between your computer and stereo receiver, unlocking a world of enhanced audio possibilities.
We started by gathering the necessary cables and connectors needed for the connection. Then, we located the audio output ports on your computer and found the corresponding audio input ports on your stereo receiver. With the cables in hand, we proceeded to connect the computer to the stereo receiver using the appropriate cables.
Next, we adjusted the audio settings on both the computer and stereo receiver to ensure optimal sound quality and playback. By correctly configuring the audio output on your computer and fine-tuning the settings on the stereo receiver, you can achieve the best audio experience tailored to your preferences.
Finally, we tested the connection and encouraged you to enjoy your music through the stereo receiver. By selecting the right input source on your stereo receiver, playing your desired audio content, and adjusting the volume level, you can immerse yourself in a richer and more satisfying audio experience.
Remember that the specific steps may vary depending on the make and model of your computer and stereo receiver. It is always a good idea to consult the user manuals or online resources specific to your devices for detailed instructions and troubleshooting tips.
Now that you have successfully connected your computer to a stereo receiver, you can enjoy a whole new level of audio quality and versatility. Whether you are listening to music, watching movies, or playing games, the enhanced sound experience will make your entertainment moments more immersive and enjoyable.
So go ahead, connect your computer to a stereo receiver, and let the power of high-quality audio transform your digital entertainment experience. Sit back, relax, and enjoy the rich and vibrant audio that only a stereo system can deliver!

