Home>Devices & Equipment>Yamaha>How To Connect Yamaha Speakers To Computer
Yamaha
How To Connect Yamaha Speakers To Computer
Published: October 26, 2023
Learn how to easily connect Yamaha speakers to your computer and enjoy high-quality audio. Find step-by-step instructions and troubleshooting tips for a seamless setup.
(Many of the links in this article redirect to a specific reviewed product. Your purchase of these products through affiliate links helps to generate commission for AudioLover.com, at no extra cost. Learn more)
Table of Contents
- Introduction
- Step 1: Verify the compatibility of your Yamaha speakers with your computer
- Step 2: Ensure you have the necessary cables and adapters
- Step 3: Connect the Yamaha speakers to your computer using a wired connection
- Step 4: Connect the Yamaha speakers to your computer using a wireless connection
- Step 5: Adjust the audio settings on your computer
- Step 6: Test the Yamaha speakers to ensure they are working properly
- Conclusion
Introduction
Yamaha is known for its high-quality audio products, and their speakers are no exception. Whether you’re a music enthusiast, a gamer, or someone who enjoys watching movies and TV shows, connecting Yamaha speakers to your computer can greatly enhance your audio experience.
In this article, we will guide you through the process of connecting your Yamaha speakers to your computer. We will cover both wired and wireless connections, ensuring that you have all the information you need to make the right choice for your setup.
Before we dive into the steps, it’s important to note that the compatibility of your Yamaha speakers with your computer is crucial. You’ll need to ensure that your computer has the necessary ports and capabilities to support the connection.
In addition, understanding the different types of connections available, such as wired and wireless, will help you make an informed decision based on your setup and preferences.
So, whether you have a set of Yamaha desktop speakers or a powerful surround sound system, let’s get started on connecting them to your computer and unleashing the full potential of your audio setup.
Step 1: Verify the compatibility of your Yamaha speakers with your computer
Before you begin the process of connecting your Yamaha speakers to your computer, it’s important to verify their compatibility. This step is crucial to ensure that you can establish a proper connection and enjoy optimal audio performance.
Start by checking the specifications of your Yamaha speakers. Look for compatibility with your computer’s operating system (e.g., Windows, macOS) and the necessary audio outputs. Most Yamaha speakers utilize standard audio connections, such as 3.5mm or RCA, which are commonly found on computers.
Next, examine your computer’s audio outputs. This could include a headphone jack, line-in port, or USB ports for digital audio transfer. Ensure that your computer has the corresponding audio interface that matches your Yamaha speakers. If your computer doesn’t have the required connections, you may need to purchase an adapter or additional audio interface to establish compatibility.
It’s also worth considering the power requirements of your Yamaha speakers. Some models may require an external power source, while others can be powered via USB or directly from your computer. Make sure that your computer can provide the necessary power output to drive the speakers effectively.
If you are uncertain about your computer’s compatibility with your Yamaha speakers, refer to the user manual or the Yamaha website for more information. Additionally, you can reach out to Yamaha customer support for assistance and guidance.
By ensuring the compatibility of your Yamaha speakers with your computer, you’ll be one step closer to enjoying immersive and high-quality audio.
Step 2: Ensure you have the necessary cables and adapters
Once you have verified the compatibility of your Yamaha speakers with your computer, the next step is to gather the necessary cables and adapters to establish a connection. The specific cables and adapters you need will depend on the type of connection you plan to use, whether it’s a wired or wireless setup.
If you’re opting for a wired connection, you’ll typically need audio cables such as a 3.5mm auxiliary cable, RCA cables, or an HDMI cable. These cables will allow you to connect your Yamaha speakers to the appropriate audio output on your computer.
If your computer doesn’t have the necessary audio output ports, you may need to invest in an adapter. For example, if your computer only has a USB port and your Yamaha speakers have traditional audio connectors, you can purchase a USB-to-audio adapter to bridge the gap.
On the other hand, if you prefer a wireless setup, you’ll need to ensure that your computer and Yamaha speakers support the same wireless technology, such as Bluetooth or Wi-Fi. Make sure that both devices are Bluetooth-enabled or that your speakers have built-in Wi-Fi capabilities.
For Bluetooth connectivity, you’ll need to pair your Yamaha speakers with your computer by following the manufacturer’s instructions. This typically involves putting your speakers into pairing mode and searching for them in your computer’s Bluetooth settings.
Regardless of the type of connection you choose, it’s advisable to use high-quality cables and adapters to maintain audio fidelity and minimize signal degradation. Consider investing in cables and adapters that offer good shielding and durable construction to ensure a reliable and long-lasting connection.
By having the necessary cables and adapters at hand, you’ll be well-prepared to connect your Yamaha speakers to your computer and enjoy seamless audio playback.
Step 3: Connect the Yamaha speakers to your computer using a wired connection
Connecting your Yamaha speakers to your computer using a wired connection is a straightforward process. Follow these steps to establish a wired connection and enjoy high-quality audio:
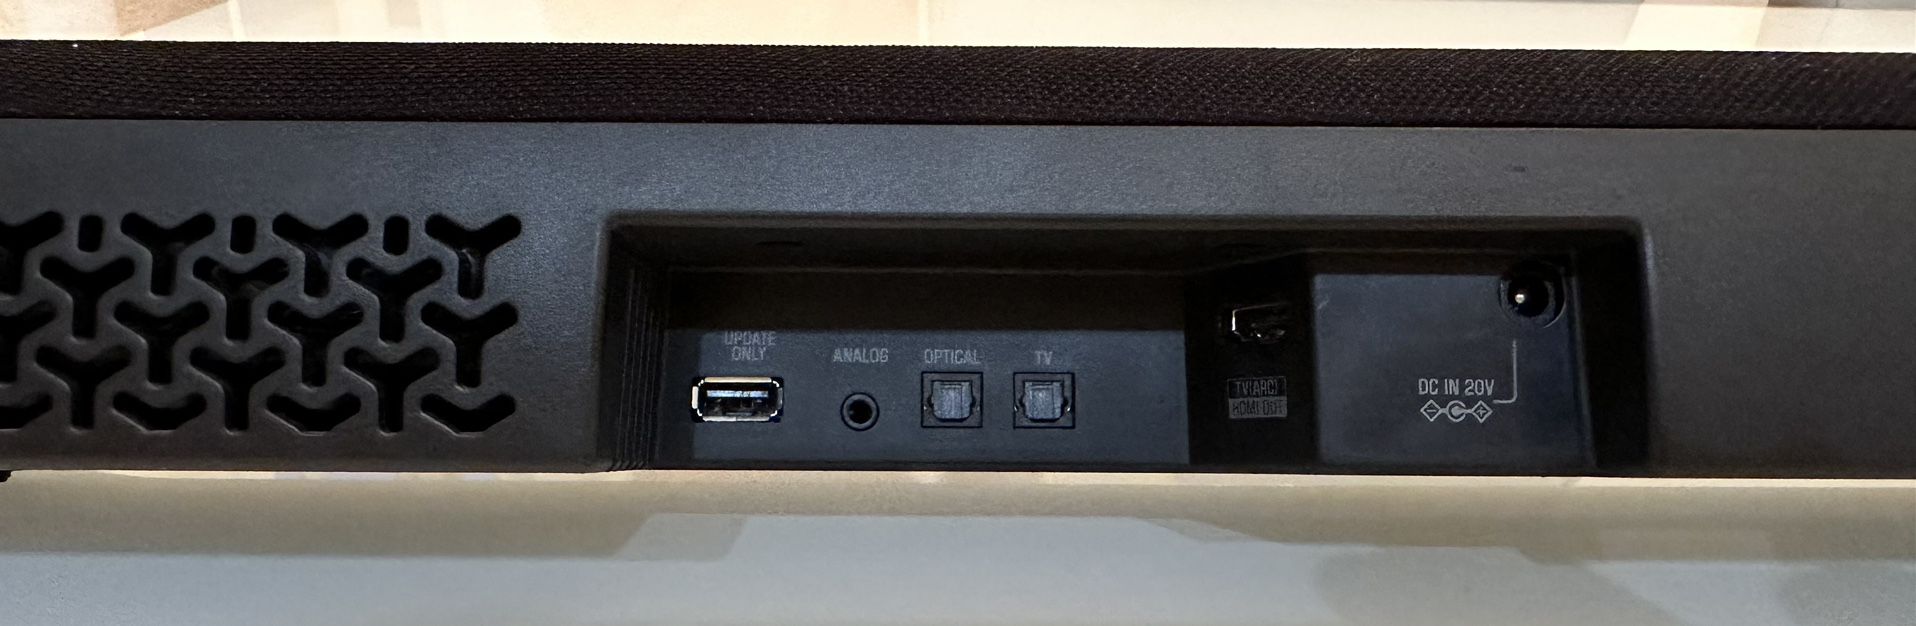
- Identify the appropriate audio output on your computer. This could be a headphone jack, line-out port, or HDMI port. Ensure that you have the correct audio cable that matches the output on your computer and the input on your Yamaha speakers.
- If your computer uses a 3.5mm audio output, plug one end of the audio cable into the headphone jack or line-out port on your computer. For other types of audio outputs, such as RCA or HDMI, connect the appropriate cable accordingly.
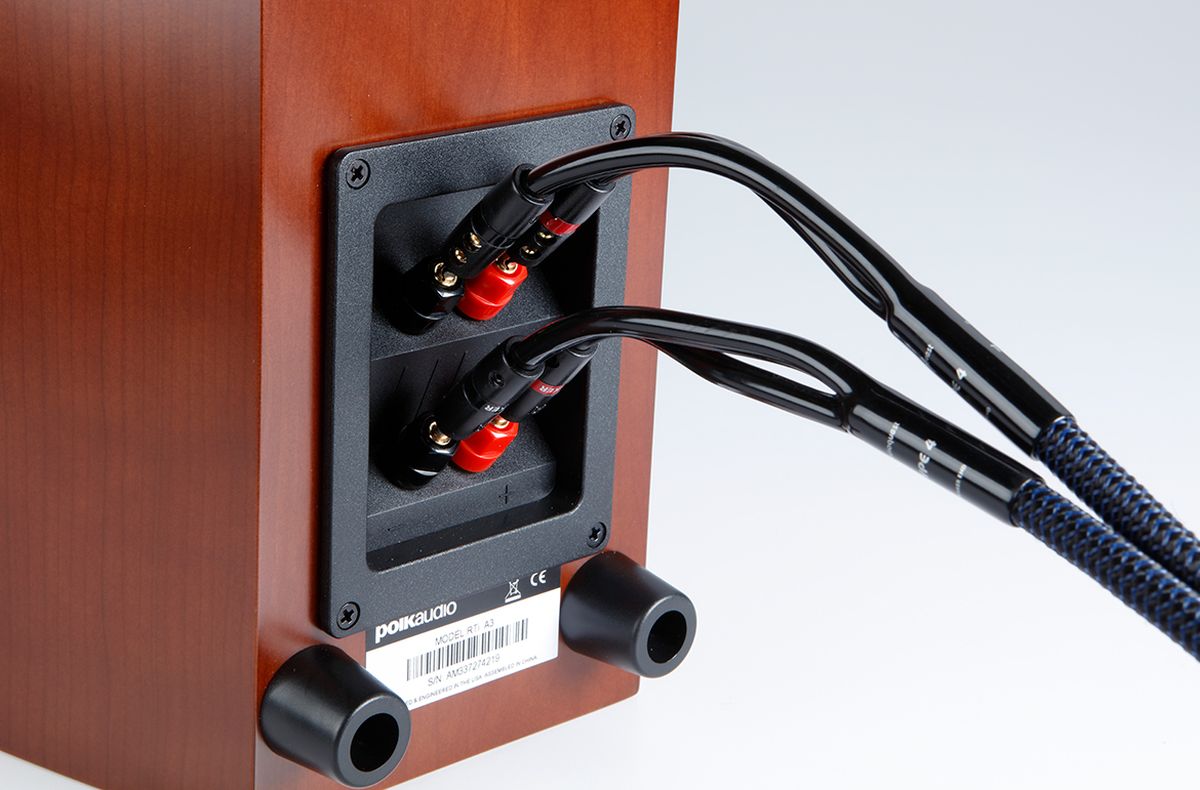
- Locate the corresponding input on your Yamaha speakers. It could be an auxiliary input, RCA input, or HDMI input. Connect the other end of the audio cable to the input on your speakers.
- Ensure that the connections are secure and tight to minimize any signal loss.
- Once the physical connection is established, turn on your Yamaha speakers and set the input source to the connected input. This can typically be done using a control panel or buttons on the speakers.
- Adjust the volume settings on your computer and Yamaha speakers to a suitable level.
- Play audio on your computer to test the wired connection. You should now be able to hear the audio output through your Yamaha speakers.
If you encounter any issues with the wired connection, double-check the cable connections and ensure that the correct input source is selected on your Yamaha speakers. Additionally, verify that the volume on both your computer and speakers is turned up and not muted.
By following these steps, you can establish a reliable wired connection between your Yamaha speakers and your computer, providing you with immersive and high-quality audio playback.
Step 4: Connect the Yamaha speakers to your computer using a wireless connection
If you prefer a cable-free setup, connecting your Yamaha speakers to your computer using a wireless connection can offer convenience and flexibility. Here’s how you can establish a wireless connection:
- Make sure that both your computer and Yamaha speakers have compatible wireless technology, such as Bluetooth or Wi-Fi. Check the specifications of your devices to ensure they can communicate wirelessly.
- On your computer, enable Bluetooth or Wi-Fi by accessing the settings menu. For Bluetooth, go to the Bluetooth settings and turn on the pairing mode. For Wi-Fi, ensure that your computer is connected to your Wi-Fi network.
- Put your Yamaha speakers into the appropriate pairing mode. Refer to the user manual for instructions on how to enable pairing mode for your specific model.
- On your computer, search for available Bluetooth devices or Wi-Fi speakers. Your Yamaha speakers should appear in the list of available devices.
- Select your Yamaha speakers from the list and follow any on-screen prompts to complete the pairing process. The process may require you to enter a passkey or accept a pairing request.
- Once the pairing is successful, your computer will recognize the Yamaha speakers as the default audio output. You may need to adjust the audio settings on your computer to ensure that the sound is directed to the speakers.
- Test the wireless connection by playing audio on your computer. The sound should now be transmitted wirelessly to your Yamaha speakers.
Note that the range of your wireless connection may vary depending on the specific wireless technology used and any potential obstacles between your computer and speakers. Ensure that the distance between your devices does not exceed the recommended range to maintain a stable connection.
If you encounter any issues with the wireless connection, make sure that both devices are within range and that there are no interferences from other wireless devices. Additionally, check that the firmware on your Yamaha speakers is up to date, as manufacturers often release updates to enhance compatibility and performance.
By following these steps, you can establish a wireless connection between your Yamaha speakers and your computer, allowing for a clutter-free audio setup.
Step 5: Adjust the audio settings on your computer
Once you have successfully connected your Yamaha speakers to your computer, it’s important to adjust the audio settings to ensure optimal sound quality and performance. Here are some key steps to follow:
- Access the audio settings on your computer. Depending on your operating system, you can usually find these settings in the Control Panel (Windows) or System Preferences (macOS).
- Select the audio output device. In the audio settings, choose your Yamaha speakers as the default output device. This ensures that all audio from your computer will be redirected to the speakers.
- Adjust the volume levels. Use the volume controls on your computer or the dedicated volume controls on your Yamaha speakers to set the desired sound level. It’s a good idea to start with a low volume and gradually increase it to prevent any sudden and unexpected loud sounds.
- Explore additional audio settings. Depending on your preferences and the capabilities of your computer and Yamaha speakers, you may have access to additional audio settings. These settings can include equalizer adjustments, surround sound options, and other audio enhancements.
- Test the audio playback. Play various types of audio content, such as music, videos, or games, to ensure that the sound is coming through the Yamaha speakers correctly. If you notice any issues, double-check the connections and settings.
It’s also worth noting that third-party audio control software or drivers may offer additional customization options. If you have installed such software, explore its settings to further optimize the audio output.
Additionally, keep in mind that different applications or media players may have their own independent audio settings. It’s a good idea to check and adjust the audio settings within specific applications to ensure a consistent audio experience.
By adjusting the audio settings on your computer, you can fine-tune the sound output to meet your preferences and fully enjoy the quality audio provided by your Yamaha speakers.
Step 6: Test the Yamaha speakers to ensure they are working properly
After connecting your Yamaha speakers to your computer and adjusting the audio settings, it’s important to test the speakers to ensure they are working properly. Performing a quick audio test will allow you to confirm that the connection is secure and that sound is being produced accurately. Here’s how you can test your Yamaha speakers:
- Play a sample audio file or open a media player on your computer.
- Ensure that the volume on both your computer and Yamaha speakers is set to an audible level.
- Play the audio and listen for sound coming from your Yamaha speakers.
- Pay attention to the clarity and quality of the sound. If it sounds distorted or muffled, double-check the connections and audio settings to ensure they are properly configured.
- Test the speakers with different types of audio content such as music, videos, or games to assess their performance across various media.
- If you have a multi-channel or surround sound setup, verify that all the speakers are producing sound in sync.
If you encounter any issues during the testing phase, consider troubleshooting the problem by verifying the connections, adjusting the audio settings, or consulting the user manual for your Yamaha speakers.
It’s also worth noting that occasional software or driver updates might be available for your Yamaha speakers. Check the manufacturer’s website or support page to see if any updates are available, as they can often address bugs and enhance the overall performance of your speakers.
By conducting a thorough test of your Yamaha speakers, you can ensure that they are working as intended and ready to deliver an immersive and high-quality audio experience.
Conclusion
Connecting your Yamaha speakers to your computer can significantly enhance your audio experience, whether you’re listening to music, gaming, or enjoying multimedia content. By following the steps outlined in this guide, you can establish a wired or wireless connection between your Yamaha speakers and your computer, unlocking the full potential of your audio setup.
By verifying the compatibility of your Yamaha speakers with your computer and ensuring you have the necessary cables and adapters, you lay the foundation for a successful connection. Whether you opt for a wired connection using audio cables or a wireless connection using Bluetooth or Wi-Fi, the process is straightforward with the right equipment.
After establishing the connection, adjusting the audio settings on your computer allows you to fine-tune the sound output and optimize it to your preferences. Through the audio settings, you can select the Yamaha speakers as the default output device, adjust the volume levels, and explore additional audio enhancements if available.
To ensure that the connection is working properly, performing a quick audio test is essential. Playing various types of audio content and assessing the clarity and quality of the sound allows you to confirm that the Yamaha speakers are functioning correctly. If any issues arise, double-checking the connections, audio settings, and troubleshooting the problem can help resolve the issue.
Remember to keep your Yamaha speakers and computer drivers up to date, as manufacturer updates can improve compatibility and overall performance.
By successfully connecting your Yamaha speakers to your computer and ensuring they are working properly, you can enjoy a truly immersive and high-quality audio experience that enhances your entertainment and productivity.