Home>Instruments>Guitar>How To Connect A Guitar To A Computer
Guitar
How To Connect A Guitar To A Computer
Modified: March 9, 2024
Learn how to easily connect your guitar to a computer for recording and playing music. Follow simple steps to set up your guitar and start creating music today.
(Many of the links in this article redirect to a specific reviewed product. Your purchase of these products through affiliate links helps to generate commission for AudioLover.com, at no extra cost. Learn more)
Table of Contents
Introduction
Connecting a guitar to a computer opens up a world of possibilities for musicians. Whether you want to record your latest riff, experiment with digital effects, or delve into the realm of virtual instruments, integrating your guitar with your computer can greatly expand your musical horizons. This process may seem daunting at first, but with the right tools and guidance, you can seamlessly bridge the analog and digital realms.
In this guide, we will walk you through the step-by-step process of connecting your guitar to a computer, allowing you to harness the power of technology to enhance your musical journey. From selecting the appropriate cable to configuring software settings, we will cover everything you need to know to establish a reliable and high-quality connection.
As we embark on this exploration, it's important to note that the methods and tools discussed here are applicable to both electric and acoustic-electric guitars. Whether you're a seasoned performer or a budding enthusiast, this guide will equip you with the knowledge to integrate your guitar with your computer, unlocking a wealth of creative possibilities.
Now, let's dive into the first step: choosing the right cable to facilitate the connection between your guitar and computer.
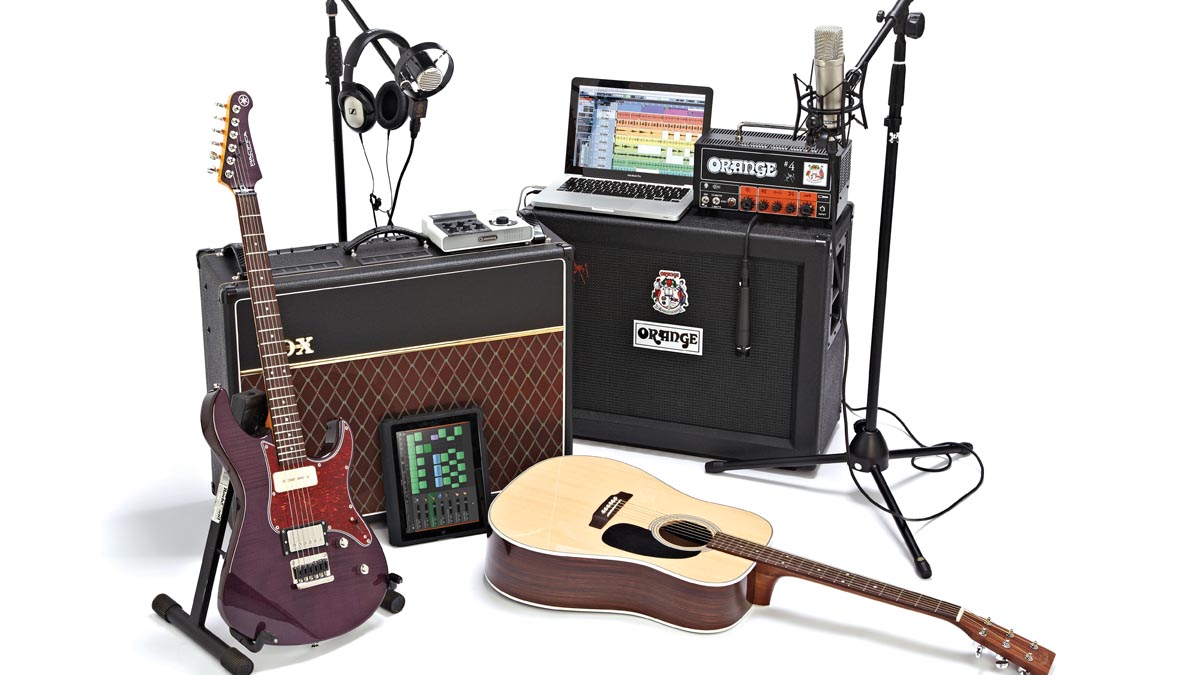
Step 1: Choose the Right Cable
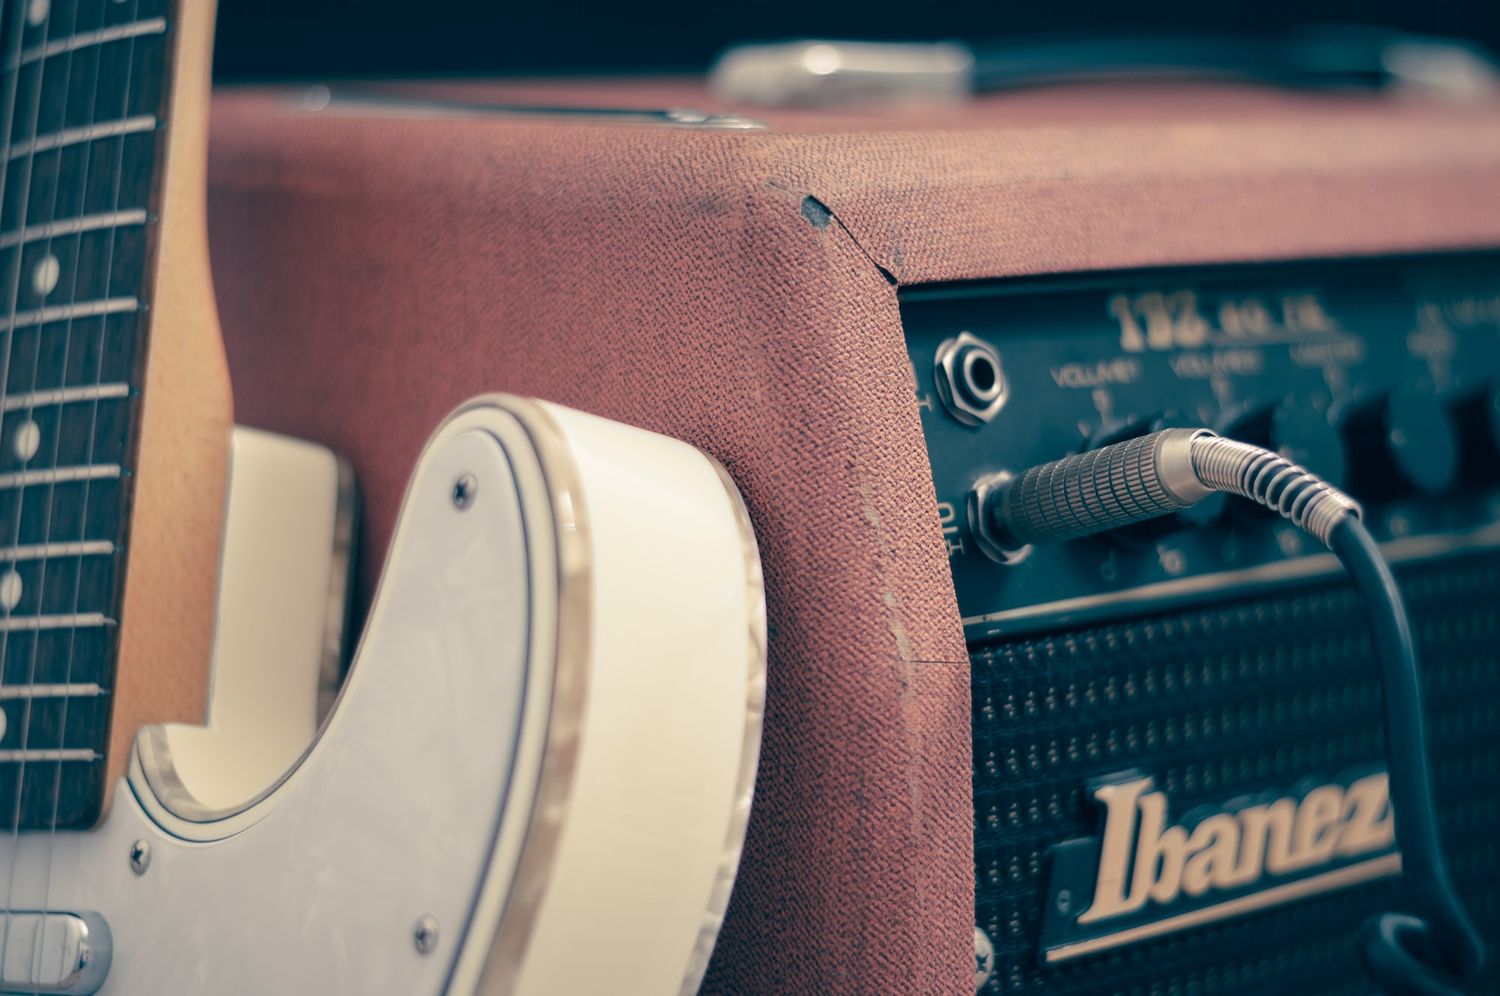
When it comes to connecting your guitar to a computer, the first crucial step is selecting the appropriate cable. The type of cable you choose will depend on the specific output options of your guitar and the input ports available on your computer. For electric guitars, the most common choice is a 1/4-inch instrument cable, while acoustic-electric guitars often utilize a combination of XLR and 1/4-inch cables.
For electric guitars, a standard 1/4-inch instrument cable is typically used to connect the guitar’s output jack to the computer’s audio interface or sound card. These cables are widely available and come in various lengths to accommodate different setup configurations. It’s important to choose a high-quality cable to ensure optimal signal transmission and minimize interference.
Acoustic-electric guitars equipped with onboard preamps often feature XLR outputs in addition to 1/4-inch jacks. In this case, you may need a cable that converts XLR to USB or XLR to 1/4-inch, depending on the input options of your computer. Alternatively, some acoustic-electric guitars offer direct USB connectivity, eliminating the need for additional cables and interfaces.
When selecting a cable, consider factors such as length, shielding, and connector quality. Longer cables provide flexibility in positioning, while well-shielded cables help prevent signal degradation and unwanted noise. Additionally, durable connectors and insulation contribute to the overall reliability of the connection.
Before making a purchase, it’s advisable to research compatible cables based on your specific guitar and computer setup. Whether you opt for a traditional instrument cable, an XLR-to-USB adapter, or a guitar with built-in USB connectivity, ensuring compatibility and quality in your cable selection is essential for establishing a stable and clear connection between your guitar and computer.
With the appropriate cable in hand, you’re ready to proceed to the next step: physically connecting your guitar to the computer.
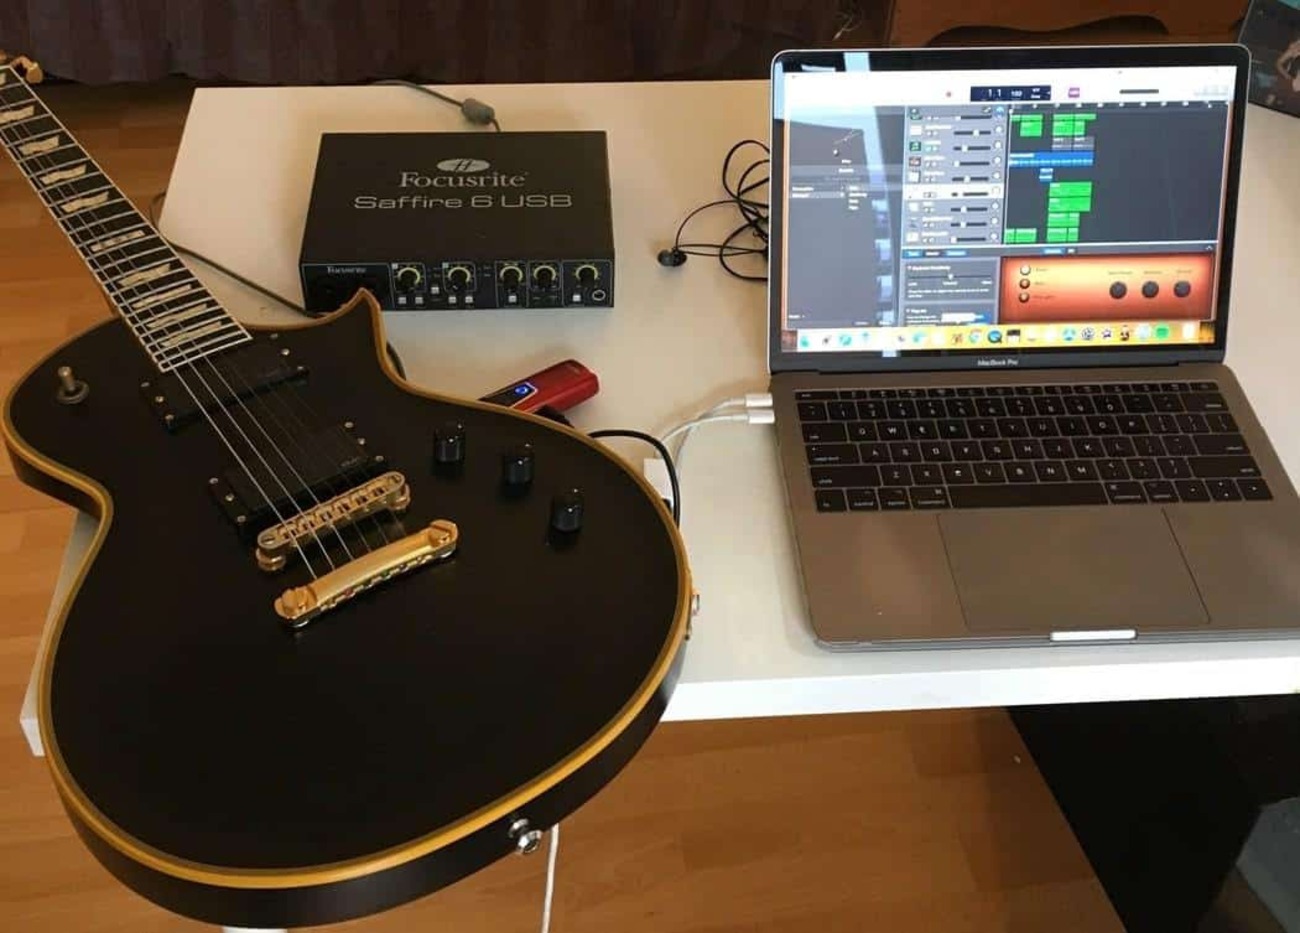
Step 2: Connect the Guitar to the Computer
Once you have chosen the right cable for your setup, the next step is to physically connect your guitar to the computer. If you’re using an electric guitar, locate the 1/4-inch output jack on your instrument. This is typically found on the lower bout of the guitar body. If you have an acoustic-electric guitar with both XLR and 1/4-inch outputs, choose the appropriate cable based on your computer’s input options.
With the cable in hand, insert the 1/4-inch connector into the output jack of your guitar. Ensure that it is securely plugged in to establish a stable connection. If you’re using an acoustic-electric guitar with an XLR output, connect the XLR end of the cable to the guitar’s output, and then connect the other end to the designated input on your computer’s audio interface or USB adapter.
For guitars with built-in USB connectivity, simply use a USB cable to connect the instrument directly to a USB port on your computer. This streamlined approach eliminates the need for additional audio interfaces or adapters, offering a direct digital connection for seamless integration.
Once the physical connection is established, it’s important to handle the cable with care to prevent strain on the connectors and potential signal interruptions. Position the cable in a way that allows for freedom of movement while avoiding tripping hazards or entanglement with other equipment.
Before proceeding to the next step, take a moment to ensure that the connection is secure and the cable is neatly routed to avoid any accidental tugs or pulls. With your guitar successfully connected to the computer, you’re now ready to delve into the software setup, which we’ll explore in the following step.
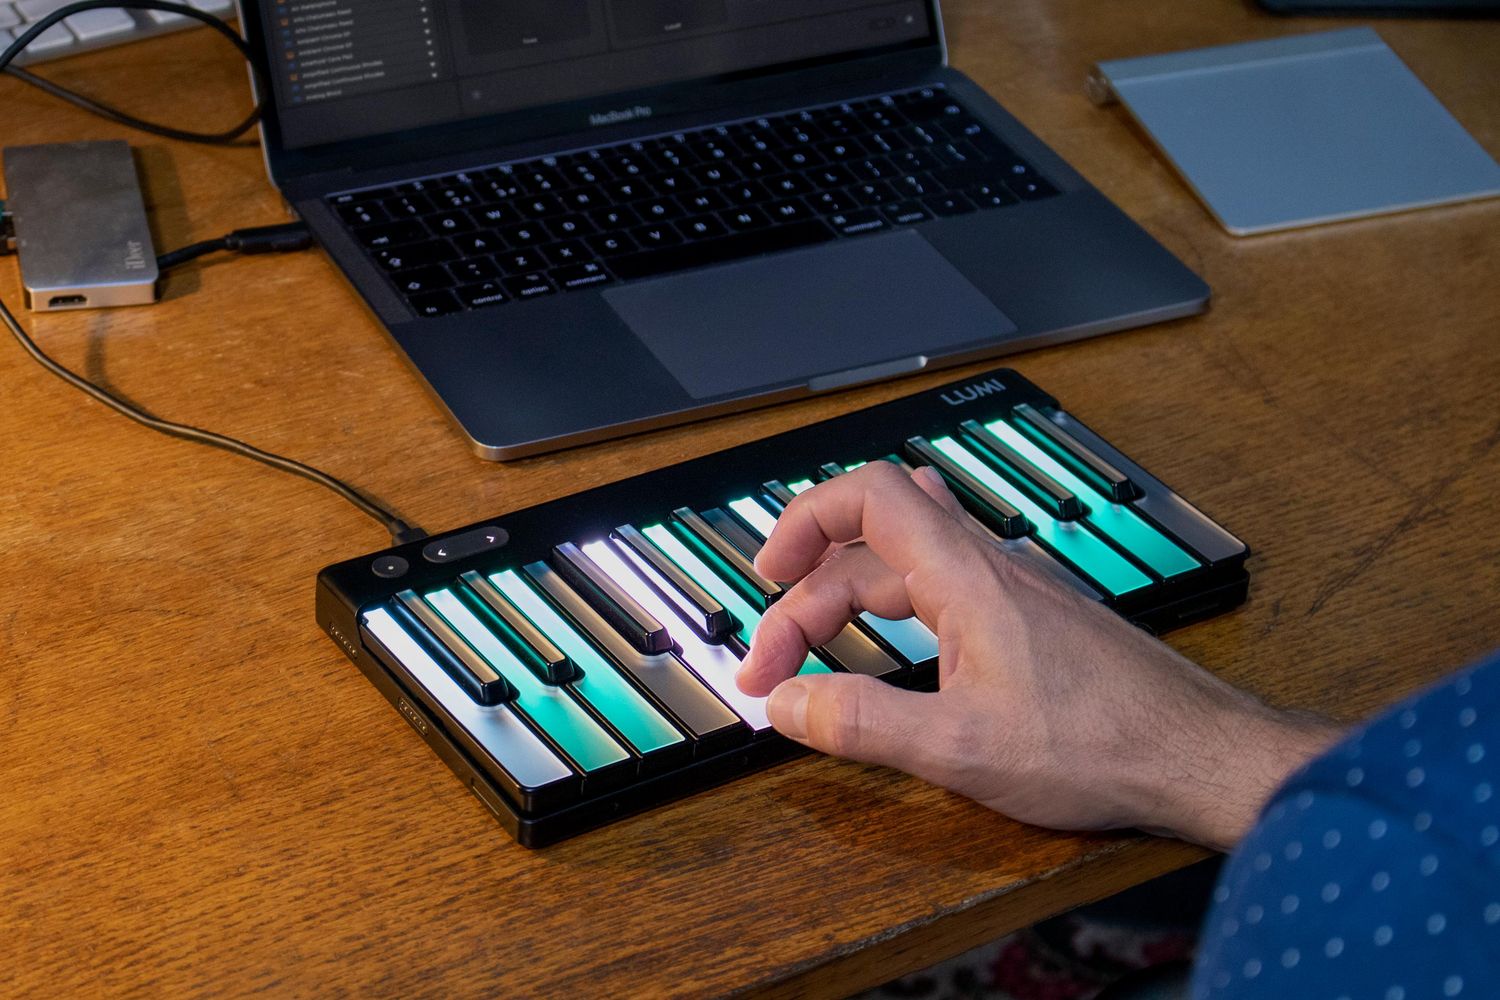
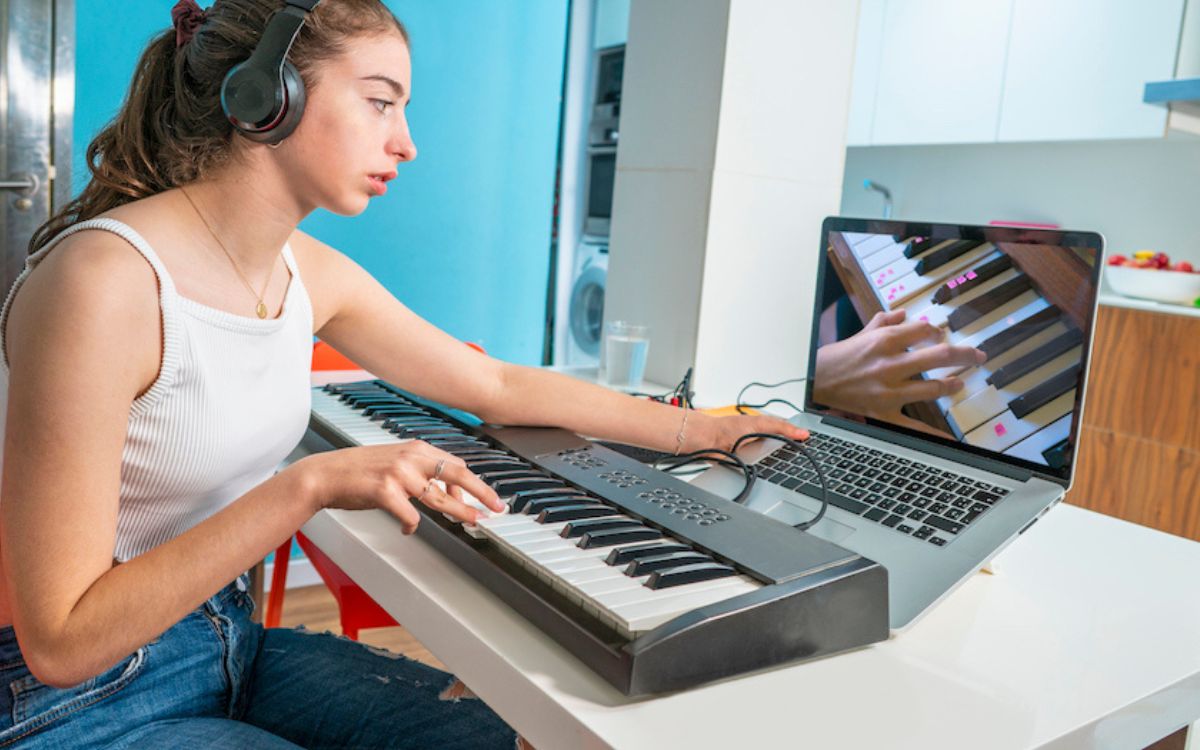
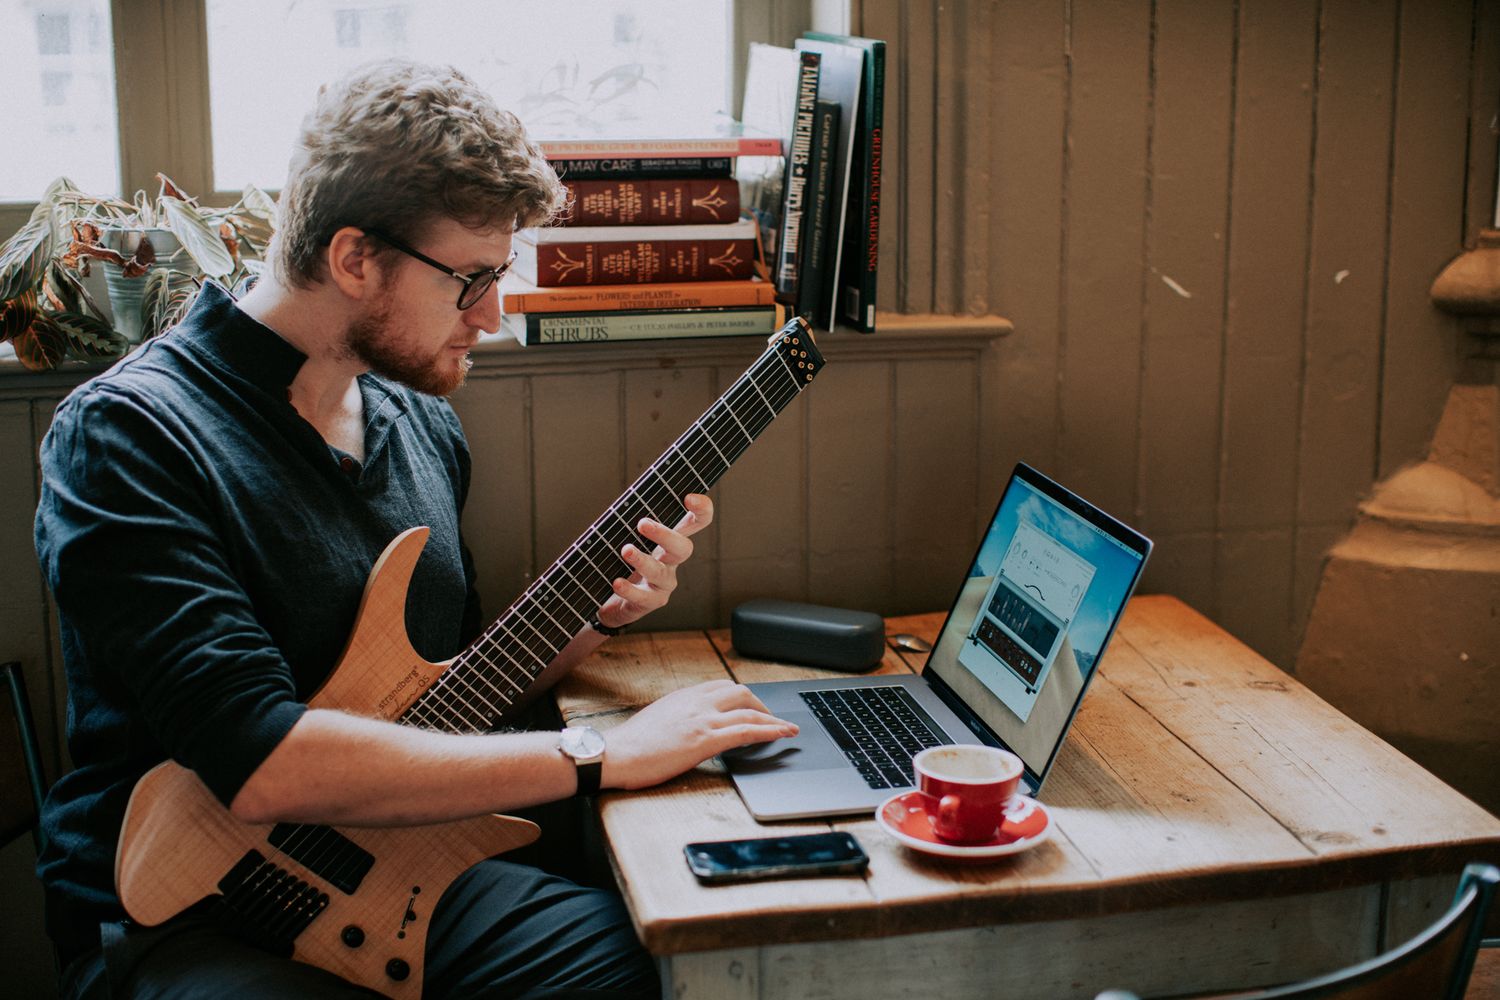
Step 3: Set Up Your Software
With your guitar physically connected to the computer, the next essential step is to configure the software that will process and interpret the incoming signal. Whether you’re aiming to record your guitar, apply digital effects, or utilize virtual instruments, choosing and setting up the right software is crucial for achieving your desired musical outcomes.
If you’re primarily interested in recording your guitar, digital audio workstation (DAW) software is a fundamental tool. Popular DAWs such as Pro Tools, Logic Pro, Ableton Live, and GarageBand offer comprehensive recording and editing capabilities, allowing you to capture your guitar performances with precision and flexibility. Install the preferred DAW on your computer and ensure that it recognizes the input from your guitar via the selected audio interface or USB connection.
For those seeking to explore a diverse range of digital effects and amplifier simulations, dedicated guitar software such as AmpliTube, Guitar Rig, or Bias FX provides a wealth of virtual gear options. These software packages emulate various amplifiers, stompbox effects, and studio processors, enabling you to craft your desired guitar tones directly within your computer environment.
If your musical aspirations extend to incorporating virtual instruments alongside your guitar, consider integrating software synthesizers, samplers, and drum machines into your setup. VST (Virtual Studio Technology) and AU (Audio Units) plugins compatible with your chosen DAW can expand your sonic palette and inspire new musical directions.
Once the software is installed, ensure that the input from your guitar is properly configured within the settings. Select the appropriate input source, set the input levels, and verify that the software is receiving the signal from your guitar. Additionally, familiarize yourself with the software’s routing options, track creation, and effects processing to streamline your workflow and unleash your creative potential.
As you venture into the realm of software setup, take the time to explore the features and capabilities of your chosen applications. Experiment with different recording techniques, effects chains, and virtual instruments to discover the unique sonic landscapes you can create with your guitar and computer. With the software configured to suit your musical objectives, you’re poised to move on to the next step: testing the connection to ensure everything is functioning as intended.
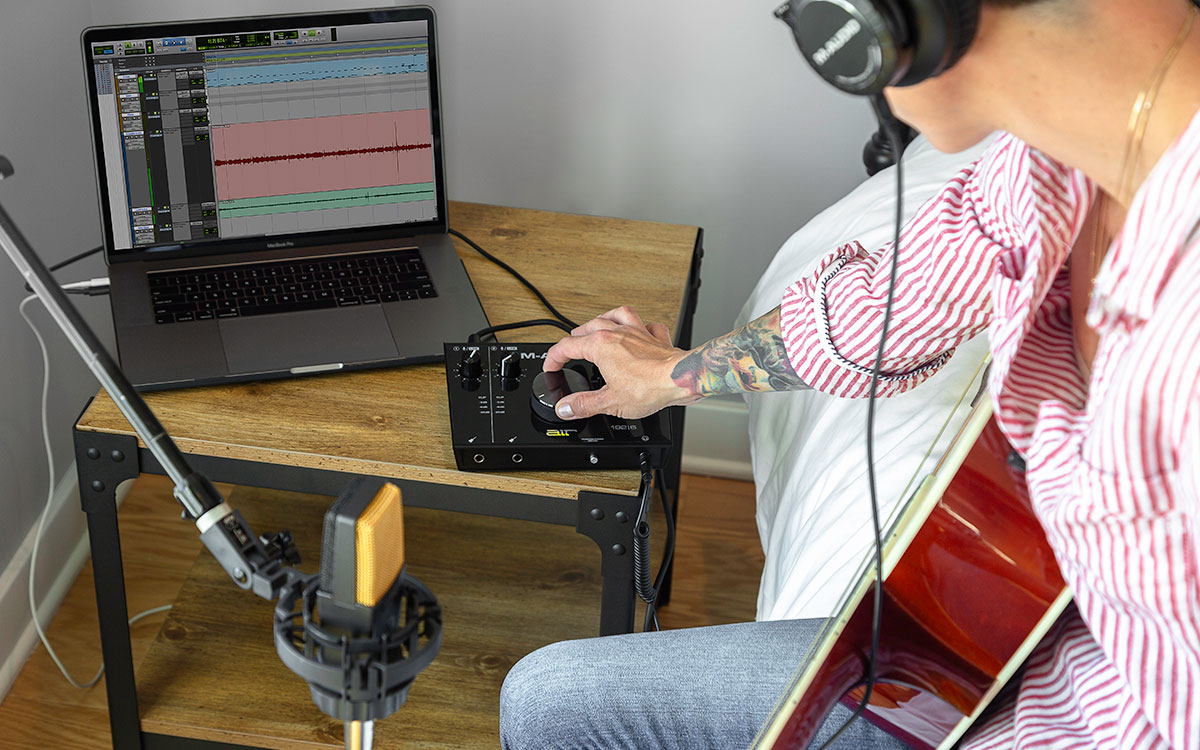
Step 4: Test the Connection
After completing the physical and software setup, it’s crucial to test the connection between your guitar and computer to ensure that everything is functioning as intended. This step allows you to verify the signal flow, assess the audio quality, and address any potential issues that may arise during the testing process.
Begin by launching your chosen recording or processing software and creating a new audio track designated for your guitar input. With the track armed for recording and the input source correctly selected, strum your guitar strings and observe the input levels within the software. Ensure that the signal registers on the meters and that the audio is free from excessive noise or distortion.
If you encounter low input levels or excessive noise, revisit the physical connections and software settings to troubleshoot potential issues. Check the cable connections for any loose or faulty contacts, and adjust the input gain levels on your audio interface or software to achieve a clean and robust signal from your guitar.
Once the signal levels are optimized, record a brief passage with your guitar to evaluate the audio quality and ensure that the recording process functions smoothly. Playback the recorded segment to confirm that the captured sound accurately represents your guitar’s tone and dynamics.
During the testing phase, take the opportunity to explore the capabilities of your software, such as applying digital effects, adjusting recording parameters, or experimenting with virtual instruments. By engaging with the features of your chosen applications, you can gain a deeper understanding of their functionalities and unleash your creativity within the digital domain.
Additionally, consider testing the latency of the audio signal to assess the responsiveness of the software to your guitar input. Latency, the delay between playing a note and hearing the sound through your computer, can impact the playability and recording experience. Adjust the buffer settings within your software to minimize latency and achieve a more immediate response to your playing.
By thoroughly testing the connection and exploring the capabilities of your setup, you can address any potential challenges and optimize the integration of your guitar with your computer. With a reliable and high-quality connection established, you are now equipped to embark on a creative journey that seamlessly merges the analog warmth of your guitar with the boundless possibilities of digital music production.
Conclusion
Connecting your guitar to a computer opens a gateway to a myriad of creative opportunities, empowering you to capture, process, and expand the sonic potential of your instrument. By following the steps outlined in this guide, you have gained the knowledge and guidance necessary to seamlessly integrate your guitar with your computer, harnessing the power of technology to elevate your musical endeavors.
From selecting the appropriate cable to configuring software settings and testing the connection, each step in the process is essential for establishing a reliable and high-quality link between your guitar and computer. Whether you’re a recording artist, a tone enthusiast, or an aspiring producer, this integration enables you to explore new avenues of musical expression and sonic exploration.
With the physical connection secured and the software setup optimized, you are poised to unleash your creativity and embark on a musical journey that seamlessly merges the organic richness of your guitar with the boundless capabilities of digital music production. Whether you’re capturing pristine recordings, sculpting unique tones with digital effects, or integrating virtual instruments into your compositions, the fusion of your guitar and computer empowers you to realize your artistic vision with precision and depth.
As you continue to explore the interconnected realms of analog and digital music creation, remember that the integration of your guitar with your computer is a dynamic and evolving process. Embrace the ongoing learning and experimentation that this fusion affords, allowing your musical identity to flourish within the ever-expanding landscape of technology-enhanced artistry.
By bridging the gap between your guitar and computer, you have embarked on a transformative journey that amplifies your musical capabilities and fuels your creative passion. Embrace the synergy of tradition and innovation as you embark on this harmonious union, and let your musical aspirations soar to new heights through the seamless connection of your guitar to your computer.