Home>Devices & Equipment>Yamaha>How To Connect Yamaha Keyboard To Computer

Yamaha
How To Connect Yamaha Keyboard To Computer
Modified: February 11, 2024
Learn how to easily connect your Yamaha keyboard to your computer and unlock a world of musical possibilities. Follow our step-by-step guide for seamless integration.
(Many of the links in this article redirect to a specific reviewed product. Your purchase of these products through affiliate links helps to generate commission for AudioLover.com, at no extra cost. Learn more)
Table of Contents
Introduction
Welcome to the world of Yamaha keyboards! These versatile musical instruments offer an array of features and functionalities that allow you to unleash your creativity and produce beautiful music. Whether you are a beginner or an experienced musician, connecting your Yamaha keyboard to your computer can open up a whole new realm of possibilities.
By connecting your Yamaha keyboard to your computer, you can take advantage of software applications and virtual instruments that expand your musical repertoire. This enables you to record, compose, and produce music with ease. Additionally, connecting your keyboard to your computer allows you to access online tutorials, lessons, and resources to further develop your skills.
In this article, we’ll walk you through the step-by-step process of connecting your Yamaha keyboard to your computer. We’ll cover the necessary equipment, software installation, keyboard configuration, and testing the connection. Whether you’re using a Windows or Mac computer, rest assured that we’ve got you covered.
But before we dive into the technical details, let’s take a moment to ensure you have everything you need to get started.
Step 1: Gathering the Required Equipment
Before you begin connecting your Yamaha keyboard to your computer, it’s crucial to have the necessary equipment on hand. Here’s a list of items you’ll need:
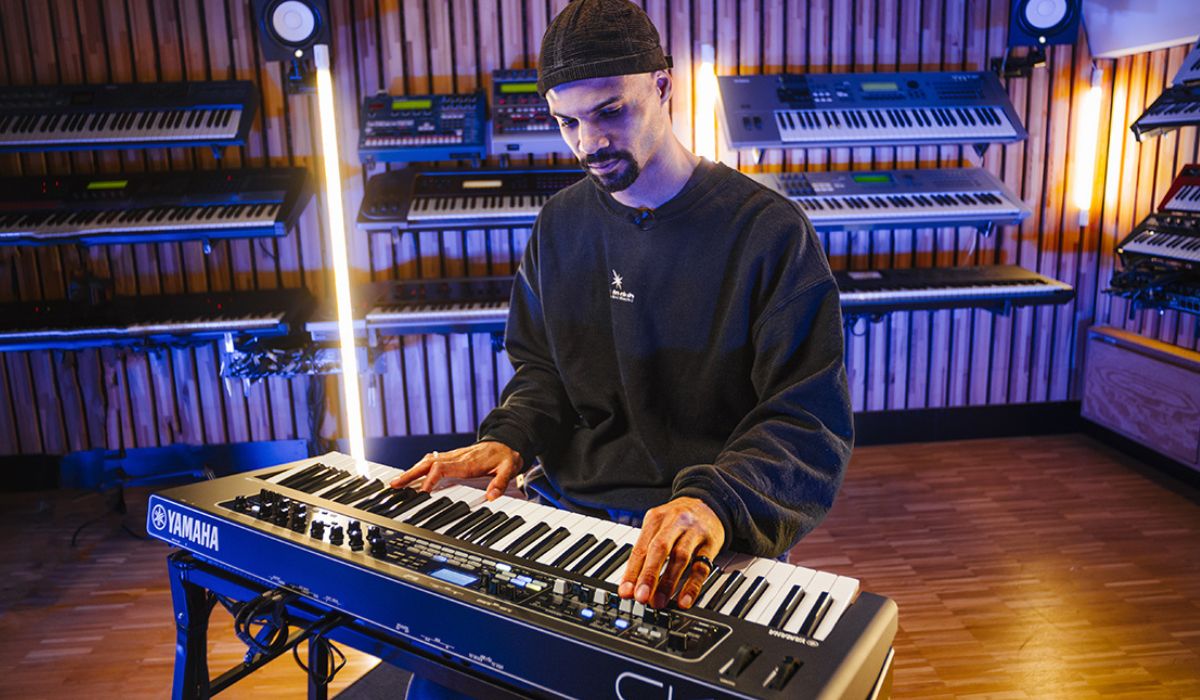
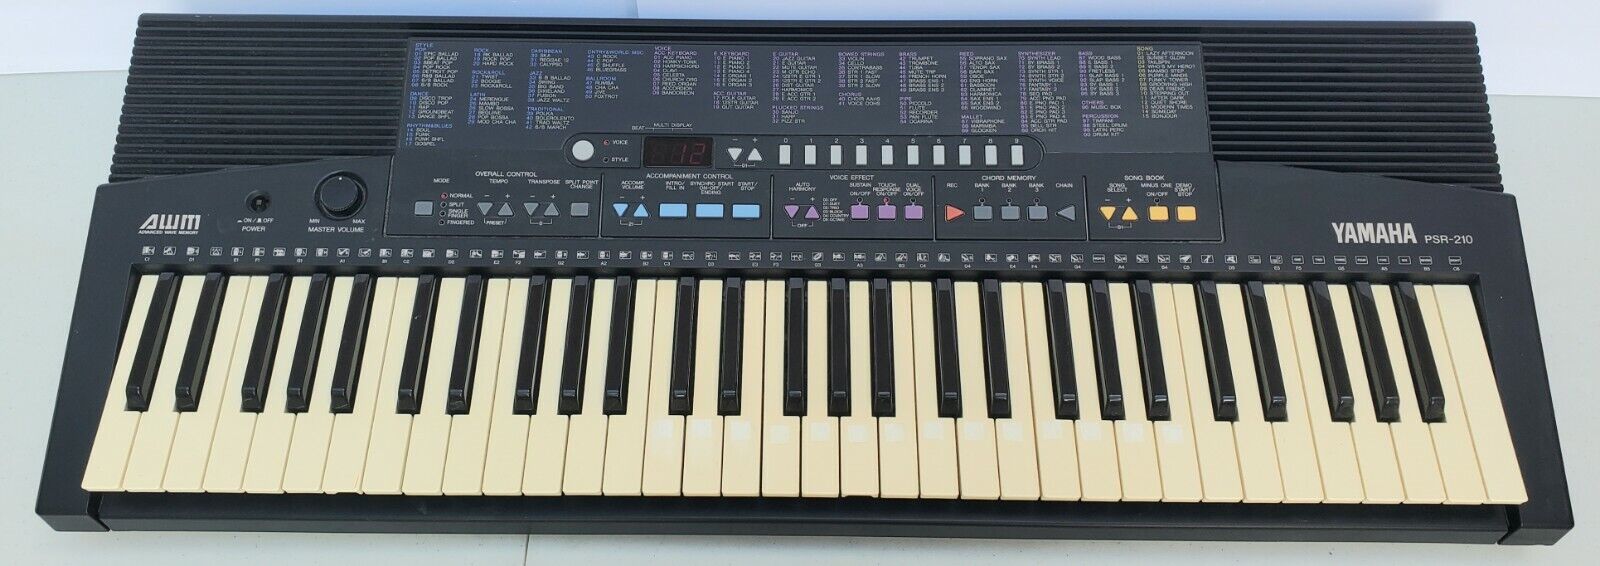
- A Yamaha keyboard: This can be a digital piano, synthesizer, or any other model from Yamaha’s extensive range. Make sure your keyboard has a USB port for connecting to the computer.
- A USB cable: You’ll need a USB cable with the appropriate connectors for your Yamaha keyboard and computer. Check the ports on both devices to determine which type of USB cable you require.
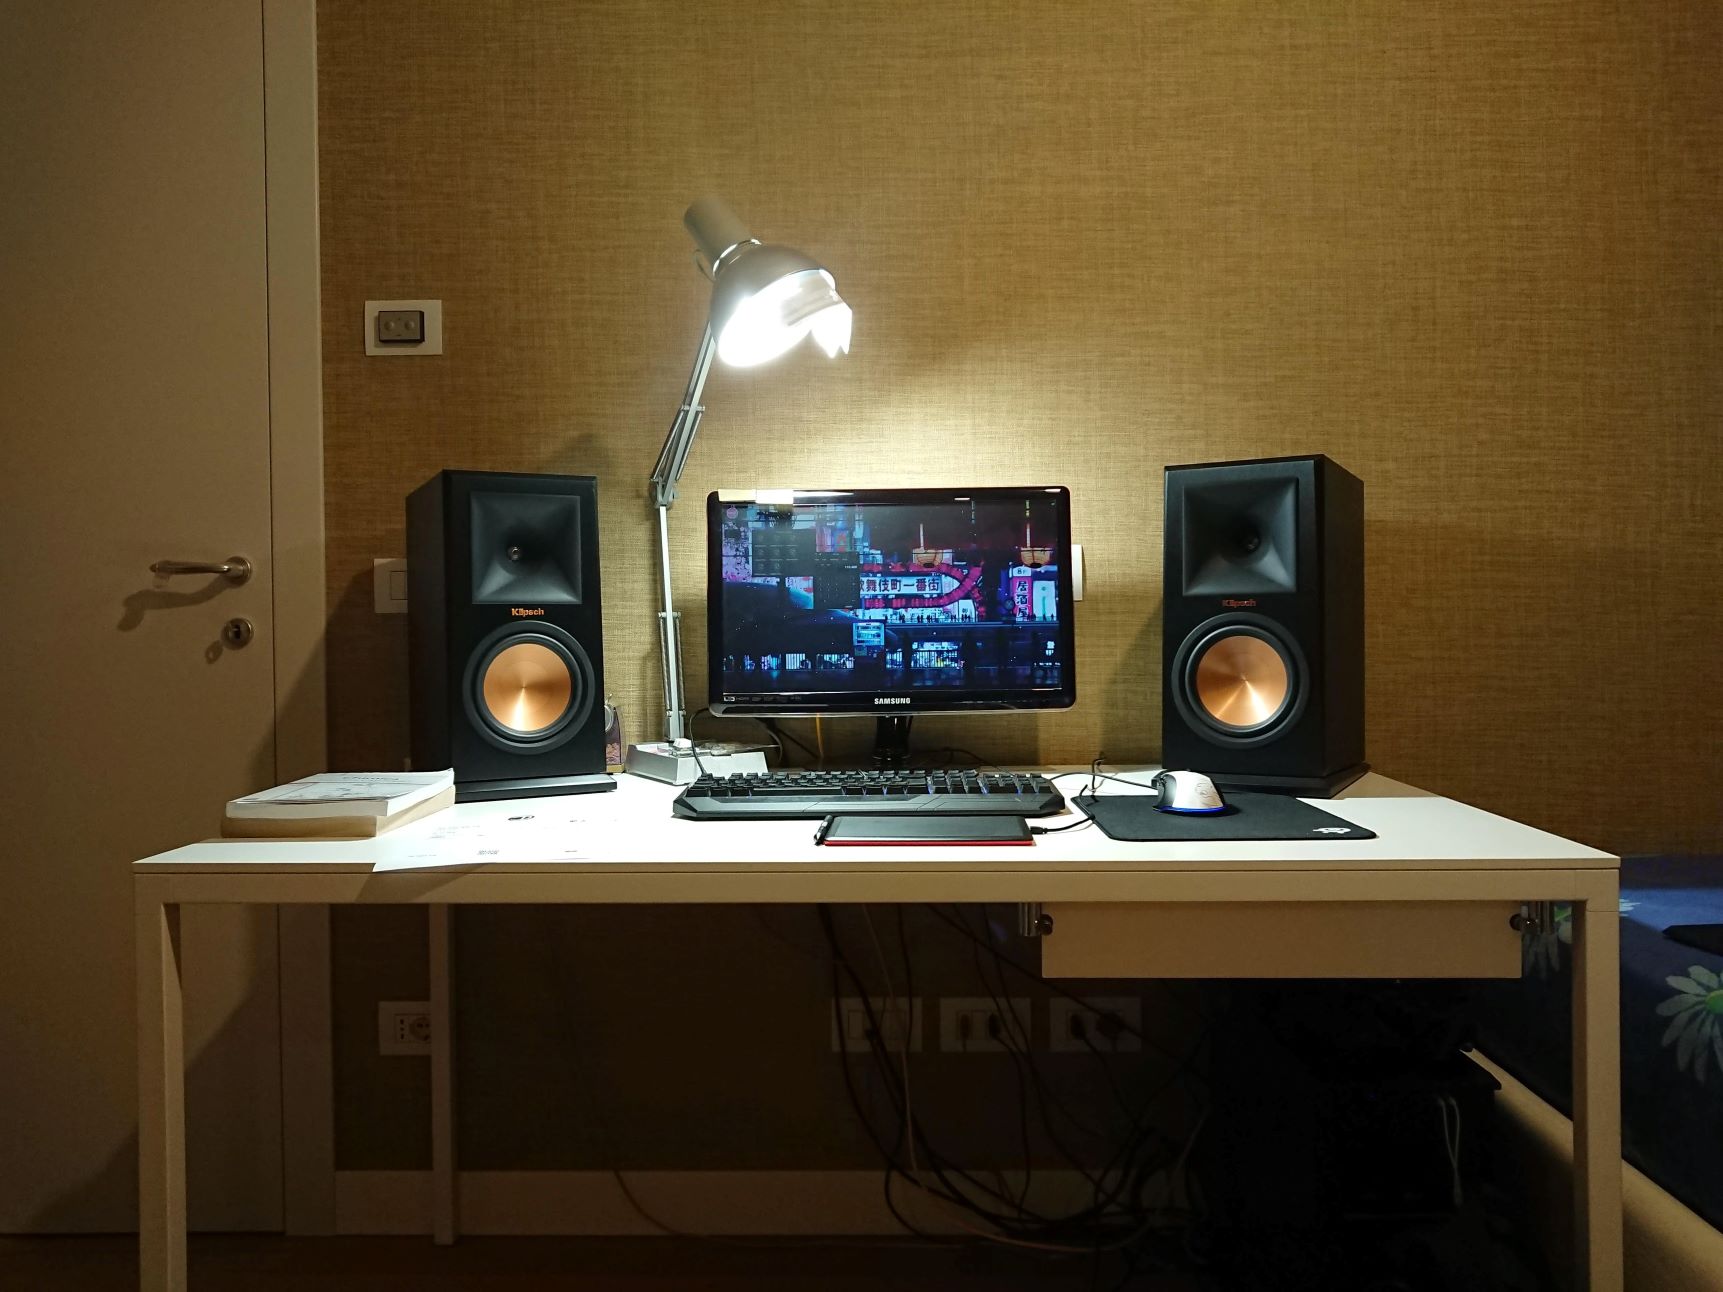
- A computer: Your computer can be a desktop or laptop, running either Windows or macOS. Ensure that it meets the system requirements for any software you plan to use with your keyboard.
- Audio interface (optional): If you want to record audio from your keyboard directly onto your computer, an audio interface can be a valuable addition. This device allows you to connect audio inputs and outputs to your computer, providing better sound quality and more routing options.
- Music production software: Depending on your goals, you may want to install software for recording, composing, or producing music. Popular options include Ableton Live, Logic Pro, Pro Tools, and FL Studio.
Once you have gathered all the necessary equipment, you’re ready to move on to the next step: connecting your Yamaha keyboard to your computer.
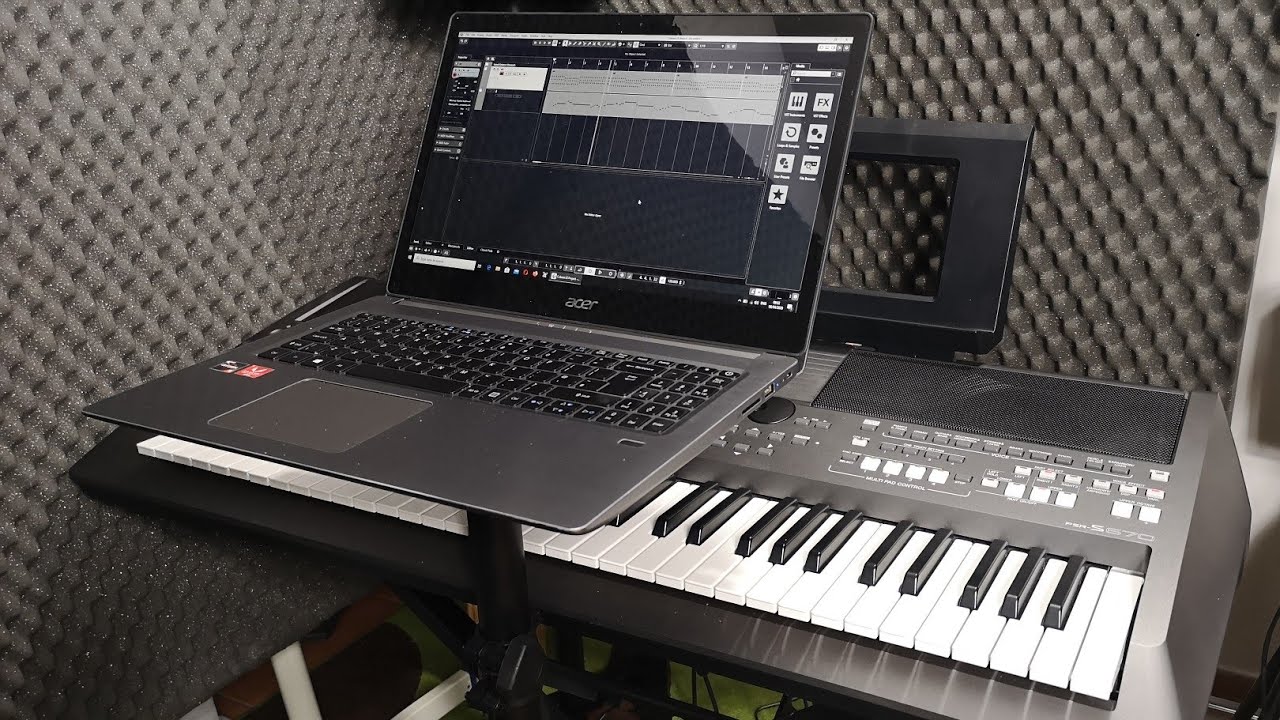
Step 2: Connecting the Yamaha Keyboard to the Computer
Now that you have all the required equipment, it’s time to connect your Yamaha keyboard to your computer. Follow these steps:
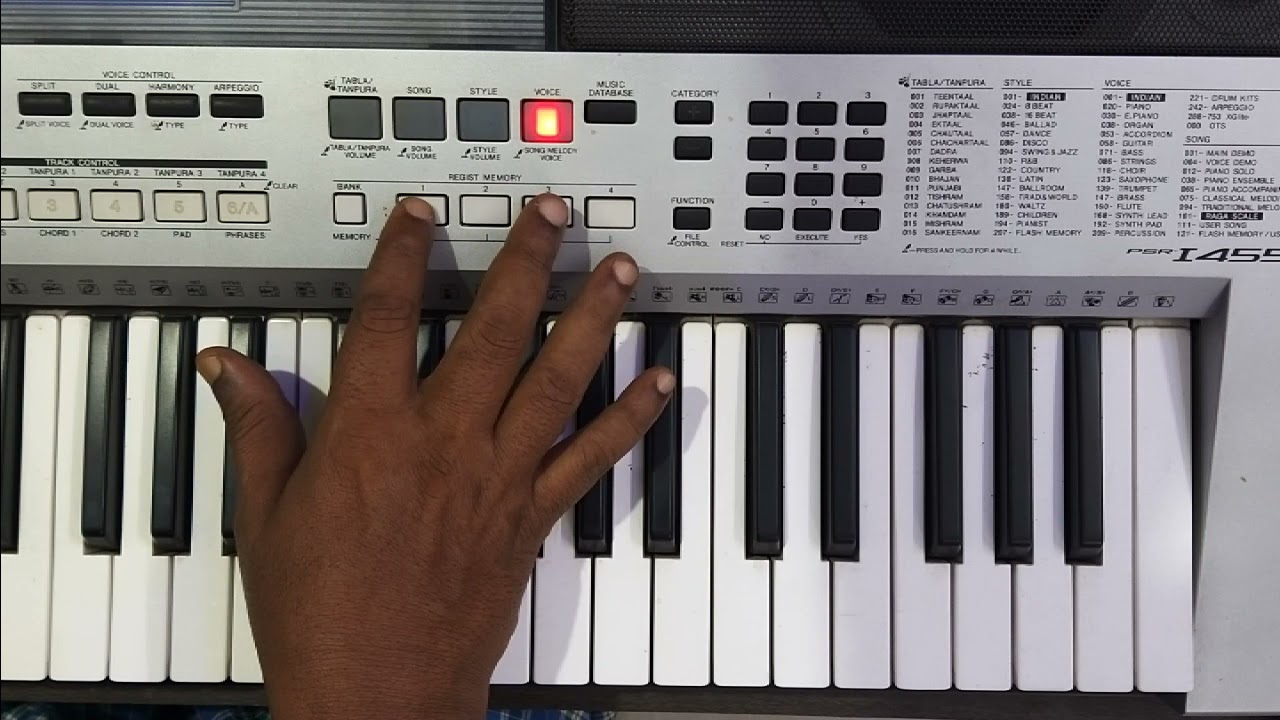
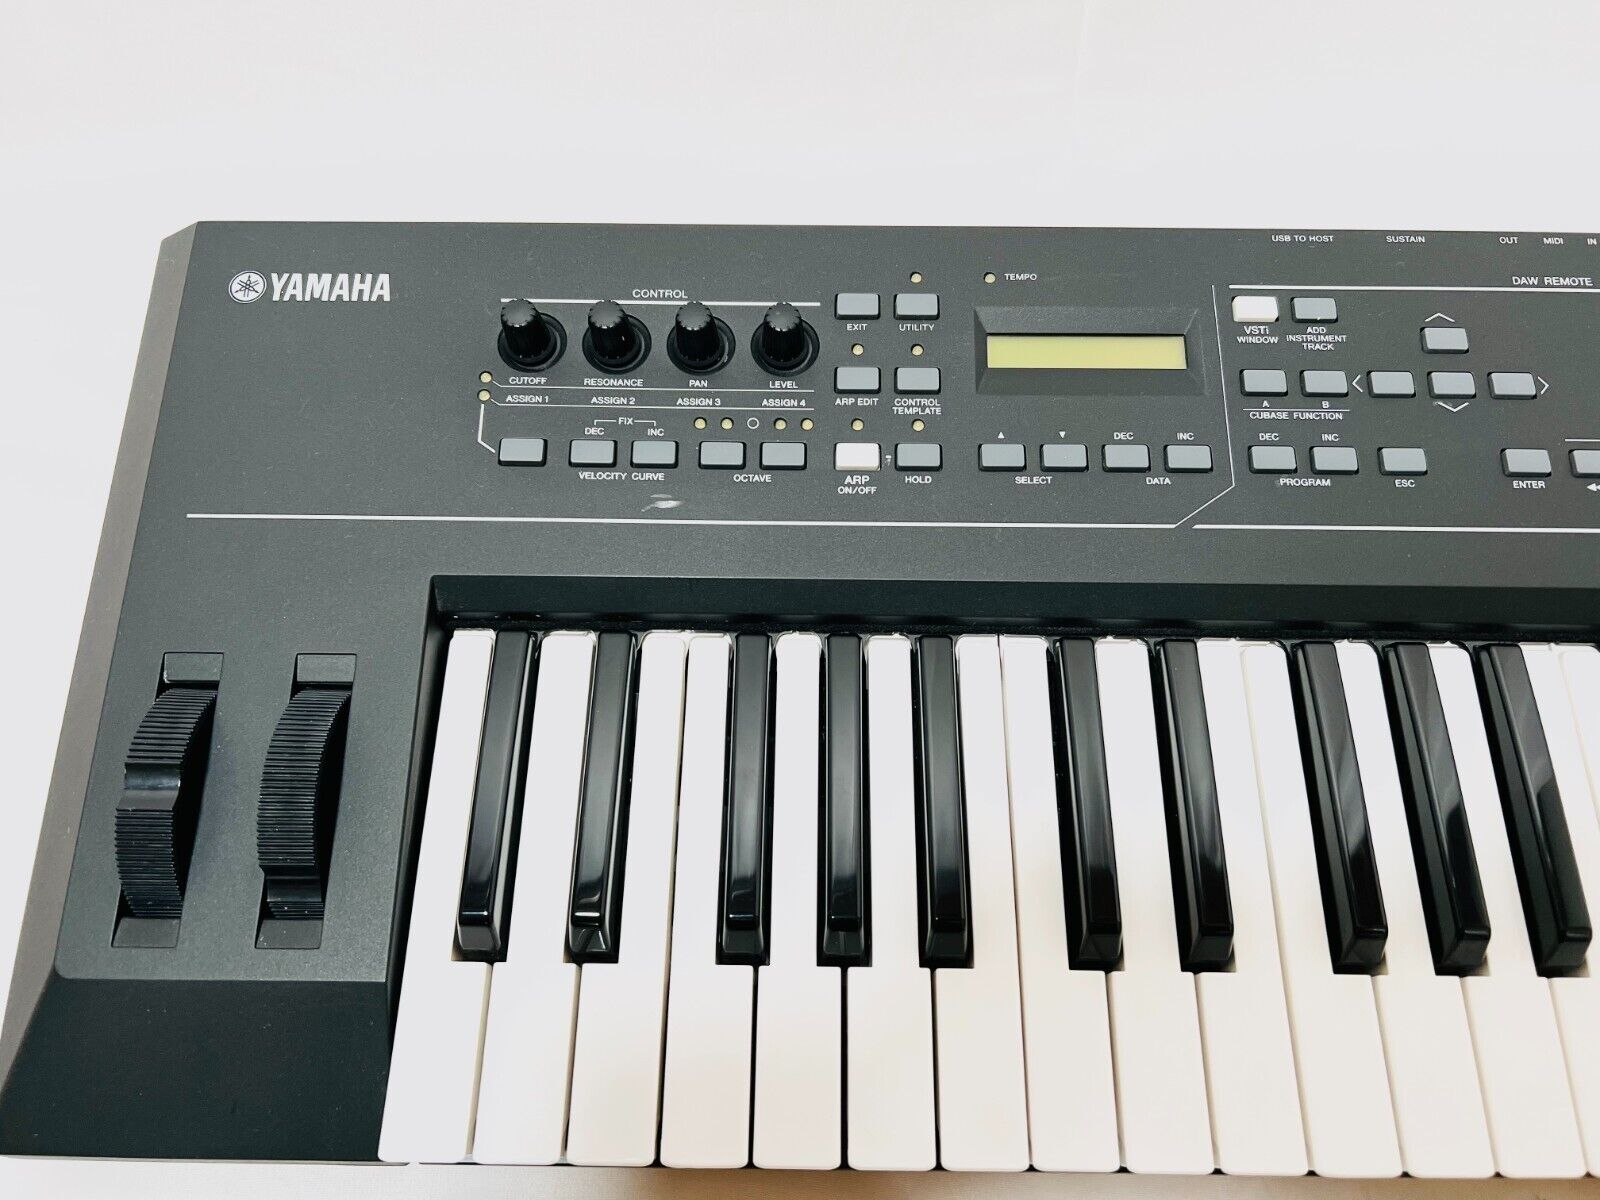
- Locate the USB port on your Yamaha keyboard. It is typically found on the back or side of the instrument.
- Take one end of the USB cable and insert it into the USB port on your Yamaha keyboard. Ensure it is securely connected.
- Next, locate the USB port on your computer. It may be on the front or back of your computer tower, or on the side of your laptop.
- Take the other end of the USB cable and insert it into the USB port on your computer. Again, ensure a secure connection.
Once you have successfully connected your Yamaha keyboard to your computer, you’re ready to move on to the next step: installing and setting up the required software.
Step 3: Installing and Setting up the Required Software
With your Yamaha keyboard successfully connected to your computer, it’s time to install and set up the required software. The specific software you need may vary depending on your goals and preferences. Here are the general steps to follow:
- Identify the software you want to use with your Yamaha keyboard. This could be music production software, a virtual instrument plugin, or any other software that enhances your musical experience.
- Visit the manufacturer’s website and download the software installer. Make sure to choose the appropriate version for your computer’s operating system.
- Run the software installer and follow the on-screen instructions to complete the installation process. Make sure to read any prompts or pop-ups carefully.
- Once the software is installed, launch it and navigate to the settings or preferences menu. Look for an option to set up your MIDI devices or external keyboards.
- Select your Yamaha keyboard from the list of available MIDI devices. If you’re unsure which option to choose, consult the software’s user manual or online resources for guidance.
- Configure any additional settings or preferences according to your needs. This may include adjusting buffer size, selecting audio outputs, or mapping MIDI controls.
After you have installed and set up the required software, you’re ready to move on to the next step: configuring the keyboard settings on your computer.
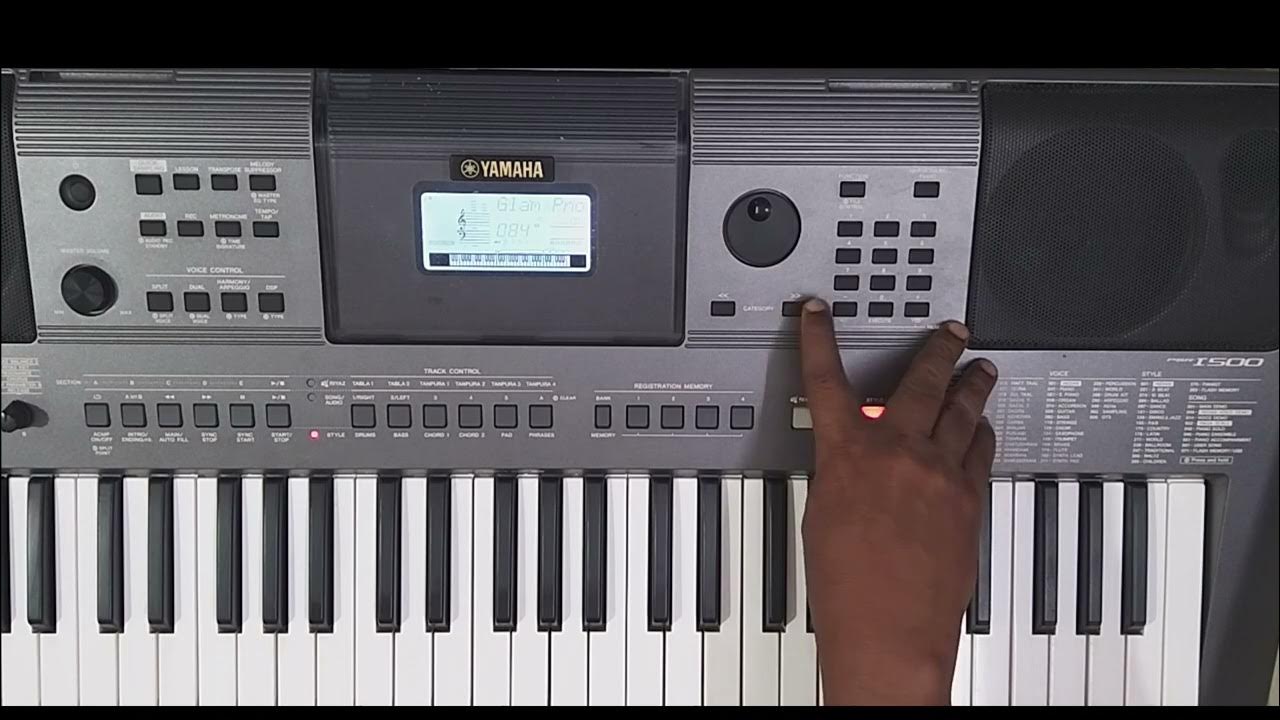
Step 4: Configuring the Keyboard Settings on the Computer
Now that you have your software installed and running, it’s important to configure the keyboard settings on your computer to ensure proper communication between your Yamaha keyboard and the software. Follow these steps:
- Open the software application that you installed in the previous step.
- Navigate to the MIDI settings or preferences section within the software. This is where you’ll configure the keyboard settings.
- Ensure that the input and output MIDI ports are set to your Yamaha keyboard. Most software applications will automatically detect and display the available MIDI devices, including your keyboard.
- You may have the option to customize the MIDI mapping. This allows you to assign specific functions or parameters on your keyboard to control different aspects of the software. Experiment with this feature to optimize your workflow.
- Adjust any other relevant settings, such as velocity sensitivity, aftertouch, or pedal assignments. These options can be found within the MIDI settings or preferences menu, so take the time to explore and personalize your experience.
By configuring the keyboard settings on your computer, you ensure that your Yamaha keyboard and software are perfectly synchronized, allowing you to make the most out of your musical journey.
Once you have completed the configuration process, it’s time to move on to the final step: testing the connection and verifying functionality.
Step 5: Testing the Connection
After setting up the keyboard settings on your computer, it’s essential to test the connection between your Yamaha keyboard and the software. This step verifies that everything is working correctly and ensures a smooth musical experience. Follow these steps to test the connection:
- Ensure that your Yamaha keyboard is turned on and properly connected to your computer via the USB cable.
- Launch your music production software or any other application you plan to use with your keyboard.
- Create a new project or open an existing one.
- Select a track or instrument where you want to use your Yamaha keyboard as the input device.
- Make sure that the track is armed for recording or enabled for MIDI input.
- Press some keys or play your Yamaha keyboard to check if the software is receiving the MIDI data. You should see the corresponding MIDI notes being triggered on the software’s interface.
- If you have connected an audio interface, ensure that the sound is coming through your speakers or headphones.
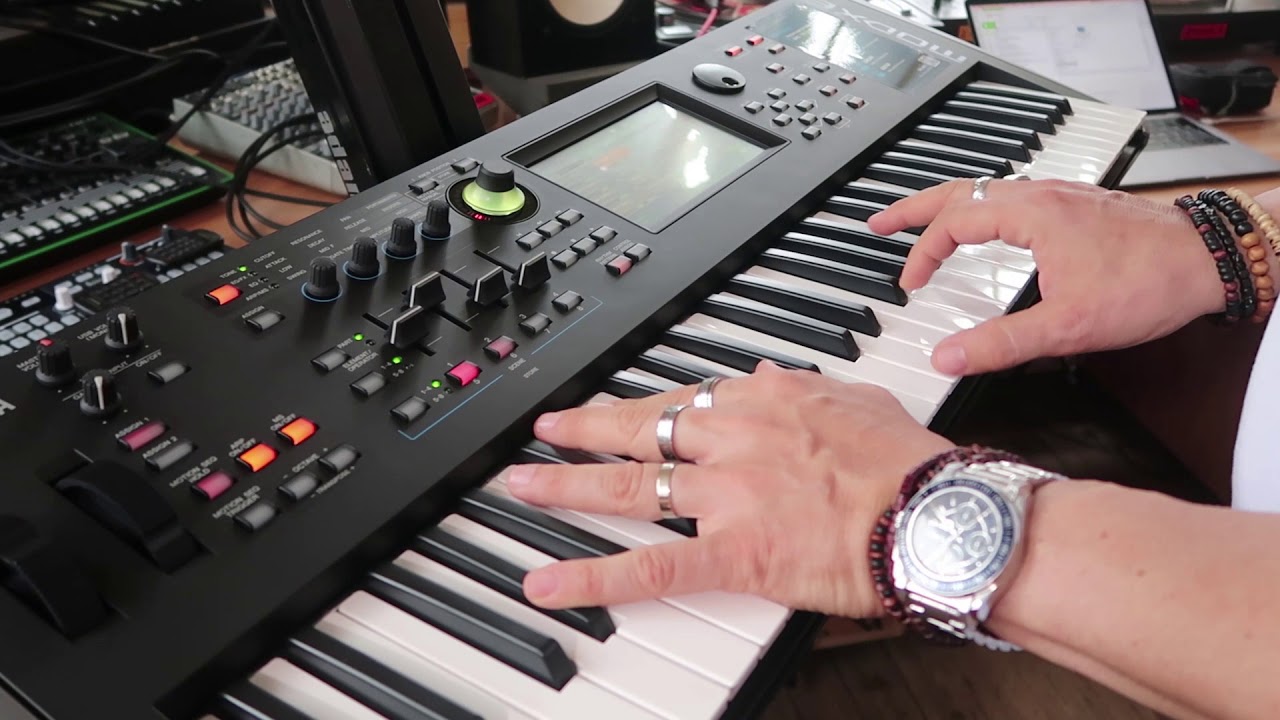
- Experiment with different parameters and controls on your Yamaha keyboard to see if they affect the software as expected. For example, try using the modulations, pitch bend wheel, or sustain pedal.
If everything works as intended, congratulations! You have successfully connected your Yamaha keyboard to your computer and tested the connection. Now you can unlock a world of endless possibilities for composing, producing, and recording music.
If you encounter any issues during the testing phase, double-check your connections, software settings, and consult troubleshooting guides or documentation provided by the software and Yamaha. Don’t hesitate to reach out to customer support for further assistance.
With the connection tested and verified, you’re ready to embark on your musical journey using your Yamaha keyboard and computer as powerful tools for creativity.
Conclusion
Congratulations on successfully connecting your Yamaha keyboard to your computer! By following the steps outlined in this guide, you have unlocked a world of possibilities for creating, recording, and producing music. Whether you’re a beginner looking to explore different sounds or an experienced musician aiming to take your compositions to the next level, the combination of your Yamaha keyboard and computer opens up a myriad of opportunities.
Remember, connecting your Yamaha keyboard to your computer allows you to access various software applications, virtual instruments, and resources that can enhance your musical journey. With the ability to record, compose, and produce music, you’re equipped to unleash your creativity and share your passion with the world.
As you continue your musical exploration, don’t forget to explore different software options, experiment with various settings, and keep honing your skills through practice and learning. Familiarize yourself with the features and capabilities of your Yamaha keyboard, and continue to push your boundaries to discover the full potential of your musical creativity.
If you encounter any challenges or have questions along the way, don’t hesitate to refer back to this guide or seek assistance from the manufacturer’s support resources. The more you engage with your Yamaha keyboard and computer, the more you’ll uncover the unique possibilities they offer.
Now, it’s time to immerse yourself in the world of music and embark on an exciting journey with your Yamaha keyboard and computer as your trusted companions. So go ahead, create, explore, and make beautiful music!