Home>Production & Technology>Acoustic>How To Install A Bridge On An Acoustic Guitar
Acoustic
How To Install A Bridge On An Acoustic Guitar
Published: March 12, 2024
Learn how to install a bridge on your acoustic guitar with our step-by-step guide. Get expert tips and advice for a successful installation.
(Many of the links in this article redirect to a specific reviewed product. Your purchase of these products through affiliate links helps to generate commission for AudioLover.com, at no extra cost. Learn more)
Table of Contents
Introduction
Installing a bridge on an acoustic guitar is a crucial process that can significantly impact the instrument's sound and playability. The bridge serves as the anchor point for the guitar's strings, transmitting their vibrations to the soundboard and ultimately producing the rich, resonant tones that acoustic guitars are known for. Whether you're replacing a worn-out bridge or customizing your guitar with a new one, understanding the steps involved in this procedure is essential for maintaining the instrument's optimal performance.
In this comprehensive guide, we will walk through the step-by-step process of installing a bridge on an acoustic guitar. From gathering the necessary tools and materials to the final tuning of the strings, each stage plays a vital role in ensuring a successful bridge installation. By following these instructions carefully, you can breathe new life into your beloved acoustic guitar and unlock its full sonic potential.
The bridge installation process requires attention to detail and a steady hand, but the satisfaction of hearing the improved resonance and sustain of your guitar makes it all worthwhile. Whether you're a seasoned luthier or a passionate guitarist looking to embark on a DIY project, this guide will equip you with the knowledge and confidence to tackle the task at hand.
So, gather your tools, set aside some time, and let's dive into the rewarding journey of installing a bridge on your acoustic guitar. With each step, you'll gain a deeper understanding of the instrument's construction and the pivotal role that the bridge plays in shaping its tonal character. Get ready to witness the transformation of your guitar as we embark on this enriching and fulfilling endeavor together.
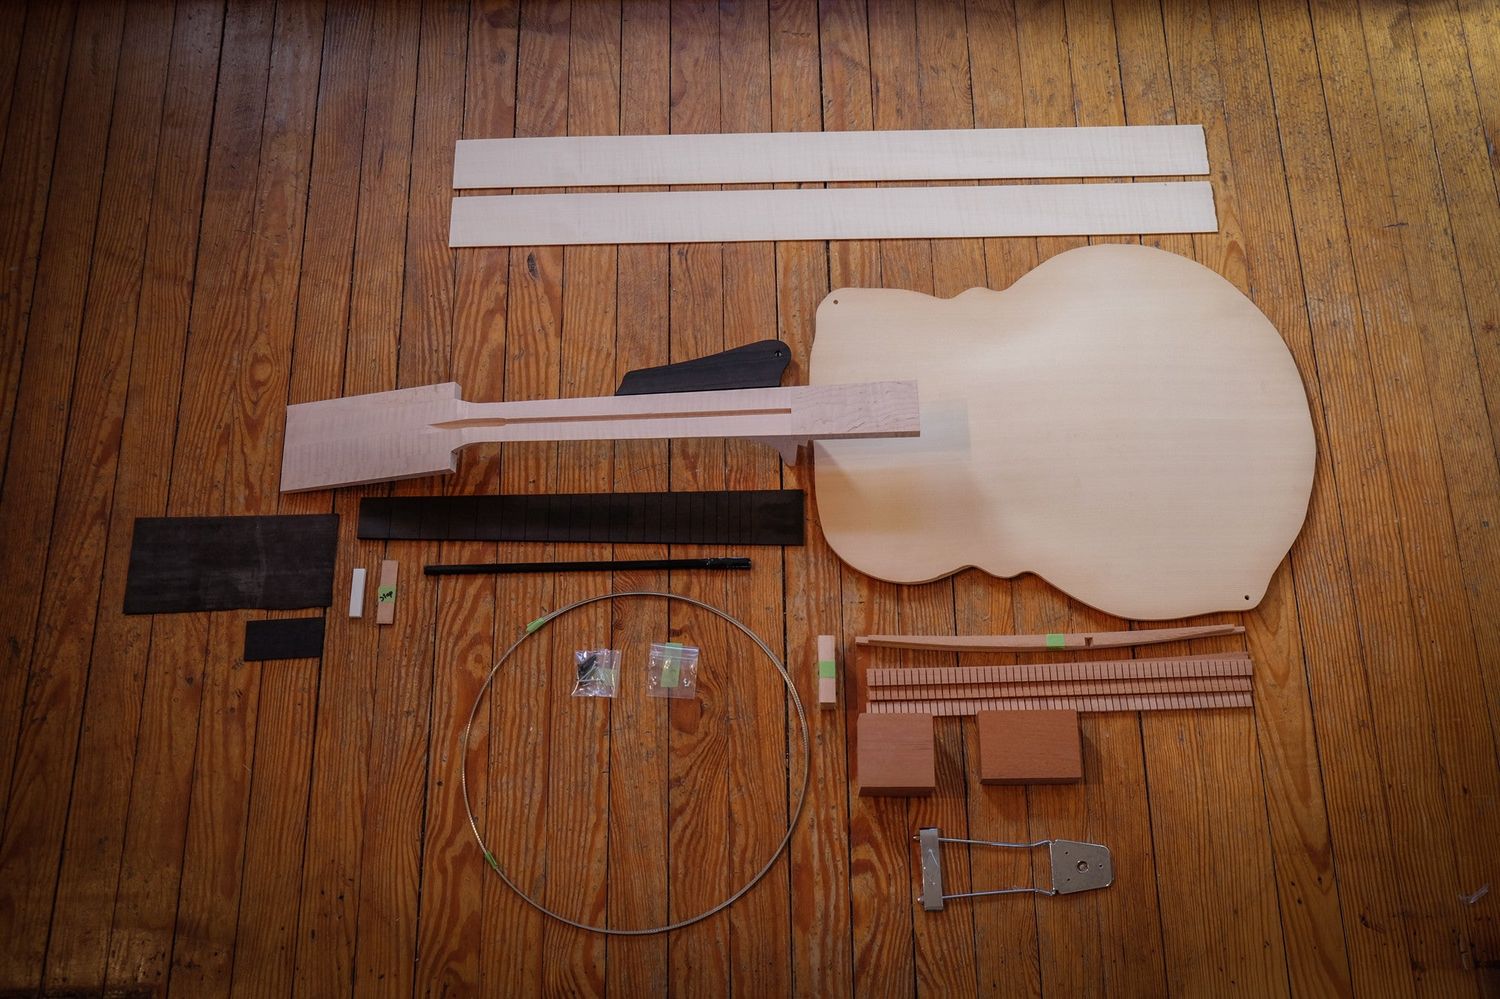
Step 1: Gather the necessary tools and materials
Before embarking on the bridge installation process, it's essential to gather the required tools and materials to ensure a smooth and efficient workflow. Here's a comprehensive list of items you'll need:
Tools:
- Bridge removal tool: This specialized tool is designed to safely remove the old bridge from the guitar body without causing damage to the instrument.
- Razor blade or chisel: Used for carefully removing any residual glue or debris from the guitar top after the old bridge has been taken off.
- Masking tape: Helps in marking the precise placement of the new bridge and protects the guitar's finish during the installation process.
- Ruler or measuring calipers: Essential for accurately measuring and marking the placement of the new bridge to ensure proper intonation and alignment.
- Clamps: These are necessary for securing the new bridge in place while the adhesive sets, ensuring a strong and stable bond with the guitar top.
Materials:
- New bridge: Select a high-quality bridge that complements the design and tonal characteristics of your acoustic guitar. Bridges are available in various materials, such as rosewood, ebony, or synthetic composites, each offering unique sonic properties.
- Adhesive: Choose a suitable wood glue or adhesive specifically formulated for guitar bridge installation. It's crucial to use a high-quality adhesive to ensure a secure and long-lasting bond between the bridge and the guitar top.
- Sandpaper: Used for smoothing any rough edges on the new bridge and preparing the guitar's surface for optimal adhesion.
- Clean cloth: Essential for wiping away excess glue and maintaining a clean work environment during the installation process.
By assembling these tools and materials, you'll be well-prepared to proceed with confidence through the subsequent steps of removing the old bridge, preparing the guitar top, and installing the new bridge. Each item plays a crucial role in ensuring the precision, stability, and overall success of the bridge installation process. With these essentials at your disposal, you're ready to embark on the transformative journey of revitalizing your acoustic guitar with a new bridge.
Step 2: Remove the old bridge
Removing the old bridge from an acoustic guitar is a delicate yet essential step in the process of installing a new bridge. The old bridge must be carefully detached to avoid damaging the guitar's top and ensure a clean surface for the installation of the new bridge. Here's a detailed guide on how to remove the old bridge with precision and care:
-
Loosen the Strings: Begin by loosening the tension of the guitar strings to reduce the pressure on the bridge. This can be done by turning the tuning pegs to slacken the strings, making it easier to work around the bridge area.
-
Assess the Adhesive: Inspect the underside of the old bridge to determine the type of adhesive used for its attachment. Most acoustic guitars have bridges secured with wood glue, while some older models might have been attached with hide glue. Understanding the adhesive type will inform the approach for safe removal.
-
Use a Bridge Removal Tool: Employ a specialized bridge removal tool designed to gently lift the old bridge from the guitar's body. This tool helps in evenly distributing the pressure and minimizing the risk of damaging the guitar's top or bracing.
-
Carefully Pry the Bridge: Position the bridge removal tool beneath the old bridge and apply gentle, even pressure to gradually lift it from the guitar's surface. Take your time and ensure that the pressure is distributed evenly to prevent any sudden or forceful movements that could cause damage.
-
Clean the Guitar Top: Once the old bridge has been removed, use a razor blade or chisel to carefully scrape away any residual adhesive or debris from the guitar's top. It's crucial to create a clean and smooth surface for the installation of the new bridge.
By following these steps with precision and patience, you can safely remove the old bridge from your acoustic guitar, setting the stage for the next phase of preparing the guitar top for the installation of the new bridge. This meticulous approach ensures that the guitar's structural integrity is preserved while paving the way for the enhancement of its tonal qualities with the new bridge.
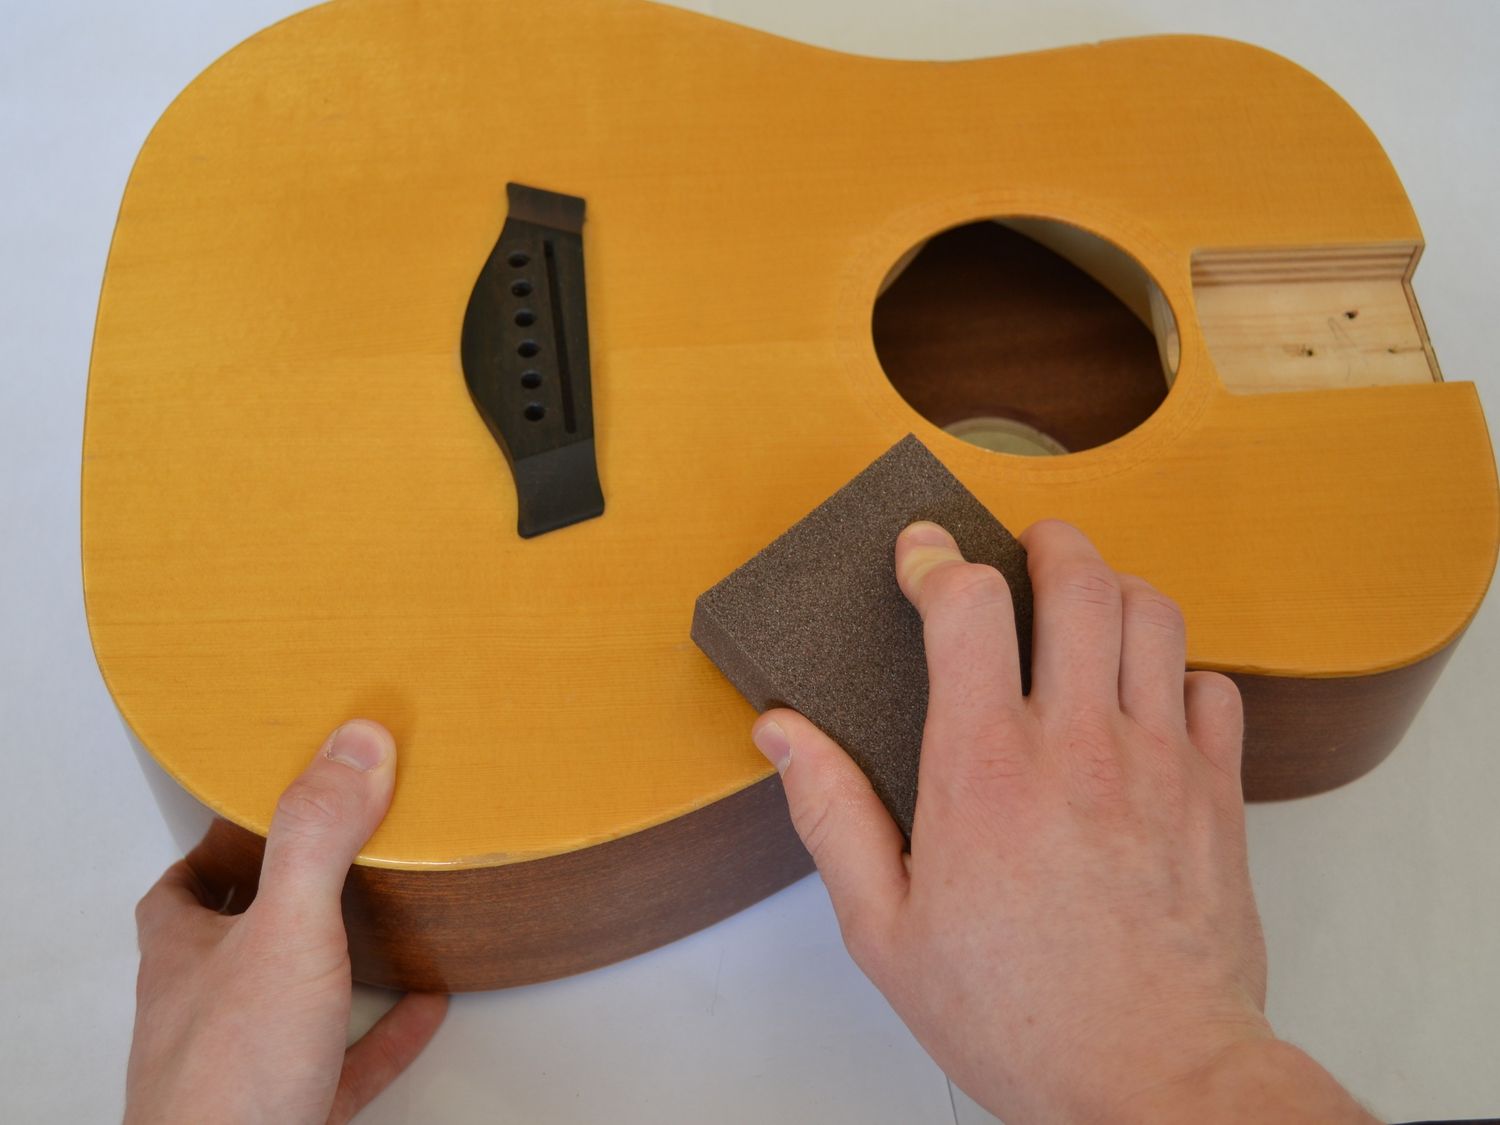
Step 3: Prepare the guitar top for the new bridge
Preparing the guitar top for the installation of the new bridge is a critical phase that directly influences the stability and tonal integrity of the instrument. This meticulous process involves ensuring a precise fit for the new bridge and creating an optimal surface for secure adhesion. Here's a detailed guide on how to prepare the guitar top for the new bridge installation:
-
Measure and Mark: Begin by carefully measuring and marking the precise placement of the new bridge on the guitar's top. Use a ruler or measuring calipers to determine the exact position where the bridge will be situated. This step is crucial for achieving proper intonation and alignment, which are essential for the guitar's overall playability and tonal accuracy.
-
Masking Tape: Once the placement has been marked, apply masking tape around the perimeter of the marked area. This not only protects the guitar's finish but also provides a visible guide for the subsequent steps of sanding and gluing.
-
Smooth the Surface: Use fine-grit sandpaper to lightly sand the area where the old bridge was situated. This helps in creating a clean and level surface for the new bridge to rest upon. It's important to remove any residual adhesive or rough spots to ensure a flush and stable fit for the new bridge.
-
Fit and Test: Place the new bridge onto the sanded area and verify the fit against the marked position. This step allows for any necessary adjustments to be made before applying the adhesive. Ensuring a snug and accurate fit at this stage is crucial for the overall stability and tonal transfer of the bridge.
-
Clean the Surface: Wipe the sanded area with a clean cloth to remove any dust or debris. It's essential to have a pristine surface for the adhesive to form a strong and reliable bond with the guitar's top.
-
Apply Adhesive: Following the manufacturer's instructions, apply a thin, even layer of high-quality wood glue or adhesive to the underside of the new bridge. Carefully position the bridge onto the marked area, ensuring that it aligns precisely with the markings and fits snugly against the guitar's surface.
-
Secure with Clamps: Once the bridge is in place, use clamps to secure it firmly to the guitar's top. The clamps ensure that the bridge remains in position while the adhesive sets, creating a strong and durable bond between the bridge and the guitar's body.
By meticulously preparing the guitar top for the new bridge, you are laying the foundation for optimal tonal transfer and structural stability. This phase sets the stage for the final step of stringing and tuning the guitar, where the transformative impact of the new bridge on the instrument's sound and playability will be fully realized.
Step 4: Install the new bridge
Installing the new bridge on an acoustic guitar marks a pivotal moment in the process, where the culmination of meticulous preparation and precise execution comes to fruition. This step is instrumental in shaping the instrument's tonal characteristics and playability, as the bridge serves as the conduit for transmitting string vibrations to the guitar's soundboard. Here's a detailed guide on how to install the new bridge with precision and care:
-
Align the Bridge: With the adhesive applied to the underside of the new bridge, carefully position it onto the marked area on the guitar's top. Ensure that the bridge aligns precisely with the markings and fits snugly against the surface. The alignment is crucial for maintaining proper intonation and ensuring that the strings rest at the correct height above the fretboard.
-
Secure with Clamps: Once the bridge is in position, use clamps to secure it firmly to the guitar's top. The clamps play a vital role in maintaining consistent pressure on the bridge, ensuring a strong and durable bond with the guitar's body. It's essential to distribute the pressure evenly to prevent any warping or misalignment during the adhesive setting process.
-
Remove Excess Adhesive: Wipe away any excess adhesive that may have seeped out from beneath the bridge. A clean cloth can be used to carefully remove the excess glue, ensuring that the guitar's finish remains unblemished. This step contributes to the overall aesthetics of the instrument while maintaining a tidy work environment.
-
Allow for Adhesive Setting: Follow the manufacturer's recommended setting time for the adhesive to cure. It's crucial to exercise patience during this phase, allowing ample time for the adhesive to form a strong and reliable bond between the bridge and the guitar's top. The stability and tonal transfer of the bridge hinge on the quality of this bond.
-
Fine-Tune the Placement: After the adhesive has set, carefully remove the clamps and inspect the bridge's placement. Any minor adjustments can be made at this stage to ensure that the bridge is securely positioned and aligned for optimal tonal transfer. Attention to detail in this step contributes to the overall stability and playability of the guitar.
By following these steps with precision and patience, you can successfully install the new bridge on your acoustic guitar, setting the stage for the final phase of stringing and tuning the instrument. The installation of the new bridge represents a transformative moment in the guitar's journey, where its sonic potential is poised to be fully realized.
Step 5: String and tune the guitar
With the new bridge securely in place, the final step in the bridge installation process involves stringing and tuning the guitar to bring it to life. This phase is where the instrument's sonic transformation becomes tangible, as the new bridge begins to resonate with the strings, shaping the guitar's tonal character and playability. Here's a detailed guide on how to string and tune the guitar after installing the new bridge:
-
Select High-Quality Strings: Choose a set of high-quality acoustic guitar strings that align with your playing style and tonal preferences. Whether you prefer phosphor bronze, 80/20 bronze, or coated strings, selecting the right set is crucial for achieving the desired tonal characteristics.
-
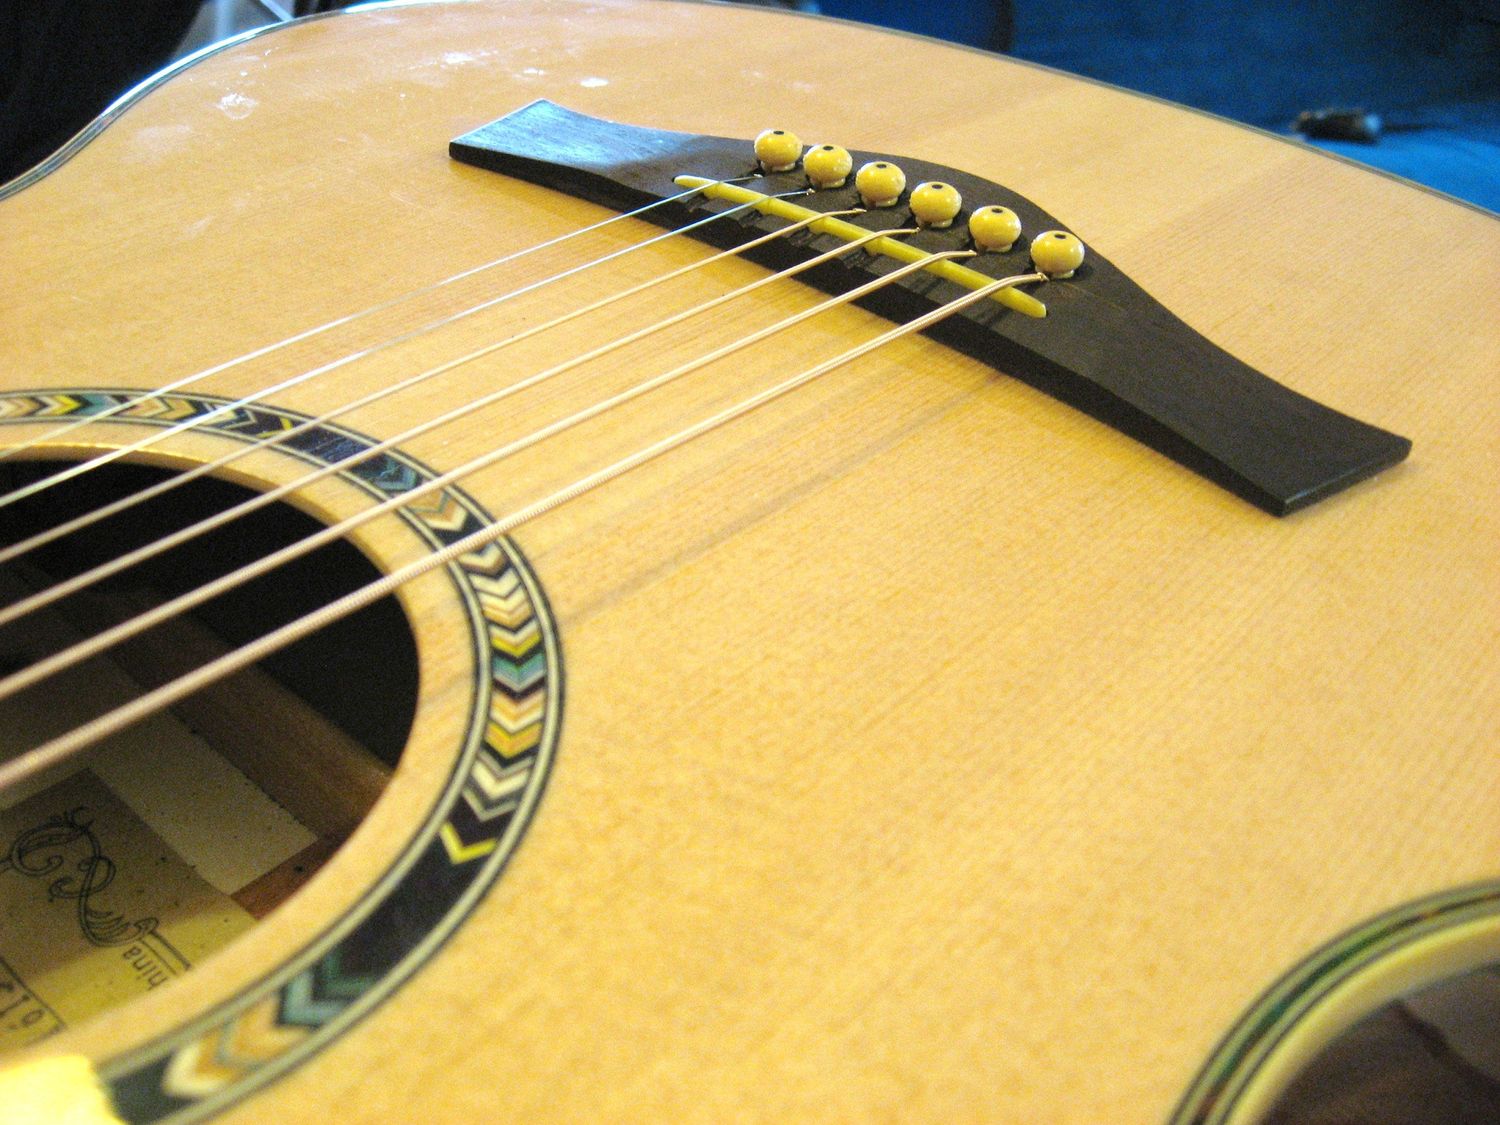
Thread the Strings: Begin by threading the strings through the bridge's pinholes, ensuring that each string is securely anchored. The bridge's design plays a significant role in how the strings are secured, so it's essential to follow the specific threading instructions for your guitar's bridge type.
-
Wind the Strings: With the strings anchored at the bridge, carefully wind each string around the corresponding tuning peg. Maintain consistent tension and ensure that the winds are neat and secure, minimizing the risk of slippage or tuning instability.
-
Tune to Pitch: Using a reliable tuner, tune each string to the appropriate pitch, starting with the low E string and progressing to the high E string. As you tune each string, listen for consistent pitch and ensure that the strings are seated properly in the nut and bridge to facilitate optimal vibration transfer.
-
Stretch and Retune: After initially tuning the strings, gently stretch each string to minimize the initial stretching that occurs with new strings. This helps stabilize the tuning and reduces the likelihood of frequent retuning during the guitar's initial playtime.
-
Fine-Tune and Intonate: Once the strings have been stretched and the initial tuning stabilized, fine-tune each string to achieve precise pitch. Additionally, check the intonation by playing fretted notes at various positions on the fretboard and adjusting the saddle position if necessary to ensure accurate pitch across the entire fretboard.
-
Play and Assess: With the guitar fully strung and tuned, take the time to play the instrument and assess the tonal improvements brought about by the new bridge. Pay attention to the sustain, resonance, and overall playability, noting any enhancements in the guitar's sonic characteristics.
By meticulously stringing and tuning the guitar after installing the new bridge, you bring the instrument to its full potential, allowing the transformative impact of the bridge to unfold. The culmination of this process is the realization of a revitalized acoustic guitar, with enhanced tonal qualities and a renewed playing experience.
Conclusion
In conclusion, the process of installing a new bridge on an acoustic guitar is a transformative journey that encompasses meticulous preparation, precise execution, and a deep appreciation for the instrument's tonal nuances. Each step, from gathering the necessary tools and materials to stringing and tuning the guitar, contributes to the revitalization of the instrument and the enhancement of its sonic potential.
The careful removal of the old bridge sets the stage for the meticulous preparation of the guitar top, ensuring a precise fit and optimal surface for the installation of the new bridge. The installation itself represents a pivotal moment where the culmination of preparation and precision comes to fruition, as the new bridge becomes the conduit for transmitting string vibrations to the guitar's soundboard.
The final phase of stringing and tuning the guitar brings the instrument to life, allowing the transformative impact of the new bridge to unfold. The resonance, sustain, and playability of the guitar are revitalized, offering a renewed playing experience and a deeper connection to the instrument's sonic character.
Throughout this process, attention to detail, patience, and a deep understanding of the guitar's construction are essential. The satisfaction of hearing the improved tonal qualities and experiencing the enhanced playability of the instrument makes the bridge installation process a truly rewarding endeavor.
As you embark on the journey of installing a new bridge on your acoustic guitar, remember that each step is an opportunity to deepen your connection with the instrument and unlock its full sonic potential. Whether you're a seasoned luthier or a passionate guitarist delving into a DIY project, the bridge installation process offers a profound appreciation for the craftsmanship and artistry behind acoustic guitars.
So, as you gather your tools, set aside some time, and embark on this enriching endeavor, remember that the installation of a new bridge is not just a technical process, but a transformative experience that breathes new life into your beloved acoustic guitar. Embrace each step with care and precision, and revel in the rewarding journey of revitalizing your instrument with a new bridge.