Home>Production & Technology>Acoustic>How To Replace A Saddle On Acoustic Guitar

Acoustic
How To Replace A Saddle On Acoustic Guitar
Published: March 11, 2024
Learn how to replace a saddle on your acoustic guitar with our step-by-step guide. Keep your instrument in top condition and maintain its acoustic sound.
(Many of the links in this article redirect to a specific reviewed product. Your purchase of these products through affiliate links helps to generate commission for AudioLover.com, at no extra cost. Learn more)
Table of Contents
Introduction
Replacing the saddle on an acoustic guitar is a crucial aspect of guitar maintenance and can significantly impact the instrument's playability and tone. The saddle, located on the bridge of the guitar, is responsible for transmitting the vibrations from the strings to the guitar's body, influencing the overall sound projection and resonance. Over time, the original saddle may wear down, affecting the guitar's intonation and action. Therefore, understanding how to replace the saddle is a valuable skill for any guitarist or luthier.
In this comprehensive guide, we will walk you through the step-by-step process of replacing the saddle on your acoustic guitar. Whether you're a seasoned musician or a novice enthusiast, this tutorial will equip you with the knowledge and confidence to undertake this essential maintenance task. By following these instructions, you can restore your guitar's optimal performance and ensure that it continues to produce rich, harmonious tones.
The process of replacing a saddle involves several key steps, including gathering the necessary tools and materials, removing the old saddle, measuring and trimming the new saddle, and finally, installing and testing the new saddle. Each step is crucial to the overall success of the replacement process, and we will provide detailed insights and tips to help you navigate each stage with precision and ease.
By the end of this guide, you will have the expertise to seamlessly replace the saddle on your acoustic guitar, allowing you to maintain its playability and sonic characteristics for years to come. So, let's dive into the first step and begin this rewarding journey of enhancing your guitar's performance.
Step 1: Gather the necessary tools and materials
Before embarking on the process of replacing the saddle on your acoustic guitar, it's essential to gather the required tools and materials. Having the right equipment at your disposal will streamline the replacement process and ensure that you can execute each step effectively. Here's a comprehensive list of the items you'll need:
Tools:
- Phillips-head screwdriver: This tool will be used to remove the screws securing the saddle on the bridge of the guitar.
- Flathead screwdriver: Essential for prying out the old saddle from the bridge slot.
- Ruler or calipers: Accurate measurements are crucial when trimming the new saddle to fit the bridge, making a ruler or calipers indispensable.
- Sandpaper or file: Used for shaping and fine-tuning the new saddle to achieve a precise fit.
- Masking tape: Helps mark the saddle for cutting and prevents any potential damage to the guitar's finish during the process.
Materials:
- Replacement saddle: Ensure that you have a high-quality replacement saddle that matches the specifications of your guitar. Saddle materials can vary, including bone, synthetic bone, and various types of plastic. Select a saddle that aligns with your tonal preferences and playing style.
- Soft cloth: Keep a soft cloth handy to clean the guitar's bridge and surrounding area before installing the new saddle.
- Pencil or marker: Use a pencil or marker to mark the new saddle for precise trimming.
- Optional: Masking tape or adhesive sandpaper: If you prefer a more secure fitting, you may want to use masking tape or adhesive sandpaper to affix the new saddle to the bridge while shaping it.
By ensuring that you have all the necessary tools and materials ready, you can approach the saddle replacement process with confidence and efficiency. This preparation sets the stage for a smooth transition into the subsequent steps, allowing you to focus on the intricate details of removing, measuring, and installing the new saddle without any interruptions. With your toolkit assembled, you're now ready to delve into the next phase of this rewarding maintenance endeavor.
Step 2: Remove the old saddle
Removing the old saddle from your acoustic guitar is a pivotal step in the process of replacing it with a new one. This task requires precision and care to avoid damaging the guitar's bridge or surrounding components. Here's a detailed guide on how to effectively remove the old saddle:
-
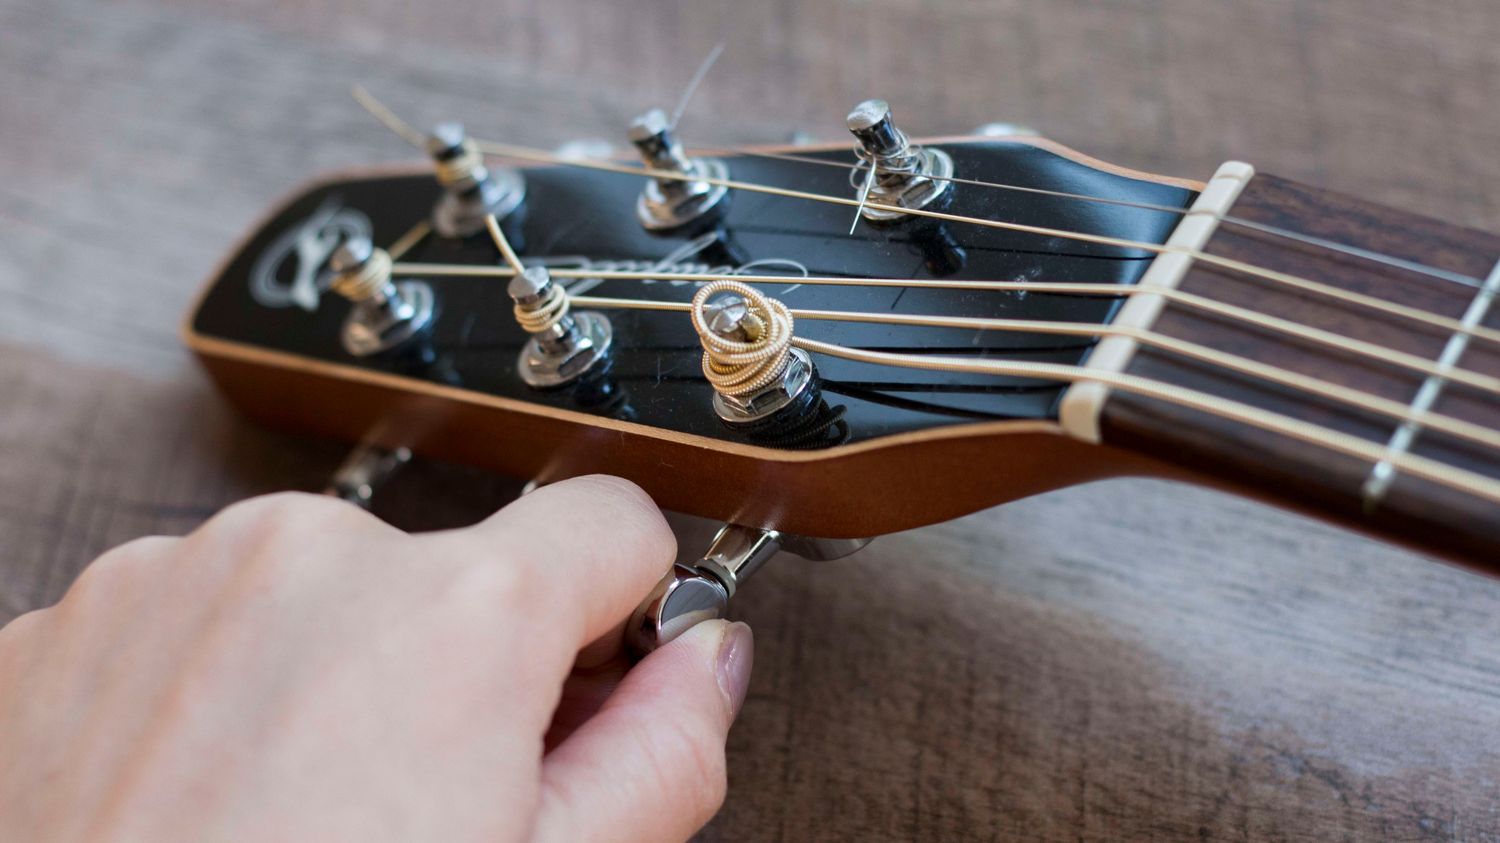
Loosen the Strings: Begin by loosening the tension of the guitar strings to alleviate the pressure on the saddle and bridge. This can be achieved by turning the tuning pegs to slacken the strings. It's essential to reduce the tension to prevent any potential damage to the bridge or the guitar's top when removing the saddle.
-
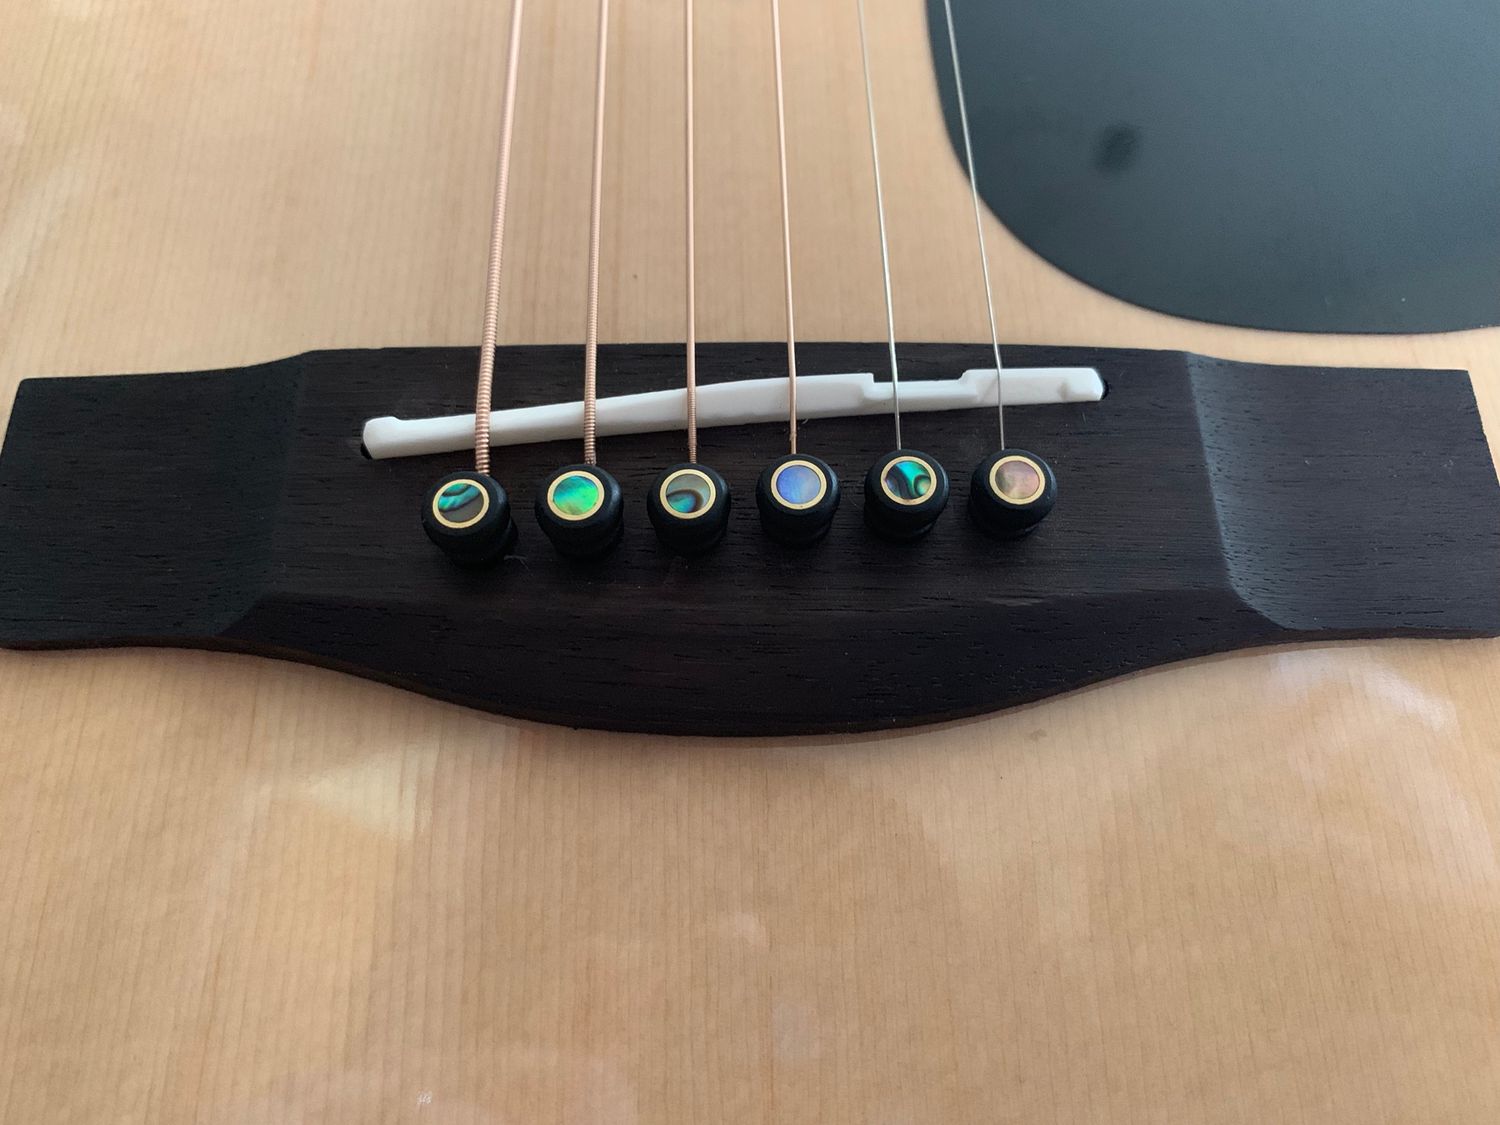
Access the Saddle: Once the strings are sufficiently loosened, you can access the saddle located on the bridge of the guitar. In most acoustic guitars, the saddle is positioned in a slot within the bridge. Use caution when handling the guitar to prevent any accidental damage.
-
Use a Flathead Screwdriver: To remove the old saddle, gently insert a flathead screwdriver into the slot beneath the saddle. Apply even pressure to lift the saddle out of its position. Take care to avoid using excessive force, as this can cause damage to the bridge or the guitar's finish.
-
Inspect the Slot: After removing the saddle, take a moment to inspect the slot in the bridge. Ensure that there are no debris or remnants left behind that could affect the fitting of the new saddle. Use a soft cloth or a small brush to clean the slot and ensure a smooth surface for the new saddle.
By following these steps with precision and attention to detail, you can effectively remove the old saddle from your acoustic guitar without causing any harm to the instrument. With the old saddle successfully removed, you're now ready to proceed to the next phase of this process: measuring and trimming the new saddle to ensure a perfect fit on the guitar's bridge.
Step 3: Measure and trim the new saddle
With the old saddle removed, the next critical step in replacing the saddle on your acoustic guitar is to measure and trim the new saddle to ensure a precise fit. This process demands accuracy and attention to detail to guarantee optimal intonation and action once the new saddle is installed. Here's a comprehensive guide on how to measure and trim the new saddle effectively:
-
Measure the Slot: Begin by measuring the slot in the bridge where the new saddle will be placed. Use a ruler or calipers to obtain the exact dimensions of the slot, ensuring that the new saddle will fit snugly without any gaps or inconsistencies. Accurate measurements are crucial for achieving proper string height and intonation.
-
Mark the Saddle: Place the new saddle in the slot without securing it, allowing you to mark the areas that need to be trimmed for a precise fit. Use a pencil or marker to indicate the points where the saddle extends beyond the dimensions of the slot. This step will serve as a guide for the trimming process.
-
Trim the Excess: Carefully trim the excess material from the saddle based on the markings made in the previous step. It's essential to approach this task with patience and precision, as small adjustments can significantly impact the saddle's fit and the guitar's overall playability. A fine-toothed saw or sandpaper can be used to gradually remove the excess material while maintaining a straight and even surface.
-
Test the Fit: After trimming the saddle, place it back into the slot and assess the fit. The saddle should sit flush within the slot without any gaps or tilting. Additionally, ensure that the bottom of the saddle makes full contact with the bridge to facilitate optimal transfer of string vibrations.
-
Fine-Tune the Fit: If the saddle requires further adjustments, continue to trim small increments of material until the fit is precise. It's crucial to approach this process gradually, as over-trimming can compromise the saddle's stability and affect the guitar's intonation.
-
Smooth the Edges: Once the saddle fits perfectly within the slot, use fine-grit sandpaper to smooth the edges and ensure a seamless transition between the saddle and the bridge. This step contributes to the overall aesthetics and functionality of the saddle.
By meticulously measuring and trimming the new saddle, you can ensure that it seamlessly integrates with the guitar's bridge, promoting optimal string action and intonation. This meticulous approach sets the stage for the final phase of the replacement process: installing the new saddle and conducting thorough testing to validate its performance.
Step 4: Install the new saddle
With the old saddle removed and the new saddle meticulously measured and trimmed to perfection, the next pivotal step in the saddle replacement process is the installation of the new saddle onto the bridge of your acoustic guitar. This phase demands precision and attention to detail to ensure that the new saddle seamlessly integrates with the instrument, facilitating optimal string action and resonance. Here's a comprehensive guide on how to effectively install the new saddle:
-
Clean the Slot: Before installing the new saddle, ensure that the slot in the bridge is free from any debris or residue. Use a soft cloth or a small brush to gently clean the slot, creating a pristine surface for the new saddle to rest upon.
-
Position the Saddle: Carefully place the trimmed new saddle into the slot on the bridge, ensuring that it aligns perfectly with the orientation of the strings. The bottom of the saddle should make full and even contact with the bridge to facilitate efficient transmission of string vibrations.
-
Secure the Saddle: Once the saddle is positioned correctly, gently press it down to ensure a snug fit within the slot. Depending on the design of your guitar's bridge, the saddle may fit tightly without the need for additional securing. However, if desired, a small amount of wood glue can be applied to the bottom of the saddle to enhance its stability within the slot. It's crucial to use minimal glue to avoid any potential interference with the guitar's tone and resonance.
-
Reinstall the Strings: With the new saddle securely in place, reattach and tune the guitar strings to their standard tension. As the strings regain their tension, the new saddle will settle into its position, establishing a firm and stable connection with the bridge.
-
Inspect the Fit: Once the strings are tuned, inspect the fit of the new saddle to ensure that it remains flush and stable within the slot. Verify that the saddle's positioning aligns with the guitar's intonation and action requirements, promoting optimal playability and tonal characteristics.
By following these steps with precision and care, you can effectively install the new saddle onto your acoustic guitar, setting the stage for a harmonious and resonant playing experience. With the new saddle seamlessly integrated into the instrument, the final phase of the replacement process involves testing the saddle and making any necessary adjustments to optimize its performance.
Step 5: Test the new saddle and make adjustments if necessary
With the new saddle successfully installed on your acoustic guitar, the final and critical step in the saddle replacement process is to thoroughly test the saddle and make any necessary adjustments to ensure optimal performance. This phase is essential for validating the saddle's functionality and its impact on the guitar's playability and tonal characteristics. Here's a detailed guide on how to effectively test the new saddle and make precise adjustments if required:
-
String Action Assessment: Begin by assessing the string action, which refers to the height of the strings above the fretboard. Play each string individually and observe the string height at various fret positions. Ideally, the string action should facilitate comfortable playability without causing excessive buzzing or fretting out. If the string action is too high or low, adjustments to the saddle may be necessary to achieve the desired playability.
-
Intonation Check: Test the intonation of the guitar by playing notes and chords at different positions along the fretboard. Ensure that the guitar maintains accurate pitch across all frets. If any discrepancies in pitch are detected, particularly when comparing open string notes to their respective fretted notes, the saddle may require fine adjustments to optimize intonation.
-
Tonal Evaluation: Strum the guitar and listen attentively to the tonal characteristics produced by the new saddle. Pay attention to the sustain, clarity, and overall resonance of the notes. The new saddle should contribute to a balanced and rich tonal output across the guitar's range. If any tonal imbalances or inconsistencies are noted, minor adjustments to the saddle may be necessary to refine the guitar's sonic qualities.
-
Fine-Tuning the Saddle: If adjustments are deemed necessary based on the string action, intonation, or tonal evaluation, proceed with cautious and incremental alterations to the saddle. Depending on the specific requirements, the saddle may need to be filed or sanded to achieve precise string height and intonation. It's crucial to approach these adjustments gradually, testing the guitar's performance after each modification to gauge the impact on playability and tonal characteristics.
-
Reassessment and Iteration: After making adjustments to the saddle, revisit the string action, intonation, and tonal qualities to evaluate the effectiveness of the modifications. This iterative process allows for fine-tuning the saddle to align with the guitar's unique characteristics and the player's preferences. Repeat the testing and adjustment cycle as needed until the saddle optimally complements the guitar's performance.
By meticulously testing the new saddle and making precise adjustments as necessary, you can ensure that the guitar achieves its full potential in terms of playability, intonation, and tonal qualities. This thorough evaluation and refinement process culminates in a harmonious and resonant playing experience, affirming the successful replacement of the saddle and the enhancement of the guitar's overall performance.
Conclusion
In conclusion, the process of replacing the saddle on an acoustic guitar is a fundamental aspect of guitar maintenance that directly impacts the instrument's playability, intonation, and tonal characteristics. Through the comprehensive steps outlined in this guide, you have gained the knowledge and confidence to undertake this essential task with precision and care.
By gathering the necessary tools and materials, removing the old saddle, measuring and trimming the new saddle, installing the new saddle, and thoroughly testing its performance, you have embarked on a rewarding journey of enhancing your guitar's functionality and sonic qualities. Each step in the process is crucial to the overall success of the saddle replacement, and your dedication to meticulous detail ensures that your acoustic guitar will continue to deliver rich, harmonious tones for years to come.
As you reflect on the completion of this maintenance endeavor, it's important to recognize the transformative impact of a well-fitted saddle on the guitar's performance. The new saddle, meticulously measured and trimmed to perfection, serves as a testament to your commitment to maintaining the instrument's optimal playability and tonal resonance. The thorough testing and adjustment process further validate the seamless integration of the new saddle, affirming its ability to facilitate comfortable playability, accurate intonation, and balanced tonal characteristics.
Moreover, the skills and insights acquired through this process not only empower you to maintain your own guitar but also deepen your understanding of the intricate relationship between the instrument's components and its sonic output. This newfound expertise positions you as a steward of your guitar's performance, equipped to undertake future maintenance tasks with confidence and precision.
In essence, the successful replacement of the saddle on your acoustic guitar represents a harmonious fusion of craftsmanship and musicality. It signifies your dedication to preserving the instrument's inherent qualities while striving for continuous improvement in its playability and tonal expressiveness. As you strum the first chords on your newly revitalized acoustic guitar, you can revel in the harmonious resonance and the seamless playability facilitated by the meticulously replaced saddle, knowing that your efforts have contributed to the enduring legacy of this cherished instrument.

