Home>Production & Technology>Audio Cable>How To Disconnect A Digital Audio Cable
Audio Cable
How To Disconnect A Digital Audio Cable
Modified: January 22, 2024
Learn how to properly disconnect a digital audio cable. Follow our step-by-step guide and avoid damaging your valuable audio equipment.
(Many of the links in this article redirect to a specific reviewed product. Your purchase of these products through affiliate links helps to generate commission for AudioLover.com, at no extra cost. Learn more)
Table of Contents
Introduction
Welcome to our guide on how to disconnect a digital audio cable. Audio cables are essential for connecting various audio devices, such as speakers, headphones, and sound systems, to enjoy high-quality sound. However, there may come a time when you need to disconnect these cables, whether it’s to rearrange your audio setup, troubleshoot a connection issue, or store your equipment safely.
In this article, we will walk you through the step-by-step process of disconnecting a digital audio cable. We’ll provide clear instructions and tips to ensure a smooth disconnection without causing any damage to the cable or your audio devices. Whether you’re a seasoned audio enthusiast or a beginner, this guide will help you navigate the process with ease.
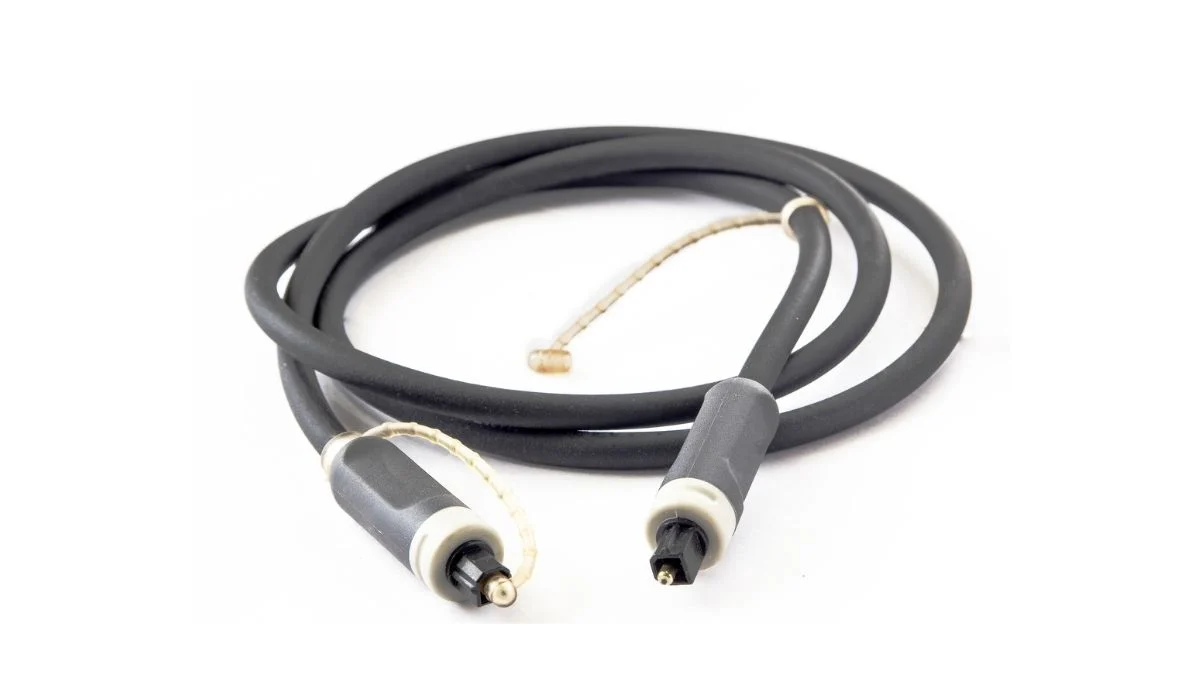
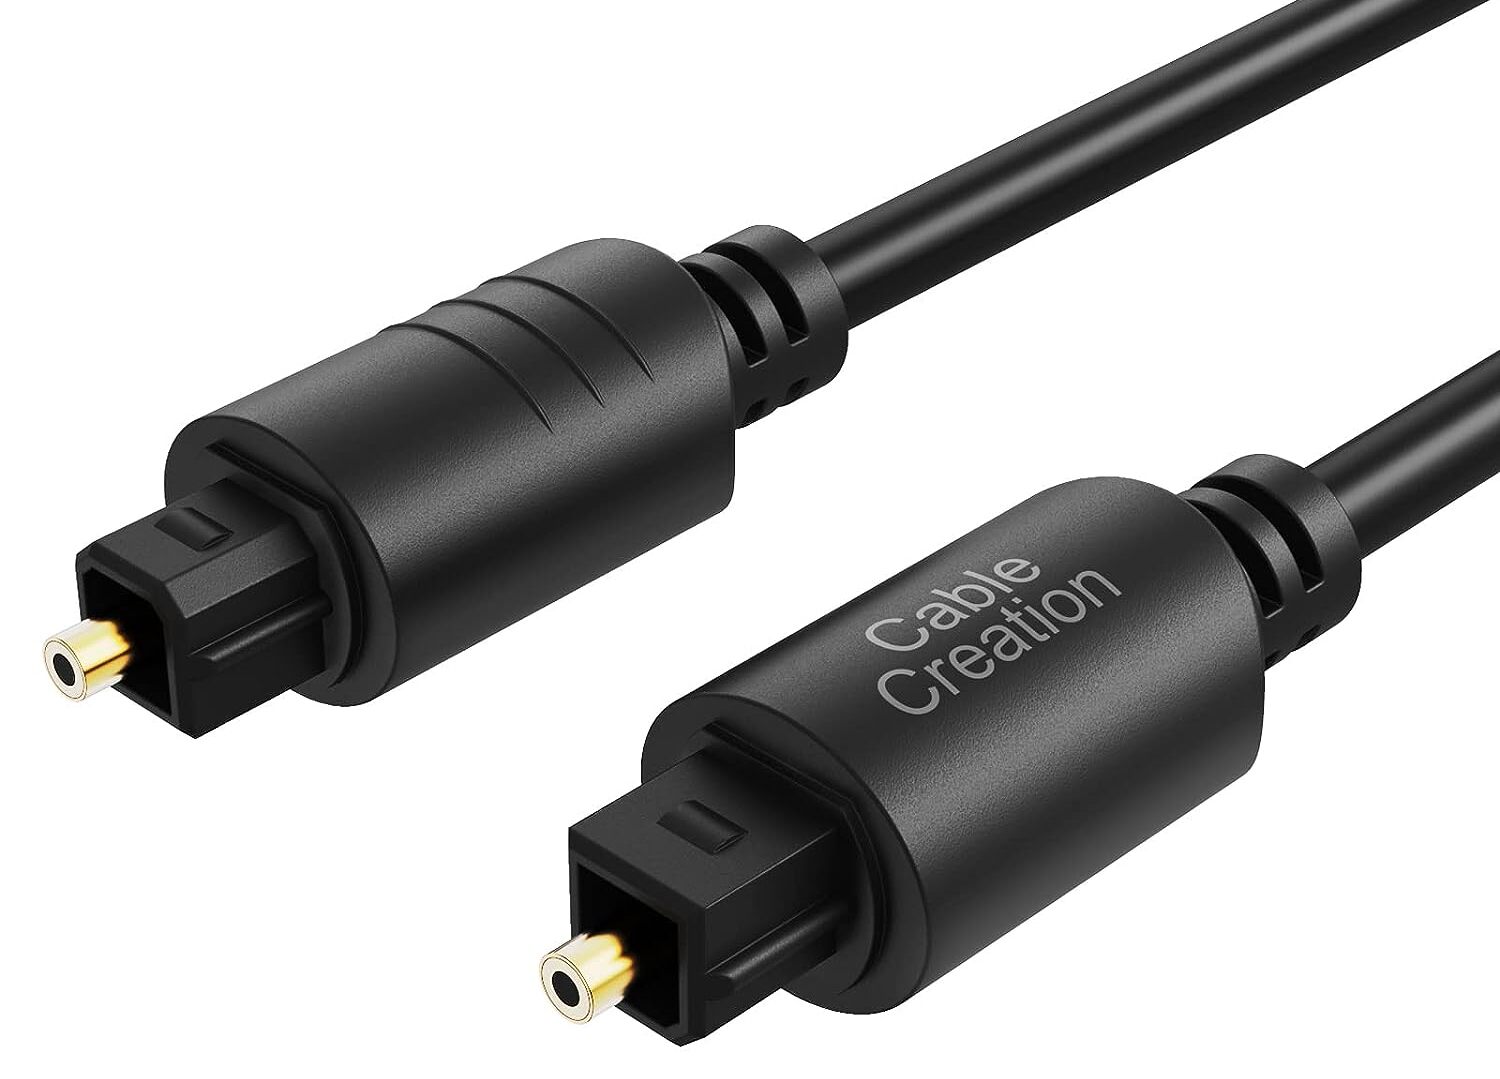
Before we dive into the steps, it’s important to understand the basics of digital audio cables. They are designed to transmit audio signals in a digital format, which allows for high-fidelity sound reproduction and minimal signal interference. Common types of digital audio cables include HDMI, optical (Toslink), coaxial, and USB cables.
Now, let’s get started with the first step – identifying the digital audio cable you want to disconnect. This will ensure that you can safely remove the correct cable without accidentally disconnecting any other cables or causing confusion when reconnecting them later.
Step 1: Identify the digital audio cable
The first step in disconnecting a digital audio cable is to identify the specific cable you want to remove. In most cases, audio devices have multiple cables connected to them, so it’s crucial to identify the correct one before proceeding.
Here are a few tips to help you identify the digital audio cable:
- Look for labeling: Many audio cables have labels indicating their purpose, such as “audio out,” “line out,” or “digital audio.” These labels can help you differentiate between different types of cables.
- Check the color and design: Some digital audio cables, such as HDMI cables, have distinct colors or markings that make them easy to identify. For example, HDMI cables often have a flat, rectangular shape and are commonly black in color.
- Follow the cable path: Trace the cable from the device it is connected to until you reach the other end. This will help you understand where the cable is coming from and going to, providing a clearer idea of its purpose.
- Refer to the device’s manual: If you’re unsure which cable to disconnect, consult the user manual of the audio device. The manual often contains diagrams or descriptions that can help you locate the specific cable you need to remove.
Once you’ve identified the digital audio cable, it’s time to move on to the next step – turning off the audio devices to ensure a safe disconnection.
Step 2: Turn off the audio devices
Before you proceed with disconnecting any cables, it is crucial to turn off the audio devices connected to the digital audio cable. This step will help prevent any potential damage to the devices or the cables during the disconnection process.
Here’s how to turn off the audio devices:
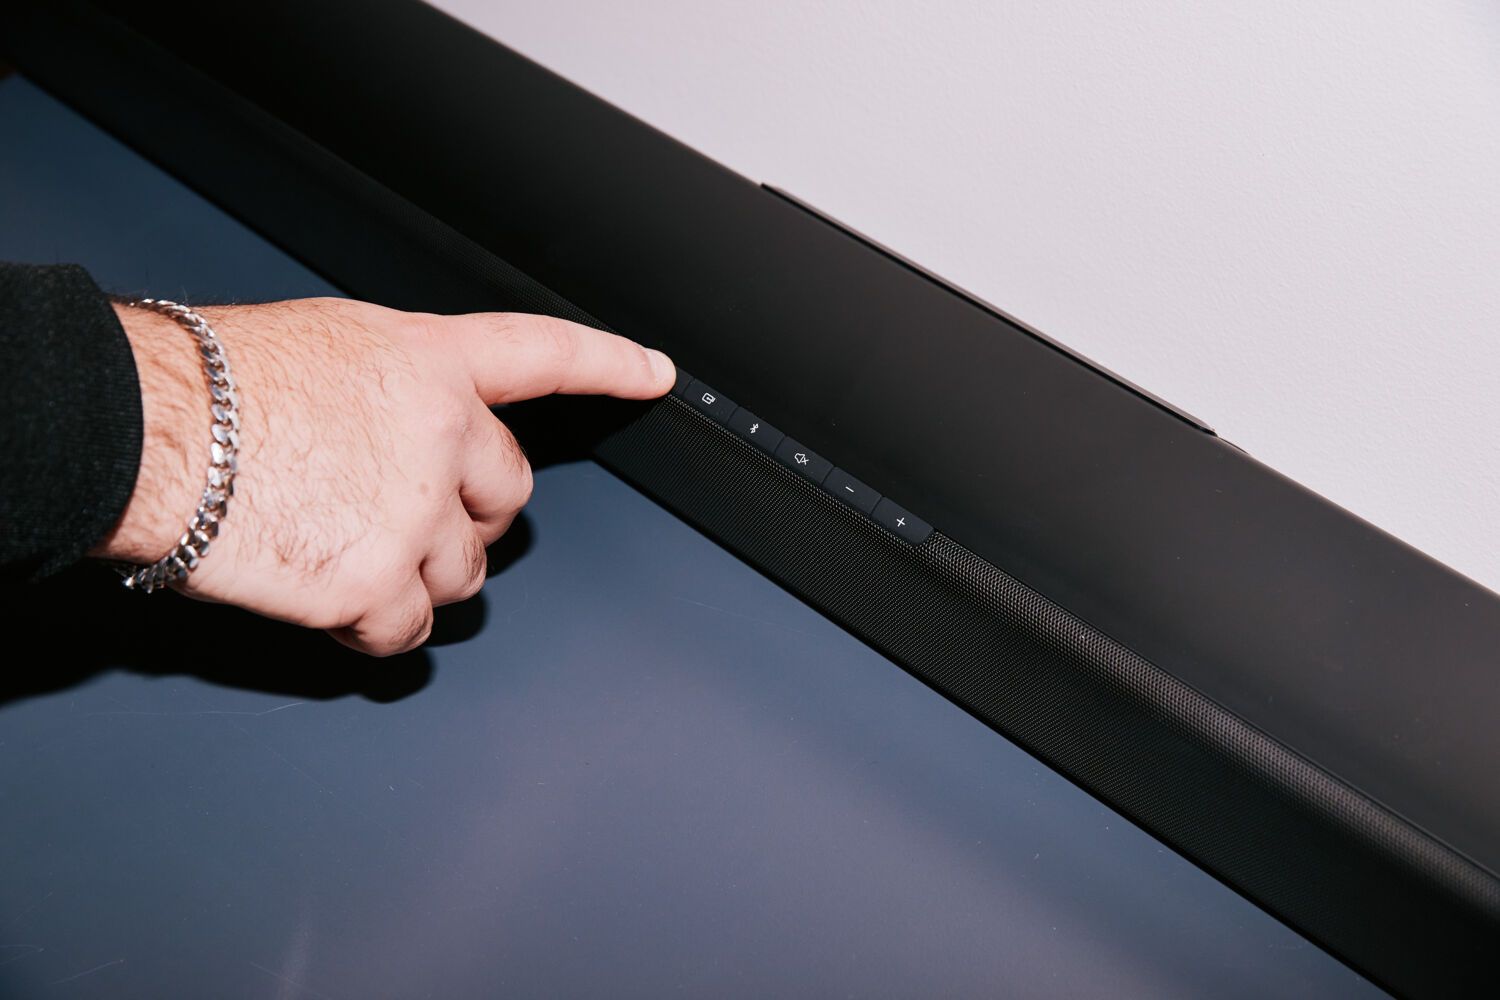
- Find the power buttons: Locate the power buttons on each of the audio devices connected to the digital audio cable. These buttons are typically located on the front or top panel of the device.
- Press and hold the power button: Press and hold the power button until the device powers down completely. Some devices may have a separate power-off button or a switch instead of a button. Follow the manufacturer’s instructions for your specific device to ensure proper shutdown.
- Unplug the power cords (optional): If you want to ensure complete safety and avoid any accidental power-ons during the disconnection process, you may consider unplugging the power cords from the electrical outlet. This step is especially important for devices that have standby or sleep modes, as they may still receive power even when turned off.
Make sure all the audio devices connected to the digital audio cable are powered off before proceeding to the next step. This will ensure a safe and hassle-free disconnection process.
Now that the audio devices are turned off, we will move on to step 3, where we will locate the connection ports on these devices.
Step 3: Locate the connection ports
In order to disconnect a digital audio cable, you need to locate the connection ports on your audio devices. These ports are typically located on the back or side of the device and are specifically designed to connect audio cables.
Follow these steps to locate the connection ports:
- Examine the audio device: Take a close look at the exterior of each audio device connected to the digital audio cable. Look for any visible labels or markings that indicate the location of the audio ports. These labels may include terms such as “Audio Out,” “Digital Out,” or “SPDIF.”
- Refer to the device’s manual: If you can’t locate the connection ports on your own, consult the user manual of each audio device. The manual should have diagrams or descriptions that clearly indicate the location of the audio ports.
- Take note of the ports: Once you have identified the connection ports on your audio devices, make a mental note or write down the specific ports where the digital audio cable is currently connected. This will help you during the reconnection process if necessary.
It’s important to handle your audio devices with care while locating the connection ports. Avoid applying excessive force or placing any unnecessary pressure on the devices. Now that you have successfully located the connection ports, we can move on to the next step – removing the digital audio cable from the ports.
Step 4: Remove the digital audio cable from the ports
Now that you’ve identified the connection ports, it’s time to remove the digital audio cable from these ports. This step requires careful handling to ensure a smooth disconnection without causing any damage to the cable or the ports.
Follow these steps to remove the digital audio cable from the ports:
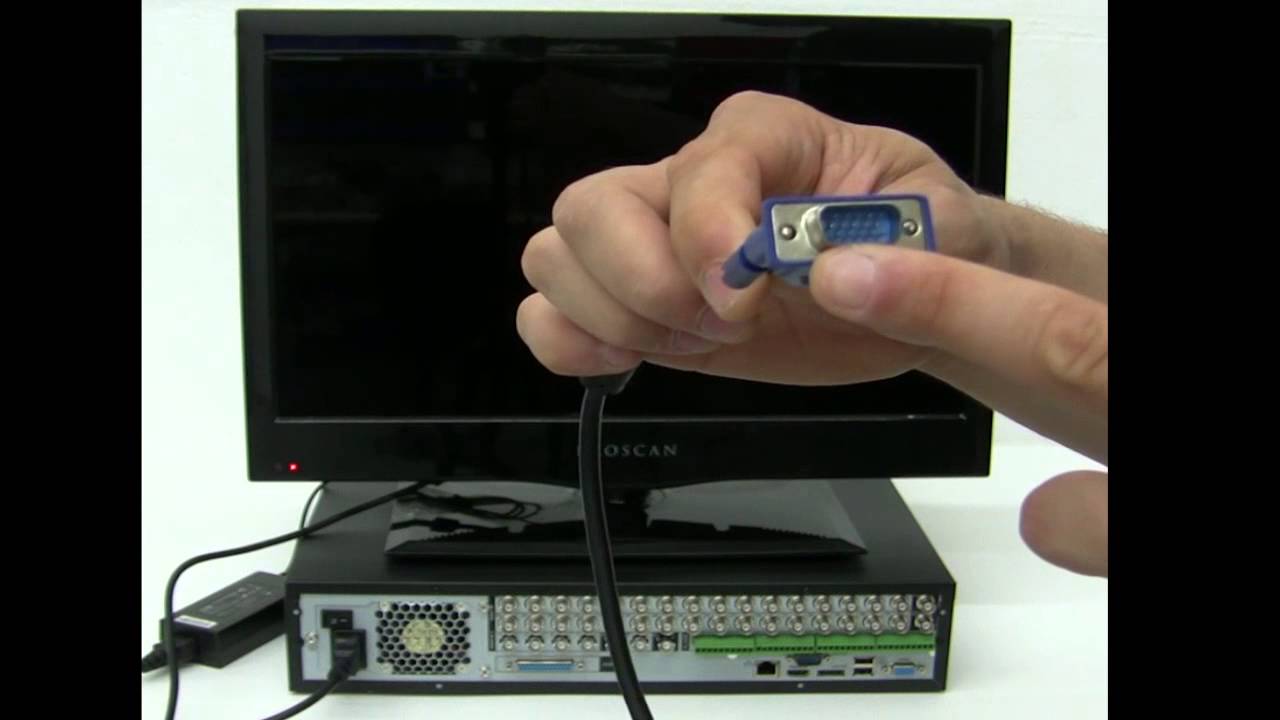
- Gently grip the cable connector: Locate the end of the digital audio cable that is connected to the ports. It will have a connector such as HDMI, optical, coaxial, or USB.
- Hold the connector firmly: With a gentle grip, hold the connector firmly and avoid pulling on the cable itself. Pulling the cable directly may cause damage to the internal wires or the connector.
- Apply steady pressure: While holding the connector, apply steady pressure in a straight outward motion to disconnect it from the port. Do not twist or jerk the cable, as this could cause damage to the port or the cable itself.
- Repeat if necessary: If you have multiple digital audio cables connected to the same device, repeat the above steps for each cable to disconnect them one by one.
It’s important to exercise caution when removing the digital audio cable from the ports. Take your time and avoid rushing the process to minimize the risk of causing any damage.
After successfully disconnecting the digital audio cable, it’s a good idea to inspect it for any signs of damage. This leads us to the next step – inspecting the cable.
Step 5: Inspect the cable for any damage
After removing the digital audio cable from the ports, it’s important to inspect it for any signs of damage. This step will help you identify any potential issues that may affect the performance or longevity of the cable.
Here are some key points to consider when inspecting the digital audio cable:
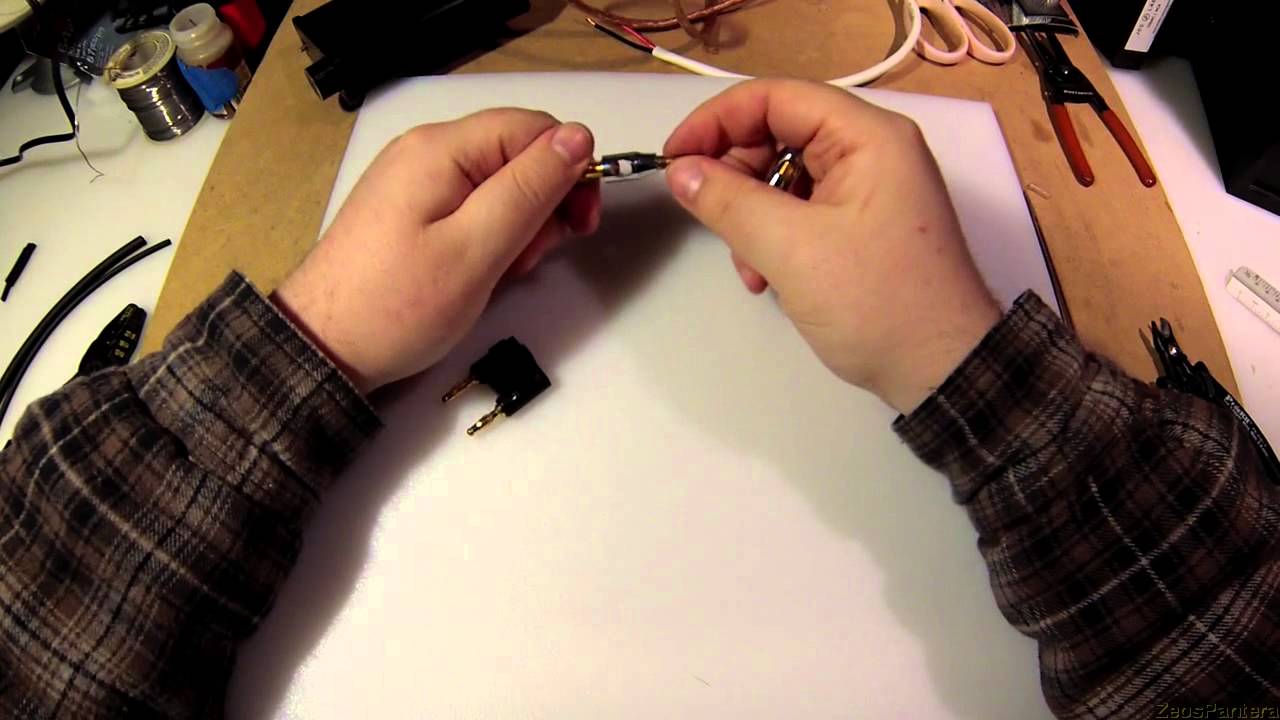
- Check for physical damage: Examine the cable carefully for any visible signs of physical damage, such as cuts, frayed wires, or loose connectors. If you notice any damage, it’s best to replace the cable to ensure optimal audio quality and reliable connectivity.
- Inspect the connectors: Inspect both ends of the digital audio cable’s connectors. Look for any bent pins, corrosion, or debris that could hinder proper connection. If you notice any issues, gently clean the connectors using a soft brush or cloth.
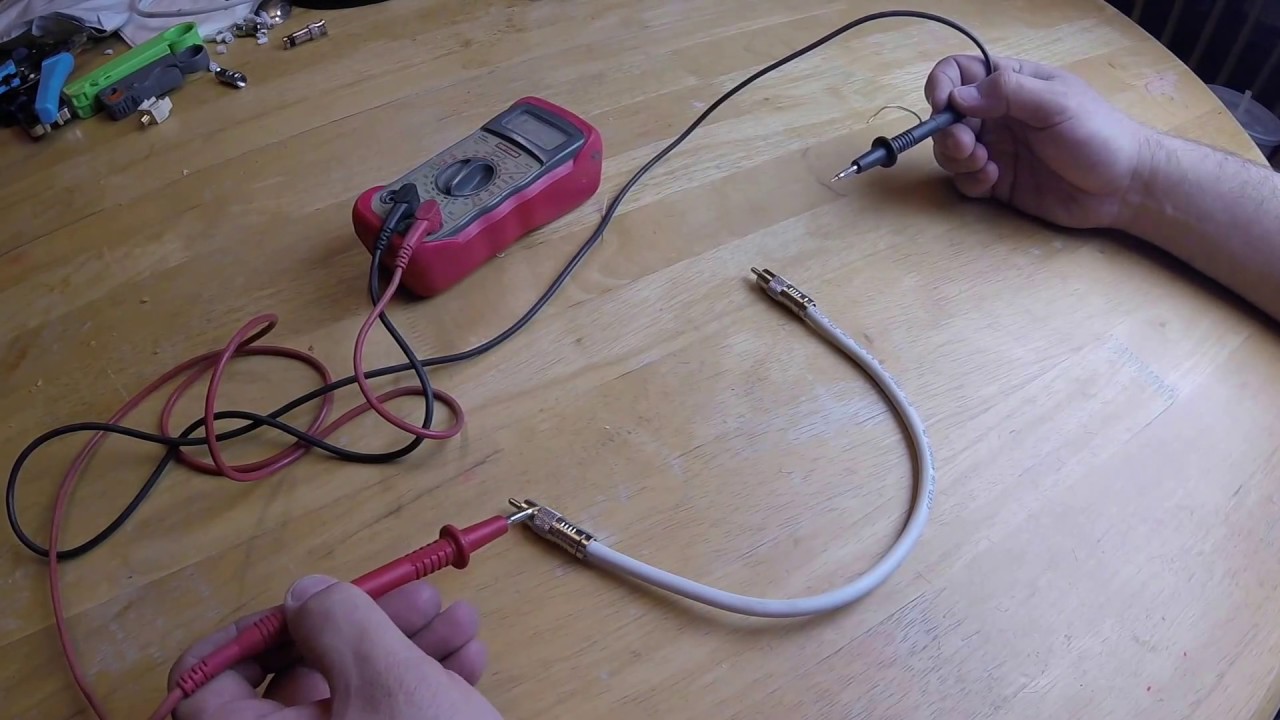
- Check for signal degradation: If you’ve been experiencing audio issues, it’s worth inspecting the cable for any signs of signal degradation. This can include audio dropouts, intermittent sound, or static. If the cable shows signs of signal degradation, it may be time to replace it.
Remember, a damaged digital audio cable can result in poor audio quality or a loss of signal, so it’s essential to address any issues promptly. If you’re unsure about the condition of the cable, consider testing it with alternative devices or replacing it with a new one for optimal audio performance.
Once you’ve inspected the digital audio cable and ensured its integrity, it’s time to move on to the final step – storing the cable safely.
Step 6: Store the cable safely
Now that you’ve successfully disconnected the digital audio cable and inspected it for any damage, it’s important to store the cable safely. Proper storage will help preserve the cable’s lifespan and prevent any tangles or damage that could occur during storage.
Follow these tips to store the digital audio cable safely:
- Coil the cable: Start by coiling the digital audio cable neatly to avoid any kinks or tangles. Begin at one end of the cable and make even loops while holding it loosely.
- Secure the coil: Once you have completed the coil, secure it using Velcro straps, cable ties, or twist ties. This will help keep the cable organized and prevent it from unraveling.
- Store in a suitable container: Find a suitable container or cable organizer to store the cable. Choose a container that provides ample space and protection, such as a cable management box, a zippered pouch, or a dedicated cable storage case.
- Avoid extreme temperatures: Store the cable in a cool, dry place away from direct sunlight and extreme temperatures. Avoid exposing the cable to excessive heat or cold, as it can damage the insulation and affect its performance.
- Label the cable: If you have multiple cables stored together, it’s helpful to label each cable to easily identify them in the future. You can use simple labels or color-coded tags to distinguish between different cables.
By following these storage guidelines, you can ensure that your digital audio cable remains in good condition and ready for future use. Proper storage will also make it easier to locate and retrieve the cable when you need to reconnect it.
Congratulations! You have successfully disconnected and stored your digital audio cable. By following these steps, you can maintain the quality and longevity of your cable, ensuring optimal audio performance in your future audio setups.
With this comprehensive guide, you can confidently disconnect and store your digital audio cables without any hassle. Remember to always handle the cables with care, and if you encounter any difficulties, refer to the manufacturer’s instructions or seek professional assistance. Enjoy your audio setup and happy listening!
Conclusion
Disconnecting a digital audio cable may seem like a simple task, but it’s essential to do it properly to avoid any damage and maintain the integrity of the cable. By following the step-by-step process outlined in this guide, you can safely disconnect a digital audio cable without any complications.
Throughout this guide, we have covered important steps such as identifying the digital audio cable, turning off the audio devices, locating the connection ports, removing the cable from the ports, inspecting the cable for damage, and storing it safely. Each step is crucial in ensuring a smooth disconnection process and preserving the quality of the cable for future use.
Remember to take your time and handle the cable with care. Avoid applying excessive force or twisting the cable during the disconnection process. Inspect the cable for any visible damage and address any issues promptly to maintain optimal audio performance.
Properly storing the cable after disconnection is equally important. Coiling the cable neatly, securing it with ties or straps, and storing it in a suitable container will prevent tangles, kinks, and damage that can occur during storage.
By following these guidelines, you can confidently disconnect and store your digital audio cables, whether you’re rearranging your audio setup or needing to troubleshoot connection issues. Taking care of your cables will not only prolong their lifespan but also ensure that you continue to enjoy high-quality audio in the future.
We hope this guide has been helpful in providing you with the knowledge and steps needed to disconnect a digital audio cable properly. Don’t hesitate to refer back to this guide whenever you need to disconnect or reconnect your audio cables. Happy listening!