Home>Production & Technology>Audio Cable>How To Fix Broken Audio Cable
Audio Cable
How To Fix Broken Audio Cable
Published: December 21, 2023
Learn how to fix a broken audio cable with our step-by-step guide. Repair your audio cable and enjoy uninterrupted sound.
(Many of the links in this article redirect to a specific reviewed product. Your purchase of these products through affiliate links helps to generate commission for AudioLover.com, at no extra cost. Learn more)
Table of Contents
Introduction
Audio cables are an essential component of any sound system, whether it’s for personal use or professional setups. They help transmit audio signals between different devices, such as speakers, amplifiers, and audio interfaces. However, with prolonged use or accidental mishandling, audio cables can become damaged or faulty.
Experiencing a broken audio cable can be frustrating, especially when you’re in the middle of an important recording session or trying to enjoy your favorite music. Fortunately, in many cases, you don’t have to rush out to buy a new cable. With some basic knowledge and a few tools, you can often fix a broken audio cable yourself.
In this article, we will guide you through the process of repairing a broken audio cable. Whether it’s a frayed wire, a loose connection, or a broken connector, we’ll provide step-by-step instructions to help you get your cable back in working condition. By following these guidelines, you can save money by avoiding the need for expensive replacements and continue to enjoy high-quality audio.
Before we dive into the repair process, it’s essential to note that while fixing an audio cable is relatively straightforward, it does require some basic knowledge and skills. If you feel unsure or uncomfortable performing the repair yourself, it’s always best to seek professional assistance to avoid further damage.
Now, let’s get started on the journey to fixing your broken audio cable!
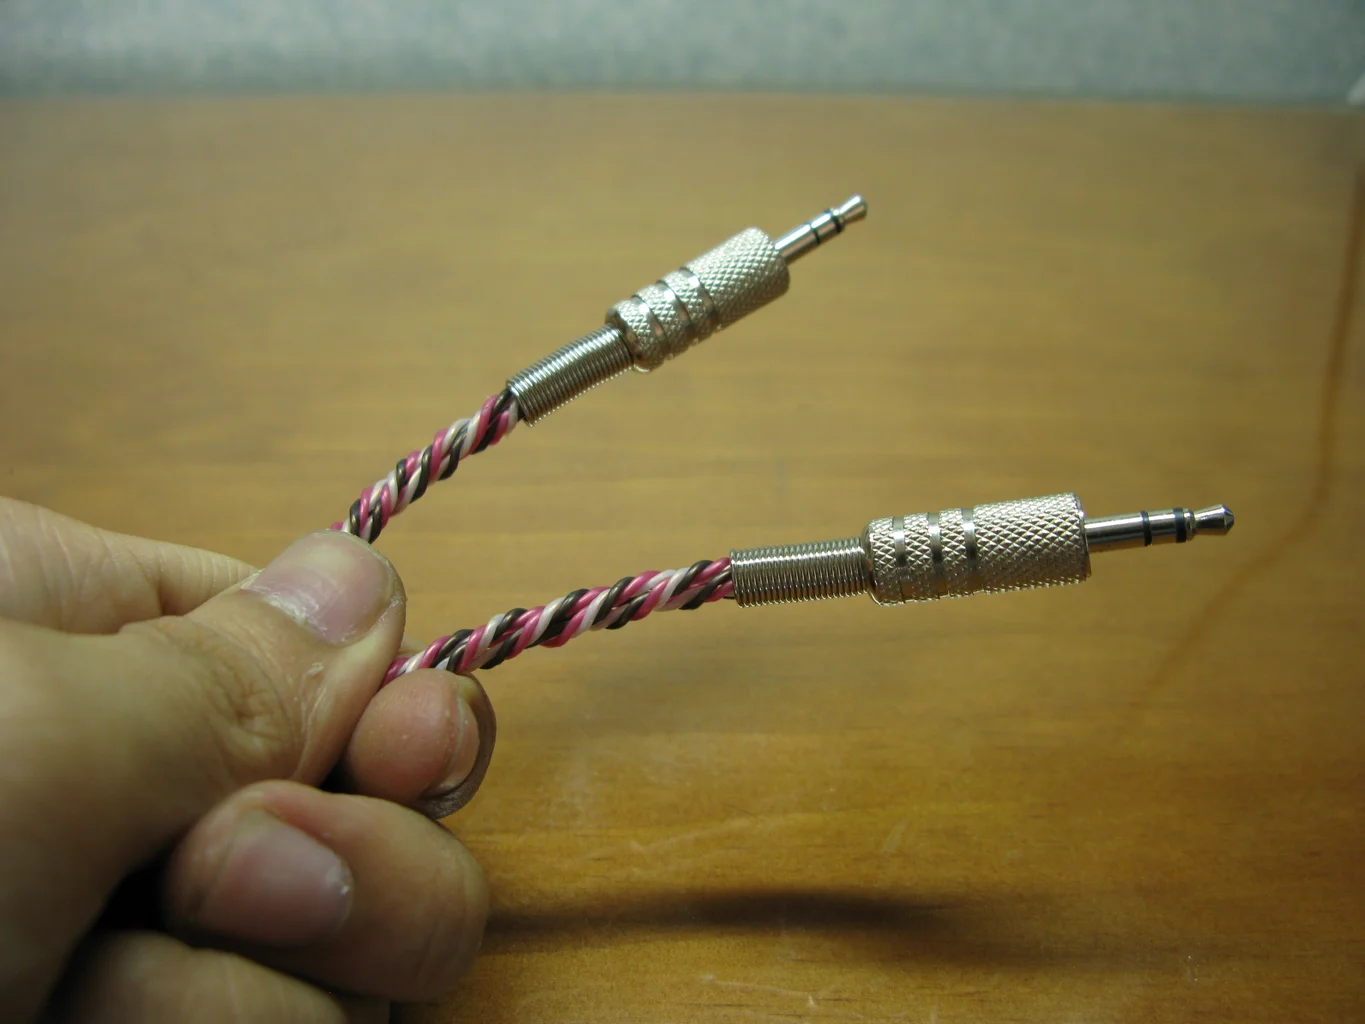
Step 1: Assessing the damage
The first step in repairing a broken audio cable is to assess the extent of the damage. By carefully examining the cable, you can determine what needs to be fixed and plan your repair strategy accordingly.
Start by visually inspecting the cable for any visible signs of damage. Look for frayed or exposed wires, loose connectors, or any other noticeable issues. Take note of where the problem is located, whether it’s near one of the connectors or along the length of the cable.
If the damage is near the connector, it could be a loose connection or a broken pin. In this case, wiggling the cable or trying different connectors can help identify the specific area that needs repair. However, if the damage is along the length of the cable, you may need to locate the break by gently bending or flexing the cable while listening for any audio interruptions.
Once you have identified the area of damage, determine whether it is a partial or complete break. A partial break occurs when the cable is damaged but still intact, while a complete break means the cable is severed and requires splicing or replacing.
If it’s a partial break, you may be able to fix the issue simply by reattaching or soldering the loose wire. However, if it’s a complete break, you’ll need to decide whether to splice the cable or replace it entirely, depending on the length and severity of the damage.
While assessing the damage, also consider the quality of the cable itself. If you have a budget or low-quality cable, it may be more cost-effective to replace it rather than investing time and effort into repairing it. On the other hand, if you have a high-quality or specialized cable, repairing it can be a worthwhile endeavor.
Once you have assessed the damage and determined the course of action, you can move on to the next step: gathering the necessary tools and materials for the repair.
Step 2: Gathering the necessary tools and materials
Before you can start repairing your broken audio cable, it’s important to gather all the necessary tools and materials. Having everything prepared beforehand will ensure a smooth and efficient repair process.
Here are the tools and materials you will need:
- Wire cutters/strippers: These tools will help you cut and strip the outer insulation of the cable to access the wires inside. Make sure you have a pair of wire cutters that can handle the thickness of your cable.
- Soldering iron and solder: A soldering iron is essential for making a secure and reliable connection between the wires. Choose a soldering iron with appropriate wattage for the size of the wires you’ll be working with. Additionally, have some solder on hand to melt onto the wires.
- Heat shrink tubing: Heat shrink tubing is used to insulate and protect the soldered wires. It shrinks when heated, providing a secure and durable covering. Ensure you have tubing with a diameter suitable for your cable and a heat source (such as a heat gun or lighter) to shrink it.
- Electrical tape: Electrical tape can be used as an alternative to heat shrink tubing for insulation. It provides a layer of protection against moisture and physical damage.
- Small screwdriver: A small screwdriver may be necessary to open connectors or access the wires inside. The size and type of screwdriver required will depend on the connectors used in your cable.
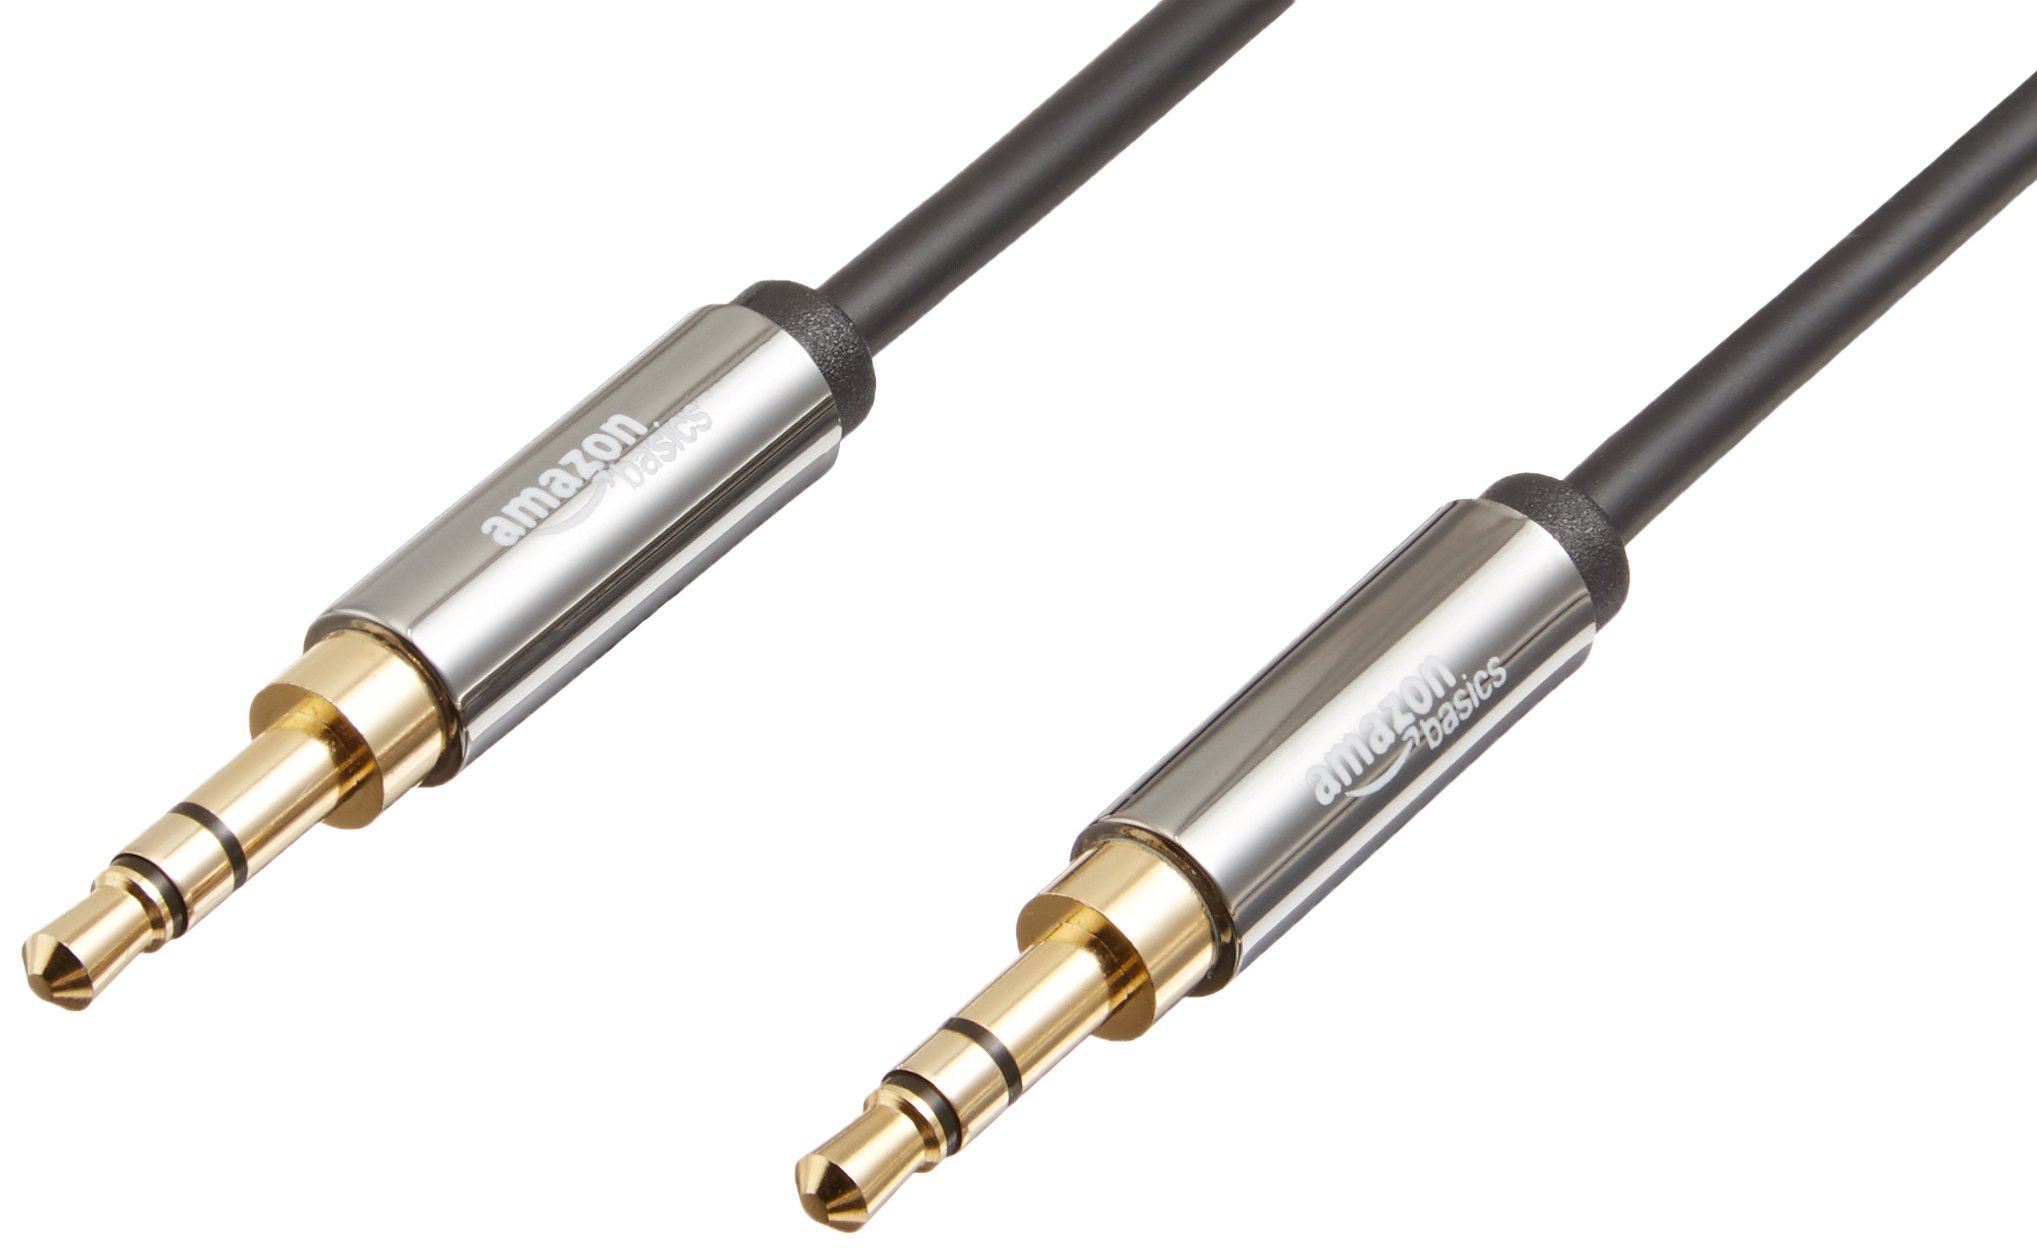
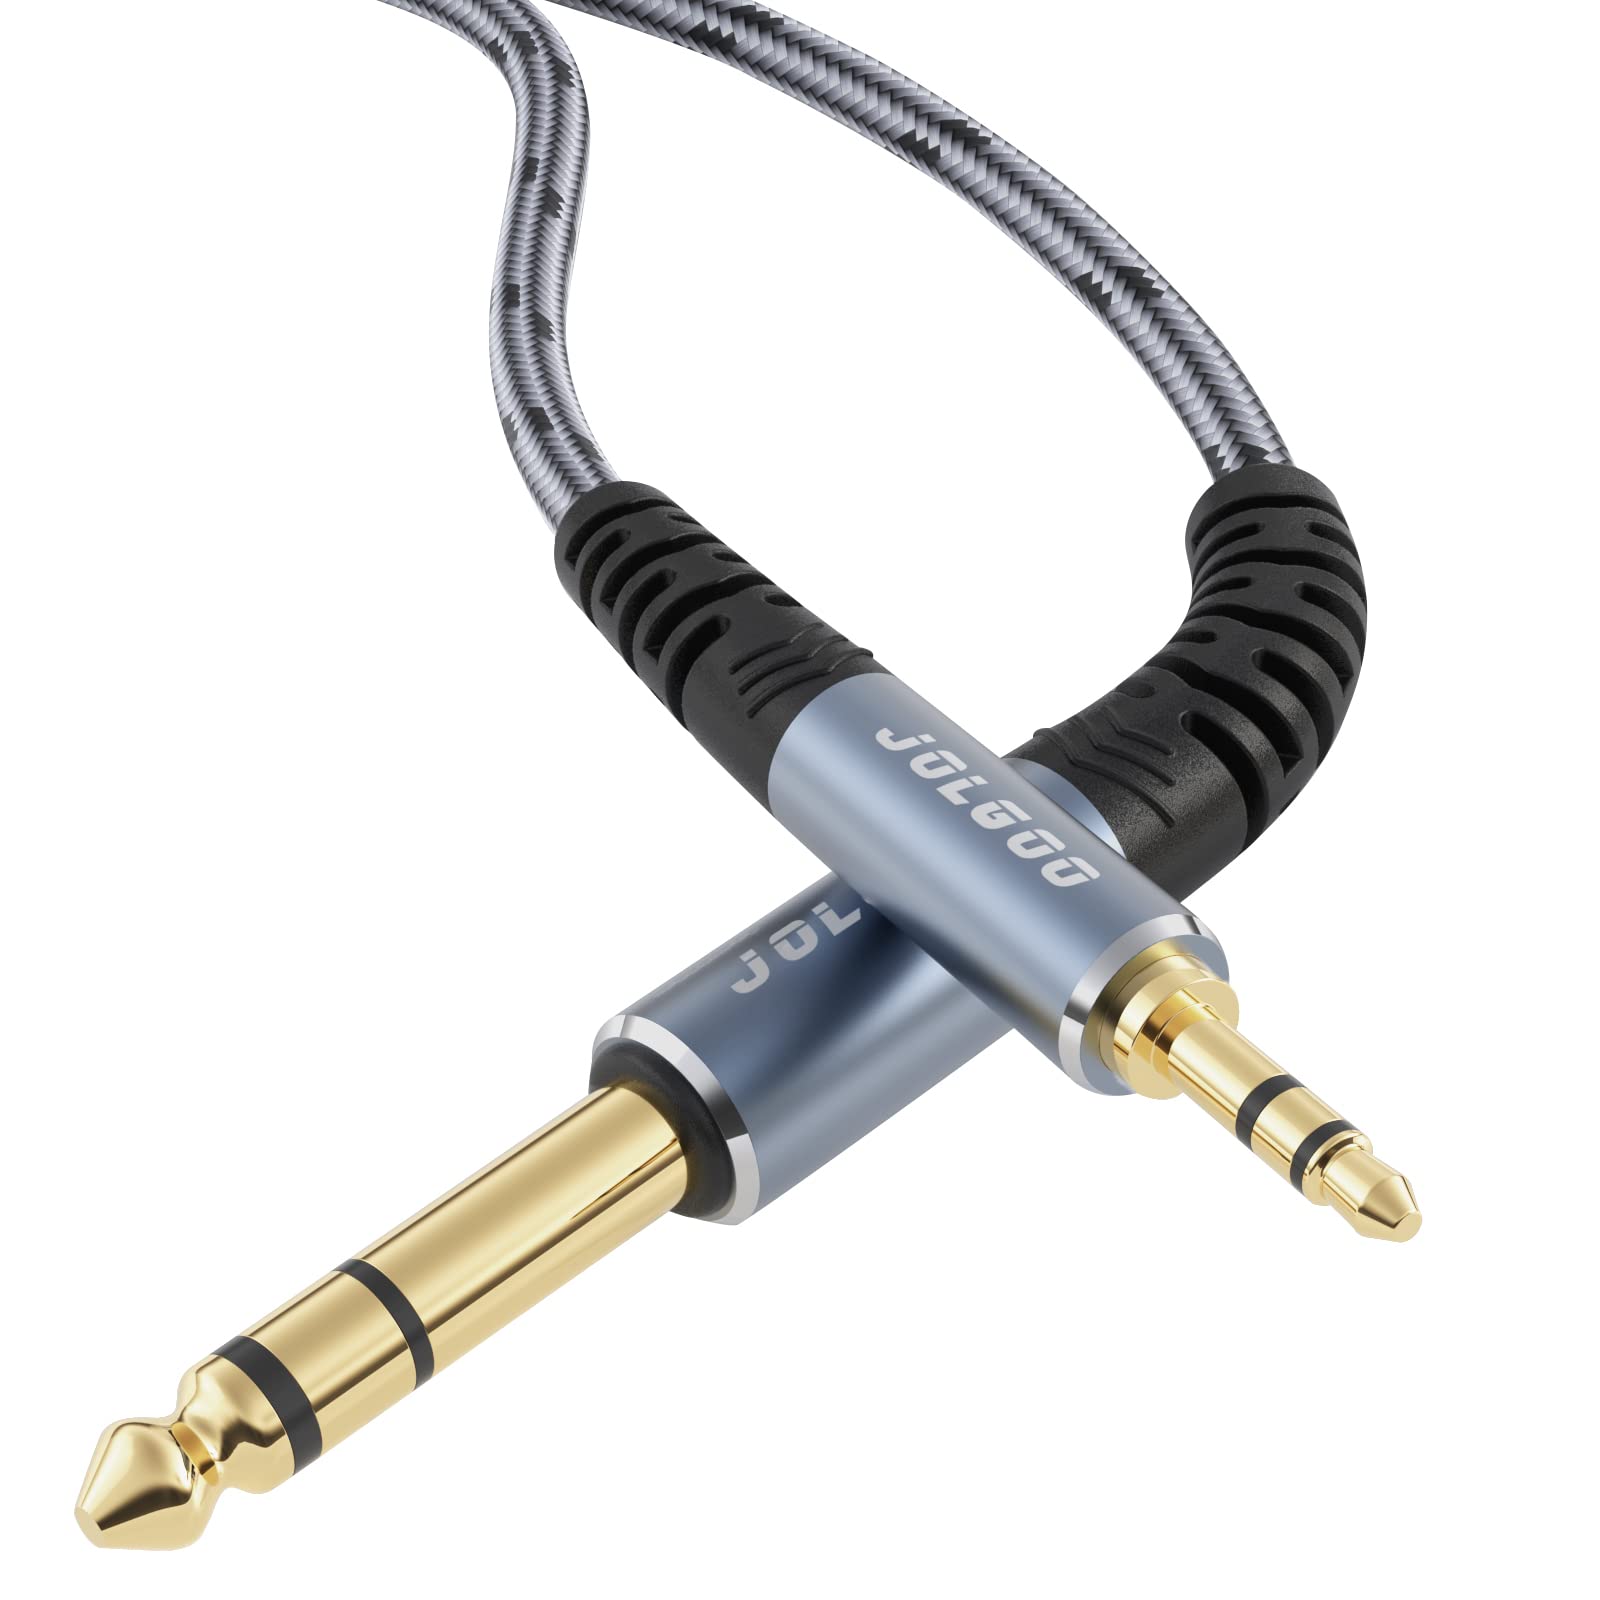
- Replacement connector (if needed): If the damage is in the connector itself and it cannot be repaired, you may need to replace it. Make sure you have the appropriate replacement connector for your cable type (e.g., TRS, XLR, RCA).
- Some spare wire (if needed): In cases where the cable is completely severed, you may need some spare wire to bridge the gap. Ensure that the spare wire is compatible in terms of gauge and conductivity with your existing cable.
By having all these tools and materials on hand, you’ll be well-prepared to tackle the repair process without any interruptions or delays. Once you’ve gathered everything, you can proceed to the next step: preparing the cable for repair.
Step 3: Preparing the cable
Now that you have gathered all the necessary tools and materials, it’s time to prepare the broken audio cable for repair. Proper preparation is crucial to ensure a successful and long-lasting fix.
Follow these steps to prepare the cable:
- Disconnect the cable: If the cable is currently connected to any devices, disconnect it to prevent any accidental damage or interference during the repair process.
- Cut off any damaged portions: If the cable has any frayed or damaged sections, use the wire cutters to carefully cut them off. Be sure to cut a few inches before and after the damaged area to ensure you have enough length to work with.
- Inspect the wires: After removing the damaged portions, closely examine the exposed wires. Look for any signs of damage, such as fraying, discoloration, or corrosion. If any of the wires are damaged, you may need to trim them to expose fresh wire.
- Clean the wires (if needed): If you notice any dirt, debris, or oxidation on the exposed wires, gently clean them using a soft cloth or a wire brush. Clean wires will improve the connectivity and ensure a better soldering connection.
- Straighten any bent pins or connectors: If the damage is located at one of the connectors or pins, check for any bent or misaligned components. Use a small screwdriver to carefully straighten them out, ensuring a proper and secure connection.
By following these preparation steps, you will ensure that the cable is in the best possible condition for the repair process. Once the cable is prepared, you can move on to the next step: stripping the wires.
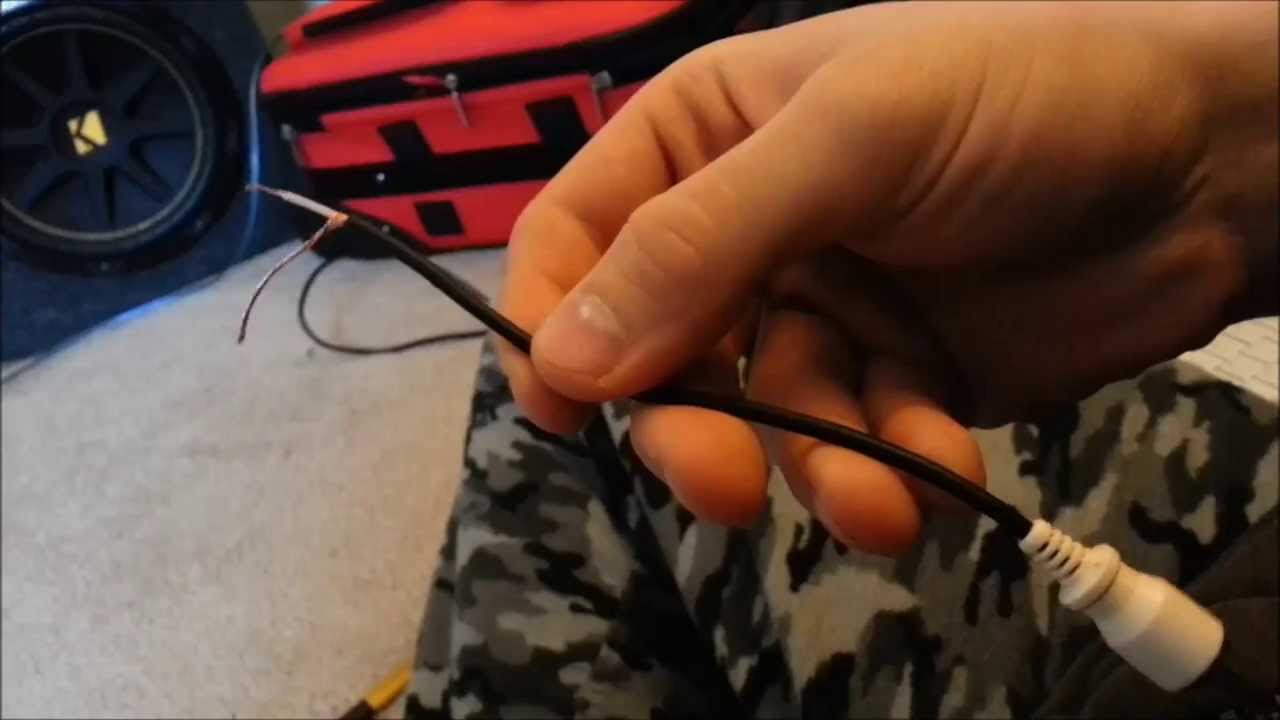
Step 4: Stripping the wires
After preparing the cable, the next step in repairing a broken audio cable is stripping the wires. This process involves removing the outer insulation of the wires to expose the conductive metal inside.
Follow these steps to strip the wires:
- Identify the different wires: Look closely at the cable and determine the number of wires it contains. Most audio cables will have two wires – one for the signal and one for the ground. However, some cables, like stereo cables, may have additional wires.
- Measure the length of insulation to remove: Using a ruler or measuring tape, determine the length of insulated wire that needs to be removed. This length will vary depending on the connector and the type of cable you are working with.
- Hold the cable securely: Firmly grip the cable near the area where you will be stripping the wires. This will provide stability and prevent any accidental movement or slippage while stripping.
- Use the wire cutters: With the wire cutters set to the appropriate size, carefully cut through the outer insulation, being cautious not to cut into the wires inside. Make a clean and straight cut along the length you measured in the previous step.
- Peel off the insulation: Once the cut is made, gently peel away the cut section of insulation to expose the inner wires. You may find a foil shield or a mesh shield around the wires – peel those back as well to fully expose the individual wires.
- Inspect the exposed wires: Take a close look at the exposed wires to ensure that they are not damaged or frayed. If you notice any issues, trim off any damaged sections to expose fresh wire.
Stripping the wires with precision is crucial for a successful repair. Be patient and careful during this step to avoid cutting or damaging the wires underneath. Once the wires are properly stripped and inspected, you can proceed to the next step: soldering the wires.
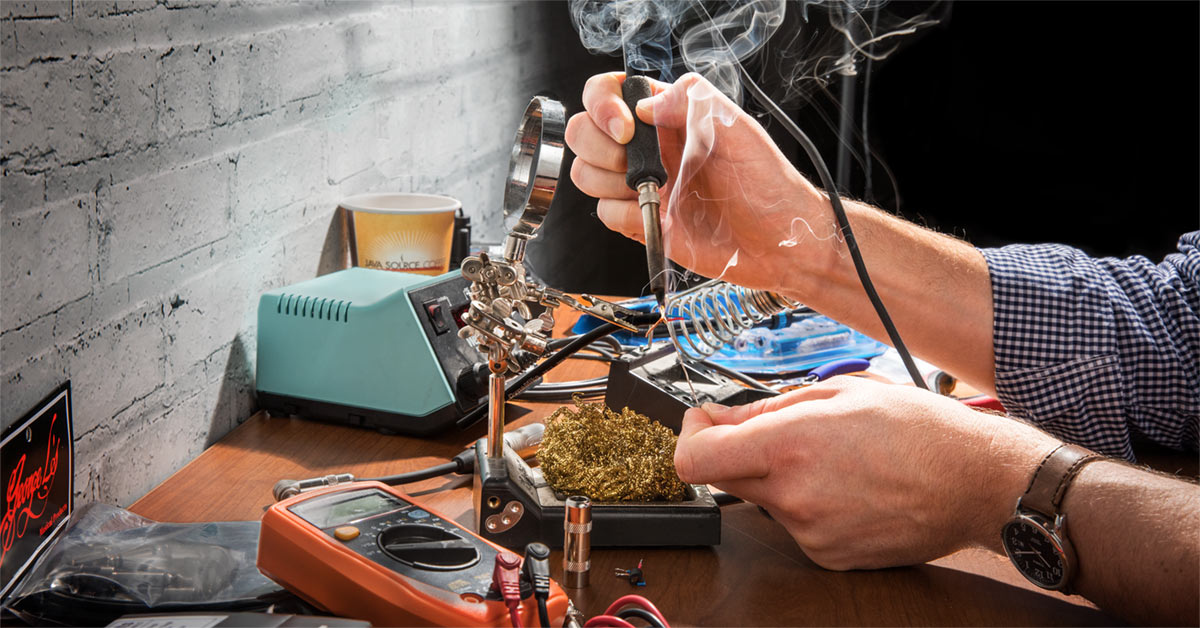
Step 5: Soldering the wires
With the wires properly stripped and prepared, it’s time to move on to the next step of repairing a broken audio cable: soldering the wires. Soldering ensures a secure and reliable connection between the wires, allowing for uninterrupted audio transmission.
Follow these steps to solder the wires:
- Preheat the soldering iron: Plug in the soldering iron and allow it to heat up. Different soldering irons have different heating times, so refer to the manufacturer’s instructions for specific guidance.
- Tin the soldering iron tip: Apply a small amount of solder to the tip of the soldering iron. This process, known as tinning, helps improve heat transfer and soldering efficiency.
- Heat the wire: Touch the soldering iron to one of the exposed wires, applying gentle pressure. The heat from the soldering iron will transfer to the wire, heating it up and prepping it for soldering.
- Apply solder: Once the wire is sufficiently heated, touch the solder to the wire. The heat will melt the solder, creating a bond between the wire strands. Continue to apply solder until the wire is fully coated and the solder flows smoothly.
- Repeat for additional wires: If your cable has multiple wires, repeat the heating and soldering process for each wire. Make sure to keep the wires separated to avoid any accidental connections.
- Inspect the solder joints: Once all the wires are soldered, inspect the solder joints for any irregularities or cold solder joints. A good solder joint should be shiny and smooth. If needed, reheat the joint and add more solder to achieve a proper connection.
- Allow the solder to cool and solidify: Give the soldered joints ample time to cool and solidify before moving the cable or applying any stress. This will ensure a secure and durable connection.
Soldering requires precision and care to create reliable connections. Take your time during this step and double-check each solder joint to ensure a proper bond. Once the wires are securely soldered, you can move on to the next step: insulating the connection.
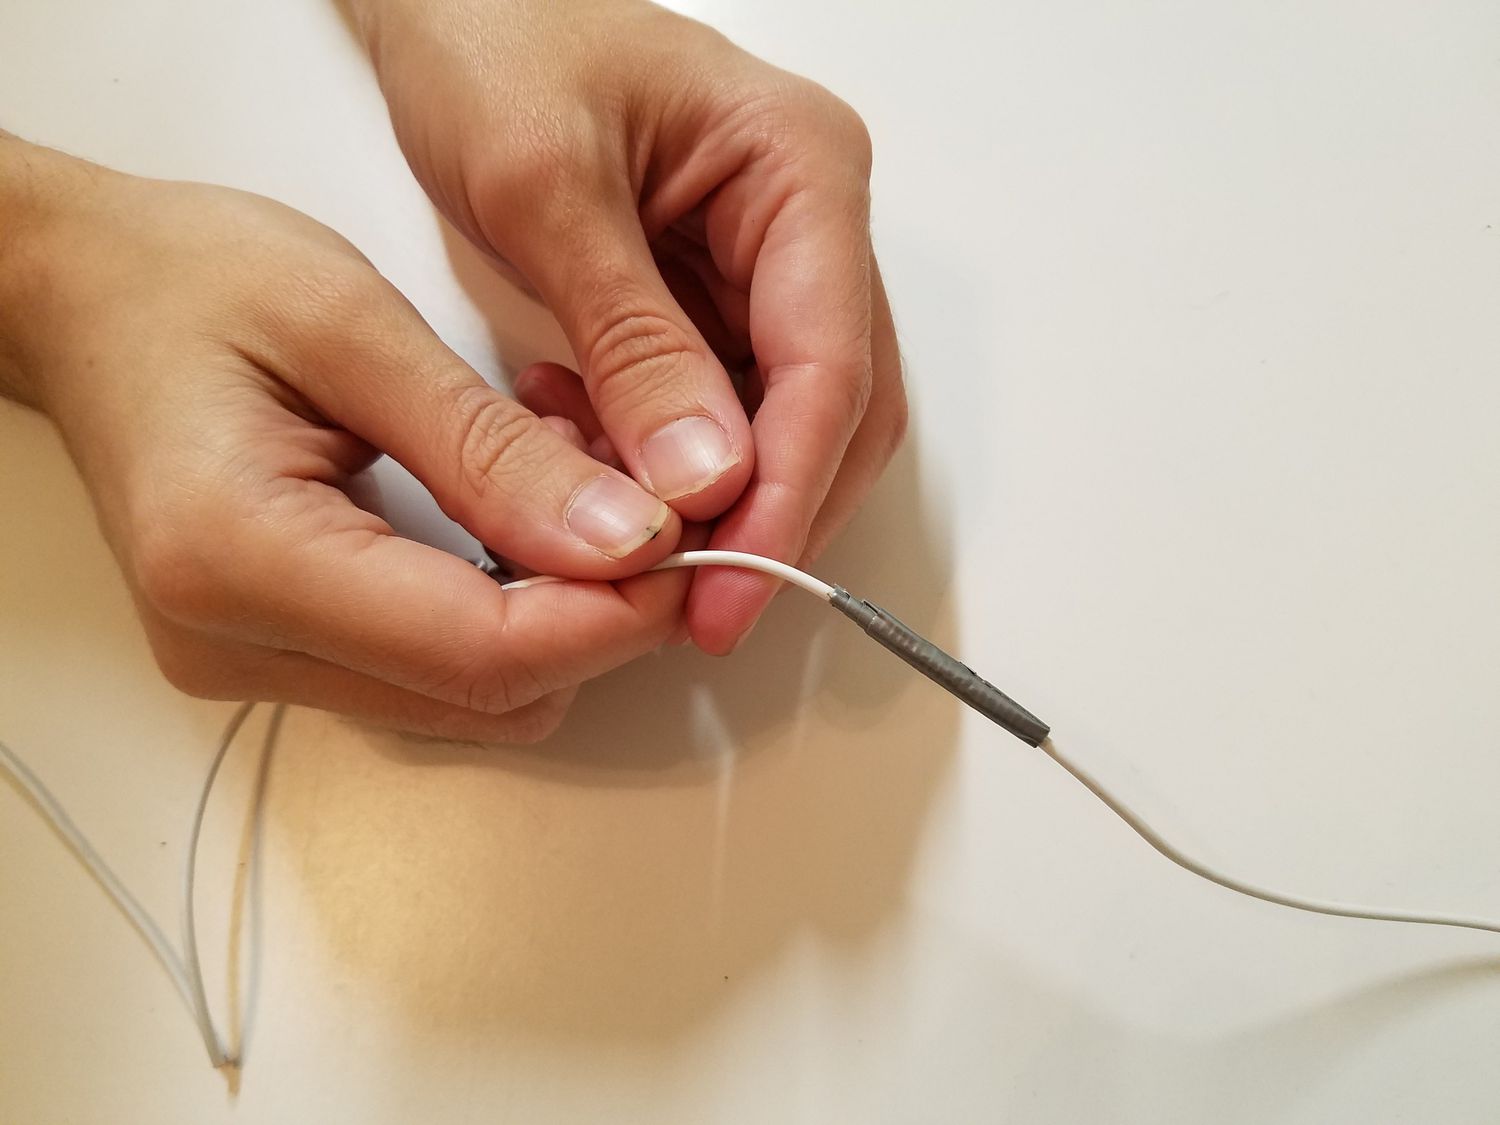
Step 6: Insulating the connection
Now that the wires are soldered and the connection is secured, it’s important to insulate the soldered area to provide protection and prevent any short circuits or accidental touching of the exposed conductors. Insulation helps maintain the integrity of the repair and ensures safety during usage.
Follow these steps to insulate the connection:
- Cut the heat shrink tubing: Measure the length of heat shrink tubing needed to cover the soldered area. Cut a piece of tubing that is slightly longer than the soldered section.
- Slide the heat shrink tubing: Slide the heat shrink tubing over the soldered connection, making sure it covers the entire solder joint and some of the surrounding wire insulation. Position it so that it can be shrunk evenly once heat is applied.
- Apply heat: Use a heat gun or a lighter to carefully apply heat to the heat shrink tubing. Move the heat source in a sweeping motion to evenly distribute the heat and shrink the tubing. Be cautious not to overheat or burn the tubing.
- Check for a secure seal: Once the tubing has shrunk, visually inspect it to ensure a tight and secure seal around the soldered area. There should be no gaps or exposed wires.
- Alternatively, use electrical tape: If you don’t have heat shrink tubing, you can use electrical tape as an alternative. Wrap several layers of electrical tape tightly around the soldered area, ensuring full coverage and a secure seal.
Insulating the connection is essential to protect against electrical shorts and provide a barrier against moisture and physical damage. Whether you use heat shrink tubing or electrical tape, make sure the insulation is tightly sealed, covering the entire soldered area.
Once the insulation is in place, you’re almost done with the repair process. The final step is to test the repaired cable to ensure everything is working properly.
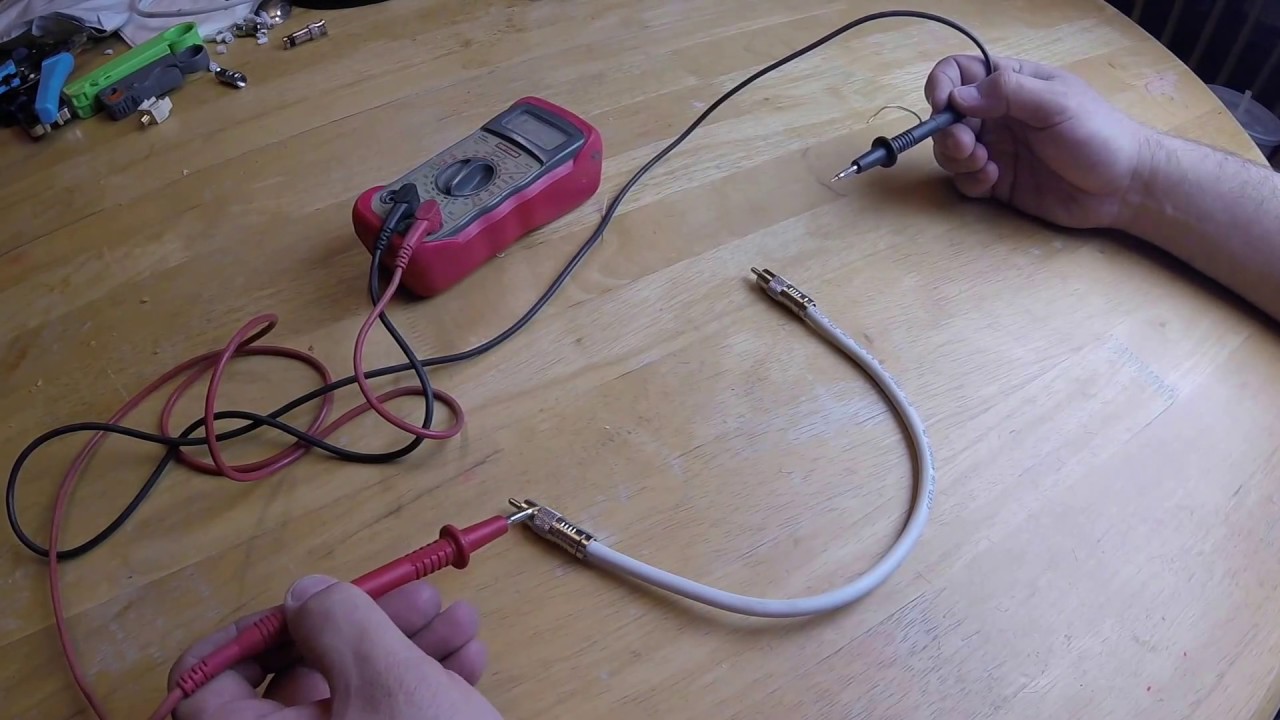
Step 7: Testing the repaired cable
After completing the repair process for your broken audio cable, it’s crucial to test the cable to ensure that the repairs were successful and that the audio signal is being transmitted correctly. Testing the cable will verify that the connection is secure and that the repaired cable is fully functional.
Follow these steps to test the repaired cable:
- Connect the cable: Plug the repaired audio cable into the respective devices or equipment, ensuring a secure connection.
- Play a test audio source: On the audio source device, play a test audio source, such as a music track, podcast, or any other audio recording.
- Listen for audio: While the audio is playing, carefully listen for any audio disruptions, noise, or interruptions. Pay attention to both the left and right channels, if applicable. Ensure that the audio is clear and free from any distortion.
- Check both ends of the cable: If the cable has connectors on both ends, test the audio signal at both ends to confirm that the repaired cable is functioning properly throughout its entire length.
- Perform a range of motion test (if applicable): If the repaired cable is meant to be moved or flexed during usage, perform a range of motion test. Gently move and flex the cable while listening for any audio interruptions or dropouts. This will ensure that the repair is durable and can withstand normal usage.
- Inspect the connections: While testing, visually inspect the connectors and soldered area to ensure they remain secure and intact. Check for any signs of loose connections or visible damage. If necessary, recheck and redo the previous repair steps.
By following these testing steps, you can verify the success of your cable repair and ensure that it is fully functional before using it in regular audio setups or critical audio recording sessions.
If the cable passes the testing phase and the audio signal is transmitted without any issues, congratulations! You have successfully repaired your broken audio cable. However, if you encounter any problems during the testing process, it may be necessary to revisit the repair steps or seek professional assistance for further troubleshooting.
Remember, proper cable maintenance and care can help prevent future damage or issues, so be sure to handle your repaired audio cable with care and avoid any unnecessary strain or tension on the repaired area.
With your repaired cable fully tested and functional, you can now enjoy high-quality audio once again!
Conclusion
Repairing a broken audio cable is a rewarding endeavor that can save you money and ensure uninterrupted enjoyment of your audio systems. By following the step-by-step process outlined in this article, you can successfully fix a variety of issues with your audio cable, including loose connections, frayed wires, and broken connectors.
Throughout the repair process, it’s important to assess the damage, gather the necessary tools and materials, prepare the cable, strip the wires, solder them securely, insulate the connection, and finally, test the repaired cable to ensure its functionality.
Remember to approach the repair process with care and precision. Take your time to perform each step and double-check your work to ensure a proper and long-lasting repair. If you’re unsure or uncomfortable with any aspect of the repair, it’s always best to seek professional assistance to avoid further damage.
By successfully repairing your broken audio cable, you can continue to enjoy high-quality sound without the need for costly replacements. Additionally, this process allows you to take control of your audio equipment and gain a deeper understanding of how it functions.
Don’t let a broken audio cable halt your audio experience. With the knowledge and skills gained from this article, you have the power to fix your cables and keep the music playing. So, roll up your sleeves, gather your tools, and get ready to bring your audio cable back to life!