Home>Production & Technology>Audio Cable>How To Play Music For IPhone On Computer Using Audio Cable
Audio Cable
How To Play Music For IPhone On Computer Using Audio Cable
Modified: January 22, 2024
Learn how to play music from your iPhone on your computer using an audio cable. Connect your devices and enjoy your favorite tunes effortlessly.
(Many of the links in this article redirect to a specific reviewed product. Your purchase of these products through affiliate links helps to generate commission for AudioLover.com, at no extra cost. Learn more)
Table of Contents
Introduction
Welcome to the world of seamless music playback! If you’ve ever wanted to play music from your iPhone on your computer without the need for wireless devices or complicated setups, you’ve come to the right place. In this article, we’ll explore how to achieve this using a simple yet powerful tool – an audio cable.
Audio cables have long been a reliable and widely-used method for transmitting sound signals between various devices. With the right audio cable, you can easily connect your iPhone to your computer and enjoy your favorite tracks with enhanced sound quality.
Whether you want to share your music library with friends, create a playlist for a party, or simply enjoy your favorite tunes on a larger sound system, connecting your iPhone to your computer via an audio cable is a convenient and straightforward solution. Plus, it eliminates the need for using data or Wi-Fi for audio transmission, ensuring a stable and uninterrupted listening experience.
In this article, we’ll guide you through the step-by-step process of connecting your iPhone to your computer using an audio cable, adjusting the necessary audio settings, and playing music seamlessly. Additionally, we’ll provide troubleshooting tips to help you overcome any potential hurdles along the way.
So, grab your audio cable and get ready to elevate your music playback experience to the next level!
Required Materials
Before we dive into the process of playing music from your iPhone on your computer using an audio cable, let’s make sure you have all the necessary materials:
- An iPhone (compatible with audio output via the lightning port or headphone jack)
- A computer (with an available audio input port)
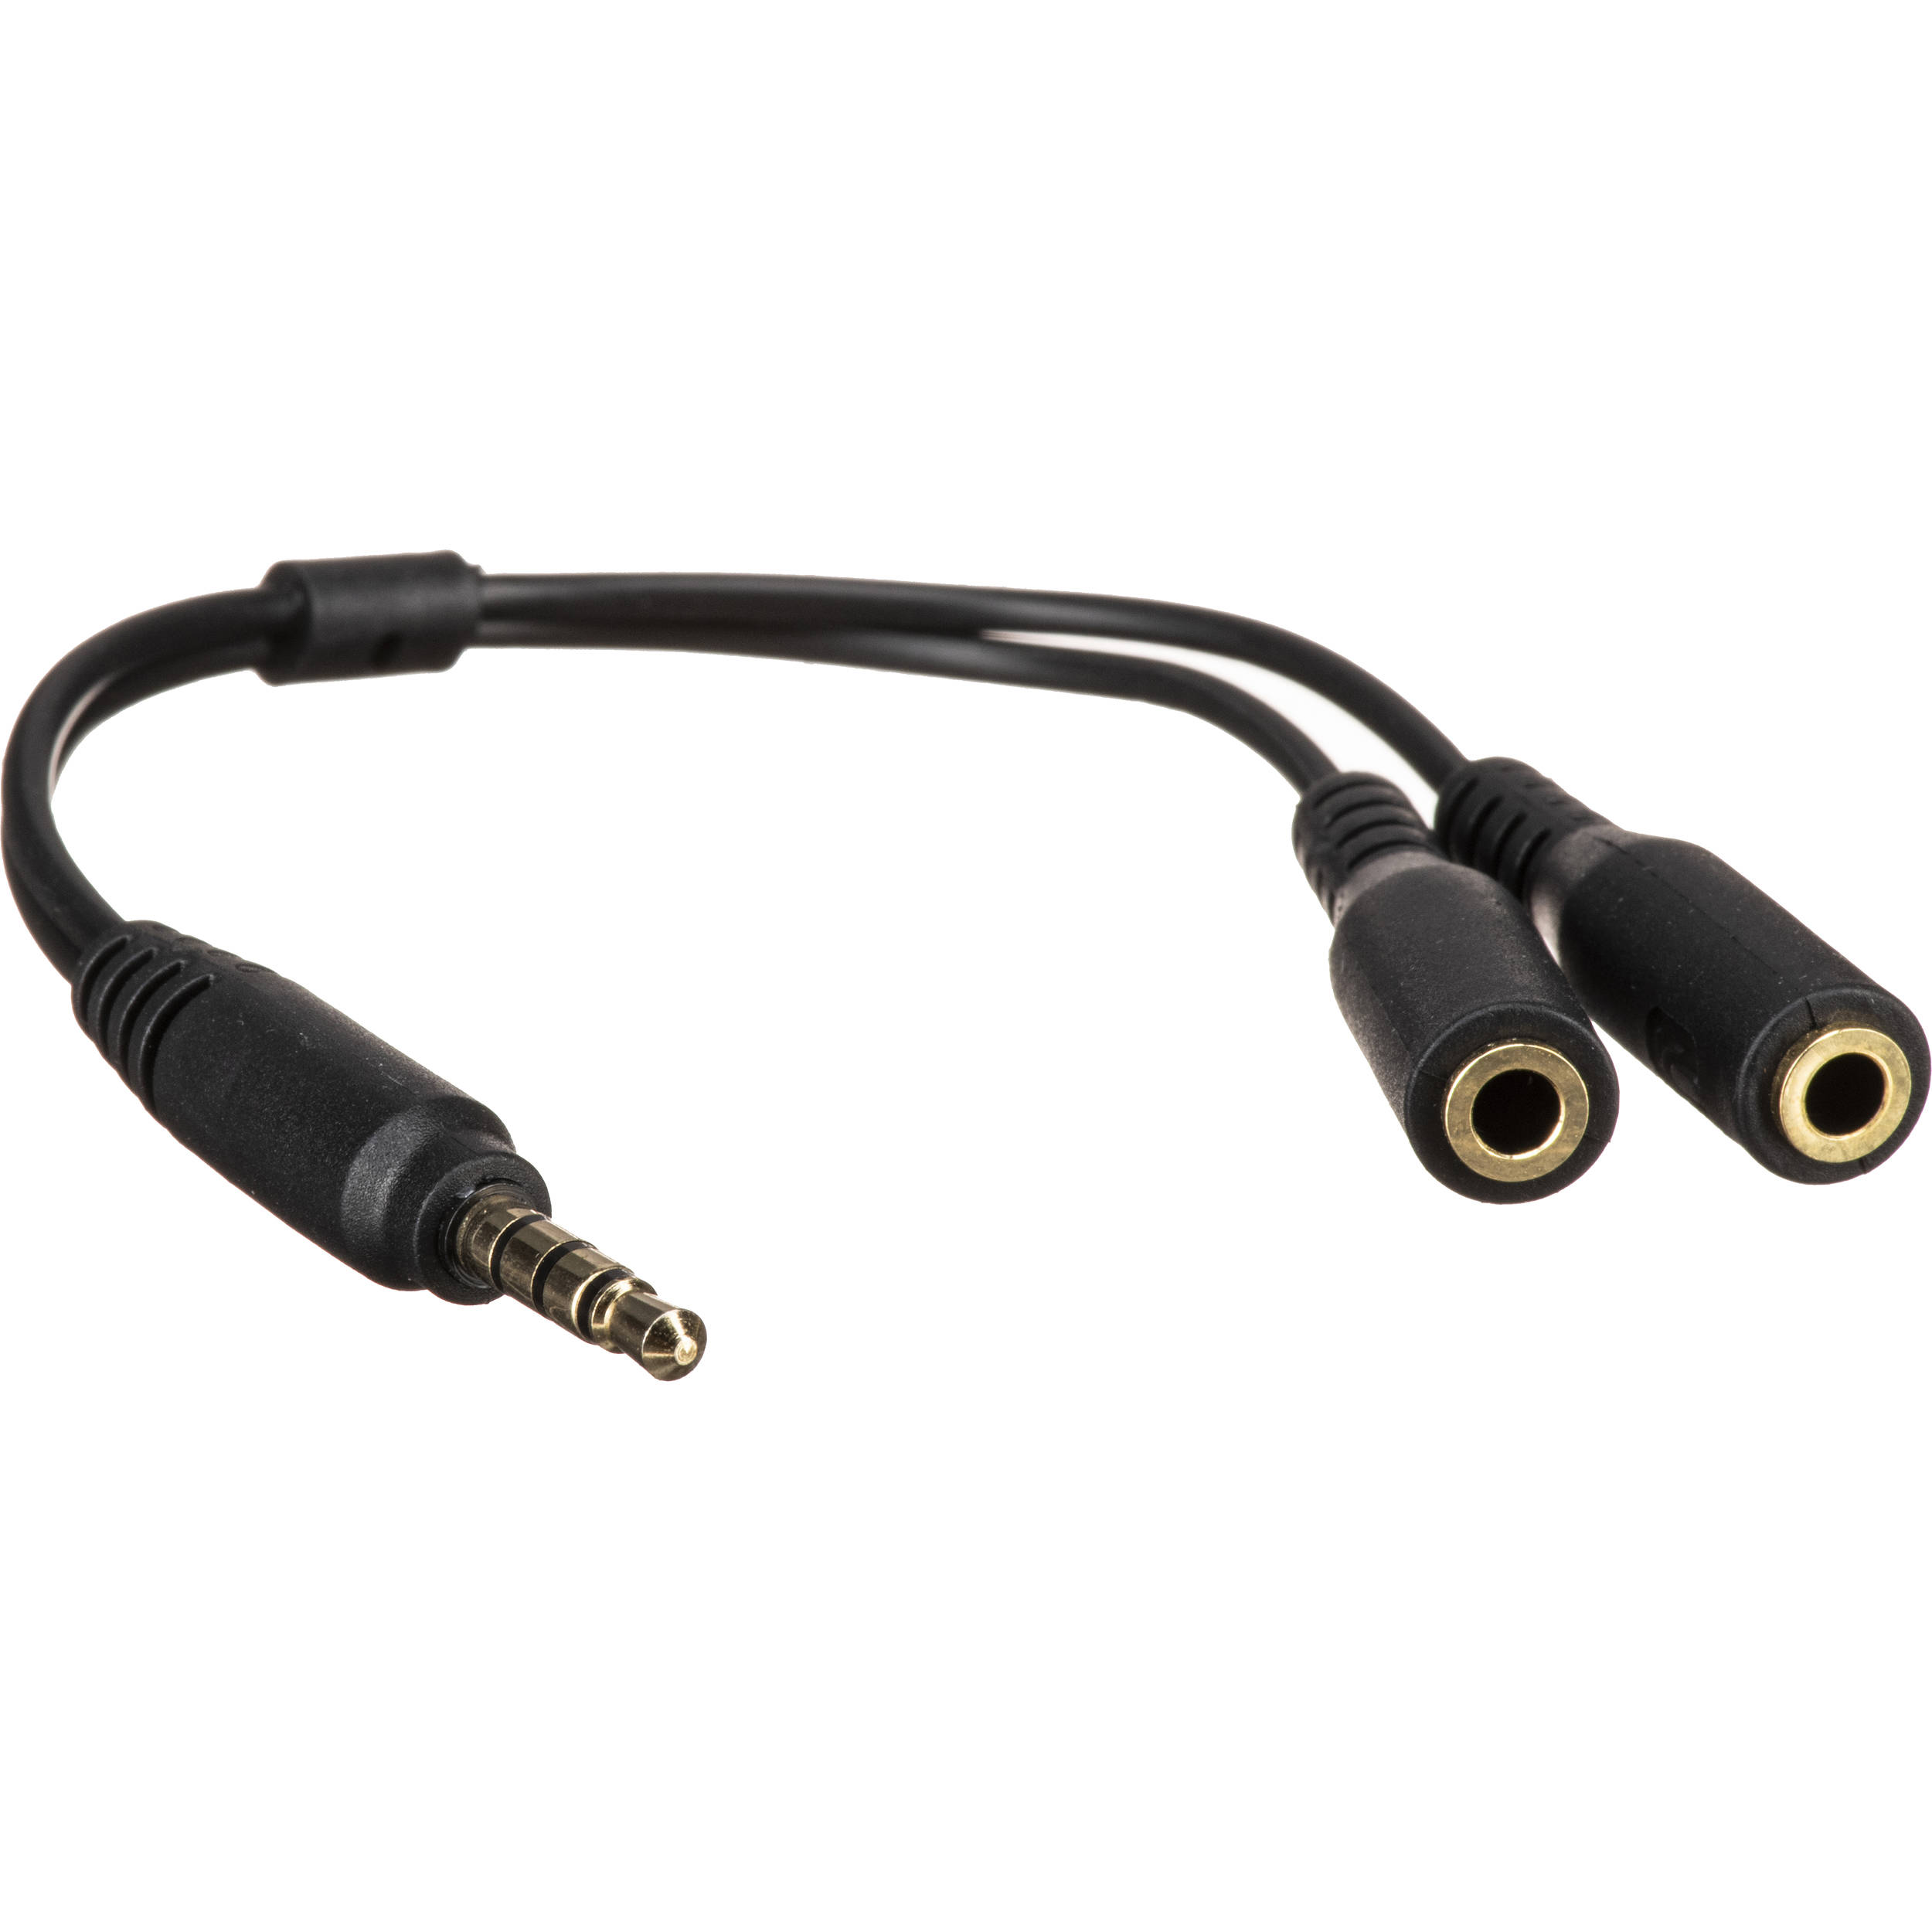
- An audio cable (with the appropriate connectors based on your iPhone and computer’s audio ports)
When it comes to choosing the right audio cable, there are a few options to consider:
- A lightning to 3.5mm audio cable: This is ideal if your iPhone has a headphone jack.
- A lightning to USB cable: This is suitable if your iPhone has a lightning port but no headphone jack.
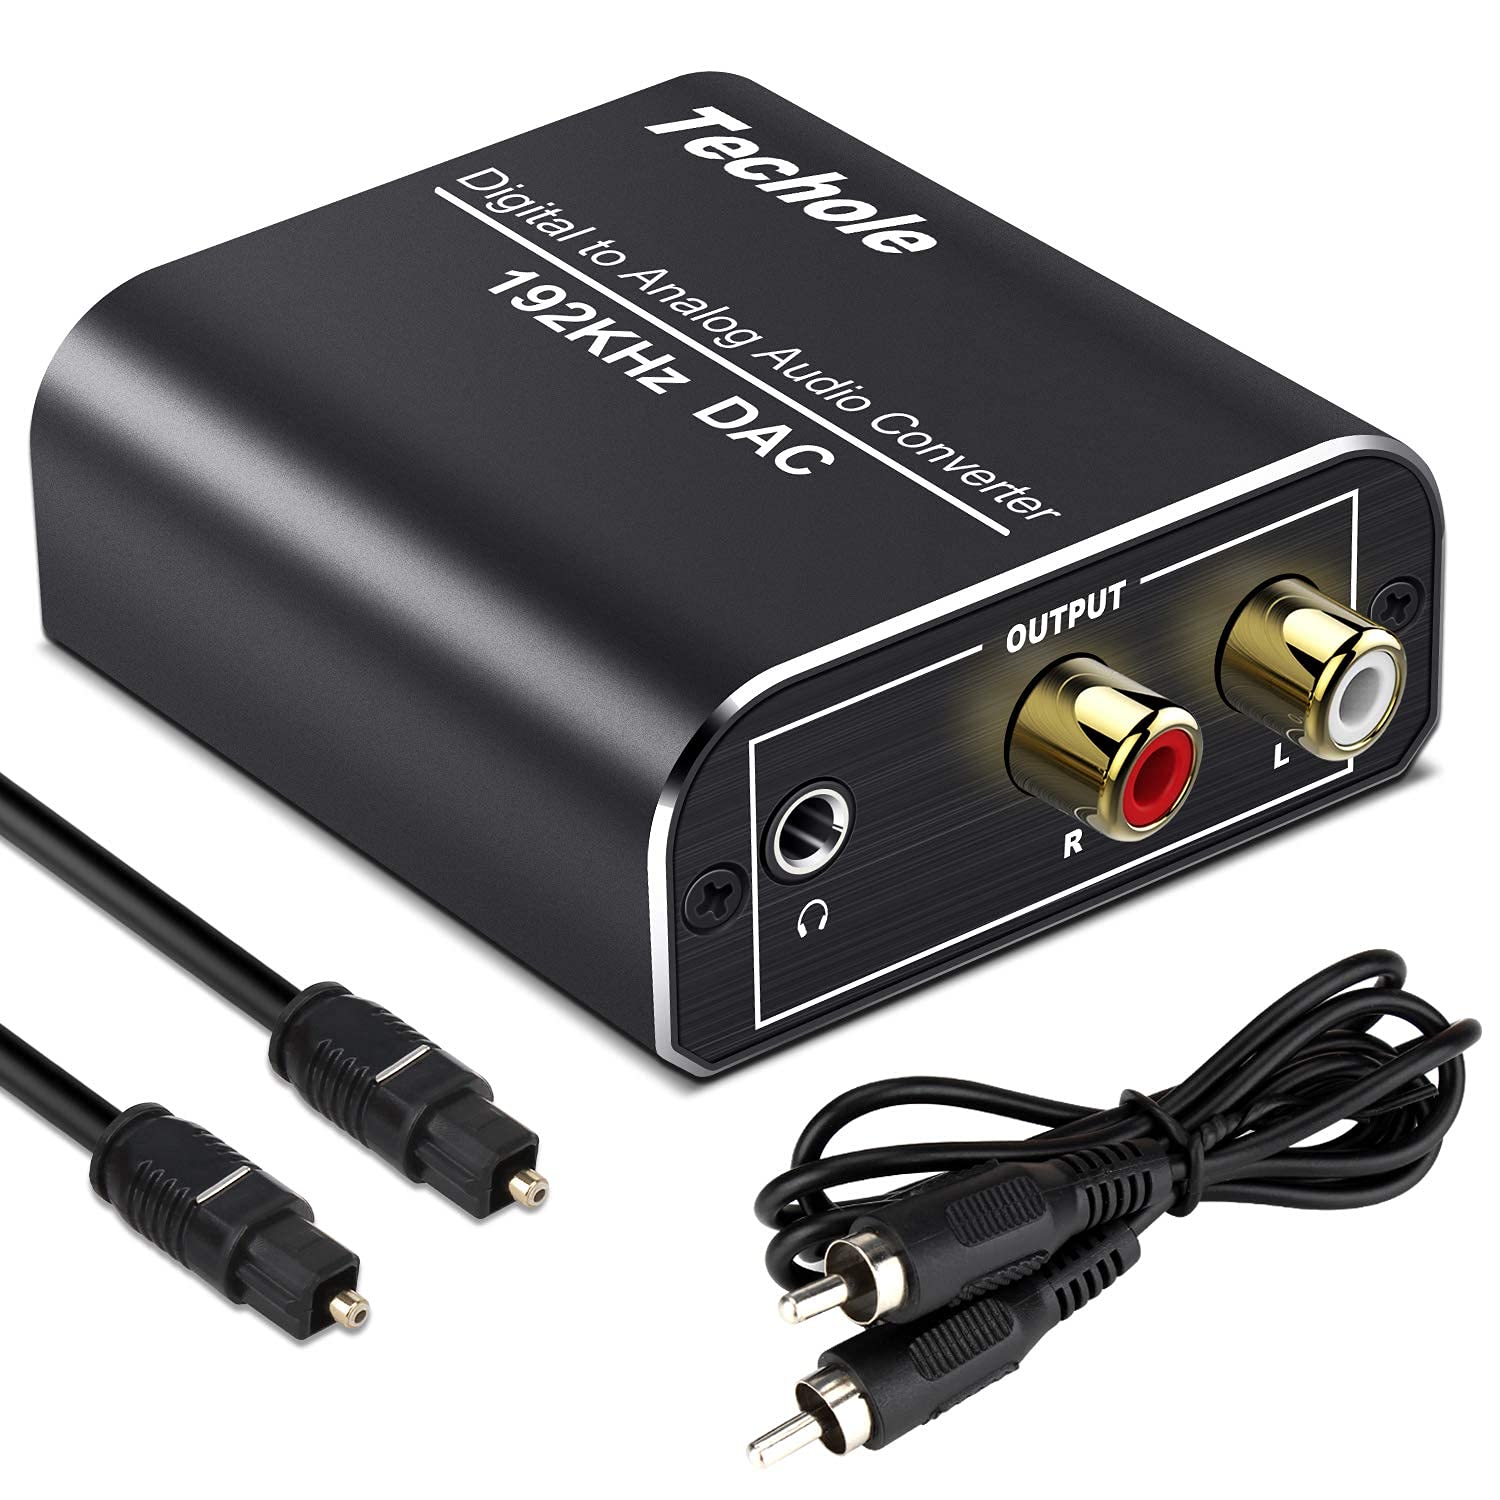
- A USB to audio cable: This is useful if your computer has a USB port but no audio input port.
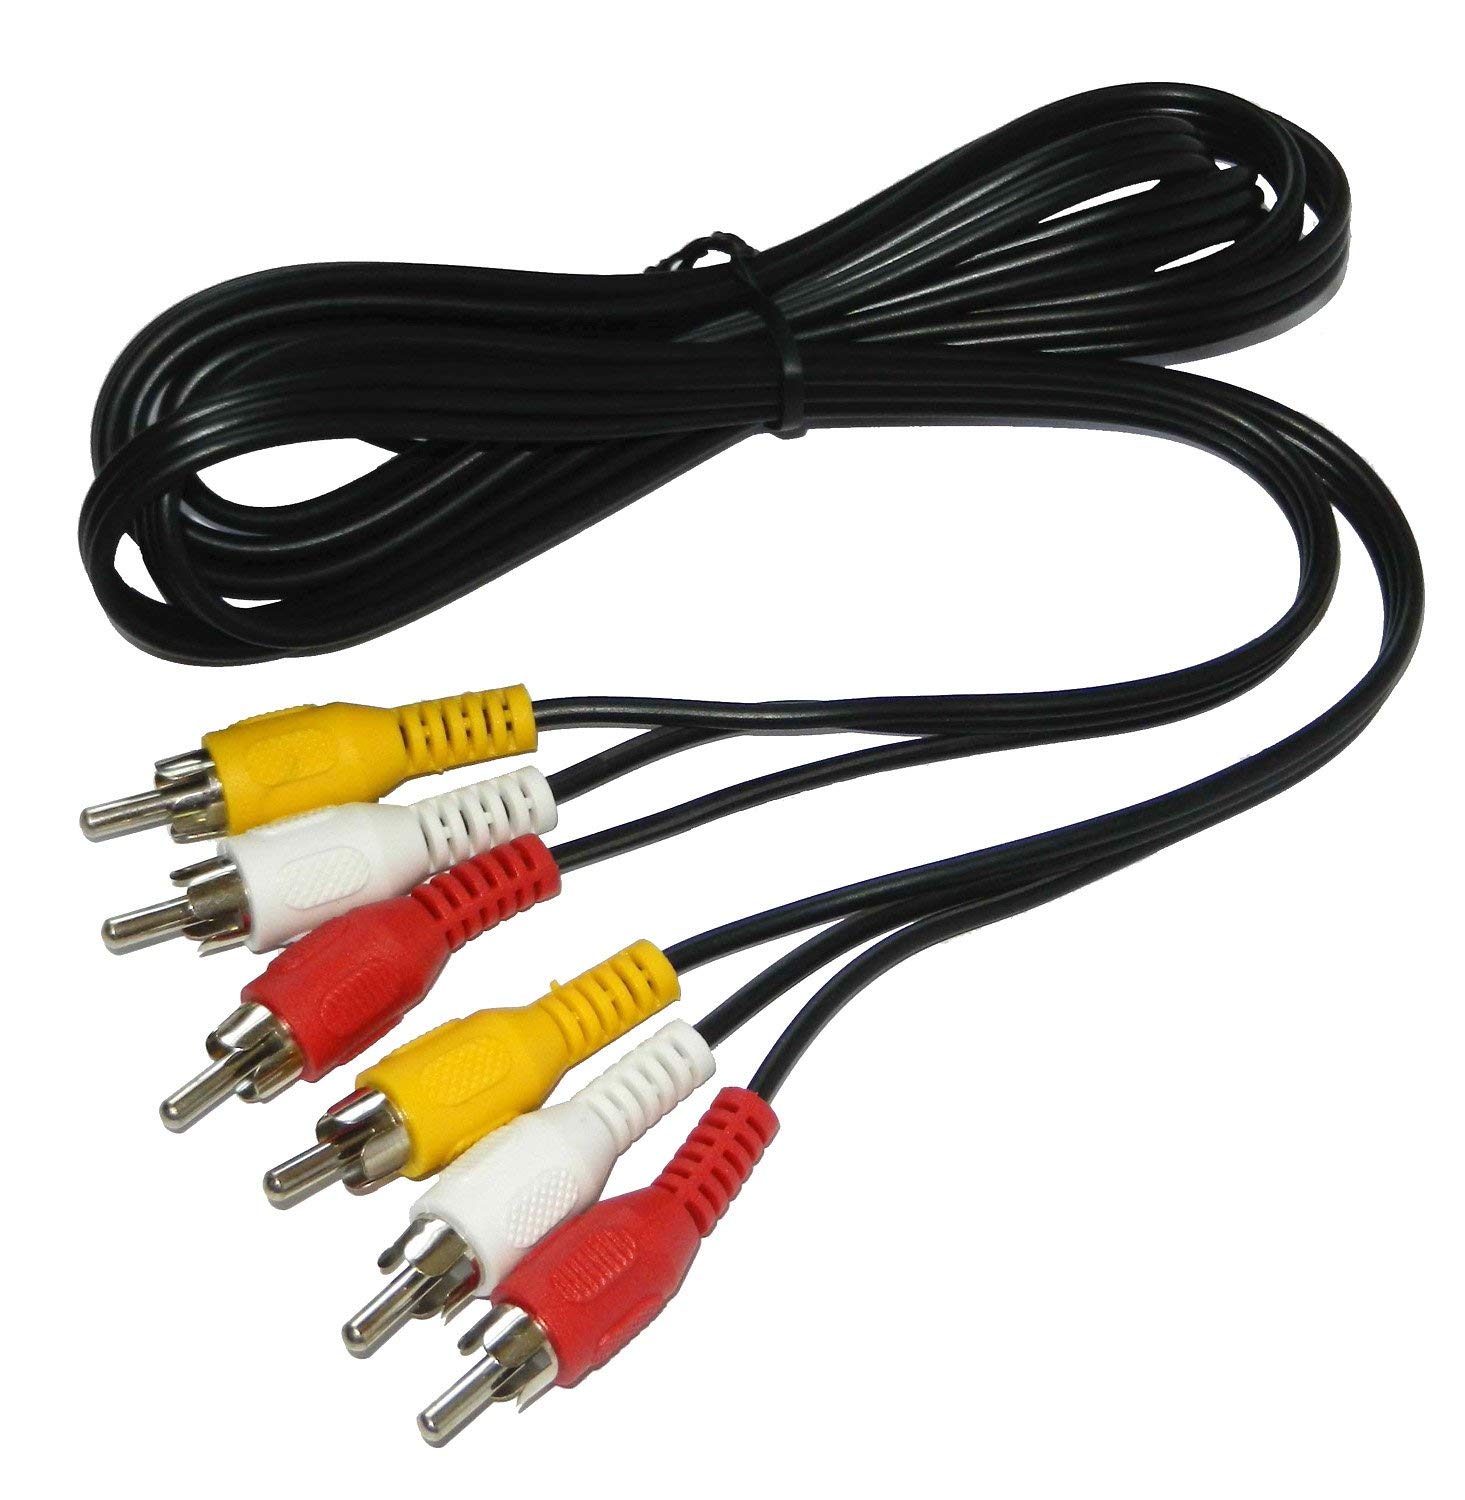
- A 3.5mm audio cable: This is perfect if both your iPhone and computer have a headphone jack or audio input port.
Make sure to choose the cable that matches the audio ports available on your devices. If you’re unsure about the compatibility, refer to the user manuals or consult with the manufacturer.
Once you have gathered all the required materials, you’re ready to connect your iPhone to your computer and unlock a whole new level of audio enjoyment!
Step 1: Connect the Audio Cable
The first step in playing music from your iPhone on your computer is to connect the audio cable between the two devices. Follow these simple instructions:
- Identify the audio ports on your iPhone and computer. The audio port on your iPhone is typically located on the bottom of the device, either as a lightning port or a headphone jack. The audio port on your computer can be found on the front or back panel, labeled as an audio input or line-in port.
- Choose the appropriate audio cable based on the ports available on your devices. For example, if your iPhone has a headphone jack and your computer has an audio input port, you’ll need a 3.5mm audio cable.
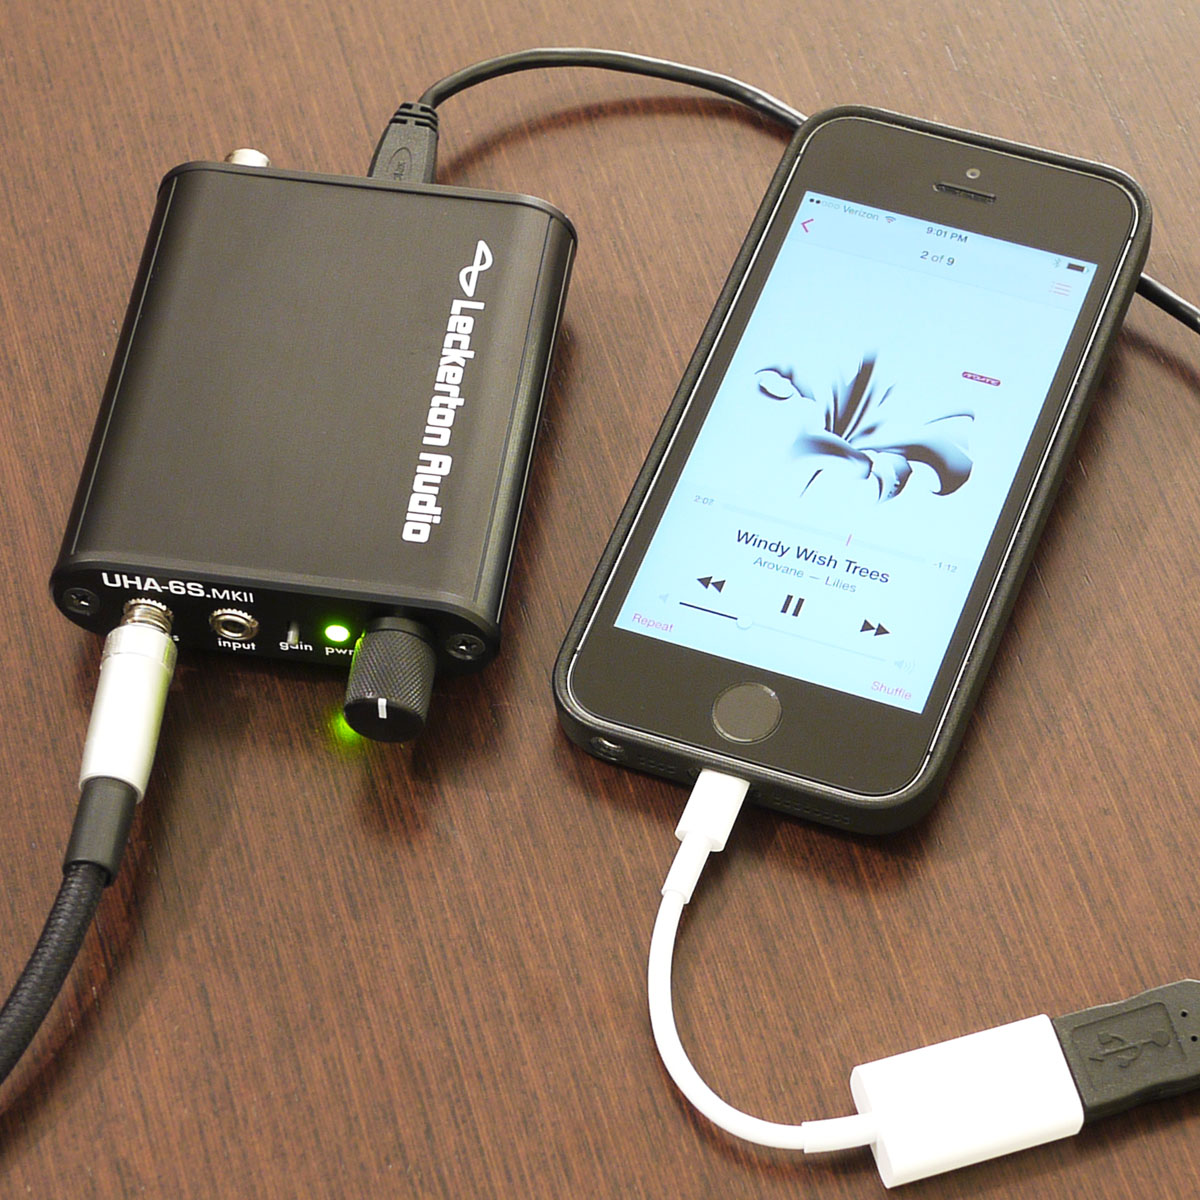
- Insert one end of the audio cable into the audio output port of your iPhone. If you’re using a lightning to 3.5mm audio cable, plug it into the headphone jack or the lightning port with the help of a lightning adapter.
- Insert the other end of the audio cable into the audio input port of your computer. If you’re using a USB to audio cable, connect the USB end to a USB port on your computer.
Once the audio cable is securely connected, you have established a physical link between your iPhone and computer. This connection will allow the audio signal to be transmitted from your iPhone to your computer, enabling you to play music directly from your iPhone on your computer’s speakers or headphones.
With Step 1 complete, you’re now ready to move on to the next step: adjusting the audio settings on your iPhone.
Step 2: Adjust Audio Settings on iPhone
Now that you have connected your iPhone to your computer using an audio cable, it’s time to adjust the audio settings on your iPhone to ensure smooth playback. Follow these steps:
- On your iPhone, go to the Settings app from the home screen.
- Scroll down and tap on the “Sounds & Haptics” or “Sounds” option.
- Under the “Ringer and Alerts” section, make sure the volume is adjusted to an appropriate level. This will determine the initial volume level when playing music on your computer.
- Next, scroll down to the “Audio Routing” or “Output” section and tap on it.
- Select the audio output option that corresponds to the audio cable connection. For example, if you connected your iPhone to your computer’s audio input port using a headphone jack, choose “Headphones” or “Line Out.”
By adjusting the audio settings on your iPhone, you are ensuring that the sound from your music player apps will be routed through the connected audio cable rather than playing through the iPhone’s built-in speakers or headphones.
With Step 2 complete, you’re ready to move on to the next step: adjusting the audio settings on your computer to receive the audio signal from your iPhone.
Step 3: Adjust Audio Settings on Computer
After connecting your iPhone to your computer and adjusting the audio settings on your iPhone, it’s time to configure the audio settings on your computer to receive the audio signal. Follow these steps:
- On your computer, locate the volume control settings. This is typically represented by a speaker icon in the taskbar (Windows) or the menu bar (Mac).
- Click on the volume control icon to open the audio settings menu.
- Ensure that the volume level is set to an appropriate level for your desired listening experience.
- Next, locate the audio input settings. This may be labeled as “Line-In,” “Audio Input,” or a similar term depending on your operating system.
- Select the audio input option that corresponds to the audio input port where you connected the audio cable from your iPhone.
Configuring the audio settings on your computer allows it to receive the audio signal transmitted from your iPhone via the connected audio cable. This ensures that the music played on your iPhone will be routed through your computer’s speakers or headphones, providing a seamless and high-quality listening experience.
With Step 3 complete, you’re now ready to move on to the final step: playing music from your iPhone on your computer.
Step 4: Play Music from iPhone on Computer
Now that you have successfully connected your iPhone to your computer and adjusted the audio settings on both devices, it’s time to play music from your iPhone on your computer. Follow these steps:
- On your computer, open your preferred media player or music streaming app.
- On your iPhone, launch the music player app that contains the music you want to play.
- Select the desired song, album, or playlist on your iPhone.
- Press the play button on your iPhone’s music player app to start playing the selected audio.
As the audio plays on your iPhone, you should be able to hear the sound through your computer’s speakers or headphones. The audio signal is being transmitted from your iPhone to your computer via the connected audio cable, allowing you to enjoy your music collection on a larger and more powerful audio output.
Using this method, you have the flexibility to control the music playback directly from your iPhone while enjoying the audio output on your computer. You can adjust the volume, skip tracks, or pause the playback using the controls on your iPhone.
With Step 4 complete, you’re all set to sit back, relax, and enjoy your favorite music from your iPhone on your computer with enhanced audio quality!
Troubleshooting Tips
While connecting your iPhone to your computer using an audio cable is a straightforward process, you may encounter some common issues along the way. Here are a few troubleshooting tips to help you resolve any potential problems:
- Ensure that the audio cable is securely connected to both your iPhone and computer. Loose connections can result in distorted or no audio output.
- Check that the volume levels are adequately adjusted on both your iPhone and computer. If the volume is too low, you may not hear any sound.
- Verify that you have selected the correct audio input and output settings on your iPhone and computer. Make sure they correspond to the connected audio cable and ports.
- If you’re using a USB to audio cable, ensure that it’s properly plugged into a working USB port on your computer.
- Try using a different audio cable or ports if you suspect a faulty connection. Sometimes, using a different cable or port can resolve the issue.
- If you’re still encountering problems, restart both your iPhone and computer. This can help refresh the audio settings and resolve any temporary glitches.
- If you’re using a headphone jack or lightning to 3.5mm audio cable, check if there is any dirt or debris in the audio ports. Clean the ports gently using a soft cloth or brush to ensure a proper connection.
- Ensure that your iPhone’s software and computer’s operating system are up to date. Updating the software can fix any compatibility issues.
If none of these troubleshooting tips solve the problem, it may be worth consulting the manufacturer’s support documentation or contacting their customer support for further assistance.
Remember, patience and persistence are key when troubleshooting. With a bit of troubleshooting, you’ll soon be able to enjoy music from your iPhone on your computer hassle-free!
Conclusion
Congratulations! You’ve learned how to play music from your iPhone on your computer using an audio cable. By following the simple steps outlined in this guide, you can now enjoy your favorite tracks on a larger sound system with enhanced audio quality.
Connecting your iPhone to your computer via an audio cable eliminates the need for wireless devices or complex setups, providing a convenient and reliable method of music playback. Whether you want to share your music collection with friends, create a party playlist, or simply enjoy your favorite tunes on a bigger sound system, this method offers a seamless and enjoyable listening experience.
Remember to gather the necessary materials, including an audio cable that matches the audio ports on your iPhone and computer. Once connected, adjust the audio settings on both devices to ensure smooth music playback. Then, simply play your favorite songs on your iPhone’s music player and enjoy the sound through your computer’s speakers or headphones.
If you encounter any issues, refer to the troubleshooting tips provided to help you resolve common problems. And don’t forget to keep your devices updated to ensure optimal compatibility.
Now that you have the knowledge and know-how, go ahead and elevate your music listening experience by playing music from your iPhone on your computer with the help of an audio cable. So grab your audio cable, set up your devices, and immerse yourself in the world of music!