Home>Production & Technology>Audio Cable>How To Connect Monster Audio Cable
Audio Cable
How To Connect Monster Audio Cable
Modified: January 22, 2024
Learn how to connect your Monster audio cable properly and get the best sound quality. Follow our step-by-step guide to ensure a seamless audio experience.
(Many of the links in this article redirect to a specific reviewed product. Your purchase of these products through affiliate links helps to generate commission for AudioLover.com, at no extra cost. Learn more)
Table of Contents
Introduction
Welcome to the world of audio cables! Whether you are a music enthusiast, a professional sound engineer, or simply someone who enjoys high-quality audio, understanding how to connect audio cables is essential. In this article, we will guide you on how to connect Monster audio cables, renowned for their exceptional performance and durability.
Monster audio cables are widely recognized in the industry for their superior quality and ability to deliver pristine sound. Whether you are connecting speakers, amplifiers, or other audio components, Monster cables provide a reliable and seamless audio experience.
Before we delve into the steps on how to connect Monster audio cables, let’s briefly discuss the importance of using high-quality cables. The quality of an audio cable can significantly impact the audio signal transmission. Inferior cables can introduce signal degradation, resulting in poor sound quality, loss of detail, and even audio dropouts. By investing in a reputable brand like Monster, you can ensure that your audio signals travel efficiently and accurately, preserving the integrity of the sound.
Now that we understand the significance of using high-quality cables, let’s move on to the step-by-step guide on how to connect Monster audio cables.
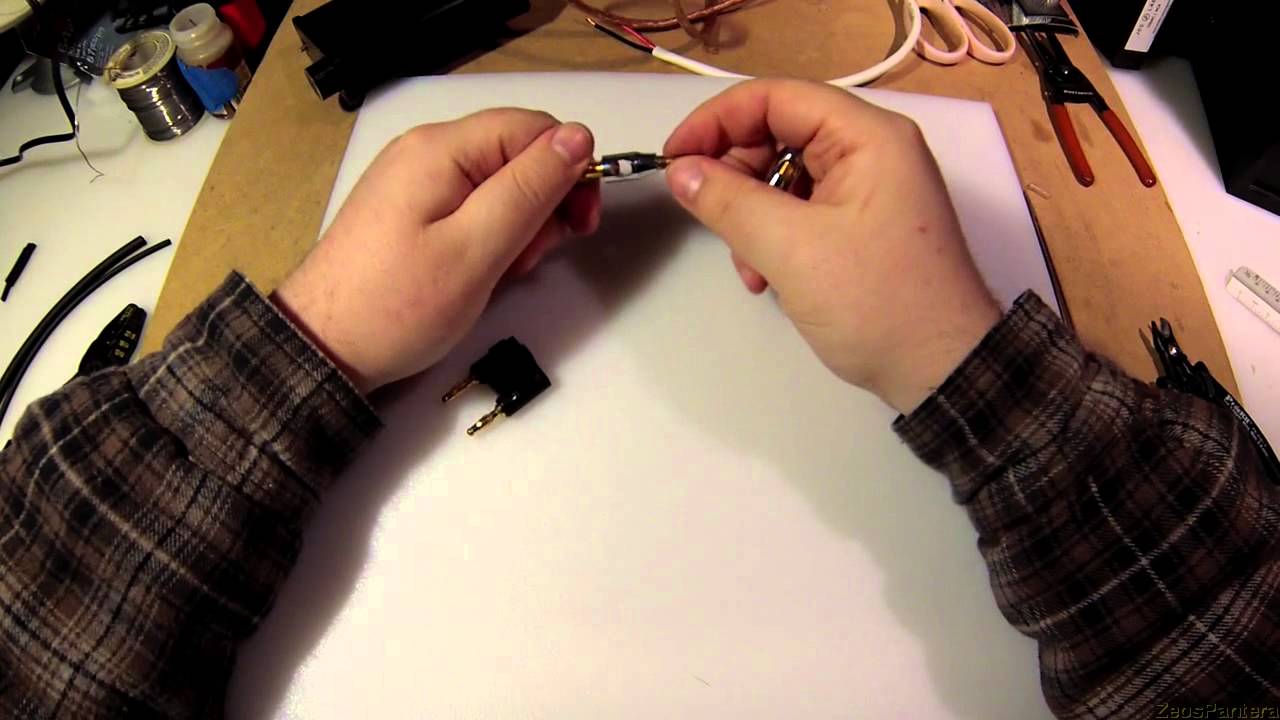
Step 1: Gather the necessary equipment
Before diving into the process of connecting Monster audio cables, it is essential to gather all the necessary equipment. Here’s what you will need:
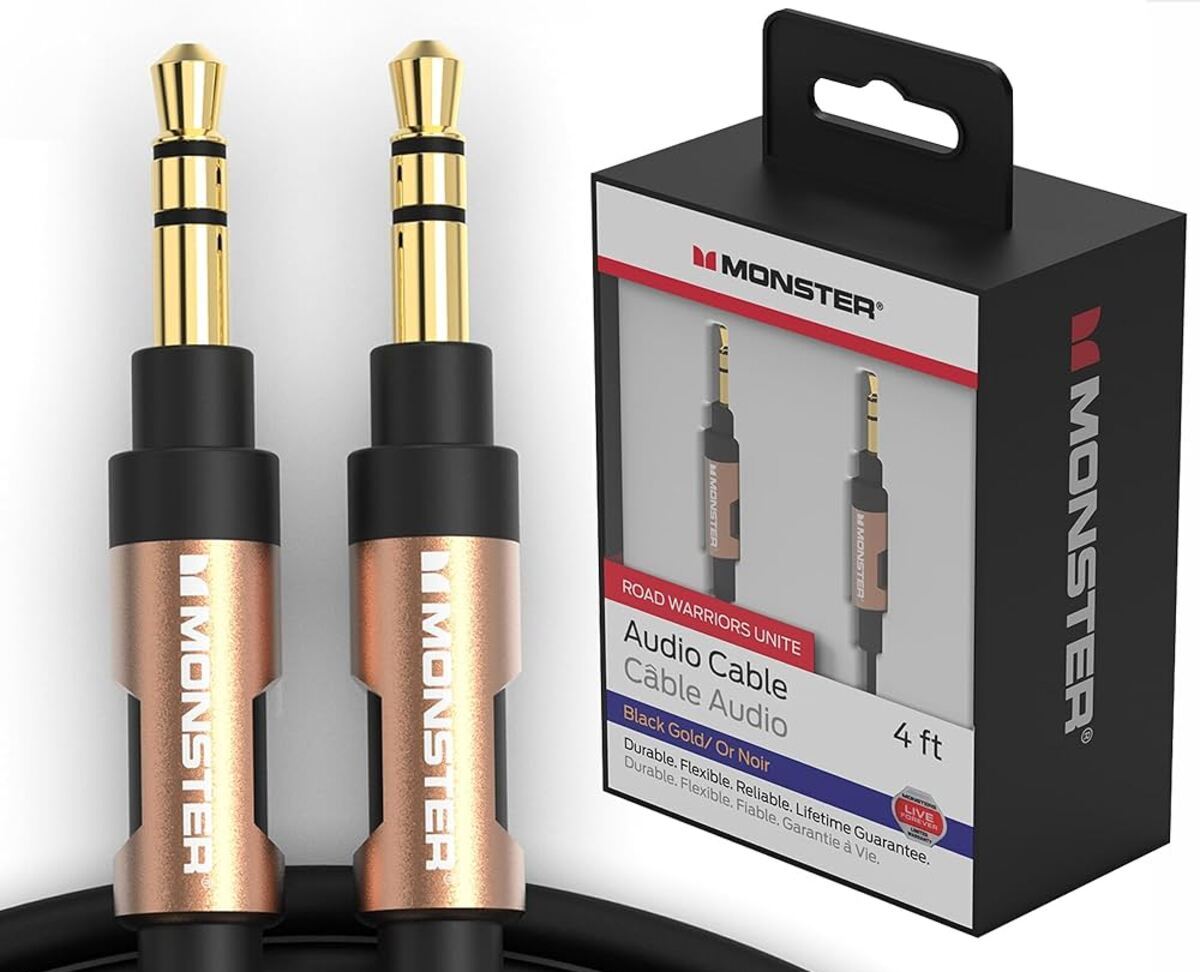
- Monster audio cables: Make sure to have the appropriate Monster audio cables for your specific audio setup. Consider factors such as the length of the cable and the type of connectors required.
- Source device: This refers to the device that will be generating the audio signal. It could be a music player, a computer, a TV, or any other device with an audio output.
- Receiving device: This refers to the device that will be receiving the audio signal. It could be speakers, an amplifier, a receiver, or any other device with an audio input.
- Additional connectors (if required): Depending on the devices you are connecting, you may need additional connectors such as RCA adapters, 3.5mm to RCA converters, or optical-to-coaxial adapters. Ensure that you have any necessary adapters or connectors on hand.
By gathering all the necessary equipment before starting the process, you can ensure a smooth and efficient installation of your Monster audio cables. Now that you are equipped with everything you need, let’s move on to the next step: identifying the audio cable connectors.
Step 2: Identify the audio cable connectors
Before connecting your Monster audio cables, it is crucial to familiarize yourself with the different types of audio cable connectors. This will ensure that you match the correct connectors on your devices, avoiding any potential confusion or incorrect connections.
Here are some common audio cable connectors you may come across:
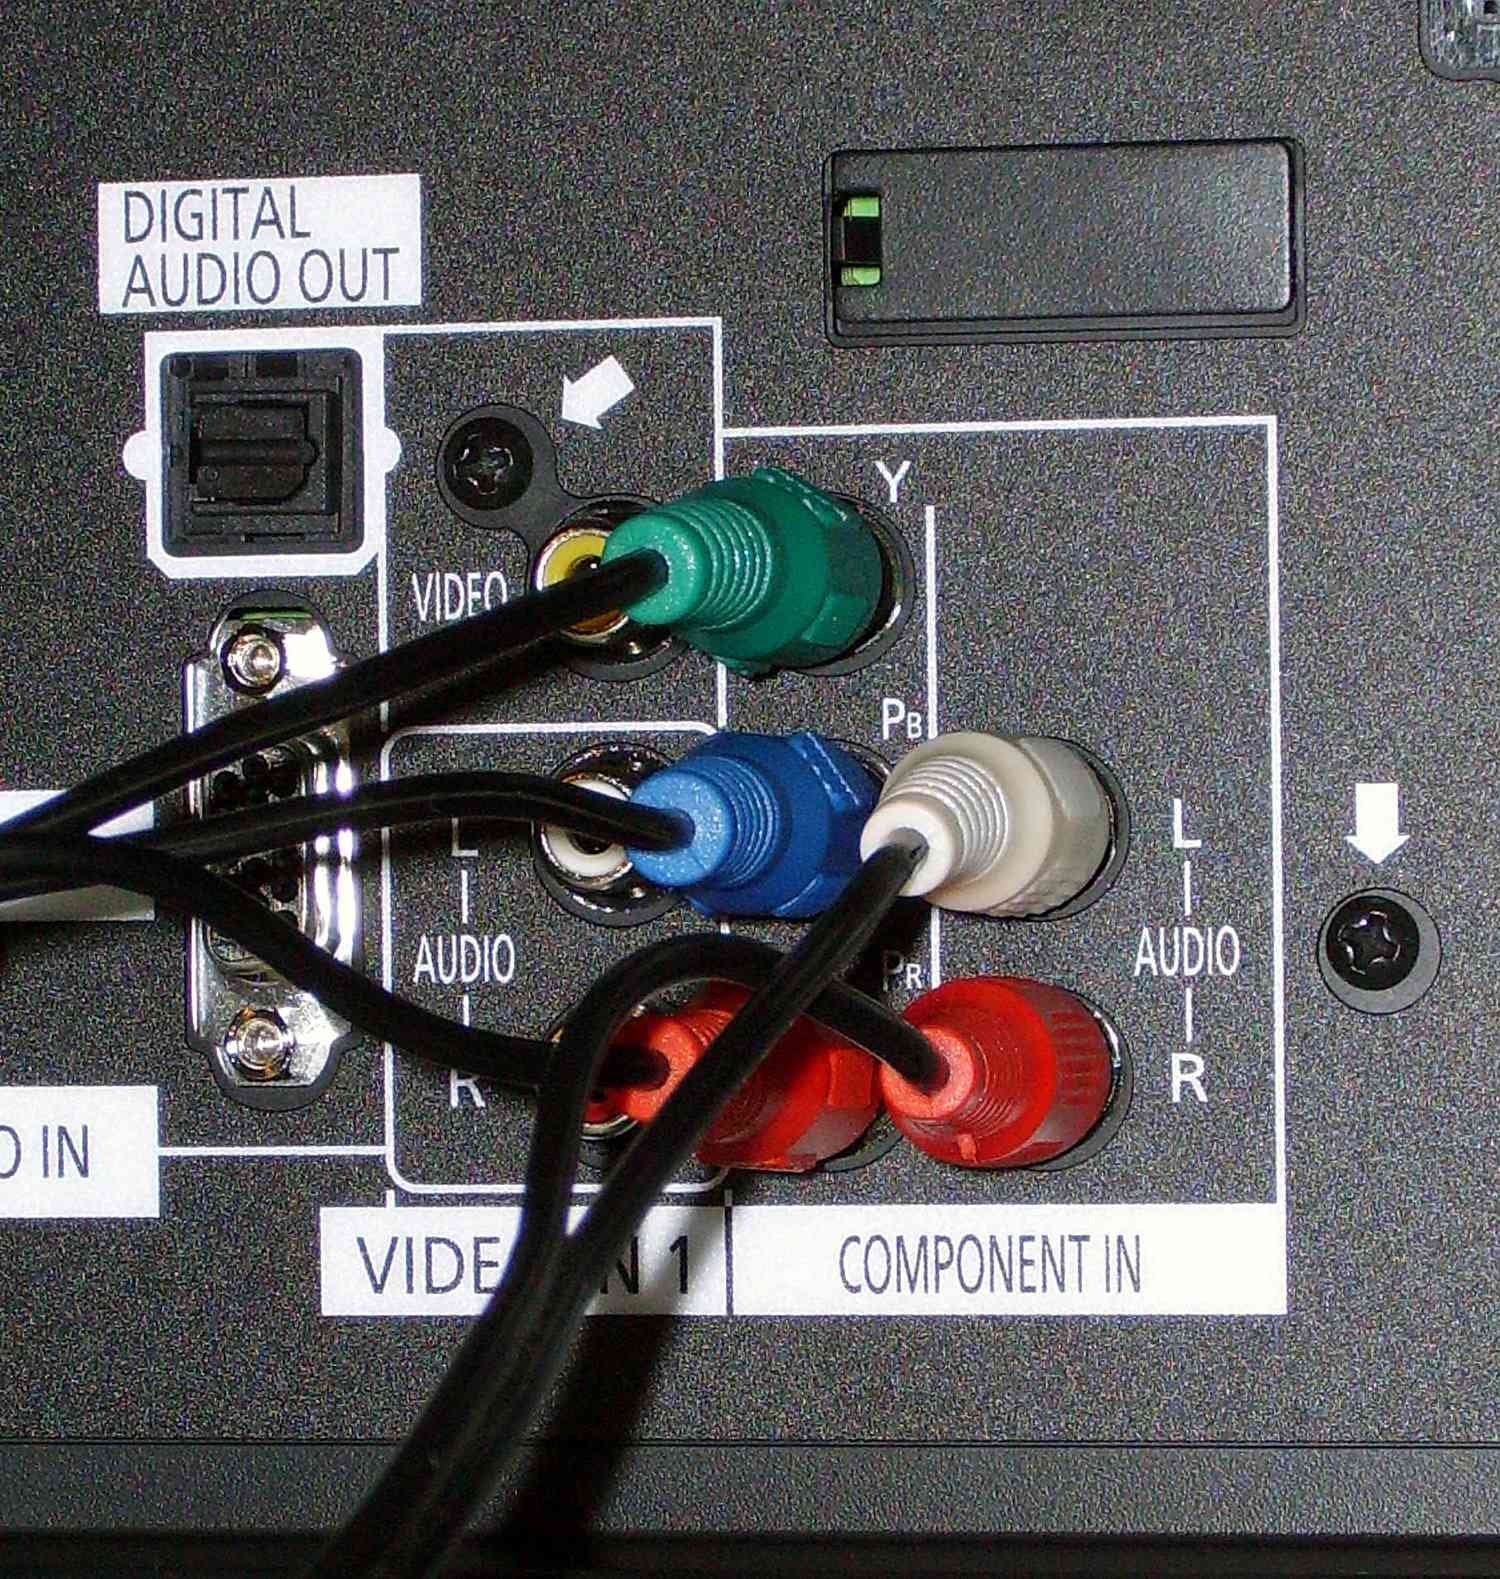
- RCA connectors: RCA connectors are widely used in audio setups. They consist of two separate connectors, typically color-coded red and white (or red and black), representing the right and left audio channels respectively.
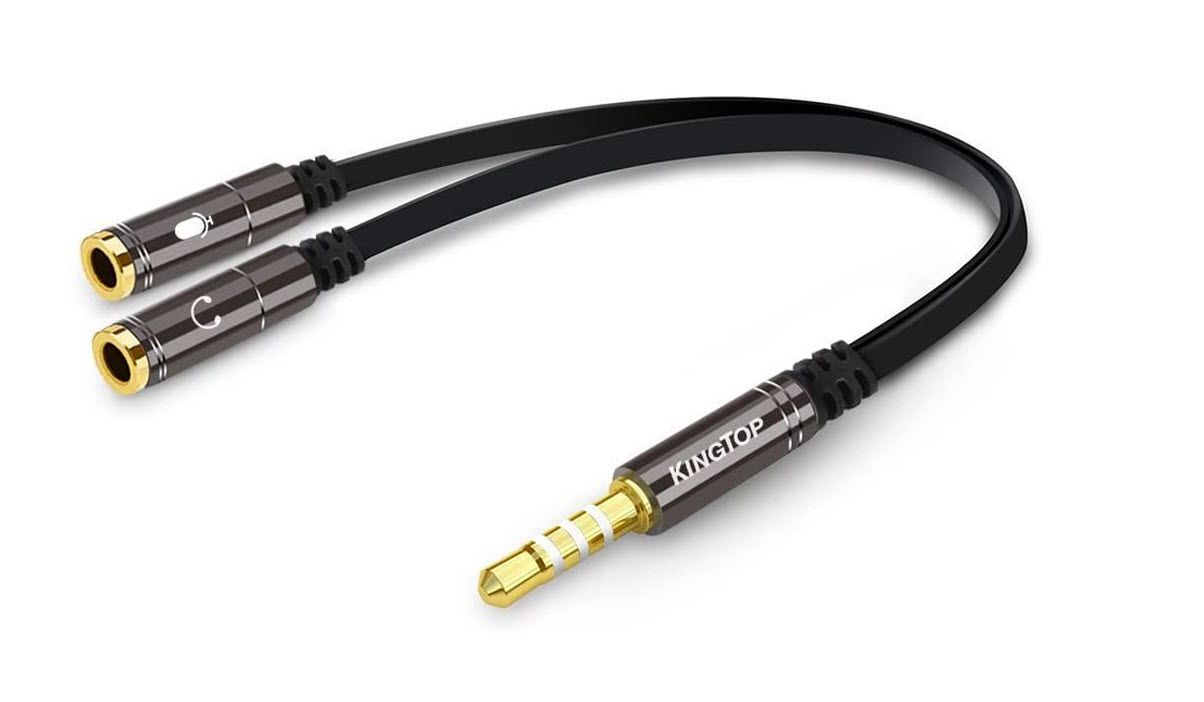
- 3.5mm connectors: Also known as mini or headphone jacks, 3.5mm connectors are commonly found in portable devices such as smartphones, laptops, and MP3 players. They are usually stereo connectors, with a tip, ring, and sleeve configuration.
- XLR connectors: XLR connectors are commonly used in professional audio setups, such as microphones and mixers. They are three-pin connectors, with one pin for the ground (shield) and two pins for carrying the audio signal (positive and negative).
- TRS connectors: TRS connectors, also known as balanced connectors, are commonly used for professional audio equipment. They usually have three sections, with one for the left audio channel, one for the right audio channel, and one for the ground (shield).
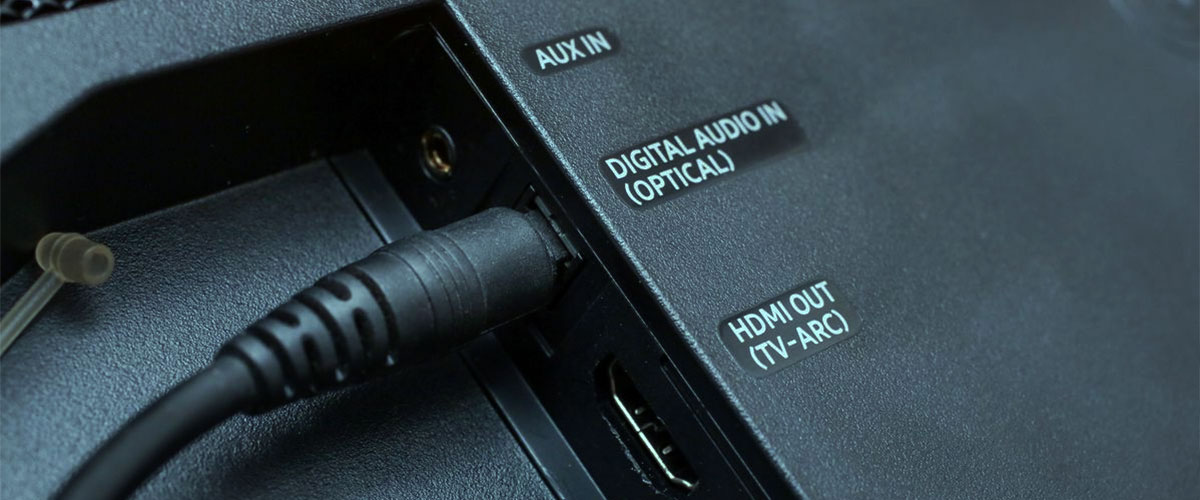
- Optical connectors: Optical connectors, also known as TOSLINK connectors, are used for transmitting digital audio signals. They use a fiber optic cable to carry the audio signal, providing a high-quality and interference-free connection.
By understanding the different types of audio cable connectors, you can easily identify the connectors on your devices and choose the appropriate Monster audio cables for your setup. With the connectors identified, let’s move on to the next step: connecting the audio cable to the source device.
Step 3: Connect the audio cable to the source device
Now that you have identified the audio cable connectors, it’s time to connect the Monster audio cable to the source device. The source device refers to the device that generates the audio signal, such as a music player, a computer, or a TV. Follow these steps:
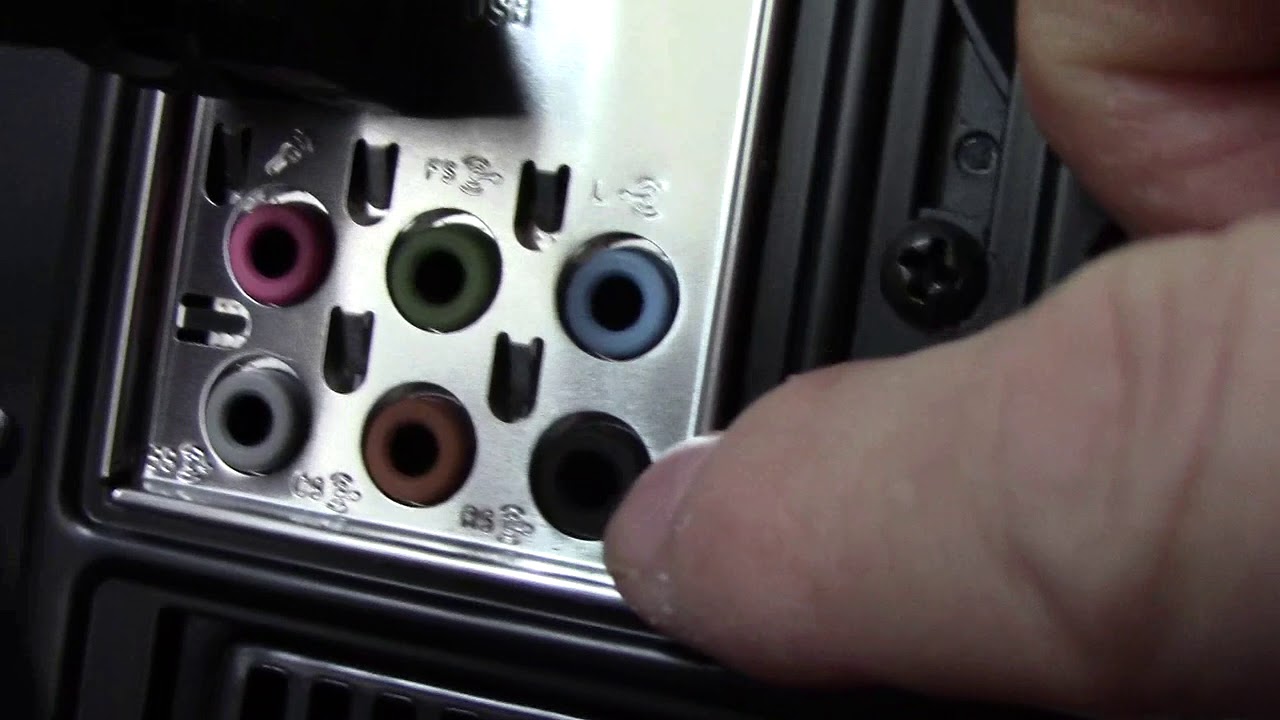
- Locate the audio output on the source device: Look for a designated audio output port on your device. It could be a headphone jack, RCA output, optical output, or any other specific audio output port. Refer to the device’s user manual if you are unsure about the location.
- Choose the appropriate Monster audio cable: Based on the type of audio output on your source device, select the corresponding Monster audio cable. For example, if your device has a 3.5mm headphone jack, use a 3.5mm audio cable; if it has RCA outputs, use an RCA audio cable.
- Connect one end of the audio cable to the source device: Insert one end of the Monster audio cable firmly into the audio output port on your source device. Ensure a secure connection to avoid any signal loss or audio disruptions.
- If necessary, use adapters or converters: Depending on the specific connectors on your source device, you may need to use adapters or converters to match the Monster audio cable. For instance, if your device has a digital optical output and you are using an analog RCA cable, you will need an optical-to-RCA converter.
Once you have connected the Monster audio cable to the source device, you have successfully established the audio signal path. Now, let’s move on to the next step: connecting the audio cable to the receiving device.
Step 4: Connect the audio cable to the receiving device
After connecting the Monster audio cable to the source device, the next step is to connect it to the receiving device. The receiving device refers to the equipment that will process and play the audio signal, such as speakers, amplifiers, or a receiver.
To connect the audio cable to the receiving device, follow these steps:
- Locate the audio input on the receiving device: Look for the audio input port on the receiving device. It could be an audio input jack, RCA input, optical input, or any other specific audio input port. Consult the device manual if you are unsure of its location.
- Choose the appropriate Monster audio cable: Based on the type of audio input on the receiving device, select the corresponding Monster audio cable. Make sure it matches the connector type on the receiving device. For example, if your device has RCA inputs, use an RCA audio cable.
- Connect the other end of the audio cable to the receiving device: Insert the other end of the Monster audio cable securely into the audio input port on the receiving device. Ensure a tight and stable connection to maintain signal integrity and prevent audio distortion.
- If necessary, use adapters or converters: Similar to the previous step, if the connector type on the receiving device differs from the Monster audio cable, use any necessary adapters or converters to bridge the gap.
Once you have successfully connected the Monster audio cable to the receiving device, you have completed the physical connection of your audio setup. Now it’s time to test the connection and ensure everything is working seamlessly.
Step 5: Test the connection
Now that you have connected the Monster audio cables to both the source device and the receiving device, it’s important to test the connection and ensure that everything is functioning as expected. Follow these steps to test the connection:
- Power on the source device and the receiving device: Make sure both devices are powered on and ready to transmit and receive audio signals.
- Select the appropriate input on the receiving device: If your receiving device has multiple input options, such as different channels or modes, choose the input that corresponds to the audio input you used. Consult the device manual for instructions on selecting the correct input.
- Play an audio source on the source device: Start playing an audio source on the source device, such as a song, a video, or any other audio content. Ensure that the volume is at a reasonable level to avoid any potential damage to the speakers or other audio equipment.
- Listen for the audio output: As the audio source plays, listen for the audio output from the receiving device. If you are using speakers, make sure they are producing sound. If using headphones, check if you can hear the audio clearly. Check the volume levels and adjust them as necessary.
- Test various audio channels and settings: If your audio setup supports multiple channels or audio configurations, test each channel and audio setting to ensure that the Monster audio cables are properly transmitting the signals. Verify that the audio is coming from the expected sources and that all channels are working correctly.
If you encounter any issues during the testing process, double-check all the connections, ensuring that the Monster audio cables are securely plugged in and that any adapters or converters are properly connected. Troubleshoot as needed or consult the user manuals for further guidance.
Once you have confirmed that the audio is playing correctly and all channels are functioning as expected, congratulations! You have successfully connected the Monster audio cables and can now enjoy high-quality audio on your setup.
Remember to periodically check the connections and cables for any damage or wear to ensure continued optimal performance. Now that you have completed the testing phase, feel free to sit back, relax, and enjoy your audio experience with confidence!
Conclusion
Connecting Monster audio cables is a straightforward process that allows you to enjoy exceptional audio quality. By following the steps outlined in this guide, you can confidently connect your Monster audio cables to the source and receiving devices, ensuring seamless audio transmission.
Remember, the importance of using high-quality audio cables cannot be overstated. Monster audio cables are renowned for their superior performance and durability, providing a reliable and robust connection for your audio setup.
From gathering the necessary equipment to identifying the audio cable connectors and making the physical connections, each step is crucial in establishing a solid audio signal path. Testing the connection ensures that everything is working correctly and that you can fully enjoy your audio experience.
By investing in Monster audio cables and following these simple steps, you are on your way to unlocking the full potential of your audio devices. Whether you are a music lover, a sound professional, or simply someone who appreciates high-quality audio, the right audio cables make all the difference.
So go ahead, set up your audio system with confidence, and immerse yourself in the world of pristine sound. Connect your Monster audio cables and elevate your audio experience to new heights!