Home>Production & Technology>Audio Interface>How To Make An Audio Interface Louder

Audio Interface
How To Make An Audio Interface Louder
Modified: March 7, 2024
Discover how to make your audio interface louder and maximize your sound quality with these easy-to-follow tips and tricks. Elevate your audio experience with our step-by-step guide.
(Many of the links in this article redirect to a specific reviewed product. Your purchase of these products through affiliate links helps to generate commission for AudioLover.com, at no extra cost. Learn more)
Table of Contents
Introduction
Audio interfaces are essential tools for musicians, podcasters, and sound engineers alike. They provide the means to connect instruments, microphones, and other audio sources to your computer or recording device, allowing you to capture and manipulate high-quality sound. However, you may find that the output from your audio interface is not as loud as you would like it to be. In this article, we will explore various techniques to make your audio interface louder and enhance the overall audio quality.
Before we dive into the details, it’s important to understand the basics of audio interfaces. An audio interface is essentially an external sound card with more advanced features and better audio quality. It acts as an intermediary between your instruments and microphones and your computer, converting analog audio signals into digital data that your computer can process. It also handles the conversion of digital audio from your computer back into analog signals for playback.
Choosing the right audio interface for your needs is crucial. Factors to consider include the number of inputs and outputs you require, the type of connections (USB, Thunderbolt, etc.), and the audio resolution and sample rate supported. It’s also important to consider the quality of the preamps, which amplify the input signals and can greatly affect the overall audio quality.
Once you have selected the appropriate audio interface, it’s time to optimize its output levels. This involves adjusting the input levels, utilizing external preamps if necessary, using the gain controls in your digital audio workstation (DAW), ensuring proper microphone placement, and checking cable connections. By following these steps, you can ensure that your audio interface delivers the desired volume and clarity for your recordings and live performances.
In the next sections, we will dive into the details of each technique, providing practical tips and insights for making your audio interface louder. Whether you are a musician aiming to achieve a more powerful sound or a podcaster looking to improve the clarity of your voice recordings, these strategies will help you get the most out of your audio interface.
Understanding Audio Interfaces
Before diving into the specifics of how to make an audio interface louder, let’s first take a moment to understand the basics of how audio interfaces work. As mentioned earlier, an audio interface is a device that enables the connection of instruments, microphones, and other audio sources to your computer or recording device.
At its core, an audio interface serves as an intermediary between the analog audio signals produced by your instruments or microphones and the digital realm of your computer. It converts the analog signals into a digital format that can be processed and manipulated using digital audio software.
When it comes to audio interfaces, you’ll often come across terms such as sample rate and bit depth. The sample rate refers to the number of samples taken per second to represent the audio signal digitally. A higher sample rate generally results in better audio fidelity but requires more processing power and storage space.
Bit depth, on the other hand, determines the number of bits used to represent each sample. The higher the bit depth, the more dynamic range and accuracy in the audio representation. Common bit depths for audio interfaces are 16-bit, 24-bit, and 32-bit.
Audio interfaces also come with different types of connections, such as USB, Thunderbolt, FireWire, or PCIe. The choice of connection largely depends on the capabilities of your computer and the desired data transfer speed. USB is the most common and versatile option, as it is compatible with a wide range of devices and operating systems.
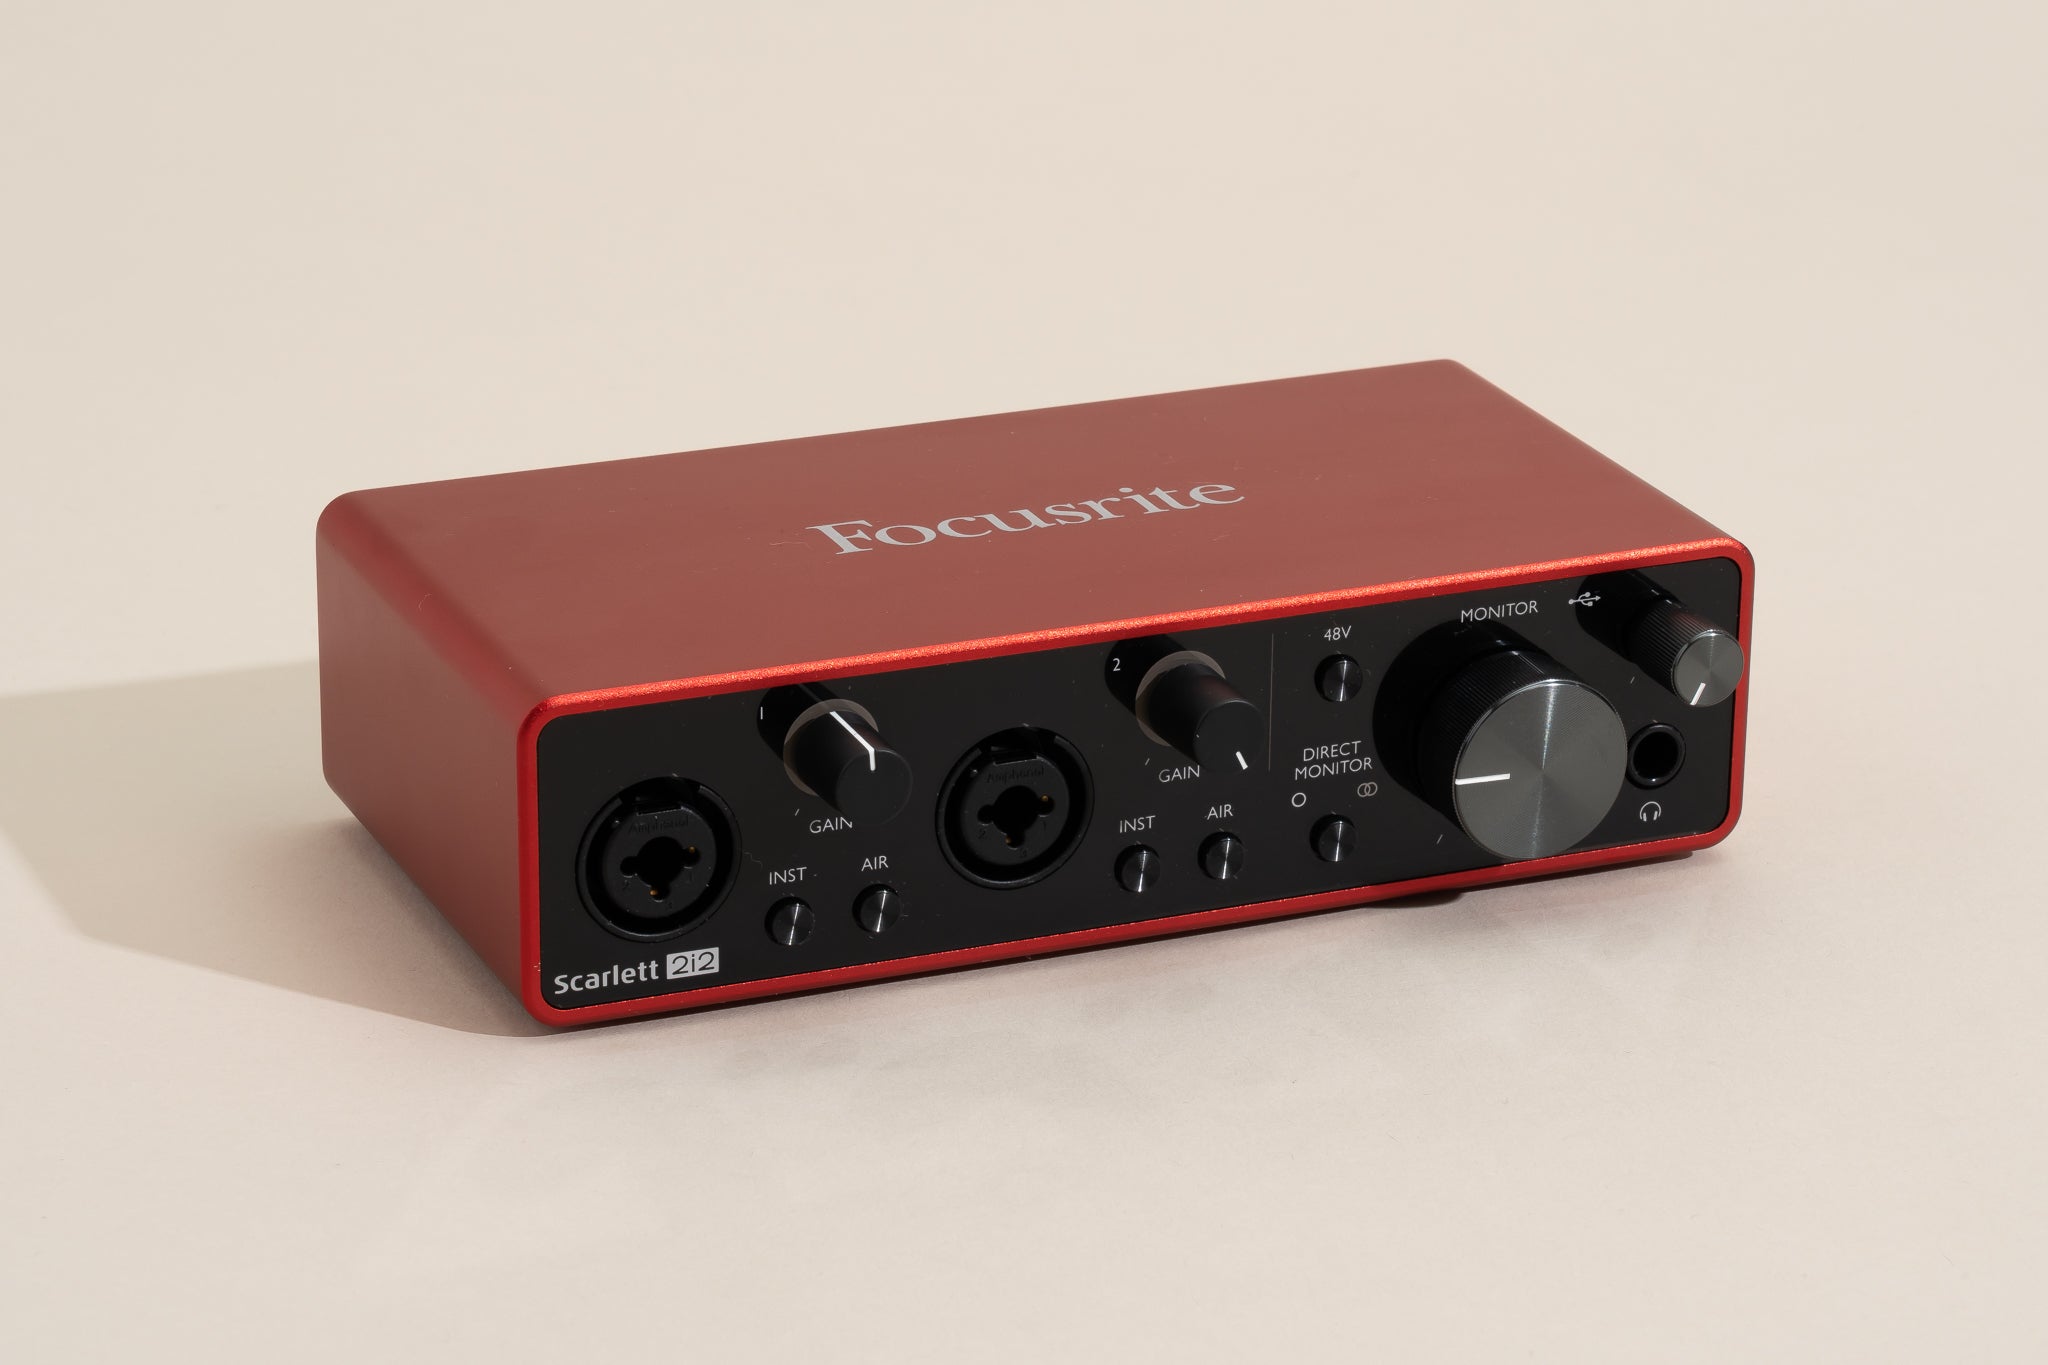
Additionally, audio interfaces feature inputs and outputs for connecting audio sources and speakers or headphones. Inputs are used to connect instruments, microphones, and line-level sources, while outputs allow you to monitor and play back the recorded audio.
Preamps play a crucial role in audio interfaces, as they amplify the weak analog signal from microphones and instruments before converting it to a digital format. The quality of the preamps can significantly impact the overall audio performance and clarity. Higher-end audio interfaces often feature high-quality preamps that offer clean gain and low noise levels.
Overall, understanding the basic workings of audio interfaces will help you make informed decisions when choosing the right device for your needs. It is essential to consider factors such as the number of inputs and outputs, the type of connections, the audio resolution, and the quality of the preamps. By selecting a suitable audio interface, you can ensure optimal performance and achieve the desired volume and fidelity in your audio recordings and productions.
Choosing the Right Audio Interface
When it comes to making your audio interface louder, having the right device for your specific needs is essential. There are several factors to consider when choosing an audio interface, and keeping these in mind will help you optimize the volume and quality of your audio output.
First and foremost, you need to determine the number of inputs and outputs required for your setup. If you primarily work with a single instrument or microphone, a simple audio interface with one or two inputs should suffice. However, if you plan on recording multiple instruments simultaneously or require multiple microphone inputs, you’ll need an audio interface with a higher number of inputs.
The type of connections available on the audio interface is another crucial consideration. USB is the most common option, offering broad compatibility with various devices and operating systems. Thunderbolt connections are faster and more suitable for professional-grade audio interfaces, but they may require specific hardware and are typically found on Mac computers. FireWire and PCIe connections are less common but can provide faster data transfer rates.
Audio resolution and sample rate are important factors when it comes to achieving high-quality audio. A higher audio resolution, typically measured in bits, will result in a greater dynamic range and more accurate representation of sound. It is recommended to opt for an audio interface with a bit depth of at least 24-bit for optimal audio fidelity. The sample rate, measured in kHz, determines the number of audio samples per second. Higher sample rates offer better audio detail but require more processing power and storage space.
Another critical aspect to consider is the quality of the preamps built into the audio interface. Preamps play a vital role in amplifying weak analog signals from microphones, guitars, and other instruments before converting them into digital format. Higher-quality preamps will offer cleaner gain and lower noise levels, resulting in improved audio clarity and detail.
Lastly, budget considerations are important when choosing an audio interface. Decide on a reasonable budget range and look for options within that range that offer the features you need. It is generally advisable to invest in a higher-quality audio interface if you plan on serious recording or mixing tasks, as it will provide better sound quality and durability in the long run.
By considering factors such as the number of inputs and outputs, the type of connections, audio resolution, sample rate, and preamp quality, you can choose an audio interface that meets your specific needs. This will ultimately contribute to achieving optimal volume levels and enhanced audio quality, allowing you to make the most out of your recording and production endeavors.
Checking and Adjusting Input Levels
One of the key factors in making your audio interface louder is ensuring that the input levels are properly set. Input levels determine the volume at which audio signals are received by the interface, so it’s crucial to check and adjust them accordingly.
To start, check the input gain knobs or sliders on your audio interface. These controls allow you to adjust the input level for each channel. Ideally, you want to set the input level as high as possible without causing distortion or clipping. Clipping occurs when the input signal exceeds the maximum level that the audio interface can handle, resulting in distorted and unpleasant audio. Avoid setting the input level too low either, as it can introduce more noise to the signal.
A good way to adjust the input levels is to play or perform at your normal volume and watch the meters on your audio interface. Most interfaces have LED meters or level indicators that show the incoming audio signal’s level. Aim for the audio levels to consistently reach near the 0 dB mark on the meter without exceeding it. This ensures a healthy signal level that maximizes the dynamic range and prevents unwanted distortion.
It’s worth mentioning that different audio sources may require different input level settings. For example, microphones typically produce low-level signals and may require more gain to reach an optimal level. On the other hand, line-level sources, such as keyboards or drum machines, may already have a strong output signal, requiring less gain. Adjusting the input levels based on the specific audio source will help optimize the volume and overall quality of the recorded or transmitted sound.
Keep in mind that if you’re using external preamps or processors, such as a microphone preamp or a compressor, you may need to adjust their levels in conjunction with the input levels on your audio interface. It’s important to maintain a balance between these different gain stages to avoid overloading or weakening the signal.
Additionally, software tools and digital audio workstations (DAWs) often provide input gain controls that can further refine the input levels. You can adjust these settings within the DAW software to fine-tune the input levels and achieve the desired volume and clarity for your recordings.
By checking and adjusting the input levels on your audio interface, you can ensure that the incoming audio signals are optimally amplified without distortion or noise. This step is crucial in making your audio interface louder and ensuring the highest possible audio quality in your recordings or live performances.
Utilizing External Preamps
If you’re looking to make your audio interface louder and improve the quality of your sound, using external preamps can be a game-changer. External preamps are standalone units designed to amplify audio signals before they enter your audio interface, and they can provide an extra boost in gain and overall audio performance.
While many audio interfaces come with built-in preamps, they may not always offer the highest quality or sufficient gain for certain applications. External preamps, on the other hand, often provide a wider range of gain control and offer higher-quality amplification, resulting in cleaner and more transparent audio.
There are various types of preamps available, including tube preamps, solid-state preamps, and hybrid preamps. Each type has its own unique sonic characteristics, and choosing the right one will depend on your personal preference and the desired sound you wish to achieve.
To utilize an external preamp, connect it to your audio interface using suitable cables. Most preamps have XLR or TRS outputs, so ensure that you have the appropriate cables to connect them to the corresponding inputs on your audio interface.
Once connected, you can adjust the gain on the external preamp to achieve the desired level of amplification. Start by setting the gain at a neutral position and gradually increase or decrease it while monitoring the audio levels on your audio interface’s meters. Aim for a level that provides a healthy signal without distorting or clipping.
External preamps also offer additional features such as phase inversion, pad switches, and high-pass filters, which can help tailor the sound to your specific needs. Experimenting with these features can further enhance the audio quality and sonic characteristics of your recordings.
Using external preamps can be particularly beneficial when recording vocals, acoustic instruments, or any source that requires a clean and transparent amplification. They can help capture the subtle nuances and details of your sound with greater accuracy and fidelity.
Additionally, if you find that the built-in preamps of your audio interface introduce noise or coloration to the signal, using external preamps can provide a cleaner and more transparent signal path. This can be especially important for professional audio recording and critical listening applications.
Remember to adjust the input levels on your audio interface when using external preamps to maintain a balanced signal flow and avoid overloading or distorting the audio. Also, ensure that the preamp and audio interface are properly grounded to avoid any potential electrical hum or interference.
By utilizing external preamps, you can enhance the gain, tonal characteristics, and overall audio quality of your audio interface. Whether you’re a musician, podcaster, or sound engineer, incorporating high-quality external preamps into your setup can take your recordings and performances to the next level.
Using DAW Gain Controls
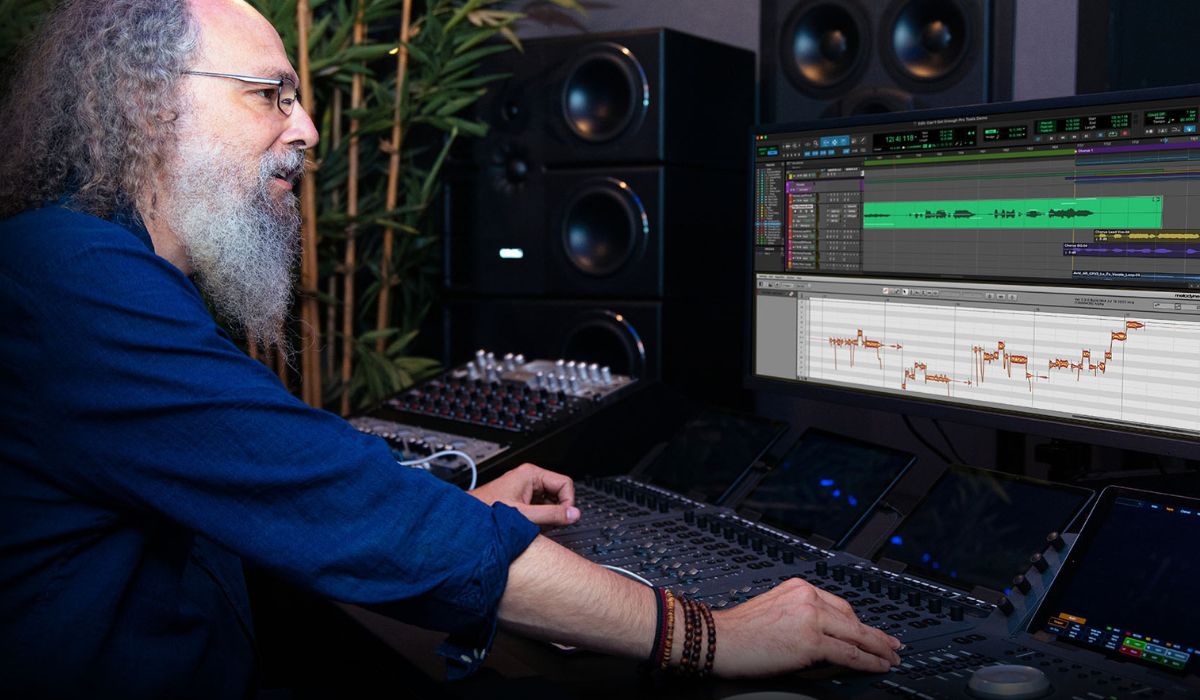
When it comes to making your audio interface louder, utilizing the gain controls within your digital audio workstation (DAW) can play a significant role. DAW gain controls allow for precise adjustment of the input and output levels within your software, helping you achieve the desired volume and clarity in your recordings.
The input gain controls in your DAW allow you to adjust the levels of individual tracks or channels. This allows you to fine-tune the gain of specific audio sources, such as vocals, guitars, or drums, during the recording process. By carefully controlling the input gain, you can prevent clipping or distortion and capture clean and accurate audio recordings.
It’s important to note that the input gain controls in your DAW should be used in conjunction with the gain controls on your audio interface. By finding the right balance between the two, you can optimize the signal levels and ensure the best possible audio quality.
On the other side of the spectrum, the output gain controls in your DAW are crucial for controlling the overall volume of your mix. These controls allow you to adjust the output levels of your tracks before sending them to your audio interface for monitoring or playback.
Using the output gain controls in your DAW, you can achieve a balanced mix, ensuring that no individual track is too loud or too soft. This step is important for achieving a professional and polished sound, whether you are producing music, creating podcasts, or working on any other type of audio project.
Furthermore, many DAWs offer additional features such as virtual channels or busses, where you can have further control over the gain structure of your mix. This can be useful when conducting advanced routing or applying dynamic processing techniques to specific groups of tracks.
Additionally, some DAWs provide visual aids, such as meters or indicators, to help you monitor and adjust the gain levels accurately. These tools allow you to visualize the audio signal and ensure that it is hitting the desired target levels without overloading or distorting.
By using the gain controls within your DAW, you have the flexibility to adjust and fine-tune the input and output levels of your audio sources and mix. This level of control allows you to achieve optimal volume levels while maintaining the integrity and clarity of your recordings and productions.
Remember to always monitor the audio levels using your DAW’s meters and adjust the gain settings accordingly to prevent clipping or distortion. It’s also recommended to use high-quality studio monitors or headphones to accurately assess the volume levels and overall sound of your mix.
When used effectively, DAW gain controls can significantly contribute to making your audio interface louder and ensure the best possible audio quality in your recordings and productions.
Optimal Placement of Microphones
When it comes to recording audio, the placement of your microphones can have a significant impact on the volume and quality of the sound. Proper microphone placement is crucial in capturing a strong and balanced signal, and it can contribute to making your audio interface louder.
Firstly, consider the type of microphone you’re using. Different microphones have varying pickup patterns, such as cardioid, omnidirectional, or figure-eight. Understanding the characteristics of your microphone’s pickup pattern will help you determine the best placement.
In general, placing the microphone closer to the sound source will result in a louder signal. This technique, known as close-miking, helps capture more direct sound and reduces the amount of ambient noise and room reflections. Experiment with different distances and angles to find the sweet spot that provides the desired volume and tonal balance.
When recording vocals or acoustic instruments, positioning the microphone closer to the performer or instrument will result in a stronger and more focused sound. For example, placing the microphone about 6-12 inches from the vocalist’s mouth or close to the soundhole of an acoustic guitar will capture a more upfront and powerful sound.
However, be mindful of the proximity effect, which is a bass boost that occurs when the microphone is placed very close to the sound source. This effect can cause an excessive low-frequency response, which may need to be compensated for using equalization or by adjusting the microphone’s position or angle.
For capturing a wider soundstage or room ambience, you may want to consider using stereo techniques such as spaced pair, X/Y, or ORTF. These techniques involve using multiple microphones or specific microphone angles to capture a stereo image. Proper placement and alignment of the microphones are crucial to achieve a balanced and immersive sound.
It’s worth noting that the physical environment and acoustics of the recording space can also impact the microphone placement. Reflective surfaces, such as walls or windows, can introduce unwanted reflections and coloration to the sound. Experiment with positioning the microphone away from these surfaces or using acoustic treatments to minimize these issues.
While finding the optimal microphone placement depends on the type of sound source, the desired sound, and the recording environment, it’s essential to trust your ears and make careful adjustments. Take the time to listen carefully and make small incremental changes until you achieve the desired volume, tonal balance, and clarity.
By placing your microphones strategically and thoughtfully, you can capture a stronger and more detailed sound, maximizing the volume and overall audio quality that your audio interface can deliver.
Ensuring Proper Cable Connections
Proper cable connections are fundamental to ensuring optimal volume and sound quality when using an audio interface. Whether you’re connecting instruments, microphones, or other audio sources, paying attention to the quality and integrity of your cables is essential.
First and foremost, it’s crucial to use high-quality cables that are suitable for the specific audio connections you’re using. Cables come in various types, such as XLR, TRS, or TS, each designed for different purposes.
When connecting microphones, XLR cables are the standard choice. XLR cables provide balanced connections, which help minimize interference and deliver cleaner audio signals. Make sure the cable connectors are securely plugged into the microphone and the audio interface.
For connecting instruments or other line-level sources, TRS (Tip-Ring-Sleeve) or TS (Tip-Sleeve) cables are commonly used. TRS cables are typically used for balanced connections, while TS cables are used for unbalanced connections. Ensure that the cables are properly connected to the instrument and the appropriate input on your audio interface.
Once the cables are properly connected, it’s important to check for any potential signal loss or interference. Poor quality or damaged cables can introduce noise, crackling, or intermittent connections, which can impact the overall volume and sound quality. Inspect your cables regularly for signs of wear and tear, and replace them as needed.
Additionally, cable length can also affect signal quality. Longer cables may introduce more resistance or signal loss, causing a decrease in volume and clarity. If possible, keep your cable lengths as short as reasonably necessary to maintain the best signal integrity.
Another consideration is cable shielding. Shielded cables help protect against electromagnetic interference, preventing unwanted noise from being introduced into the audio signal. Ensure that your cables have proper shielding to minimize the chances of interference affecting your audio quality.
It’s also essential to use the correct connectors for your audio interface and devices. Mismatched connectors, such as using an adapter or converter, may compromise the sound quality and introduce additional noise or signal loss. Stick to using connectors that provide a secure and snug fit to ensure a solid connection.
Lastly, double-check the cable connections at both ends to ensure they’re properly seated and securely tightened. Loose connections can result in sporadic volume fluctuations or intermittent signal loss, compromising the overall sound quality.
By ensuring proper cable connections, you can minimize signal loss, maintain signal integrity, and maximize the volume and sound quality delivered by your audio interface. Pay attention to the cable types, their quality, length, shielding properties, and connectors to ensure a reliable and optimal connection for your audio sources.
Adjusting Output Levels
When using an audio interface, adjusting the output levels is crucial to ensure the desired volume and audio quality in your recordings or live performances. The output levels determine the volume at which the audio signal is sent to your speakers, headphones, or other playback devices.
To begin, locate the output controls on your audio interface. These controls may be in the form of knobs, sliders, or buttons that allow you to adjust the output level for each individual output channel. Some audio interfaces also provide a master output control that adjusts the overall volume of all output channels simultaneously.
When adjusting the output levels, it’s important to consider the specific playback device you’re using. For instance, if you’re using active studio monitors or powered speakers, you may need to adjust both the output levels on the audio interface and the volume controls on your speakers to achieve the desired listening volume.
Start by setting the output levels at a neutral or nominal position and then gradually increase or decrease the level while listening to the playback. Be sure to monitor the output meters on your audio interface or the virtual meters in your DAW to avoid overloading or clipping the audio signal.
When adjusting the output levels, keep in mind that there are recommended industry standards for audio levels. For example, the nominal operating level for professional audio equipment is typically around -20 dBFS (decibels Full Scale). Adhering to these standards can ensure compatibility and consistency when working with other audio devices or when sharing your recordings with others.
It’s also important to consider the dynamic range of your audio. The dynamic range refers to the difference between the quietest and loudest parts of the audio signal. Adjusting the output levels effectively allows for an optimal balance between the signal’s dynamics, maintaining clarity and avoiding distortion.
Furthermore, take into account the listening environment and the target audience for your audio. If you’re working in a quiet studio environment or recording for personal use, you may not require high output levels. However, if you’re performing live or creating content for a larger audience, you may need to increase the output levels to ensure the sound is clearly heard.
Lastly, while adjusting the output levels, it’s important to continuously listen to the audio and make small incremental changes until you achieve the desired volume and clarity. Remember that the goal is to have a balanced audio output that is neither too soft nor too loud.
By carefully adjusting the output levels on your audio interface and considering the playback device, dynamic range, listening environment, and target audience, you can ensure optimal volume and audio quality in your recordings or live performances. Take the time to fine-tune the output levels to achieve the best possible sound for your specific needs.
Troubleshooting Common Issues
While using an audio interface to make your audio louder, you may encounter common issues that can affect the volume and overall sound quality. By troubleshooting these issues, you can identify and resolve them, ensuring optimal performance and a satisfying audio experience.
One common issue is distorted or clipped audio. This occurs when the audio signal exceeds the maximum level that the audio interface can handle. To solve this problem, check and adjust the input levels on your audio interface, ensuring they are set within a safe range. Lowering the input gain and moving the microphone or instrument further away from the sound source can also help prevent clipping.
Another issue is unwanted noise or hum in the audio. This can be caused by various factors, including poor cable connections, ground loops, or electromagnetic interference. Check and ensure that all cable connections are tight and properly seated. Using high-quality shielded cables can help reduce interference. If you’re experiencing ground loops, try using ground loop isolators or connecting all equipment to the same power outlet.
Latency is another common issue that can occur when using an audio interface. Latency refers to the delay between when you make a sound and when you hear it through your monitoring system. To minimize latency, consider adjusting the buffer size in your audio interface settings. A smaller buffer size reduces latency but may increase the strain on your computer’s processing power. Finding the right balance between lower latency and smooth performance is key.
Occasionally, specific software or driver issues may arise. Ensure that you have the latest drivers and firmware updates for your audio interface installed. Incompatibility between the software, the operating system, and the audio interface can cause performance issues. Contact the manufacturer or consult the user manual for troubleshooting steps specific to your audio interface.
Furthermore, if you’re experiencing uneven volume levels across different audio sources or channels, check the input gain settings for each source. Adjust the input levels on your audio interface to ensure a balanced input signal. Additionally, inspect the connections and cables associated with the affected channels to ensure they are properly connected and functioning.
If you’re encountering persistent issues or are unsure how to resolve them, consider seeking assistance from audio professionals or the manufacturer’s technical support. They can provide personalized guidance and help troubleshoot specific issues related to your audio interface.
Remember to regularly clean and maintain your audio interface, as dust and debris can affect its performance. Keep cables organized and free from damage to prevent signal loss or interference. Regularly update your software and drivers to ensure compatibility and take advantage of any bug fixes or performance improvements.
By troubleshooting common issues and taking proactive steps to prevent them, you can ensure optimal performance and a hassle-free experience with your audio interface. With a little patience and attention to detail, you’ll be able to resolve any issues and enjoy the full potential of your audio interface for making your audio louder and more impressive.
Conclusion
Your audio interface plays a crucial role in capturing and delivering high-quality sound for your recordings or live performances. By implementing the techniques and strategies discussed in this article, you can make your audio interface louder and enhance the overall audio quality.
Understanding the basics of audio interfaces, choosing the right device for your needs, and adjusting the input levels are fundamental steps in optimizing the volume and clarity of your sound. Additionally, utilizing external preamps can provide an extra boost in gain and enhance the overall audio performance.
Within your digital audio workstation (DAW), taking advantage of the gain controls allows you to fine-tune the input and output levels, achieving the desired volume and dynamic range for your recordings. Proper microphone placement and ensuring proper cable connections are equally important in capturing a strong and balanced audio signal.
Lastly, troubleshooting common issues that may arise, such as distorted audio or excessive noise, ensures optimal performance and resolves any obstacles that may hinder your audio experience.
Remember, achieving the optimal volume and audio quality using your audio interface requires attention to detail, experimentation, and a deep understanding of the equipment and techniques at your disposal.
With the knowledge and strategies provided in this article, you have the tools to make your audio interface louder and maximize its potential. Take the time to explore and experiment with the techniques discussed, adjusting and refining as needed to achieve the desired results.
By harnessing the power of your audio interface and incorporating these techniques into your workflow, you can unleash your creativity and produce impressive recordings with a powerful and immersive sound.
So, go ahead and dive into your music, podcasts, or audio projects with confidence, knowing that you have the knowledge and skills to make your audio interface louder and elevate your sound to new heights.

