Home>Production & Technology>Audio Interface>How To Make Axe Fx Iii Not My Audio Interface

Audio Interface
How To Make Axe Fx Iii Not My Audio Interface
Published: February 5, 2024
Learn how to use Axe Fx III as your audio interface to enhance your recording experience. Discover tips and tricks to optimize your setup and get the best audio quality.
(Many of the links in this article redirect to a specific reviewed product. Your purchase of these products through affiliate links helps to generate commission for AudioLover.com, at no extra cost. Learn more)
Table of Contents
Introduction
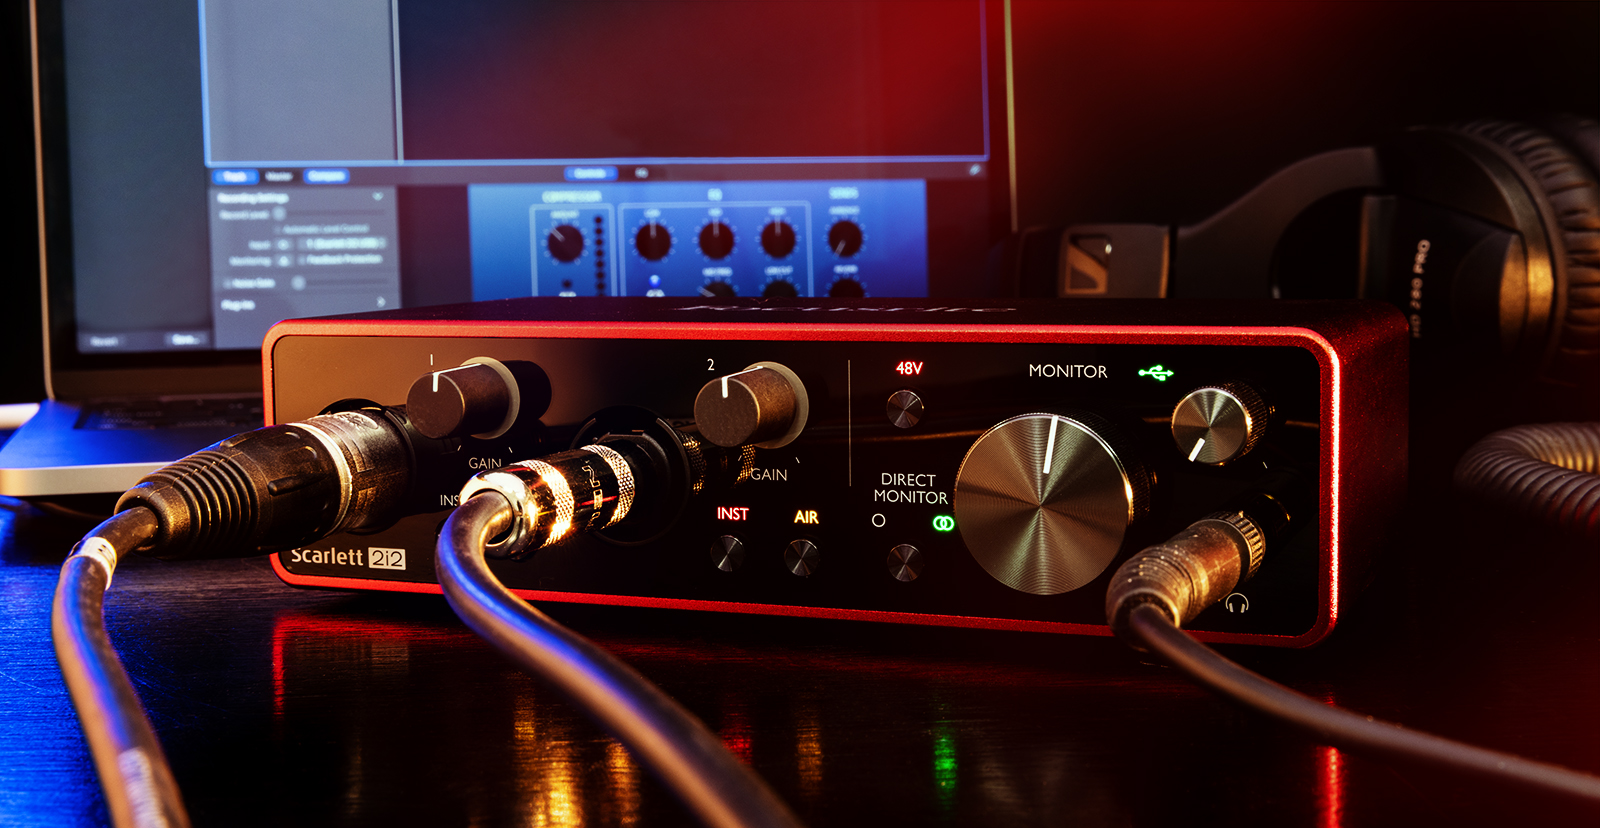
Are you tired of using your outdated audio interface and looking for an upgrade? Look no further than the Axe FX III. As a music enthusiast or professional producer, having a reliable and high-quality audio interface is crucial for recording, mixing, and mastering your tracks.
The Axe FX III is not just your average audio interface. It is a state-of-the-art digital signal processor that emulates the sound of real amplifiers, cabinets, and effects. Developed by Fractal Audio Systems, this powerful device offers a wide range of features and unparalleled sound quality that will take your music production to the next level.
In this article, we will guide you through the steps to make the Axe FX III your new audio interface. Whether you are a guitarist, bassist, or keyboardist, the Axe FX III has all the necessary inputs and outputs to cater to your needs.
By following this comprehensive guide, you will learn how to prepare your Axe FX III, configure your computer, connect the audio interface, adjust the audio settings, and troubleshoot any potential issues that may arise. So, let’s dive in and unleash the full potential of the Axe FX III as your new audio interface.
Step 1: Preparing your Axe FX III
Before diving into the world of the Axe FX III as your audio interface, there are a few important steps to ensure everything is set up correctly. Follow these steps to prepare your Axe FX III:
- Update the firmware: It is crucial to have the latest firmware installed on your Axe FX III to ensure optimal performance and compatibility. Head over to the Fractal Audio Systems website and download the latest firmware version for your device. Follow the instructions provided by Fractal Audio Systems to update the firmware.
- Set up presets: Presets are a vital part of the Axe FX III experience. Take some time to create and organize your presets according to your workflow and musical style. Experiment with different amp models, effects, and cabinets to find the perfect tone for your recordings.
- Configure inputs and outputs: The Axe FX III offers a wide range of inputs and outputs, allowing you to connect various instruments and audio devices. Take a moment to configure the inputs and outputs according to your setup. Whether you are using microphones, guitars, keyboards, or other instruments, ensure that the appropriate input and output settings are selected.
- Adjust sample rate and buffer size: The sample rate and buffer size settings can affect the overall latency and performance of your audio interface. Set the sample rate to the desired value (typically 44.1kHz or 48kHz for most music production applications) and adjust the buffer size accordingly. Smaller buffer sizes result in lower latency but may require more processing power from your computer.
- Backup your settings: Once you have configured your Axe FX III to your liking, it is essential to create a backup of your settings. This backup ensures that you can easily restore your presets, system settings, and other configurations in case of any issues or when switching devices.
By following these steps, you will ensure that your Axe FX III is prepared and ready to be used as your primary audio interface. Now that your device is set up correctly, it’s time to move on to the next step of configuring your computer.
Step 2: Configuring your computer
Configuring your computer to work seamlessly with the Axe FX III is essential for optimal performance and stability. Follow these steps to properly configure your computer:
- Check system requirements: Before diving into the configuration process, make sure your computer meets the minimum system requirements specified by Fractal Audio Systems. This includes having a compatible operating system, sufficient RAM, and processor power to handle the demands of the Axe FX III.
- Install drivers: To ensure smooth communication between your computer and the Axe FX III, it is necessary to install the appropriate drivers. Fractal Audio Systems provides dedicated drivers for Windows and macOS platforms. Download the drivers from their official website and follow the installation instructions provided.
- Configure audio settings: Access the audio settings on your computer and select the Axe FX III as the default audio interface. Adjust the sample rate, bit depth, and buffer size to match the settings you configured on the Axe FX III. This ensures that your computer and the audio interface are in sync and operating at the same parameters.
- Disable unnecessary audio devices: To avoid any conflicts or interference, it is advisable to disable any other audio devices connected to your computer. This includes built-in sound cards, USB audio interfaces, or any other devices that might cause conflicts with the Axe FX III.
- Test the audio interface: Once you have configured the computer settings, it is essential to test the audio interface to ensure proper functionality. Play audio from your preferred DAW or music player and verify that the sound is being routed through the Axe FX III. Additionally, test the inputs by connecting microphones or instruments to confirm proper recording capabilities.
By following these steps, you will configure your computer to work seamlessly with the Axe FX III. This ensures a smooth and reliable audio production workflow, allowing you to focus on creating music without any technical hiccups. Now that your computer is configured, it’s time to move on to the next step of connecting the Axe FX III to your computer.
Step 3: Connecting the Axe FX III to your computer
Now that you have prepared your Axe FX III and configured your computer, it’s time to connect the audio interface to your computer. Follow these steps to ensure a proper connection:
- Power off your computer and Axe FX III: Before making any connections, it’s always a good idea to power off both your computer and the Axe FX III. This helps to avoid any potential electrical mishaps during the connection process.
- Connect the USB cable: Use a USB cable to connect the USB port on the Axe FX III to a free USB port on your computer. Make sure to use a high-quality USB cable to ensure a stable and reliable connection.
- Power on the Axe FX III: Once the USB cable is securely connected, power on the Axe FX III. The device will start up and establish the connection with your computer.
- Install any necessary drivers: If prompted, install any additional drivers that may be required for the Axe FX III to function properly. These drivers will enhance the communication between the audio interface and your computer.
- Verify the connection: Once the drivers are installed and the connection is established, verify the connection by checking the device manager or system settings on your computer. The Axe FX III should be recognized as an audio interface.
By following these steps, you will successfully connect the Axe FX III to your computer, allowing for seamless audio transfer and control. Now that you have established the connection, it’s time to move on to the next step—adjusting the audio settings on your computer.
Step 4: Adjusting audio settings on your computer
Once you have connected the Axe FX III to your computer, it’s important to adjust the audio settings to ensure optimal performance. Follow these steps to adjust the audio settings on your computer:
- Select the Axe FX III as the default audio device: Access the audio settings on your computer and set the Axe FX III as the default audio device for both input and output. This ensures that all audio is routed through the audio interface.
- Configure the sample rate and buffer size: Set the sample rate and buffer size on your computer to match the settings you configured on the Axe FX III. This will ensure that your computer and the audio interface are operating at the same parameters, minimizing latency and potential audio issues.
- Adjust volume levels: Use the volume controls on your computer and the Axe FX III to adjust the input and output levels. Make sure that the levels are set appropriately to prevent clipping or distortion.
- Test audio playback and recording: Once the audio settings are configured, test audio playback and recording to ensure everything is functioning as expected. Play audio through your preferred software or media player and verify that it is coming through the Axe FX III. Additionally, record some audio to check the input levels and quality.
- Calibrate your monitors or headphones: If you are using studio monitors or headphones for audio monitoring, it is essential to calibrate them to ensure accurate sound reproduction. Use a calibration tool or software to adjust the frequency response and ensure a neutral listening environment.
By following these steps to adjust the audio settings on your computer, you will optimize the performance and sound quality of the Axe FX III as your audio interface. Now that the audio settings are adjusted, it’s time to move on to the final step—troubleshooting common issues that may arise during the setup process.
Step 5: Troubleshooting common issues
While setting up your Axe FX III as an audio interface, you may encounter some common issues. Here are a few troubleshooting tips to help you overcome these challenges:
- No sound: If you’re not getting any sound from your Axe FX III, double-check the audio settings on your computer and make sure the Axe FX III is selected as the default audio device. Also, ensure that the volume levels on both the Axe FX III and your computer are properly adjusted.
- Latency issues: If you’re experiencing latency (delay) between playing an instrument and hearing the sound through your computer, try reducing the buffer size in your computer’s audio settings. Lowering the buffer size can help minimize latency, but keep in mind that it may increase the strain on your computer’s processor.
- Driver issues: If you encounter driver-related issues, such as the Axe FX III not being recognized by your computer, make sure you have the latest drivers installed. Visit the manufacturer’s website and download the most up-to-date driver version for your operating system.
- Crackling or distorted sound: If you’re experiencing crackling or distorted sound, check the cables connecting the Axe FX III to your computer and ensure they are securely plugged in. Additionally, make sure all your software applications and plugins are up to date, as outdated versions can sometimes cause audio issues.
- No input signal: If you’re not getting any input signal from your instrument or microphone, check the input settings on your computer and ensure that the appropriate input source is selected. Also, inspect the cables and connections to ensure they are properly plugged in.
If you’ve tried the above troubleshooting steps and are still experiencing issues, it may be helpful to consult the user manual or reach out to the customer support of Fractal Audio Systems for further assistance. They can provide specific troubleshooting advice based on your setup and any unique challenges you may be facing.
With these troubleshooting tips in mind, you should now be able to resolve common issues that may arise during the setup process of the Axe FX III as your audio interface. Now you can enjoy the seamless integration and top-notch sound quality of your new audio interface!
Conclusion
Congratulations! You have successfully made the Axe FX III your new audio interface. By following the steps outlined in this guide, you have prepared your Axe FX III, configured your computer, connected the audio interface, adjusted the audio settings, and troubleshooted any common issues that may have arisen.
The Axe FX III is not only a powerful audio interface but also a versatile digital signal processor that can enhance your music production workflow. With its wide range of amps, cabinets, and effects, you have access to a plethora of sonic possibilities.
Remember to always keep your firmware up to date, create backups of your settings, and regularly check for driver updates to ensure optimal performance and compatibility.
Now that you have the Axe FX III as your audio interface, unleash your creativity and let your musical ideas come to life with pristine sound quality. Whether you’re recording guitars, bass, keyboards, or any other instruments, the Axe FX III has you covered.
Take advantage of its versatile routing capabilities, customizable presets, and intuitive user interface to elevate your music production to new heights. Experiment, explore, and create unique and compelling sounds that resonate with your audience.
As you continue your musical journey with the Axe FX III as your audio interface, don’t forget to keep refining your skills, exploring new techniques, and pushing the boundaries of your creativity. With the power and versatility of the Axe FX III at your fingertips, the possibilities are endless.
So, go ahead and unleash your creativity with the Axe FX III as your new audio interface. Embrace the boundless sonic possibilities and create music that truly captivates your audience. Happy recording and producing!