Home>Production & Technology>Audio Interface>How To Make A Loopback Cable Audio Interface
Audio Interface
How To Make A Loopback Cable Audio Interface
Published: February 5, 2024
Learn how to make a loopback cable audio interface, ensuring high-quality sound transmission. Enhance your audio recording experience with this simple DIY project.
(Many of the links in this article redirect to a specific reviewed product. Your purchase of these products through affiliate links helps to generate commission for AudioLover.com, at no extra cost. Learn more)
Table of Contents
Introduction
As technology continues to advance, the demand for professional audio recording and production has grown exponentially. Whether you are a musician, podcaster, or content creator, having a high-quality audio interface is crucial for achieving professional sound quality. One device that has gained popularity in recent years is the loopback cable audio interface.
A loopback cable audio interface is a versatile tool that allows you to route audio from one device to another seamlessly. It essentially creates a loop that connects the output of one audio device to the input of another, enabling you to capture and record audio directly from your computer or other devices.
In this article, we will explore the concept of loopback cable audio interfaces and guide you through the process of creating your own. By the end, you will have a better understanding of how to incorporate this setup into your audio recording and production workflow.
Before we delve into the technical aspects, let’s take a look at why you might want to use a loopback cable audio interface in the first place.
What Is a Loopback Cable Audio Interface?
A loopback cable audio interface, also known as a loopback adapter, is a device or cable that allows you to route audio signals between different devices. It enables you to capture audio from one source and deliver it as an input to another device, such as a computer or audio mixer.
The primary purpose of a loopback cable audio interface is to create a closed loop system, where the output of an audio device is fed back into the input of another device. This loop allows for various applications, such as recording audio from a computer’s sound card or connecting multiple audio devices to enhance your recording setup.
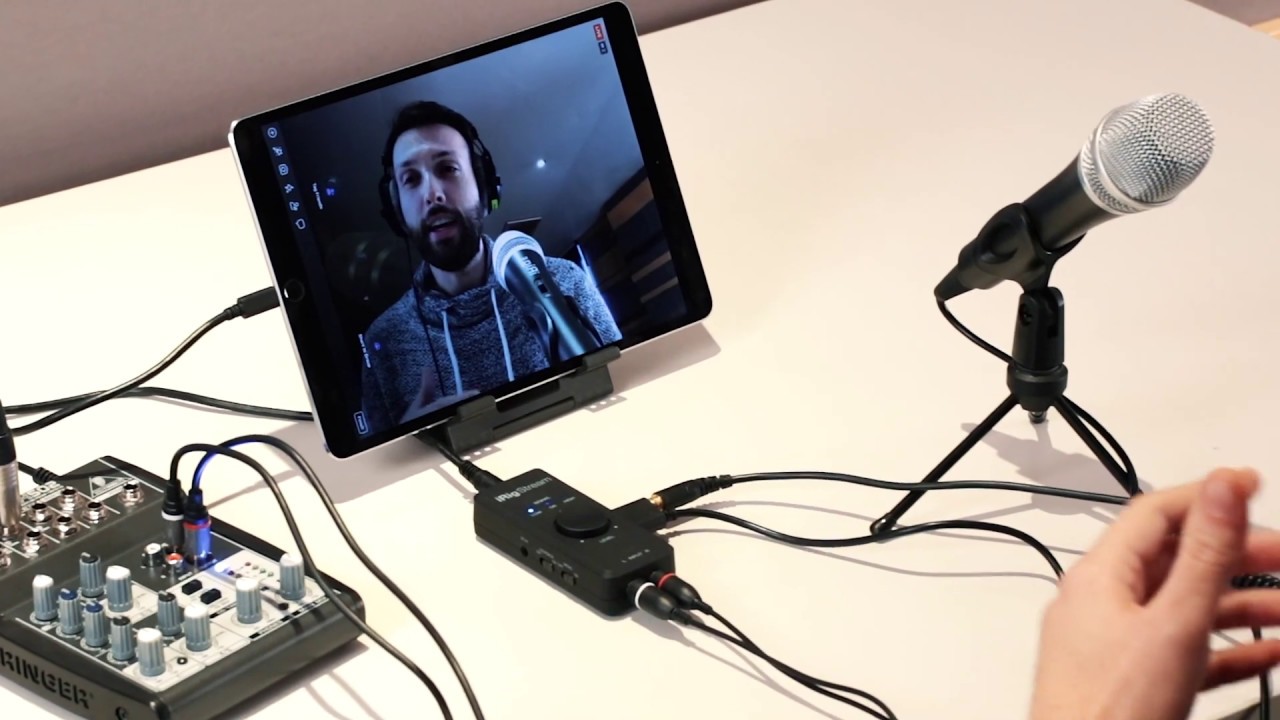
Loopback cable audio interfaces can be used in a variety of settings. Musicians can use them to record audio from their instruments or vocals directly into their computer for recording and production purposes. Podcasters can utilize loopback cables to route audio from multiple sources, such as microphones, sound effects, and music, into their recording software. Content creators can benefit from loopback setups for live streaming, allowing them to capture high-quality audio from multiple sources simultaneously.
Loopback cable audio interfaces can be physical devices or simply a combination of cables connected in a specific configuration. Physical loopback devices often come with additional features, like volume control and multiple input/output options, making them more versatile and convenient to use.
Overall, the main function of a loopback cable audio interface is to enable seamless audio routing between different devices, providing you with flexibility and control over your audio recording and production setup.
Why Use a Loopback Cable Audio Interface?
There are several reasons why you might want to consider using a loopback cable audio interface in your audio setup. Let’s explore some of the key benefits:
- Flexibility in audio routing: A loopback cable audio interface allows you to route audio signals between different devices, giving you the flexibility to connect and capture audio from multiple sources. Whether you want to record audio from your computer, external sound card, or mixer, a loopback setup provides you with the freedom to choose and customize your audio sources.
- Seamless integration with your recording software: By incorporating a loopback cable audio interface into your setup, you can seamlessly integrate audio from various sources into your recording software. This means you can record multiple tracks simultaneously, mix audio from different devices, and achieve a more professional sound quality in your recordings.
- Enhanced audio quality: With a loopback cable audio interface, you can bypass the limitations of your computer’s sound card, which may not provide the optimal audio quality for recording purposes. By connecting a dedicated audio interface via a loopback setup, you can capture audio with improved clarity, depth, and fidelity, resulting in higher-quality recordings.
- Live streaming and content creation: If you are a content creator or live streamer, a loopback cable audio interface can be incredibly useful. It allows you to capture audio from multiple sources, such as microphones, virtual instruments, and media players, and stream them in real-time to your audience. This enables you to deliver a more engaging and professional audio experience in your live streams or recorded content.
- Versatility and expandability: With a loopback cable audio interface, you have the flexibility to connect and route audio signals from a wide range of devices and instruments. This versatility opens up opportunities for experimenting with different audio setups, incorporating external effects processors, and expanding your recording capabilities.
In summary, a loopback cable audio interface provides you with the flexibility, convenience, and improved audio quality necessary to elevate your audio recording and production workflow. Whether you are a musician, podcaster, or content creator, incorporating a loopback setup into your setup can greatly enhance your overall audio experience.
Materials Needed
To create your own loopback cable audio interface, you will need a few essential materials. Here’s a list of what you’ll need to get started:
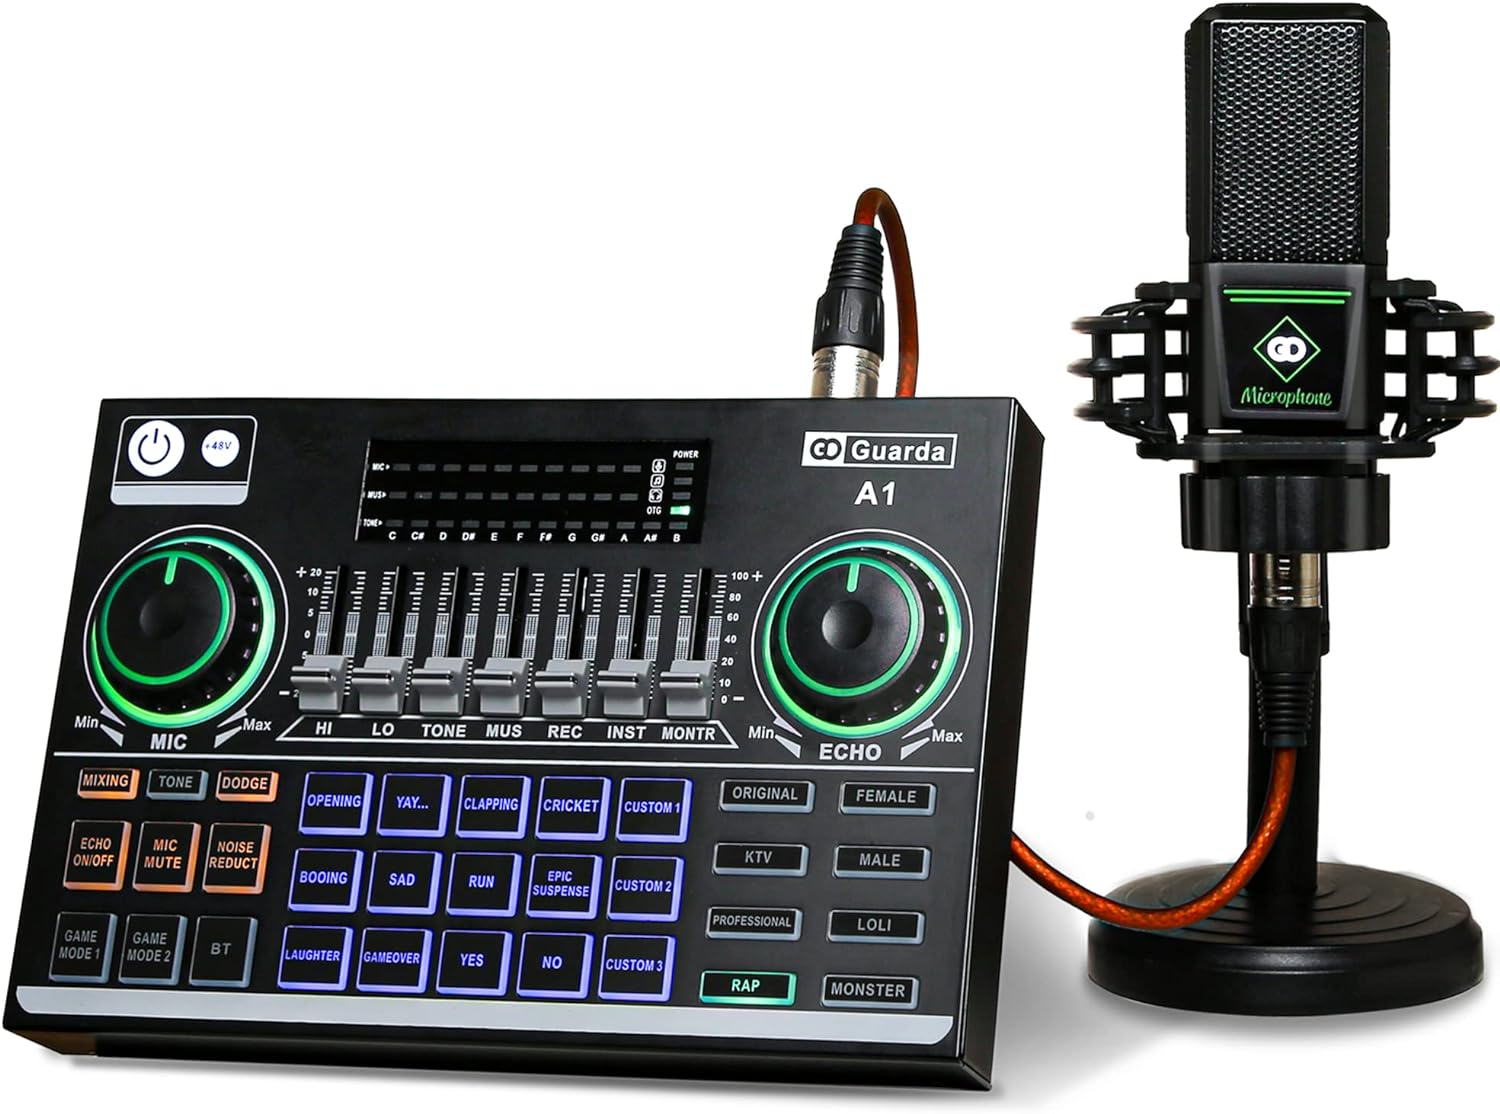
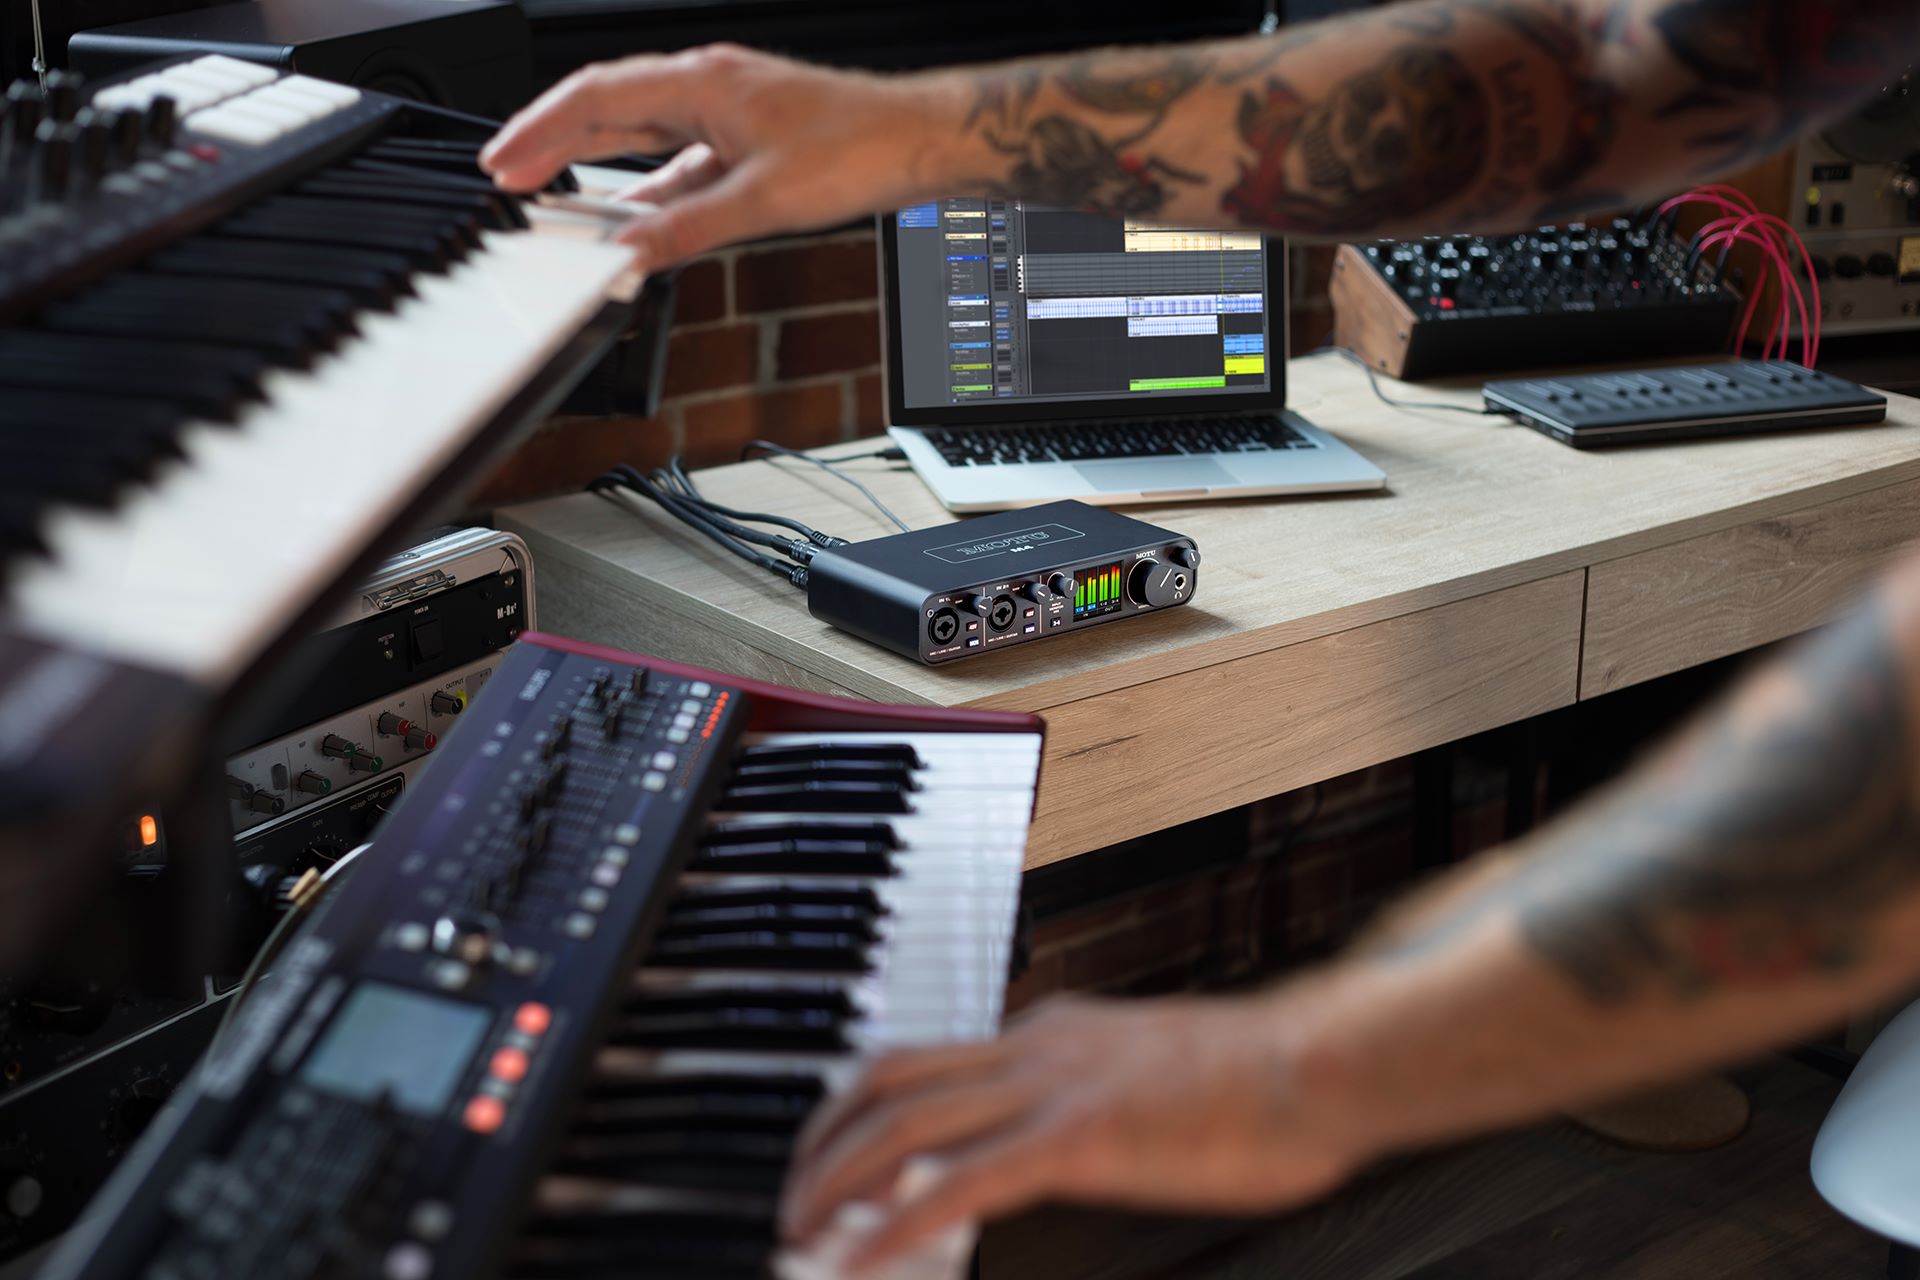
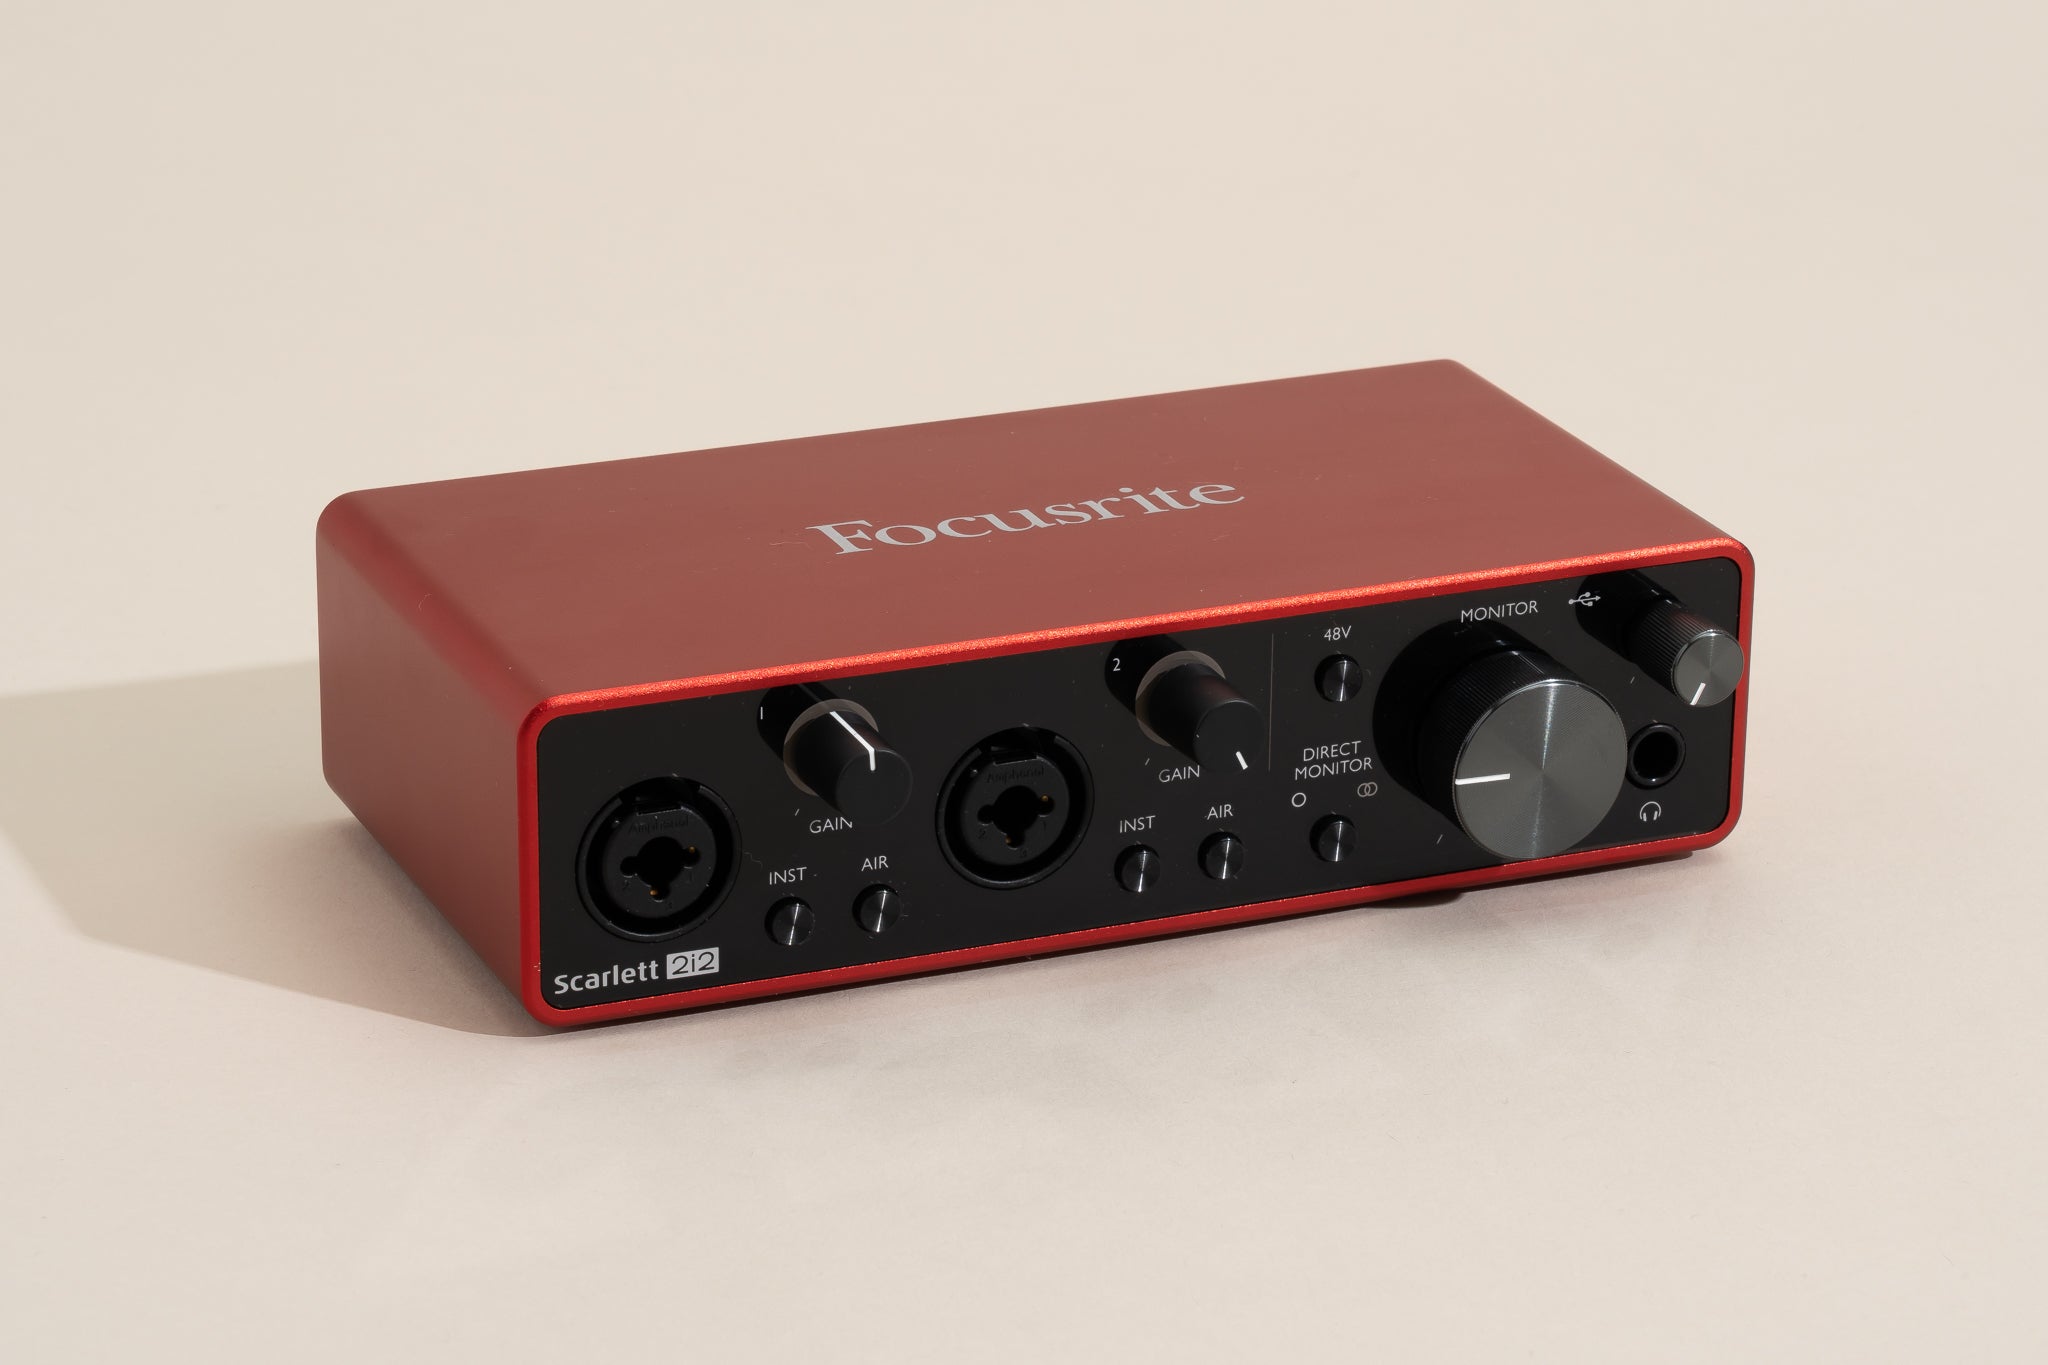
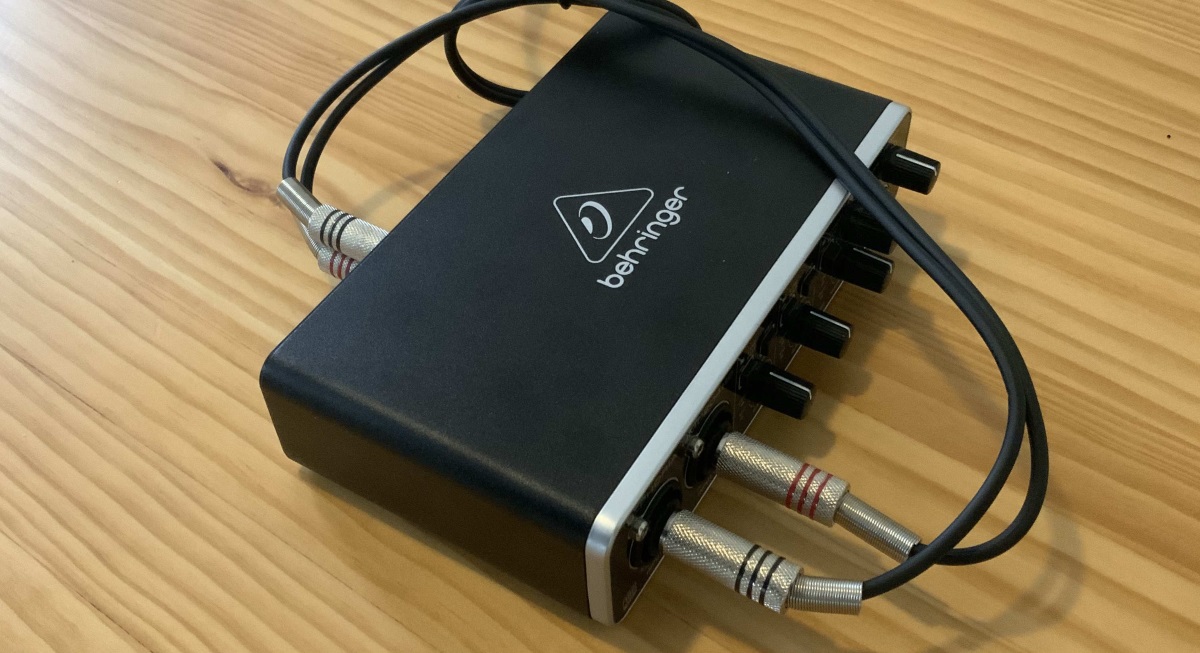
- Audio Interface: You will need an audio interface with at least one input and one output. This can be a dedicated audio interface device or an external sound card that connects to your computer via USB or Thunderbolt.
- Audio Cables: You will need appropriate audio cables to connect your devices. The type of cables you need will depend on the inputs and outputs available on your audio interface and other devices. Common cable types include XLR, TRS, and RCA cables.
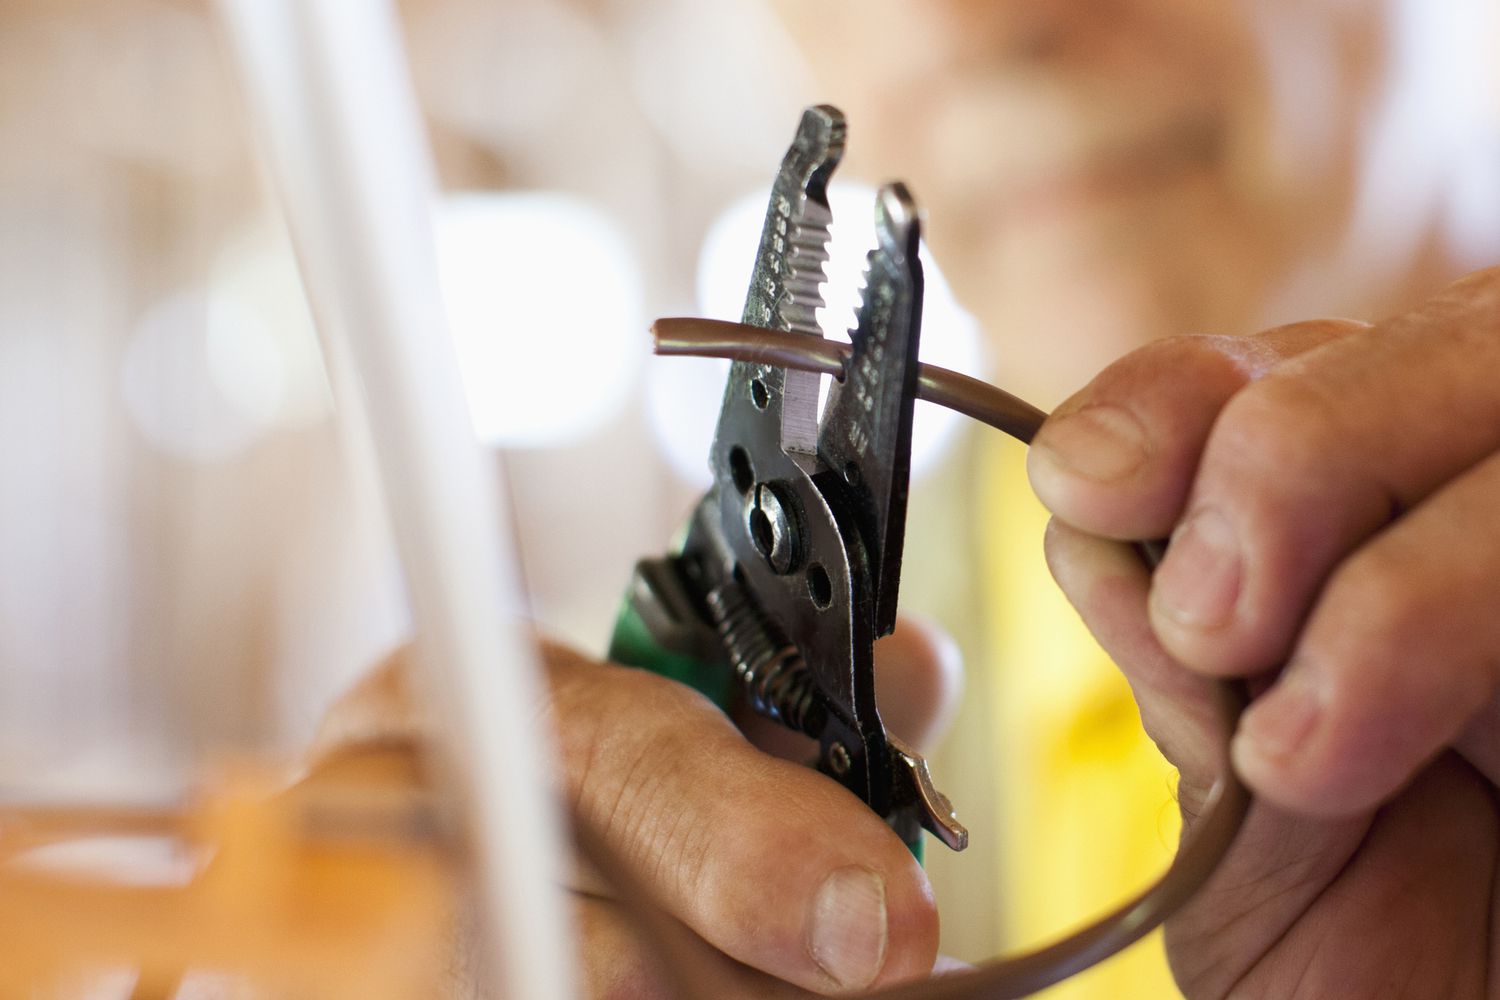
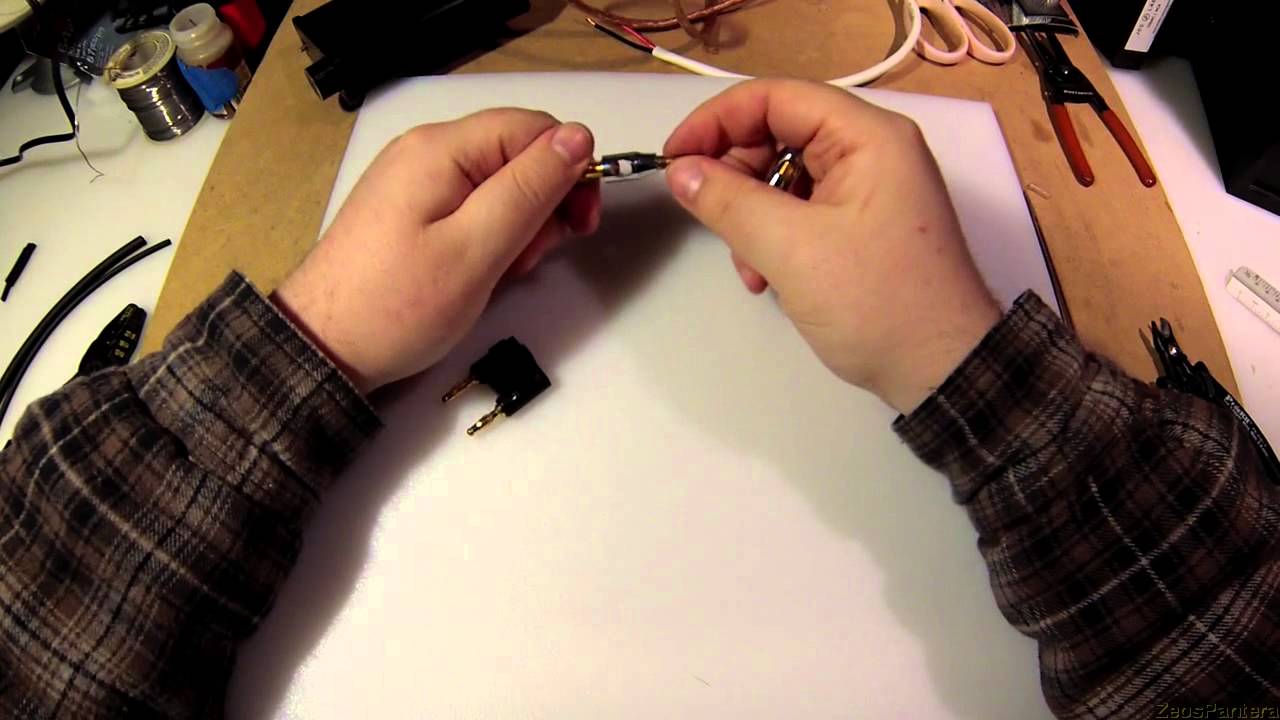
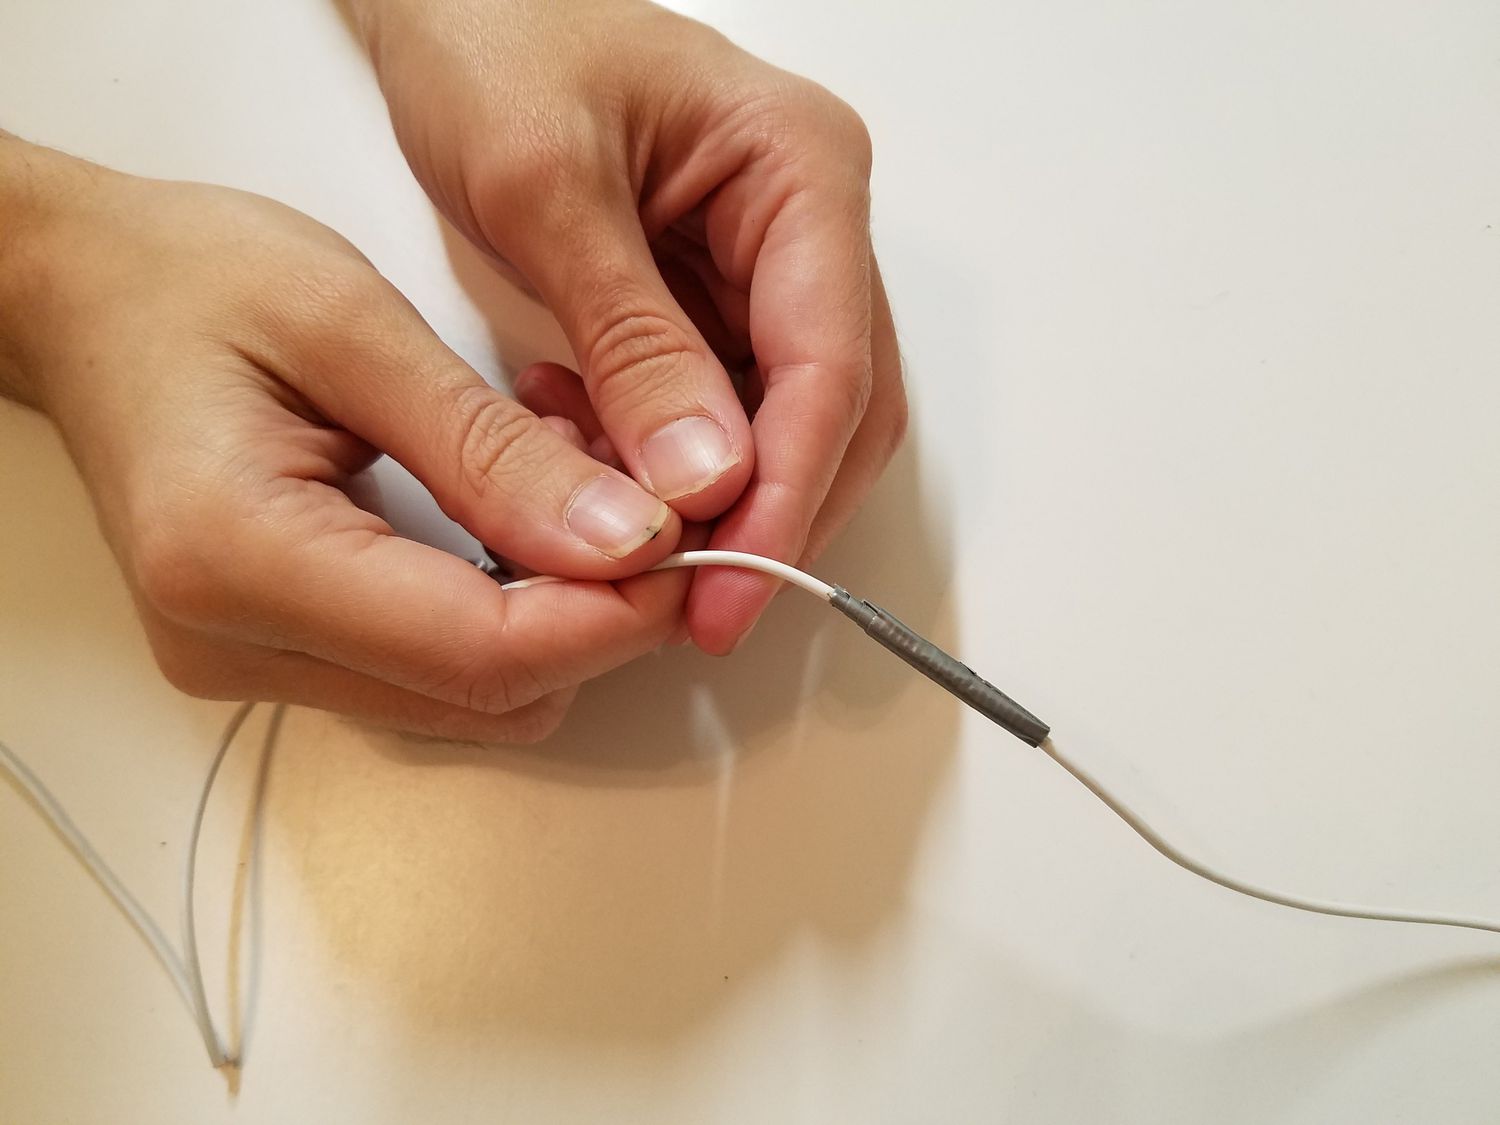
- Loopback Cable or Adapters: Depending on your audio interface’s capabilities, you may need a loopback cable or adapters to create the loop between the output and input. A loopback cable is designed to route the audio signal from the output back into the input. You can purchase a pre-made loopback cable or create your own using appropriate connectors and cables.
- Computer or Recording Equipment: You will need a computer or recording equipment to connect your audio interface and capture the audio signals. Ensure that your computer or recording equipment meets the necessary requirements for audio recording and production.
- Headphones or Studio Monitors: It’s important to have a pair of headphones or studio monitors to monitor the audio being recorded or played back. This will allow you to ensure the quality of the audio and make any necessary adjustments during the recording or mixing process.
- Optional Accessories: Depending on your specific setup and requirements, you may also need additional accessories such as microphone stands, pop filters, or shock mounts. These accessories can improve the overall recording quality and provide a more comfortable and convenient recording experience.
Make sure to gather all the necessary materials before starting the process of creating your loopback cable audio interface. Having everything you need on hand will help you complete the setup smoothly and efficiently.
Step-by-Step Guide to Making a Loopback Cable Audio Interface
Creating your own loopback cable audio interface is a relatively simple process. Follow these steps to set up your loopback configuration:
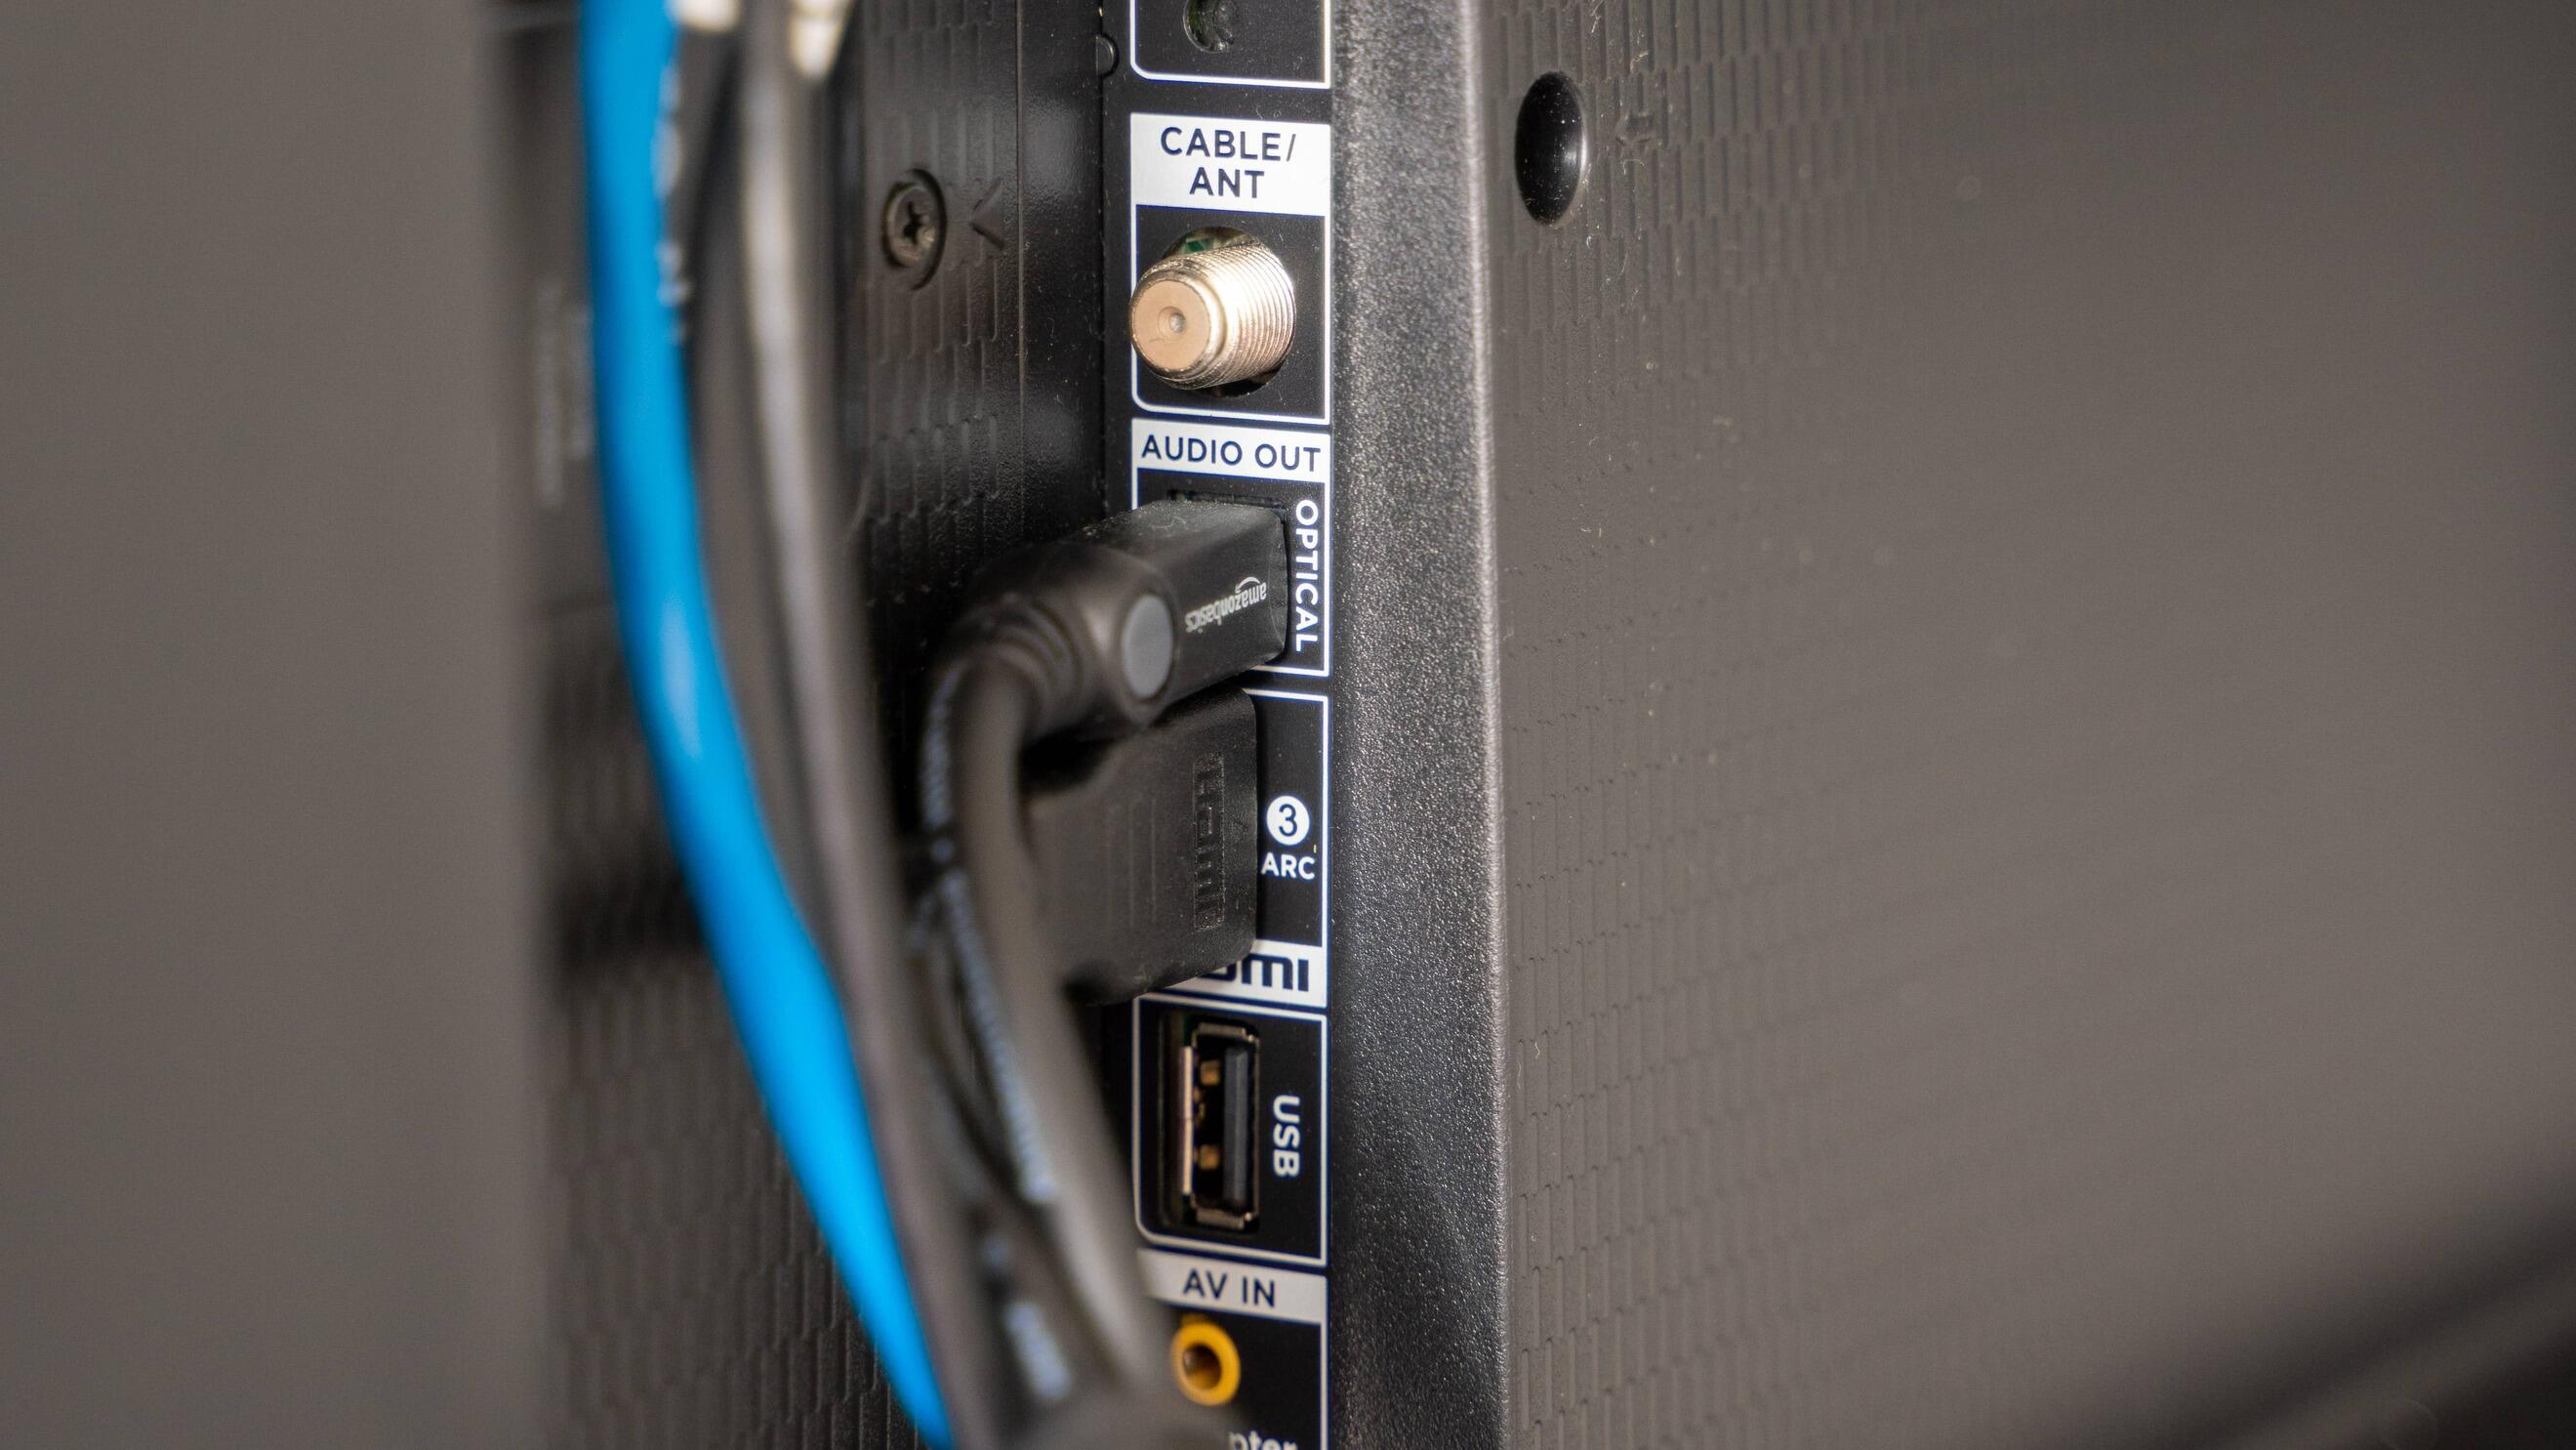
- Identify the Input and Output Ports: Determine the input and output ports on your audio interface. The input is where the audio will be routed from, while the output is where the audio will be sent back into the loop. Ensure you know which ports to connect the cables to.
- Connect the Cables: Take an audio cable and connect one end to the output port of your audio interface. Then, connect the other end of the cable to the input port of the same audio interface. This completes the loopback connection.
- Configure Your Audio Settings: Open your computer’s audio settings or audio software and ensure that the input and output devices are set to the appropriate ports of your audio interface. This will allow the audio to flow seamlessly through the loopback configuration.
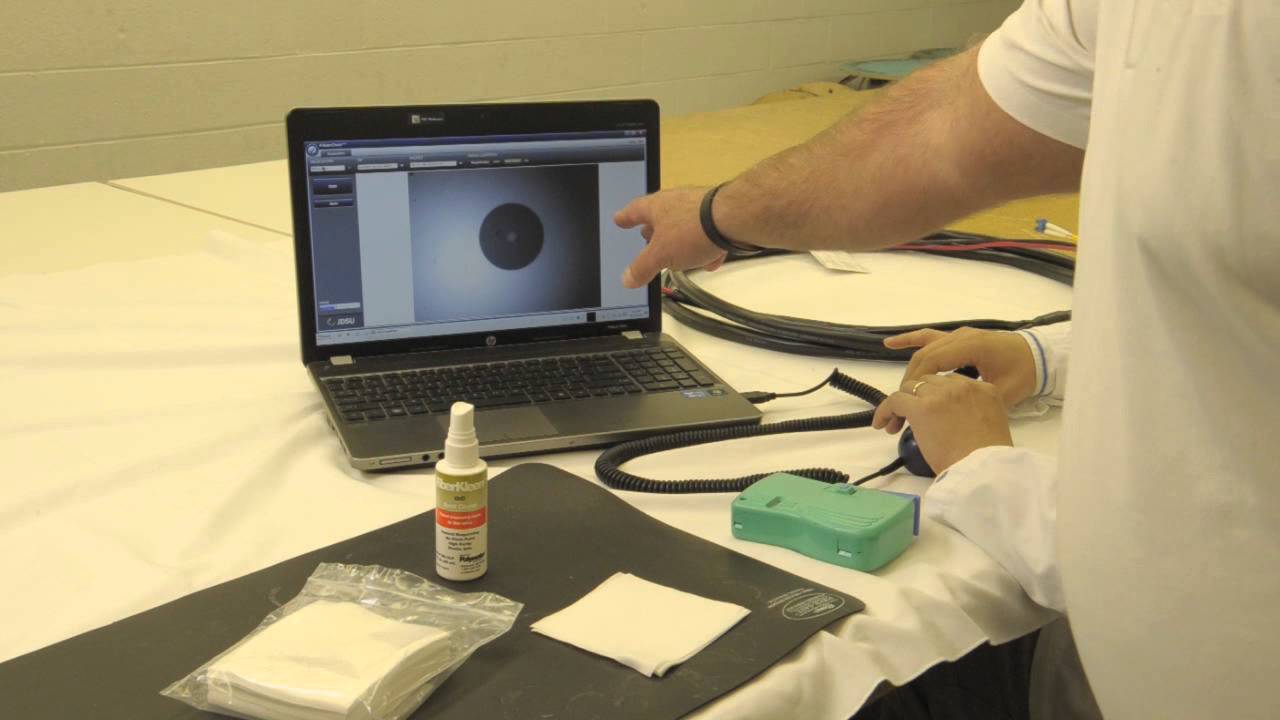
- Test the Configuration: Play audio from your computer or another device connected to the audio interface’s input. Check if the audio is being captured and routed back through the loop to the audio interface’s output. Adjust the volume levels and settings as necessary to achieve the desired audio quality.
- Record or Stream: Once you have successfully set up and tested your loopback cable audio interface, you can start recording or streaming audio. Use your preferred recording software or streaming platform to capture the audio from the loop and proceed with your desired audio production or broadcasting.
Remember to follow the manufacturer’s instructions for your specific audio interface and devices. The steps provided here serve as a general guide, and the process may vary slightly depending on the equipment you are using.
By following this step-by-step guide, you can create your own loopback cable audio interface and unlock the versatility and convenience of routing audio signals between different devices for your recording and production needs.
Testing and Troubleshooting
After setting up your loopback cable audio interface, it’s essential to test and troubleshoot to ensure everything is working correctly. Here are some tips for testing and resolving potential issues:
- Check Audio Levels: Verify that the audio levels are set appropriately on your audio interface and recording software. Adjust the input and output levels to ensure a balanced and optimal signal flow.
- Test Audio Playback: Play audio from your computer or connected devices to verify that the audio is being captured and routed back through the loop. Check if you can hear the audio through your headphones or studio monitors connected to the audio interface.
- Monitor Audio Quality: Listen carefully to the captured audio to ensure there are no unwanted noises, distortions, or latency issues. If you notice any issues, try adjusting the cables, connectors, or settings to improve the audio quality.
- Software Compatibility: Ensure that your recording software, streaming platform, and operating system are compatible with your audio interface and loopback configuration. Update the necessary drivers and firmware to ensure smooth integration and performance.
- Check Cable Connections: Double-check that all cables are firmly connected and plugged into the correct ports. Loose or incorrect cable connections can result in distorted or no audio signal.
- Troubleshoot Device Compatibility: If you encounter issues with specific devices not being recognized or audio signals not being routed properly, verify their compatibility with your audio interface and loopback setup. Some devices may require specific settings or configurations to work correctly.
- Consult User Manuals and Online Resources: If you’re facing persistent issues or need further assistance, consult the user manuals of your audio interface, recording software, and connected devices. Online forums and support communities can also provide valuable insights and troubleshooting tips.
Remember that troubleshooting is a normal part of setting up any audio configuration, and it may take some experimentation to find the optimal settings for your loopback cable audio interface. Patience and persistence are key in resolving any issues that may arise.
If you encounter persistent problems that you can’t solve on your own, consider reaching out to technical support or contacting a professional audio engineer for assistance. They can provide expert advice and help you troubleshoot complex issues.
Tips and Recommendations
Here are some useful tips and recommendations to optimize your loopback cable audio interface setup:
- Use High-Quality Cables: Invest in high-quality audio cables to ensure clean and reliable signal transmission. Low-quality cables can introduce noise and signal degradation, affecting the overall audio quality.
- Positioning and Cable Management: Arrange the cables neatly and minimize cable clutter to avoid interference and accidental disconnections. Proper cable management can improve the overall aesthetics and functionality of your setup.
- Update Drivers and Firmware: Regularly check for driver and firmware updates for your audio interface and connected devices. Keeping your software up-to-date can enhance compatibility, stability, and performance.
- Backup Your Settings: Once you have configured your loopback cable audio interface, consider saving the settings as a preset or backup. This allows you to easily restore your setup in case of any unexpected changes or system resets.
- Experiment with Different Setups: Don’t be afraid to experiment with different loopback configurations, such as connecting multiple devices or incorporating external effects processors. This allows you to explore different soundscapes and expand your creative possibilities.
- Test Before Recording or Streaming: Always perform a test recording or streaming session before any important event or project. This ensures that all audio inputs and outputs are functioning correctly and that the recorded or streamed audio is of the desired quality.
- Practice Proper Gain Staging: Pay attention to proper gain staging to achieve optimal recording levels and prevent audio clipping or distortion. Adjust the input and output levels on your audio interface and recording software accordingly.
- Learn from Online Resources: Take advantage of the abundant online tutorials, forums, and communities dedicated to audio recording and production. Engage with fellow enthusiasts and professionals to learn new techniques and solutions to common challenges.
- Backup Your Recordings: Regularly back up your recorded audio files to prevent data loss. Invest in external hard drives or cloud storage options to ensure the safety and accessibility of your audio recordings.
- Continuously Improve Your Skills: Practice and improve your audio recording and production skills. Experiment with different techniques, learn about signal processing, and stay up-to-date with the latest industry trends and advancements.
These tips and recommendations can help you optimize your loopback cable audio interface setup and enhance your audio recording and production experience. Remember to adapt these suggestions to your specific requirements and preferences, and don’t hesitate to explore and discover your unique creative workflow.
Conclusion
Creating your own loopback cable audio interface can greatly enhance your audio recording and production capabilities. With the ability to route audio signals between different devices, you gain flexibility, control, and improved audio quality in your recordings and live streams.
In this article, we discussed the concept of loopback cable audio interfaces and provided you with a step-by-step guide to creating your own. We explored the benefits of using a loopback setup, including increased flexibility in audio routing, seamless integration with recording software, enhanced audio quality, and the ability to live stream and create captivating content.
Remember to gather the necessary materials, such as an audio interface, audio cables, and a loopback cable or adapters. Follow the step-by-step guide to connect the cables, configure your audio settings, and test your setup for optimal performance. Troubleshoot any issues that may arise and consult online resources or professionals if needed.
To make the most out of your loopback cable audio interface, implement the provided tips and recommendations, such as using high-quality cables, experimenting with different setups, and continuously improving your skills. These practices will enhance the overall effectiveness and creativity of your recording and production workflow.
By embracing the power of the loopback cable audio interface, you can unlock new possibilities in your audio projects, whether you are a musician, podcaster, or content creator. Enjoy the flexibility, control, and high-quality audio that this setup offers, and let your creativity soar in the world of audio production.