Home>Production & Technology>Audio Interface>How To Use Audio Interface For Audio
Audio Interface
How To Use Audio Interface For Audio
Modified: March 7, 2024
Learn how to use an audio interface for high quality audio recordings. Discover the essential steps and tips to optimize your audio interface setup and gain professional sound.
(Many of the links in this article redirect to a specific reviewed product. Your purchase of these products through affiliate links helps to generate commission for AudioLover.com, at no extra cost. Learn more)
Table of Contents
Introduction
Welcome to the world of audio interfaces! Whether you’re a musician, podcaster, sound engineer, or just someone who enjoys high-quality audio, an audio interface is an essential tool for capturing and processing audio signals. In this article, we will explore the ins and outs of audio interfaces, including what they are, why they are important, and how to use them effectively.
An audio interface serves as the bridge between your computer or recording device and your audio equipment. It allows you to connect microphones, instruments, and other audio sources to your computer, providing you with a professional-grade recording and playback experience. Not only does it improve the sound quality, but it also enhances the overall control and flexibility of your audio setup.
With the advent of affordable recording software and home studios, audio interfaces have become increasingly popular among music enthusiasts and professionals alike. Whether you’re recording vocals, guitar, drums, or any other instrument, an audio interface will ensure that your recordings are clear, detailed, and free from unwanted noise or distortion.
Before we dive into the technical details, it’s important to understand that audio interfaces come in various shapes and sizes, offering different features and specifications. Whether you’re a beginner or an experienced audio engineer, choosing the right audio interface for your needs can have a significant impact on the quality of your recordings. To help you make an informed decision, we’ll discuss the different types of audio interfaces and what to consider when selecting one.
Once you have chosen an audio interface that suits your needs, we will guide you through the process of connecting the audio interface to your computer and setting it up correctly. We’ll cover the necessary cables and connections, as well as offer tips and tricks to ensure a smooth and hassle-free setup.
Furthermore, we’ll explore how to adjust the audio interface settings and optimize them for your specific recording scenario. This includes adjusting sample rates, buffer sizes, and selecting the appropriate inputs and outputs for your desired setup. These settings can greatly affect the performance and latency of your audio interface, so it’s important to understand how to fine-tune them.
Lastly, we will address some common troubleshooting issues that users might encounter when using an audio interface. From driver problems to compatibility issues, we’ll provide useful tips to overcome these challenges and ensure that your audio interface works seamlessly with your computer.
By the end of this article, you will have a comprehensive understanding of what an audio interface is, how to choose the right one, and how to effectively use it for all your audio needs. So let’s dive in and unlock the full potential of your sound recording and playback experience!
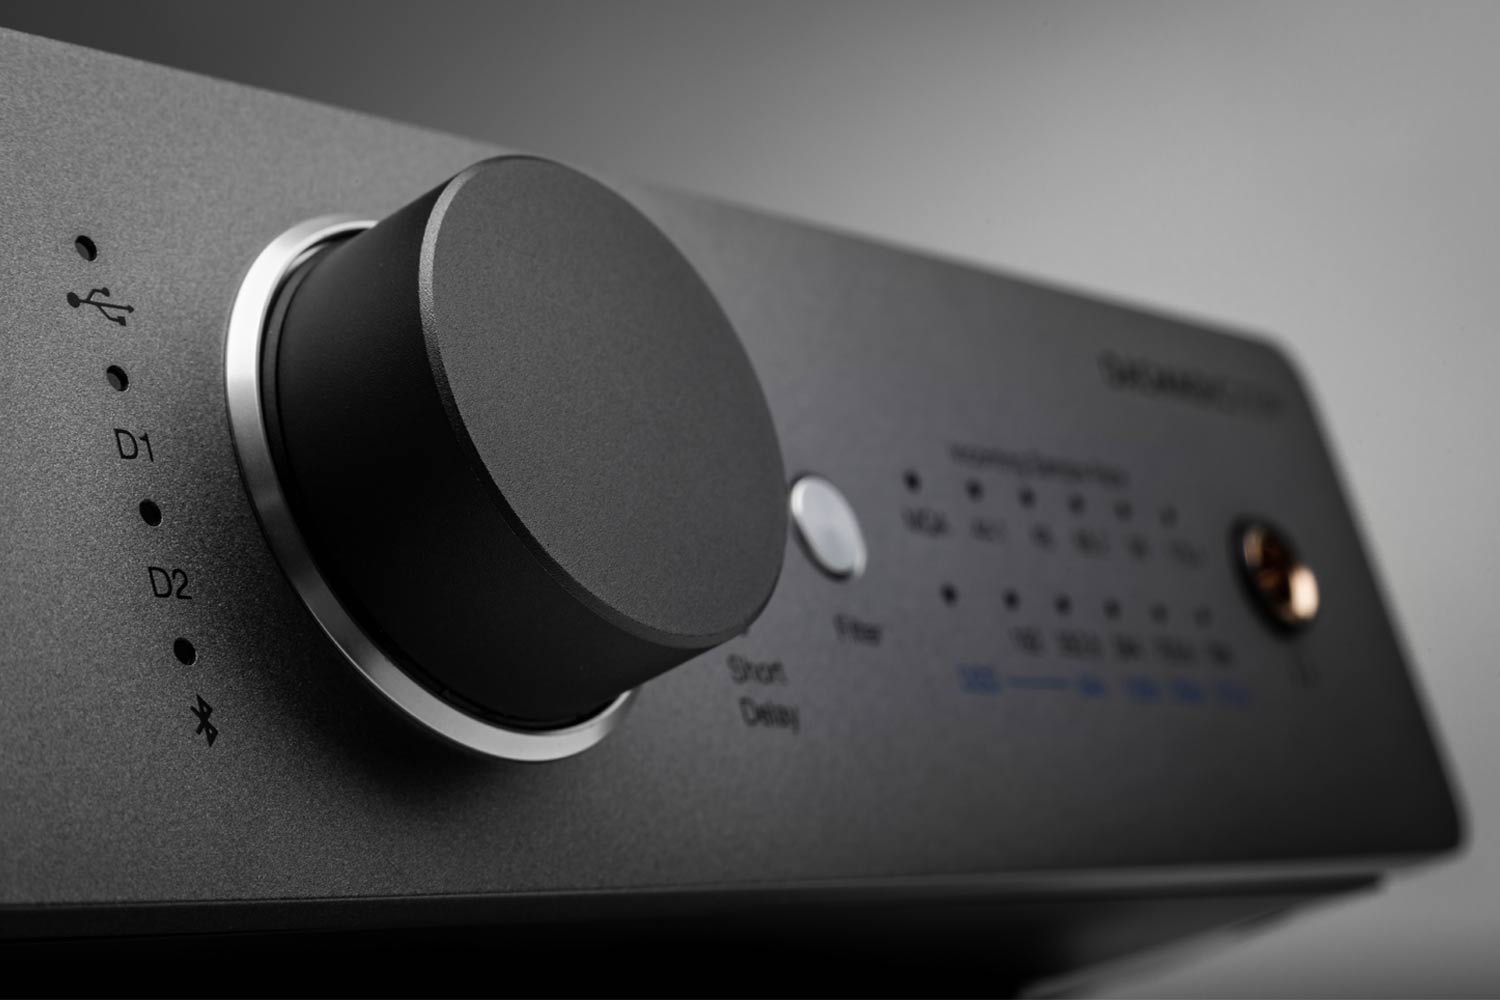
What is an Audio Interface?
An audio interface is a device that acts as a bridge between your computer or recording device and your audio equipment. It allows you to connect microphones, instruments, and other audio sources to your computer, providing you with a professional-grade recording and playback experience.
At its core, an audio interface is essentially an external sound card. It improves the sound quality of your recordings by converting analog audio signals into digital data that your computer can process. Conversely, it also converts digital audio signals from your computer back into analog signals that can be sent to your speakers or headphones for monitoring.
One of the main benefits of using an audio interface is that it bypasses the built-in sound card of your computer, which is often of lower quality. By using a dedicated audio interface, you can achieve higher resolution, lower latency, and better overall sound reproduction.
Audio interfaces come with a wide range of features and connectivity options. They typically offer multiple inputs and outputs, allowing you to record from different sources simultaneously or connect to multiple sets of speakers. They also often include preamps, which boost the weak microphone signals to a suitable level for recording.
In addition to the basic audio connections, many audio interfaces offer additional features such as MIDI inputs and outputs, headphone jacks with dedicated volume controls, and phantom power for condenser microphones. Some high-end interfaces even include advanced DSP (Digital Signal Processing) capabilities, allowing you to apply effects and processing to your audio in real-time.
It’s important to note that there are different types of audio interfaces to cater to different needs and budgets. USB audio interfaces are the most common and affordable option, offering plug-and-play convenience with USB connectivity. Thunderbolt interfaces, on the other hand, provide faster data transfer speeds and lower latency for professional recording and mixing applications.
Ultimately, an audio interface is a vital tool for anyone involved in audio production, whether you’re a musician, podcaster, sound engineer, or content creator. It allows you to capture and process high-quality audio, ensuring that your recordings sound professional and polished. So whether you’re starting a home studio or upgrading your existing setup, investing in a reliable audio interface will undoubtedly elevate your audio experience to a whole new level.
Types of Audio Interfaces
When it comes to audio interfaces, there are several different types available, each with its own advantages and capabilities. Understanding the different types will help you make an informed decision when choosing the right audio interface for your needs. Here are the most common types of audio interfaces:
- USB Audio Interfaces: USB interfaces are the most popular and widely used type of audio interface. They are known for their plug-and-play simplicity, allowing you to connect the interface to your computer via a USB cable. USB interfaces are affordable, portable, and compatible with most computers, making them a great choice for beginners and home studio setups.
- Thunderbolt Audio Interfaces: Thunderbolt interfaces offer faster data transfer rates and lower latency compared to USB interfaces. They are typically favored by professional musicians, producers, and engineers who require very low latency and high track counts. Thunderbolt interfaces are known for their reliability and stability, making them suitable for demanding recording and mixing tasks.
- PCIe Audio Interfaces: PCIe interfaces are internal sound cards that are installed directly into your computer’s PCI Express slot. They offer excellent performance and low latency, making them popular among professionals who require the highest level of audio quality. PCIe interfaces often come with multiple inputs and outputs, advanced features, and high-resolution audio capabilities.
- Ethernet Audio Interfaces: Ethernet interfaces utilize Ethernet connections for audio data transfer. They are typically used in large recording studios or professional audio networking setups where multiple audio devices need to be connected and synchronized. Ethernet interfaces offer high channel counts, low latency, and the ability to transfer audio over long distances.
- IOS Interfaces: IOS interfaces are specifically designed for use with iOS devices such as iPhones and iPads. They allow you to connect audio equipment directly to your iOS device for recording and playback. IOS interfaces are compact, portable, and provide high-quality audio performance, making them ideal for mobile recording or music production on the go.
Each type of audio interface has its own unique advantages, so it’s important to consider your specific needs and budget when selecting the right interface. Whether you need a simple USB interface for home recording or a high-end Thunderbolt interface for professional studio work, there is a wide range of options available to suit every requirement.
Now that we have explored the different types of audio interfaces, let’s move on to the next section, where we’ll discuss how to choose the right audio interface for your needs.
Choosing the Right Audio Interface
Choosing the right audio interface is crucial to ensure optimal performance and compatibility with your specific audio setup. With a wide range of options available, it’s important to consider several factors when making your decision. Here are some key factors to consider when choosing an audio interface:
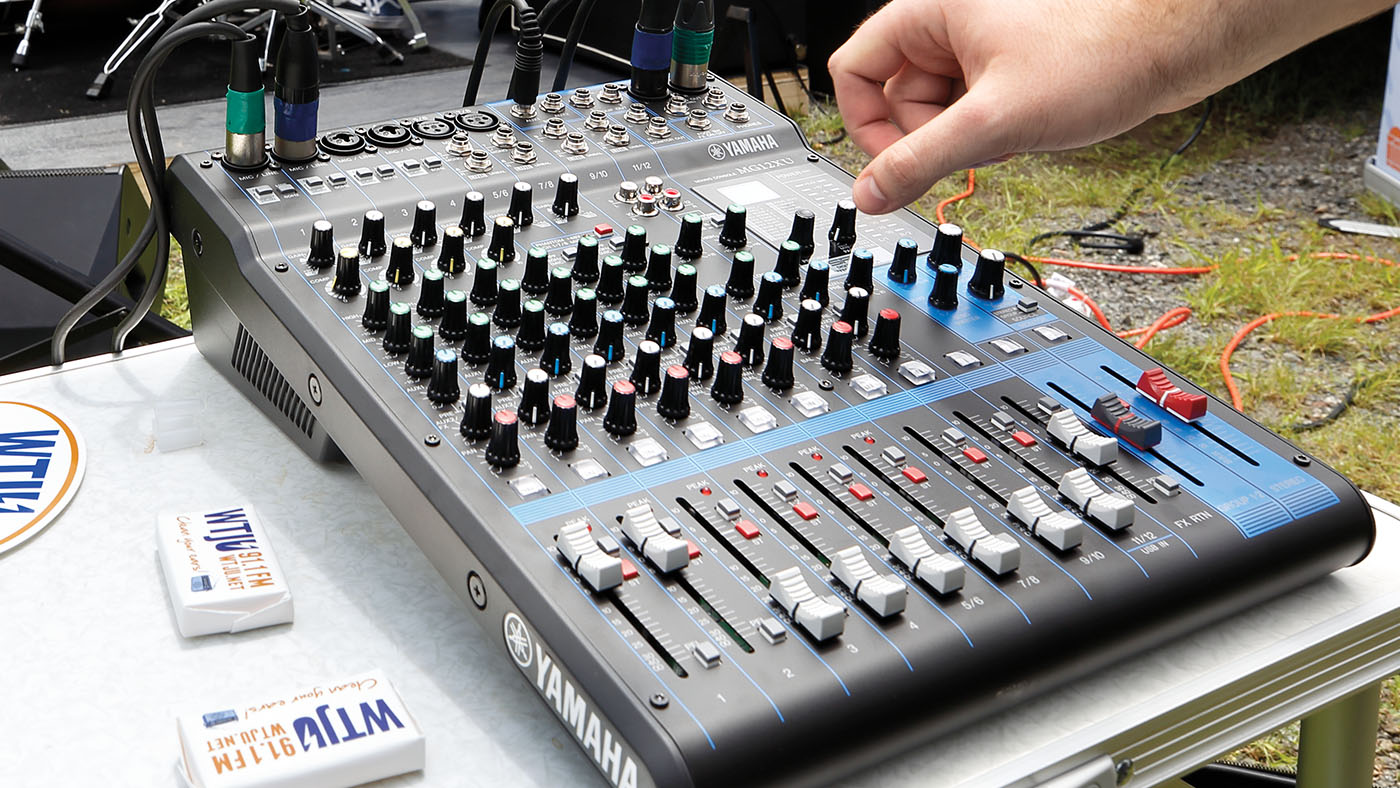
- Audio Inputs and Outputs: Consider the number and type of audio inputs and outputs you need. This can include microphone inputs (XLR), instrument inputs (1/4″ TS or TRS), line-level inputs, headphone outputs, and monitor outputs. Ensure that the audio interface has enough inputs and outputs for your recording and monitoring requirements.
- Preamps: If you plan on recording vocals or using microphones, consider the quality and number of preamps. Preamps amplify weak microphone signals and play a crucial role in capturing clean and clear recordings. Look for an audio interface with high-quality preamps, especially if you work with professional-grade microphones.
- Connectivity: Consider the type of connectivity options you need. USB interfaces are the most common and offer broad compatibility, while Thunderbolt interfaces provide faster data transfer speeds. Ensure that the interface’s connectivity options match your computer and recording setup.
- Audio Resolution: The audio resolution refers to the bit depth and sample rate. Higher bit depths and sample rates result in better audio quality and more accurate recordings. Aim for an audio interface that supports at least 24-bit resolution and a sample rate of 44.1kHz or higher for professional-grade recordings.
- Latency: Latency refers to the delay between input signals and the corresponding output. Lower latency is crucial for real-time monitoring and recording without noticeable delays. Look for an audio interface with low-latency performance to ensure a smooth and responsive recording experience.
- Software Compatibility: Ensure that the audio interface is compatible with your recording software or digital audio workstation (DAW) of choice. Check the manufacturer’s website or documentation for information on software compatibility and driver support.
- Budget: Consider your budget when selecting an audio interface. Prices can vary significantly depending on the features and quality of the interface. Set a budget range and prioritize the essential features that you need for your specific recording needs.
Lastly, it’s always a good idea to read reviews and seek recommendations from other musicians, audio professionals, or online communities. Their firsthand experiences can provide valuable insights and help you make an informed decision.
By considering these factors and assessing your specific recording requirements, you’ll be able to choose an audio interface that meets your needs and allows you to achieve professional-quality recordings. Next, we’ll move on to the practical aspects of using an audio interface, including the physical connection and setup process.
Connecting the Audio Interface
Connecting your audio interface properly is an important step in setting up your recording or production setup. Taking the time to ensure proper connections will ensure optimal sound quality and performance. Here’s a step-by-step guide on how to connect your audio interface:
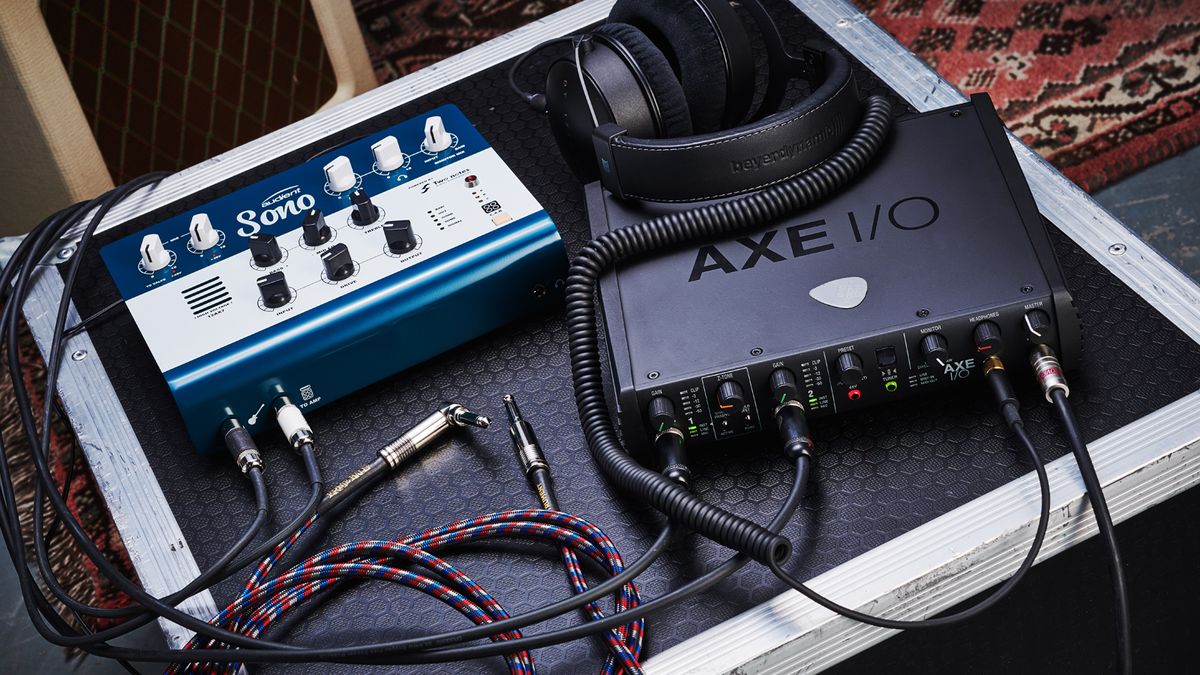
- Check the Interface Connections: Start by familiarizing yourself with the audio interface’s inputs and outputs. Identify the various connection options, such as XLR, 1/4″ TS or TRS, or digital connections like USB or Thunderbolt.
- Connect Audio Sources: Plug in your microphones, instruments, or other audio sources into the appropriate input ports on the audio interface. Use XLR cables for microphones and instrument cables for instruments. Ensure a secure connection by tightening any locking mechanisms or screws.
- Connect to Computer: Depending on the type of audio interface, connect it to your computer using the appropriate cable (e.g., USB, Thunderbolt, Ethernet). Ensure that the cable is securely plugged into both the interface and the corresponding port on your computer.
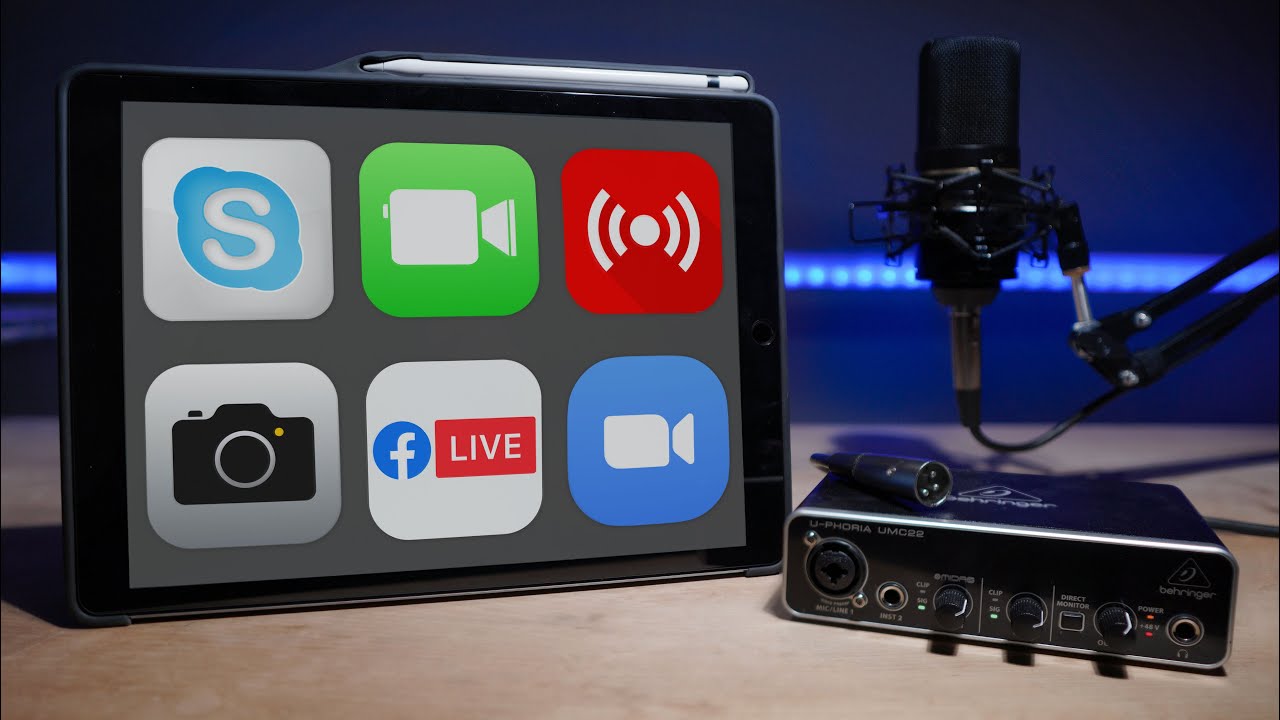
- Connect Monitor Speakers/Headphones: If you have external monitor speakers, connect them to the audio interface’s line outputs. Use the appropriate cables and ensure a secure connection. If you’re using headphones, plug them into the dedicated headphone output on the interface.
- Power Up the Audio Interface: Some audio interfaces draw power from the computer via the USB or Thunderbolt connection, while others require an external power source. Make sure to follow the manufacturer’s instructions for powering up the interface.
Once you have made the necessary connections, you’re ready to move on to configuring the audio interface and your computer for optimal performance. In the next section, we’ll explore the setup process and adjustments you may need to make to ensure the best possible recording and playback experience.
Setting up the Audio Interface
After successfully connecting your audio interface, the next step is to set it up correctly for optimal performance. This involves configuring both the hardware and software settings to ensure seamless integration with your recording setup. Here’s a guide on how to set up your audio interface:
- Install Drivers: If your audio interface requires specific drivers, make sure to install them according to the manufacturer’s instructions. These drivers enable the interface to communicate effectively with your computer’s operating system.
- Configure Sample Rate and Bit Depth: Set the sample rate and bit depth in your recording software or digital audio workstation (DAW) to match the capabilities of your audio interface. Common sample rates are 44.1kHz and 48kHz, while bit depths are typically 16-bit or 24-bit. The higher the values, the better the audio quality, but keep in mind that higher settings may require more system resources.
- Adjust Buffer Size: The buffer size determines the amount of audio data that is processed at a time. Lower buffer sizes reduce latency but may put a strain on your computer’s processing power. Experiment with different buffer sizes to find a balance between low latency and smooth performance. Consider the latency requirements of your recording or live monitoring needs.
- Select Inputs and Outputs: In your recording software or DAW, select the appropriate inputs and outputs of your audio interface for recording and playback. This allows you to route the audio signals to the desired channels and monitor them through your speakers or headphones.
- Set Gain Levels: Adjust the gain levels on your audio interface for each input source to ensure proper recording levels. Avoid recording audio that is too soft, resulting in noise, or too loud, causing distortion. Use the gain controls or preamps on the interface to set optimal levels.
- Activate Phantom Power: If you are using condenser microphones that require phantom power, activate the phantom power switch on your audio interface. This power supply is essential for the proper functioning of condenser microphones and should only be used with compatible microphones.
- Test and Monitor: Before starting your recording session, test the audio interface and monitor the audio playback through your speakers or headphones. Ensure that all inputs and outputs are functioning correctly and that the sound is clear, without any unwanted noise or distortion.
Keep in mind that the setup process may vary depending on your specific audio interface and recording software. Consult the manufacturer’s documentation and software user guide for more detailed instructions on configuring your specific setup.
By properly setting up and adjusting your audio interface, you’ll be able to achieve optimal sound quality and performance in your recordings. In the next section, we’ll explore some common troubleshooting tips for resolving potential audio interface issues.
Adjusting the Audio Interface Settings
Adjusting the settings of your audio interface is essential to optimize its performance and tailor it to your specific recording needs. There are several key settings that you should consider when fine-tuning your audio interface. Here’s a guide on how to adjust the settings of your audio interface:
- Sample Rate: The sample rate determines the number of samples per second that your audio interface captures or reproduces. Higher sample rates offer better audio quality but require more system resources. Adjust the sample rate in your recording software or DAW to match your intended recording quality and project requirements.
- Buffer Size: The buffer size affects the latency, or the delay between input and output. Lower buffer sizes reduce latency but may put a strain on your computer’s processing power. Experiment with different buffer sizes to find the right balance between low latency and smooth performance. Consider the latency requirements of your recording or live monitoring needs.
- Input Gain: Each input channel of your audio interface may have a gain control to adjust the input signal level. Properly adjusting the gain helps prevent audio clipping and ensures a clean and accurate recording. Set the gain level to an appropriate level for your audio source and monitor the input levels in your recording software or DAW.
- Mixer Settings: Some audio interfaces come with built-in digital mixers that allow you to adjust the balance, panning, and effects of the input and output signals. Take advantage of these mixer settings to customize and shape your audio signals to your preferences.
- Routing and Monitoring: Configure the routing options of your audio interface to send the input signals to the desired output channels. This allows you to monitor the audio playback through your speakers or headphones while recording. Customize the monitoring settings to suit your recording and monitoring preferences.
- Advanced DSP Features: If your audio interface includes advanced digital signal processing (DSP) features, explore and experiment with these capabilities. DSP features can include EQ, compression, reverb, and other effects that can be applied to the incoming or outgoing audio signals in real-time. Use these features to enhance your recordings or to create unique sounds.
It’s important to refer to the user manual or documentation provided by the manufacturer of your audio interface for specific instructions on adjusting these settings. The interface’s control panel software or dedicated software provided by the manufacturer can also provide additional options for adjusting the settings and performance parameters.
By carefully adjusting and optimizing the settings of your audio interface, you’ll be able to achieve the desired sound quality, reduce latency, and tailor the interface to your unique recording and production requirements.
In the next section, we’ll explore some common troubleshooting tips and solutions for resolving any potential issues you may encounter with your audio interface.
Troubleshooting Audio Interface Issues
While audio interfaces are reliable tools, there may be times when you encounter issues or challenges that affect their performance. Understanding common troubleshooting techniques can help you resolve these issues and get your audio interface back on track. Here are some common audio interface issues and how to troubleshoot them:
- No Sound: If you’re not getting any sound, ensure that the volume levels on your audio interface, computer, and any connected speakers or headphones are appropriately adjusted. Check the input and output settings in your recording software or DAW to make sure they are properly configured.
- Driver Issues: Drivers are essential for the proper functioning of your audio interface. If you experience driver-related issues, such as audio dropouts or connectivity problems, make sure you have installed the latest drivers provided by the manufacturer. Visit their website for any available updates or troubleshooting guides specific to your audio interface model.
- Latency Problems: High latency can result in noticeable delays between playing an instrument or singing and hearing the sound. Adjusting the buffer size in your recording software or DAW to a lower value can help reduce latency. Additionally, make sure your computer meets the recommended system requirements for running the software and handling the audio processing tasks.
- Noise or Distortion: Unwanted noise or distortion in your recordings can be caused by various factors. Check the gain levels on your audio interface and ensure they are properly set to avoid signal clipping. Additionally, use high-quality cables and check for any loose connections or faulty equipment that may introduce noise or distortion into the signal chain.
- Compatibility Issues: Ensure that your audio interface is compatible with your operating system and recording software or DAW. Check the manufacturer’s website for any updates or patches that may address compatibility issues. If you are using multiple audio devices or plugins, check for conflicts that may arise and try disabling or reconfiguring them as necessary.
- USB or Thunderbolt Connectivity Problems: If you’re experiencing connectivity issues with your USB or Thunderbolt audio interface, try connecting it to a different port on your computer or using a different cable. Ensure that the cable is securely plugged in and that the connectors are clean. In some cases, updating the firmware of your audio interface may also help resolve connectivity problems.
If you continue to experience issues with your audio interface, don’t hesitate to reach out to the manufacturer’s technical support or consult online forums and communities for assistance. They can provide additional troubleshooting steps specific to your audio interface model or help you identify any underlying hardware or software issues.
By diagnosing and addressing these common audio interface issues, you can ensure that your audio recording and production process runs smoothly, allowing you to focus on creating exceptional sound.
Now that we’ve covered troubleshooting tips, it’s time to wrap up our discussion on audio interfaces.
Conclusion
Audio interfaces are essential tools for anyone involved in audio production, providing the means to capture and process high-quality sound. Whether you’re a musician, podcaster, sound engineer, or content creator, a well-chosen audio interface can greatly enhance your recording and playback experience.
In this article, we explored the fundamentals of audio interfaces, their importance, and the various types available. We discussed the key factors to consider when choosing an audio interface, including the number of inputs and outputs, preamps, connectivity options, audio resolution, latency, software compatibility, and budget.
We then delved into the practical aspects of connecting and setting up your audio interface, including proper cable connections, driver installation, adjusting sample rates, buffering, gain levels, and monitoring configurations. These steps are crucial to achieve optimal performance and ensure compatibility with your recording software or digital audio workstation.
Additionally, we covered common troubleshooting techniques for resolving issues such as no sound, driver problems, latency, noise or distortion, compatibility conflicts, and connectivity problems. These troubleshooting tips can help you quickly identify and address any issues that may arise during your audio recording sessions or playback tasks.
By understanding and implementing the suggestions provided in this article, you’ll be well-equipped to make informed choices when selecting an audio interface, set it up correctly, and troubleshoot any potential issues you may encounter along the way.
Remember, the audio interface you choose should align with your specific recording needs and budget. Take the time to research and explore the available options to find an interface that suits your requirements and provides the audio quality and functionality you desire.
Now, armed with the knowledge and insights gained from this article, you’re ready to embark on your audio production journey with confidence. So go ahead, unleash your creativity, and let your audio interface be your guide to capturing and creating exceptional sound.