Home>Production & Technology>Audio Interface>How To Record Audio Using The Saffire Audio Interface

Audio Interface
How To Record Audio Using The Saffire Audio Interface
Modified: February 17, 2024
Learn how to record audio using the Saffire Audio Interface, a versatile and high-quality solution for all your audio recording needs. Enhance your sound with ease!
(Many of the links in this article redirect to a specific reviewed product. Your purchase of these products through affiliate links helps to generate commission for AudioLover.com, at no extra cost. Learn more)
Table of Contents
- Introduction
- Overview of the Saffire Audio Interface
- Setting Up the Saffire Audio Interface
- Choosing an Audio Recording Software
- Connecting Microphones and Instruments to the Saffire Interface
- Configuring Audio Input Settings
- Adjusting Levels and Monitoring Audio
- Recording Audio with the Saffire Interface
- Troubleshooting Tips
- Conclusion
Introduction
Welcome to the world of audio recording! If you’re a musician, podcaster, or content creator, you know how important it is to have a high-quality audio interface. And when it comes to audio interfaces, the Saffire line of products is renowned for its exceptional sound quality, reliability, and versatility.
In this article, we’ll take you on a journey through the world of the Saffire audio interface. Whether you’re a beginner or a seasoned pro, this comprehensive guide will help you understand how to record audio using the Saffire interface.
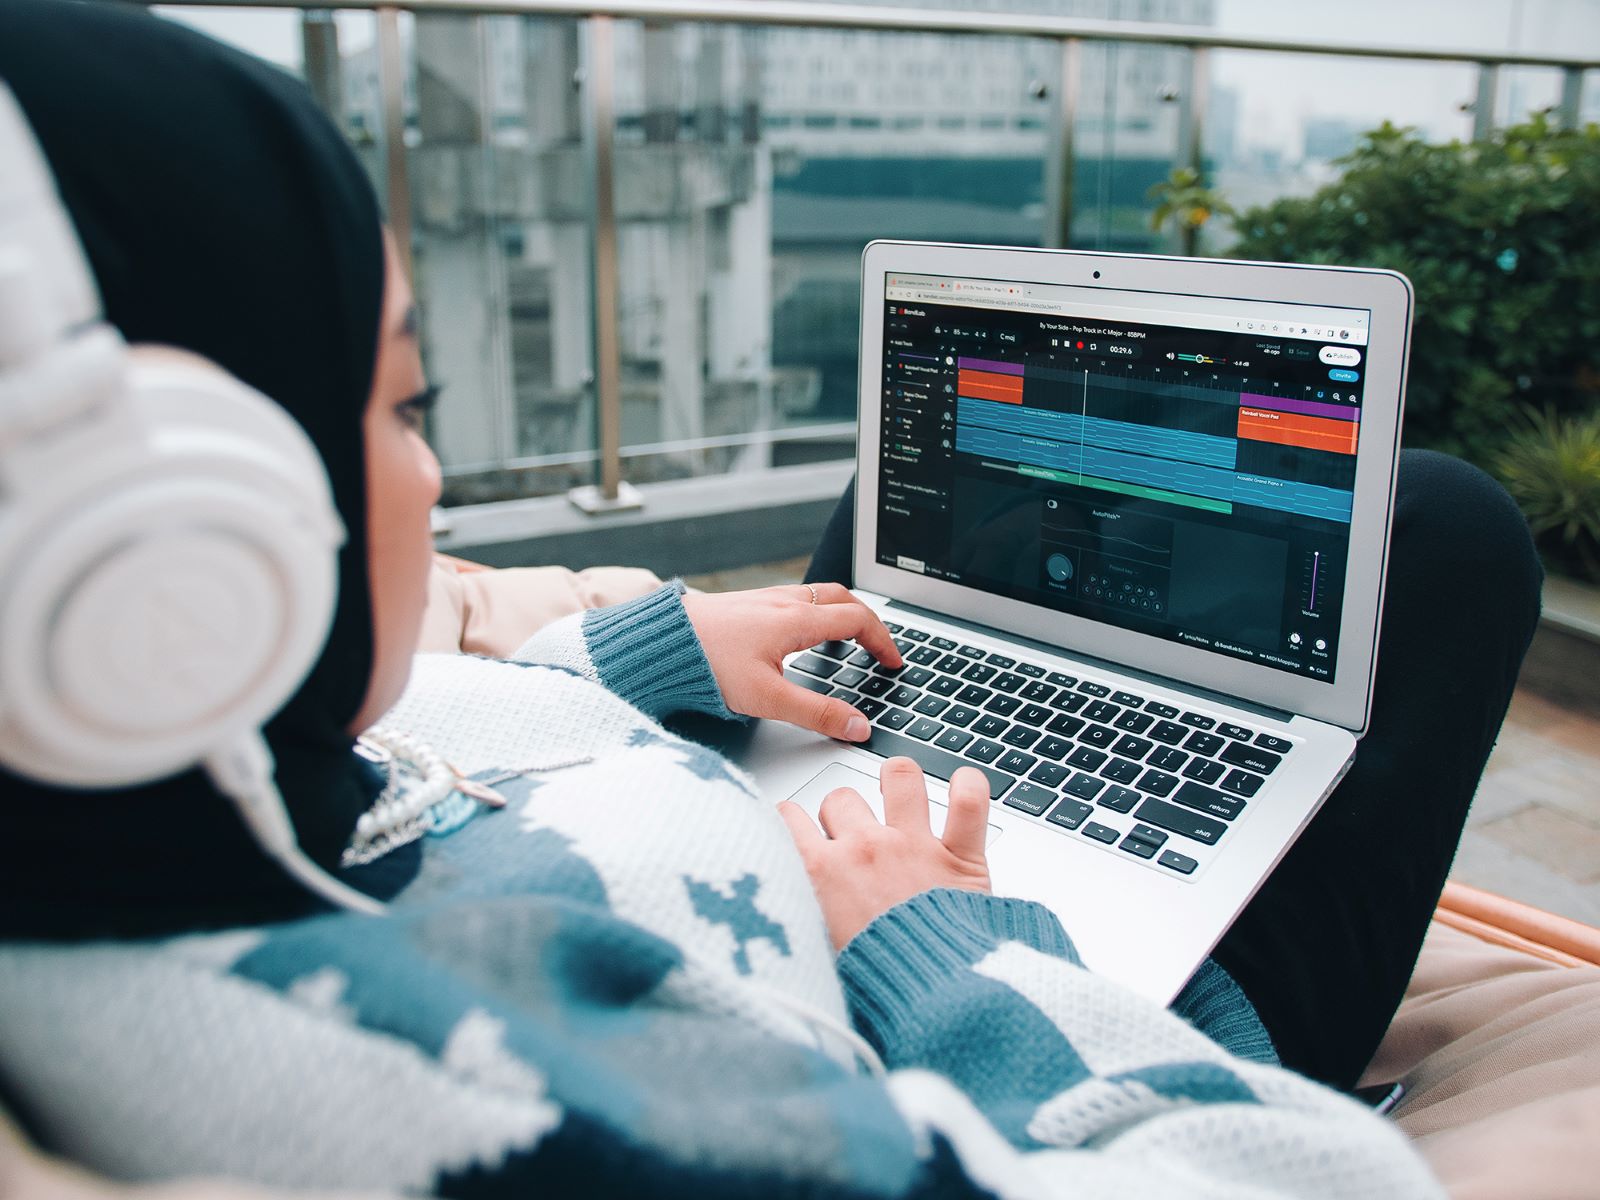
With the Saffire audio interface, you can transform your computer into a powerful recording studio. It acts as a bridge between your instruments or microphones and your computer, allowing you to capture professional-level audio recordings. Whether you’re recording vocals, guitars, drums, or any other instrument, the Saffire interface delivers pristine audio quality with minimal latency.
Not only does the Saffire audio interface provide exceptional sound reproduction, but it also offers a range of features that make the recording process efficient and enjoyable. From convenient monitoring options to flexible input settings, the Saffire interface empowers you to take control of your recording sessions.
Whether you’re recording in a professional studio or your home setup, the Saffire audio interface is designed to meet your needs. Its compact size and user-friendly interface make it a popular choice for both portable setups and fixed installations.
In the following sections, we’ll delve into the details of setting up the Saffire interface, connecting microphones and instruments, selecting recording software, adjusting levels, monitoring audio, and troubleshooting common issues. By the end of this guide, you’ll be equipped with the knowledge and skills to record audio like a pro using the Saffire audio interface.
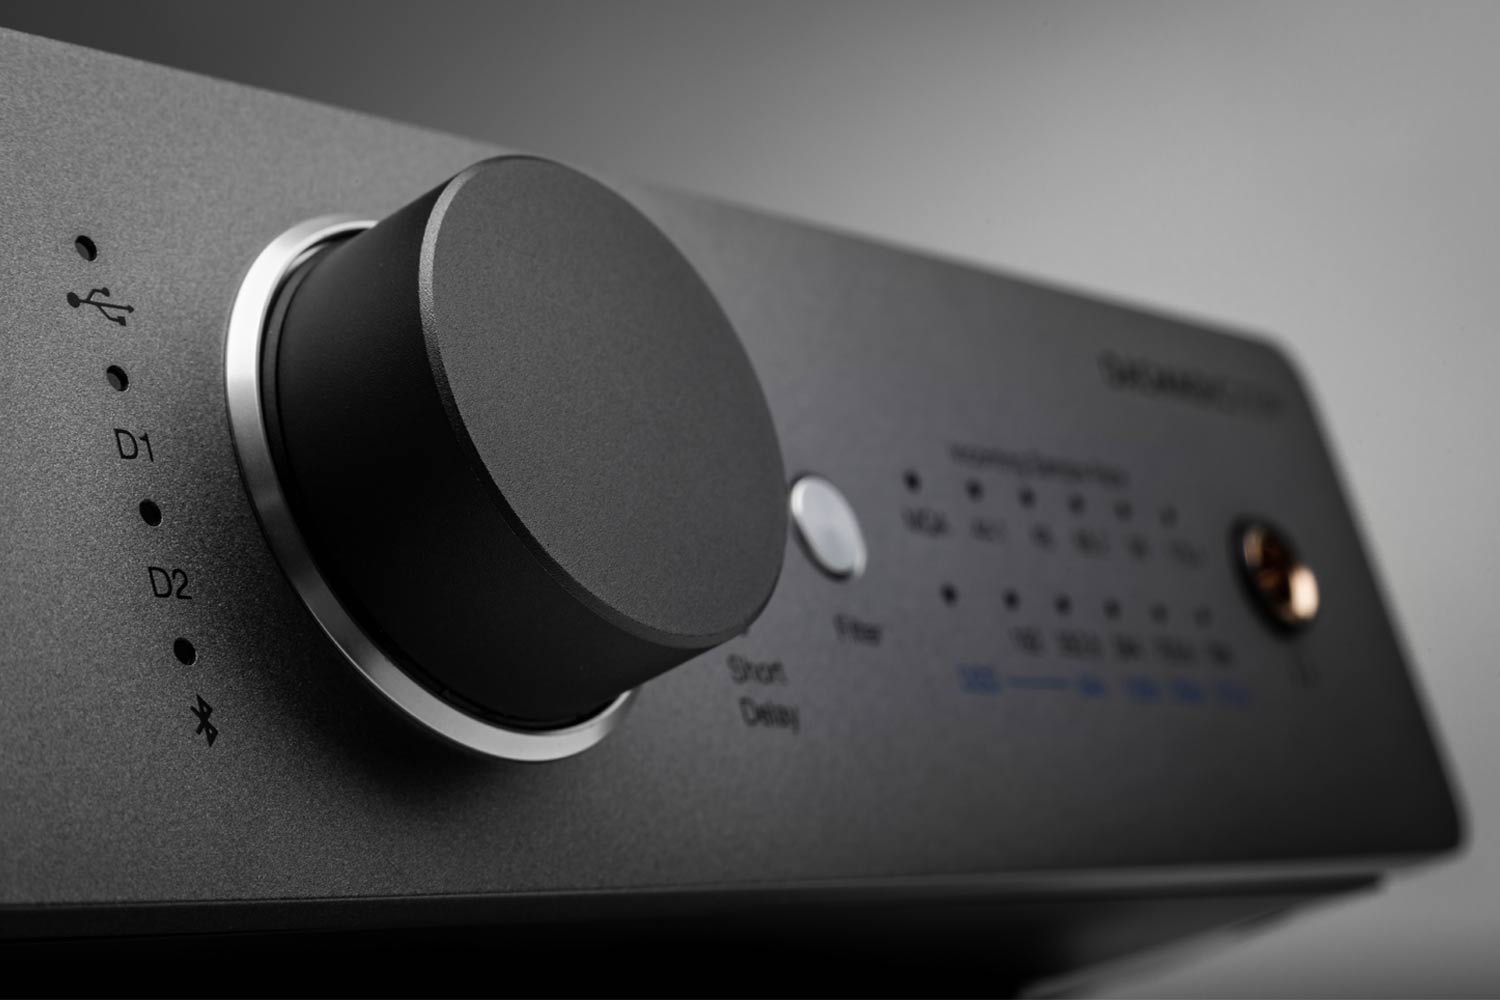
Overview of the Saffire Audio Interface
The Saffire audio interface is a powerful tool that enables high-quality audio recording and playback. It combines professional-grade sound with intuitive control, making it a popular choice for musicians, producers, and audio enthusiasts.
One of the standout features of the Saffire interface is its pristine audio quality. It uses high-quality preamps that capture the subtle nuances of your sound source with exceptional clarity and detail. This ensures that your recordings sound professional and true to the original source.
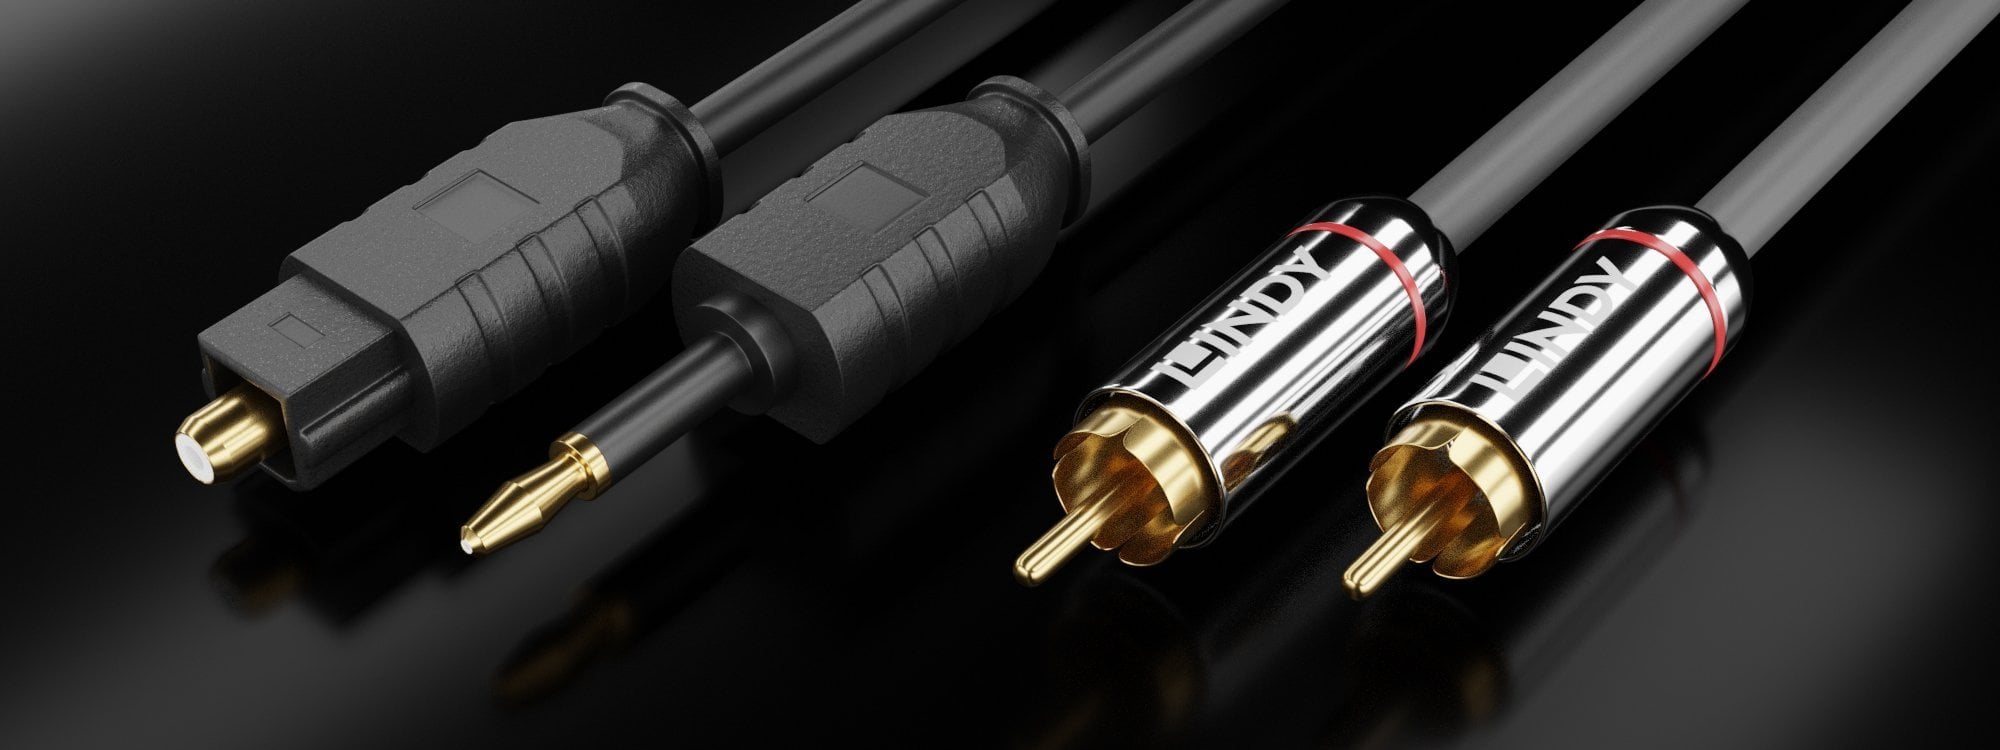
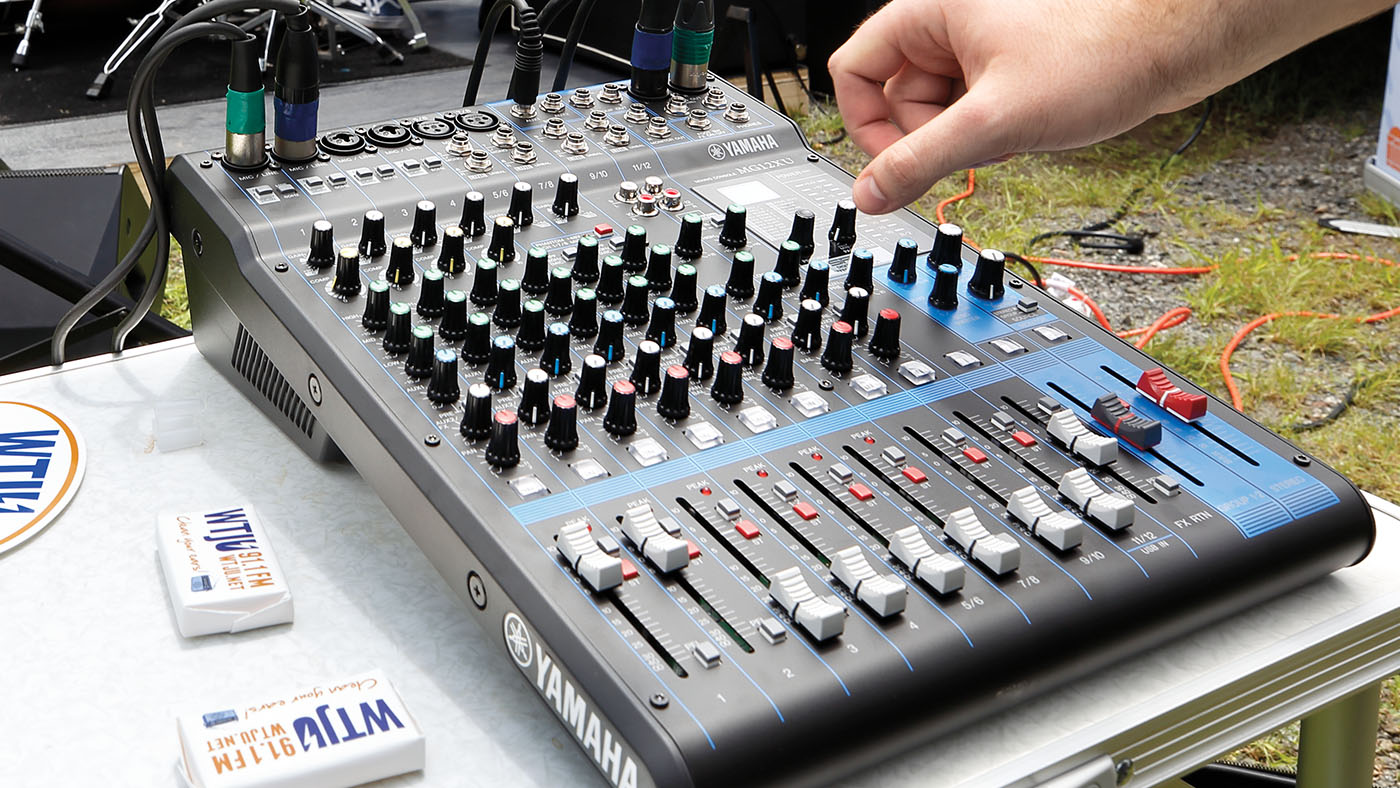
The Saffire audio interface offers a range of input options, including XLR and 1/4″ TRS connectors. This allows you to connect a variety of microphones, instruments, and line-level sources. Whether you’re using a condenser microphone, an electric guitar, or a synthesizer, the Saffire interface has you covered.
Another notable feature of the Saffire interface is its low-latency performance. Latency refers to the delay between when you play or sing a sound and when you hear it through your headphones or speakers. The Saffire interface uses advanced DSP technology to minimize latency, ensuring a seamless recording and monitoring experience.
The Saffire interface also includes comprehensive software control. It comes with a dedicated control panel that allows you to adjust various settings such as sample rate, buffer size, and input levels. The control panel provides a user-friendly interface that makes it easy to navigate and customize your recording setup.
Furthermore, the Saffire interface offers multiple outputs for versatile monitoring options. You can connect headphones and studio monitors to the interface, allowing you to listen to your recordings with precision and accuracy. This is especially important for tasks such as mixing and mastering, where accurate monitoring is crucial.
Additionally, the Saffire interface is compatible with both Mac and PC platforms, making it accessible to a wide range of users. It connects to your computer via a USB or Thunderbolt cable, depending on the model, providing a fast and stable data transfer for smooth recording and playback.
Overall, the Saffire audio interface is a robust and reliable tool for capturing professional-grade audio. Its exceptional sound quality, low-latency performance, versatile input options, and comprehensive software control make it a valuable asset for any recording setup.
Setting Up the Saffire Audio Interface
Setting up the Saffire audio interface is a straightforward process that involves a few simple steps. Whether you’re a beginner or have some experience with audio interfaces, this section will guide you through the setup process.
Before connecting the Saffire interface to your computer, it’s important to install the necessary drivers and software. Visit the Focusrite website and download the latest drivers and control panel software for your specific model of the Saffire interface. Follow the installation instructions provided by Focusrite to ensure a smooth installation process.
Once the drivers and software are installed, connect the Saffire interface to your computer using the appropriate USB or Thunderbolt cable. Make sure to use a high-quality cable to ensure a stable connection and prevent any potential audio issues.
Next, power on the Saffire interface by connecting it to a power source, if required. Some models of the Saffire interface can be powered via USB or Thunderbolt, while others may require an external power supply. Refer to the user manual for your specific model for instructions on how to properly power it.
After powering on the Saffire interface, launch the control panel software on your computer. This allows you to access the various settings and configurations of the interface. From the control panel, you can adjust parameters such as sample rate, buffer size, input levels, and routing options.
It’s essential to choose the appropriate sample rate for your recording. The sample rate determines how many digital samples are taken per second to represent the audio. Higher sample rates can capture more detail in the sound, but they also require more processing power and storage space. Common sample rates for professional audio recording are 44.1 kHz and 48 kHz.
Another important setting is the buffer size, which determines the amount of audio data that is processed at a given time. A smaller buffer size results in lower latency but requires more processing power from your computer. Adjust the buffer size based on your specific needs and the capabilities of your computer.
Now that the Saffire interface is connected and the settings are configured, it’s time to connect your microphones and instruments. Depending on the model of the Saffire interface, you will have a combination of XLR and 1/4″ TRS inputs. Connect your microphones to the XLR inputs and your instruments or line-level sources to the 1/4″ TRS inputs.
Finally, connect your headphones and studio monitors to the appropriate outputs on the Saffire interface. This allows you to monitor your recordings and playback with precision and accuracy.
With the Saffire interface set up and all the necessary connections made, you’re ready to start recording audio. In the next section, we’ll explore different options for audio recording software to use with the Saffire interface.
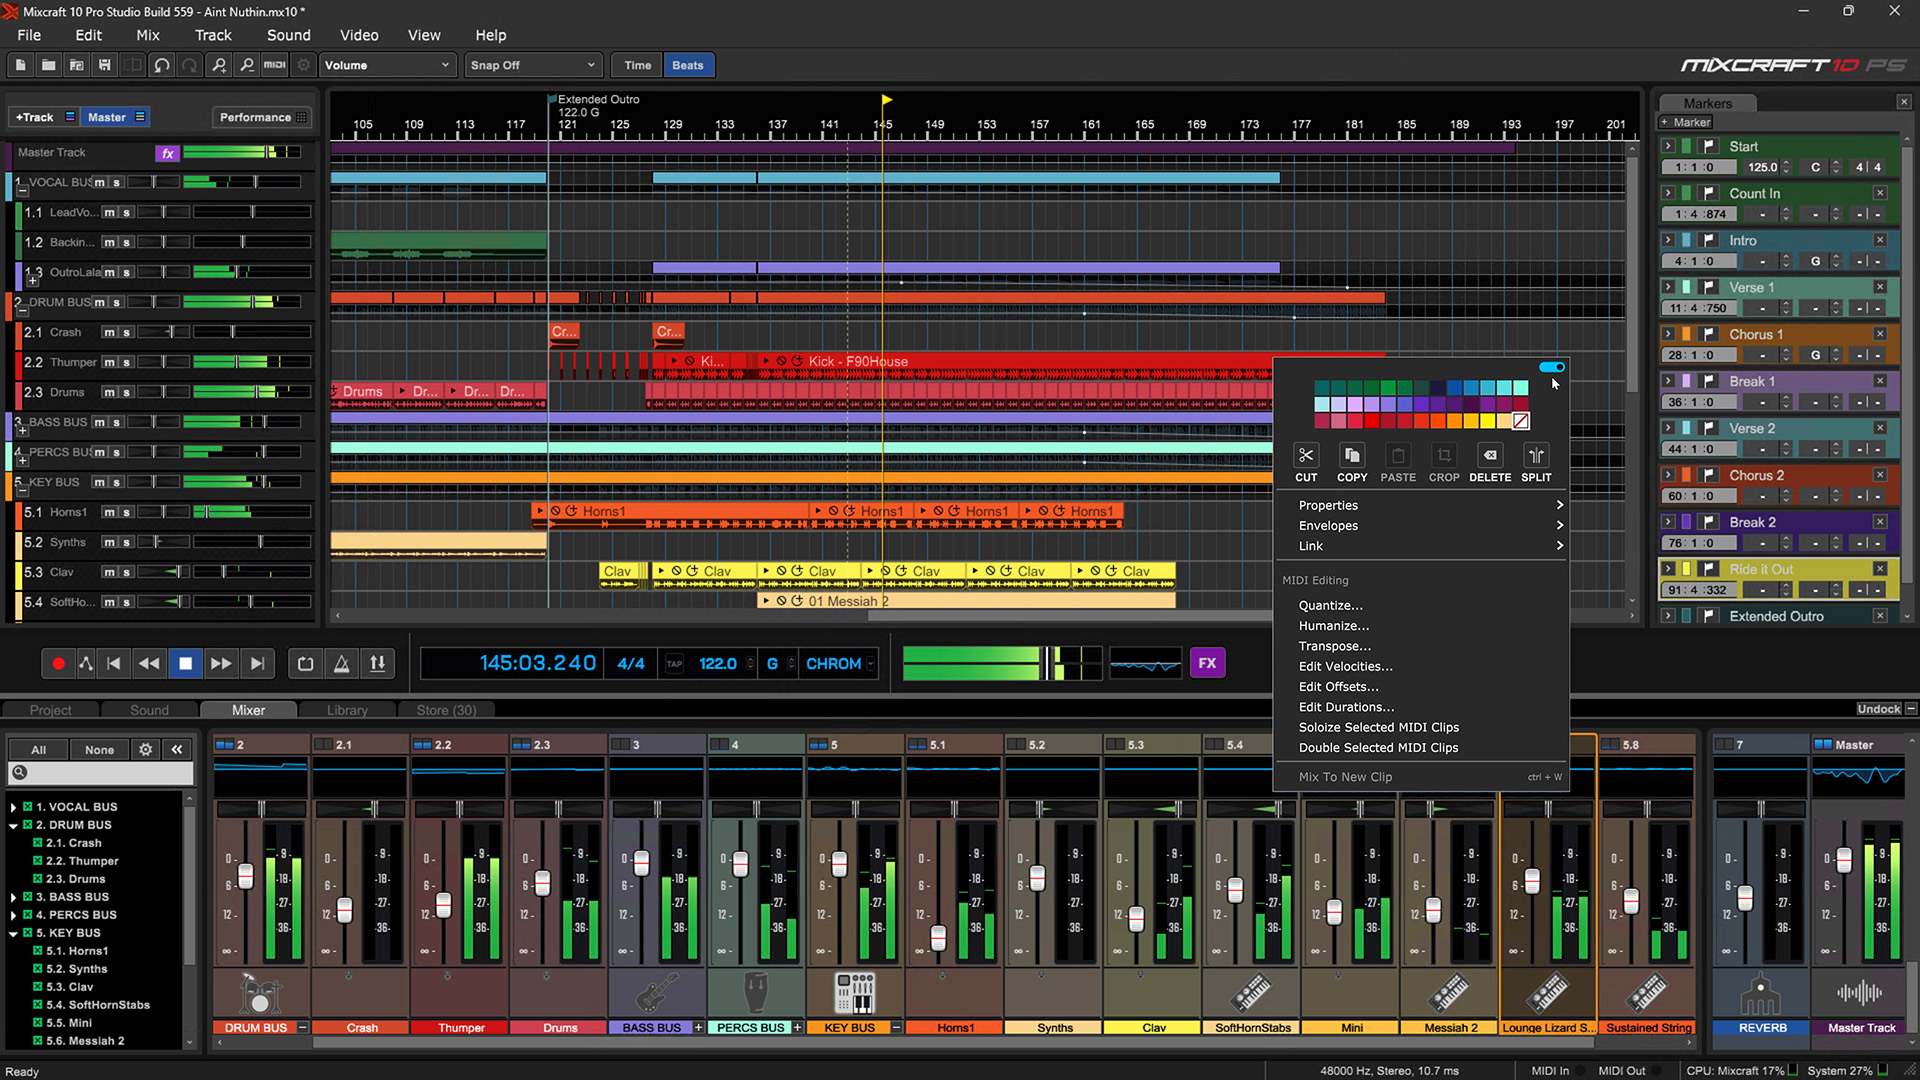
Choosing an Audio Recording Software
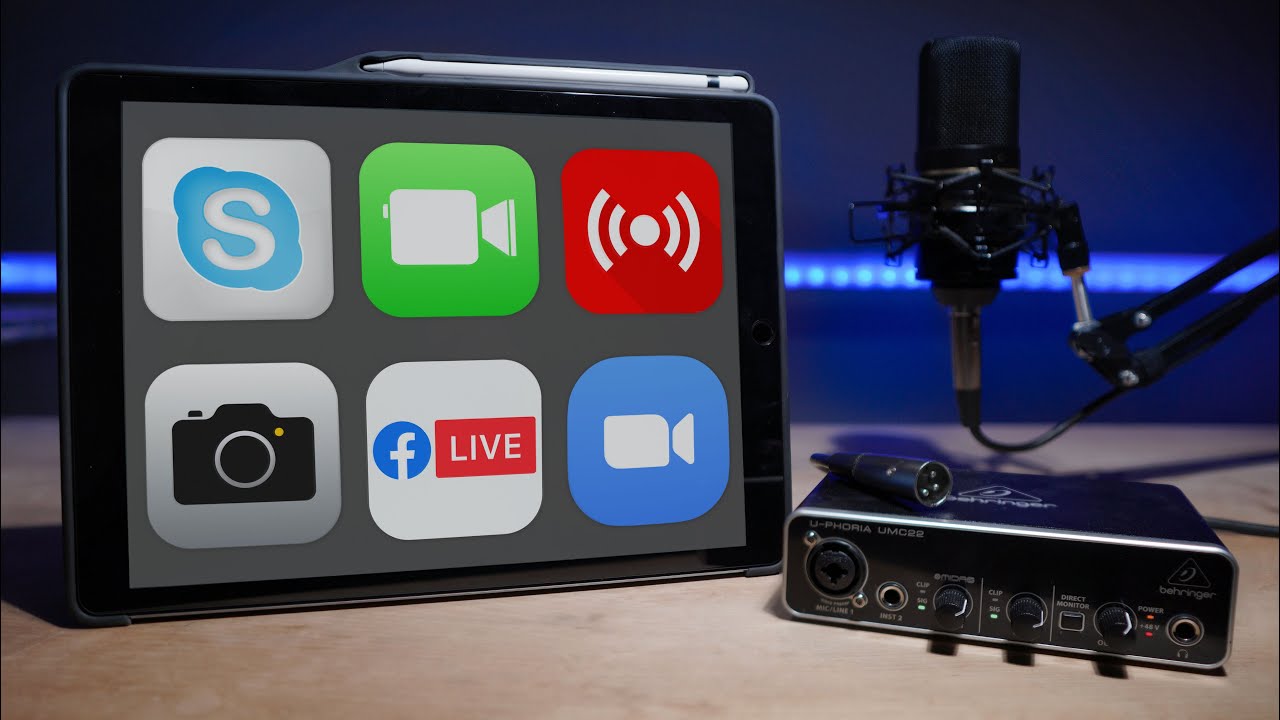
When it comes to recording audio with the Saffire interface, selecting the right audio recording software is crucial. There are plenty of options available, ranging from simple and beginner-friendly software to professional-grade digital audio workstations (DAWs). Here are some factors to consider when choosing the software that best suits your needs:
Compatibility: Ensure that the software you choose is compatible with your operating system (e.g., macOS, Windows). Check the system requirements specified by the software developer to ensure smooth performance with your computer and the Saffire interface.
Interface and Workflow: Consider the user interface and workflow of the recording software. Look for software that offers an intuitive and user-friendly interface, making it easier to navigate, set up tracks, and record your audio. It’s also helpful to choose a software that provides customizable features according to your preferences.
Recording Capabilities: Assess the recording capabilities of the software. Ensure it supports multitrack recording, allowing you to record multiple audio sources simultaneously, which is particularly important for recording bands or ensembles. Look for features like punch-in/punch-out recording, auto-save, and non-destructive editing, which can enhance your productivity and streamline the recording process.
Editing and Mixing Tools: Consider the editing and mixing tools provided by the software. Look for features such as audio editing, time-stretching, pitch correction, and a wide range of effects and processors. These tools will enable you to enhance and polish your recordings, giving you creative control over your audio production.
Virtual Instruments and Plugins: If you’re interested in using virtual instruments or plugins, choose software that offers a wide variety of these tools. Virtual instruments can simulate various instruments and synthesizers, allowing you to add virtual instruments to your recordings. Plugins, on the other hand, provide additional effects and processors to further shape your sound.
Integration with Saffire Interface: Ensure that the recording software seamlessly integrates with the Saffire interface. It should recognize the interface as the audio input and output device, allowing you to utilize the features and capabilities of the Saffire interface within the software.
Price and Budget: Consider your budget, as recording software comes at various price points. Keep in mind that while some software may be more expensive, they often offer a broader range of professional features. Evaluate your needs and budget to find the software that offers the best balance between features and affordability.
Popular recording software options that work well with the Saffire interface include Pro Tools, Logic Pro X, Ableton Live, Cubase, and Studio One. Take the time to research and experiment with different software options to find the one that fits your workflow and creative needs.
Remember, the software you choose should complement the capabilities of the Saffire interface while providing a smooth and efficient recording experience. With the right software in hand, you’ll be well-equipped to explore your creativity and bring your musical visions to life.
Connecting Microphones and Instruments to the Saffire Interface
One of the key features of the Saffire interface is its versatility in connecting various microphones and instruments. Whether you’re recording vocals, guitars, drums, or any other sound source, the Saffire interface provides the necessary inputs to capture your audio accurately. Here’s a step-by-step guide on how to connect your microphones and instruments to the Saffire interface:
- Microphone Connections: The Saffire interface typically features XLR inputs for connecting microphones. XLR cables are balanced cables that offer excellent audio quality and noise rejection. Simply plug the male end of the XLR cable into the microphone and the female end into one of the XLR inputs on the Saffire interface.
- Phantom Power: If you’re using a condenser microphone that requires phantom power, make sure to enable it on the Saffire interface. Phantom power provides the necessary voltage for condenser microphones to operate. In the control panel software, locate the option to enable phantom power and toggle it on.
- Instrument Connections: For instruments such as electric guitars or basses, the Saffire interface offers 1/4″ TRS inputs. Use a standard instrument cable to connect your instrument’s output to one of the 1/4″ TRS inputs on the interface.
- Line-Level Connections: If you’re connecting line-level sources like keyboards, synthesizers, or audio mixers, use 1/4″ TRS cables to connect the line outputs from your device to the 1/4″ TRS inputs on the Saffire interface.
- Gain Settings: Once your microphones and instruments are connected, adjust the gain settings for each input. The gain control allows you to adjust the input level of your audio source. Aim to set the gain level so that the input signal is strong and clear but not clipping or distorting. Use the level indicators on the Saffire interface or in the control panel software to monitor the input levels.
It’s important to note that the specific Saffire model you’re using might have different input options and features, so refer to the user manual for detailed instructions on your specific interface.
The Saffire interface also provides a headphone output and multiple line outputs for connecting studio monitors or speakers. By connecting your headphones to the dedicated headphone output, you can monitor your recordings while recording or during playback. Additionally, connecting your studio monitors to the line outputs allows you to listen to your recordings with accurate and detailed sound reproduction.
Remember to experiment with different microphone and instrument placements to achieve the desired sound. Microphone placement, in particular, can greatly impact the quality and character of your recordings. Try different microphone positions and techniques to find the sweet spot for capturing the sound you’re aiming for.
By following these steps and utilizing the variety of input options provided by the Saffire interface, you can connect and capture high-quality audio from microphones and instruments with ease. In the next section, we’ll explore how to configure the audio input settings to optimize your recording setup.
Configuring Audio Input Settings
Once you have connected your microphones and instruments to the Saffire interface, it’s important to configure the audio input settings to ensure optimal recording quality and performance. Here are some key aspects to consider when configuring the audio input settings:
Sample Rate and Bit Depth: The sample rate and bit depth settings determine the quality and resolution of your audio recordings. The standard sample rate for audio recording is typically 44.1 kHz or 48 kHz, while the bit depth is commonly set to 16 bits or 24 bits. Higher sample rates and bit depths can capture more detail in your recordings, but they can also require more processing power and disk space.
Buffer Size: The buffer size determines the amount of audio data that is processed at a given time. A smaller buffer size can result in lower latency, allowing you to monitor your audio in real-time. However, a smaller buffer size may also require more processing power. Finding the right balance for your buffer size depends on your computer’s performance capabilities and your need for low-latency monitoring.
Input Levels: Adjusting the input levels is crucial for capturing the optimal signal-to-noise ratio and preventing distortion. Too low of an input level can result in a weak and noisy recording, while too high of an input level can cause clipping and distortion. Use the gain controls on the Saffire interface or in the control panel software to ensure that your input levels are strong but not clipping. Monitor the level meters provided to gauge the input levels and make adjustments as needed.
Input Monitoring: The Saffire interface offers various input monitoring options to assist in the recording process. Direct monitoring allows you to hear your input signals in real-time, bypassing any latency caused by your computer’s processing. Software monitoring, on the other hand, routes the input signals through the recording software, allowing for more control over the monitoring and the ability to apply effects in real-time. Experiment with both options to determine which one suits your workflow and preferences.
Routing and Cue Mix: The Saffire interface often provides routing options and cue mix features that allow you to create customized monitor mixes. This can be useful in situations where you need to have different monitoring levels for different performers while recording. Take advantage of these features to create personalized cue mixes, ensuring each performer can hear themselves and other tracks as desired.
Accessing and configuring these audio input settings can typically be done through the control panel software provided by Saffire. The software provides a user-friendly interface to adjust these settings and customize your recording setup according to your specific needs.
Keep in mind that every recording scenario is different, and the optimal input settings may vary depending on factors such as the specific sound source, the desired sound quality, and the performance capabilities of your computer. It is recommended to experiment and fine-tune these settings to achieve the best results for your audio recordings.
With the audio input settings properly configured, you’re now ready to adjust the levels and start recording with your Saffire interface. In the next section, we’ll explore techniques for adjusting levels and monitoring audio during the recording process.
Adjusting Levels and Monitoring Audio
When recording with the Saffire audio interface, it’s crucial to ensure that your audio levels are properly adjusted and that you have effective monitoring in place. Proper level adjustments and monitoring allow you to capture clean recordings and make real-time adjustments as needed. Here are some tips for adjusting levels and monitoring audio with the Saffire interface:
Input Levels: Start by setting the input levels on the Saffire interface or in the control panel software. Aim to achieve a strong and clear signal without clipping or distortion. Adjust the gain controls for each input, monitoring the level meters to ensure that the levels are in an optimal range. Experiment with different input levels to find the sweet spot for each microphone or instrument.
Headphone Monitoring: Connect your headphones to the dedicated headphone output on the Saffire interface. Use the headphone volume control to set an appropriate monitoring level. It’s important to have a comfortable listening level that allows you to hear all the details in your recordings without causing ear fatigue.
Studio Monitor Setup: If you have studio monitors connected to the Saffire interface, position them in an optimal listening position. Ensure that they are placed at an appropriate distance from your recording position and that they are facing your ears directly. Use the volume control on the monitors or an external monitor controller to set an appropriate monitoring level.
Monitoring Options: The Saffire interface offers different monitoring options to suit your recording needs. Direct monitoring allows you to monitor the input signals in real-time without any latency introduced by your computer. This is useful for performers looking for a direct, natural monitoring experience. Software monitoring, on the other hand, routes the input signals through your recording software, allowing for more control and the ability to apply effects or processing in real-time. Experiment with both options to find the monitoring setup that works best for your workflow.
Monitor Mixes/Cue Mixes: If you are recording multiple performers or instruments simultaneously, the Saffire interface may offer the option to create monitor mixes or cue mixes. This allows you to create individual mixes for each performer, tailoring the mix to their preferences. Adjust the individual levels of each track in the cue mix to ensure that each performer can hear themselves and other tracks clearly during recording.
Monitoring Effects: If desired, you can apply effects or processing to the input signals during monitoring. This can be helpful for performers who prefer to hear reverb, compression, or other effects while recording. Check if your Saffire interface or recording software allows for real-time monitoring effects and experiment with different settings to enhance the monitoring experience for performers.
Remember, it’s important to strike a balance between monitoring at a comfortable level and capturing clean, undistorted recordings. Continuously monitor the input levels and adjust them as needed during the recording process to ensure optimal audio quality.
By effectively adjusting levels and implementing proper monitoring techniques, you’ll be able to capture high-quality audio recordings with the Saffire interface. In the next section, we’ll cover some troubleshooting tips to help you overcome common issues that may arise during the recording process.
Recording Audio with the Saffire Interface
Recording audio with the Saffire interface is an exciting and creative process. Once you have set up your Saffire interface, connected your microphones or instruments, and adjusted the necessary settings, you’re ready to start recording. Here are some steps to follow when recording audio with the Saffire interface:
Set Up Your Recording Software: Launch your chosen recording software and create a new project or session. Make sure the Saffire interface is selected as the audio input and output device within the software. Configure the sample rate, bit depth, and other relevant preferences in line with your desired recording specifications.
Create Tracks: Set up individual tracks in your recording software to accommodate each audio source you want to record. Assign the appropriate input channels on the tracks to match the physical input connections on your Saffire interface. You can create separate tracks for vocals, guitars, drums, or any other sound sources you wish to record simultaneously.
Arm the Tracks: Arm the tracks you want to record on by clicking the record-arm button or selecting the appropriate record option in your recording software. This ensures that the tracks are ready to capture the audio signal from the Saffire interface when you hit the record button.
Check Levels: Before you start recording, double-check the input levels on each track. Monitor the level meters on your recording software or on the Saffire interface’s control panel to ensure the levels are within an optimal range. Adjust the input gain controls on the Saffire interface if needed to achieve a strong and clear signal without clipping or distortion.
Hit Record: Once you are satisfied with your setup, hit the record button in your recording software to start capturing audio. Perform or play your intended music or audio content, and the Saffire interface will convert the analog signals from your microphones or instruments into digital audio data that is recorded onto the designated tracks in your software.
Monitor Audio: While recording, monitor the audio through your headphones or studio monitors connected to the Saffire interface. Pay attention to the sound quality, levels, and any potential issues that may arise. This allows you to make real-time adjustments or retakes if necessary.
Take Breaks and Save Often: Remember to take breaks during long recording sessions to rest your ears and prevent fatigue. It’s also essential to save your work regularly to avoid any potential data loss. Utilize the auto-save feature if available in your recording software to automatically save your progress at regular intervals.
Utilize Punch-In/Punch-Out: If you need to redo specific sections or make corrections in your recorded tracks, take advantage of the punch-in/punch-out feature in your recording software. This allows you to record over a specific region while keeping the rest of the track intact, saving you time and effort in the editing process.
Remember, recording audio is a creative process, and it’s normal to make adjustments and experiment along the way. Be patient and allow yourself the freedom to explore different ideas and techniques to achieve your desired sound.
Once you have finished recording, you can move on to the editing and mixing stages to further refine your audio. With the Saffire interface and your recording software working harmoniously together, you have the tools and flexibility to create professional-quality recordings.
Troubleshooting Tips
While the Saffire interface is known for its reliability and performance, you might encounter some common issues during your recording sessions. Here are some troubleshooting tips to help you resolve and prevent potential problems:
No Sound: If you are not getting any sound from your Saffire interface, double-check the connections. Make sure that all cables are securely plugged in and that the interface is properly powered. Verify that the input and output settings in your recording software are configured correctly, and that the Saffire interface is selected as the audio device.
Latency Issues: Latency can cause an audible delay between playing or singing a sound and hearing it through your headphones or speakers. To reduce latency, decrease the buffer size in your recording software’s settings, if possible. Closing unnecessary processes and applications on your computer can also help free up processing power for audio tasks.
Clipping or Distorted Sound: If your recordings sound distorted or have audible clipping, check the input levels on the Saffire interface. Ensure that the gain controls are set appropriately to avoid input levels that are too high. Adjust the levels so that the signal is strong and clear without going into the red zone on the level meters.
Audio Dropouts: Audio dropouts occur when there are interruptions or gaps in the audio playback or recording. This can be caused by insufficient processing power, an overloaded system, or inadequate buffer settings. Increase the buffer size in your recording software’s settings to allow for more processing time. Close other resource-intensive applications running in the background to free up resources.
Noise or Hum: If you encounter any unwanted noise or hum in your recordings, check for potential sources of interference. Avoid placing audio cables near power cables or other electrical devices, as this can cause interference. Using high-quality cables, properly grounding your equipment, and ensuring a clean power supply can also help minimize noise and hum issues.
Software Compatibility: Ensure that your Saffire interface is compatible with your operating system and the recording software you are using. Check for any available driver updates or software patches from the manufacturer’s website. It’s a good practice to keep your Saffire interface’s firmware and associated software up to date to ensure optimal performance and compatibility.
Read the User Manual: If you’re experiencing specific issues with your Saffire interface, referring to the user manual can provide valuable insights and troubleshooting steps specific to your model. The manual will often address common issues and guide you through resolving them effectively.
Contact Technical Support: If you have tried troubleshooting on your own and are still facing persistent issues, reach out to the manufacturer’s technical support for assistance. Their knowledgeable support team can often provide additional guidance and specialized troubleshooting steps to help resolve your specific issue.
Remember, troubleshooting is part of the recording process, and it’s normal to encounter occasional challenges. By following these troubleshooting tips and taking a systematic approach, you can overcome common issues and ensure a smooth and productive recording experience with your Saffire interface.
Conclusion
The Saffire audio interface is a powerful tool that empowers musicians, producers, and audio enthusiasts to capture professional-quality audio recordings. With its exceptional sound quality, versatile input options, and user-friendly features, the Saffire interface has become a popular choice for both beginners and experienced users.
In this comprehensive guide, we have covered the essential aspects of using the Saffire interface to record audio. We started by introducing the Saffire interface and its key features, highlighting its reliability and exceptional sound reproduction capabilities.
We then explored the process of setting up the Saffire interface, including installing drivers, connecting the interface to your computer, and powering it on. We also discussed the importance of choosing the right audio recording software that integrates well with the Saffire interface and meets your specific needs.
Next, we delved into connecting microphones and instruments to the Saffire interface, providing a step-by-step guide for making proper connections and adjusting input levels. We also touched on configuring audio input settings, including sample rate, buffer size, and monitoring options.
Knowing how to adjust levels and monitor audio is essential for capturing high-quality recordings. We provided tips on adjusting input levels, setting up headphone monitoring, and utilizing the various monitoring options offered by the Saffire interface.
We also discussed the process of recording audio with the Saffire interface, covering steps such as setting up your recording software, creating tracks, monitoring levels, and hitting the record button. Additionally, we shared tips for utilizing features like punch-in/punch-out and emphasized the importance of taking breaks and saving your work regularly.
To round things off, troubleshooting tips were provided to help you overcome common issues that may arise during your recording sessions. From troubleshooting sound issues to addressing latency problems and noise interference, these tips will assist you in resolving issues and optimizing your recording experience.
By following the guidance in this guide, you’ll have a solid understanding of how to leverage the capabilities of the Saffire audio interface to create professional-quality recordings. With proper setup, configuration, and troubleshooting knowledge, you can unleash your creativity, capture pristine audio, and achieve your artistic vision.
Remember, recording audio is both an art and a technical process, and practice makes perfect. So, grab your Saffire interface, connect your favorite microphones and instruments, and unleash your musical talents. Happy recording!