Home>Production & Technology>Audio Interface>What Is The Monitor Dial On Audio Interface
Audio Interface
What Is The Monitor Dial On Audio Interface
Modified: February 19, 2024
Learn what the monitor dial on audio interface does and how it enhances your audio experience. Find out why having an audio interface is crucial for professional sound production.
(Many of the links in this article redirect to a specific reviewed product. Your purchase of these products through affiliate links helps to generate commission for AudioLover.com, at no extra cost. Learn more)
Table of Contents
Introduction
An audio interface is an essential tool for musicians, producers, and audio professionals. It serves as the bridge between a computer or other digital devices and the analog world of sound. With the rise of home recording studios and the increasing quality of digital audio production, audio interfaces have become a crucial component of any setup.
When it comes to using an audio interface, there are various features and controls that users need to familiarize themselves with. One such control is the monitor dial. While it may seem like a small and insignificant knob, the monitor dial plays a vital role in the monitoring process and can greatly impact the overall audio experience.
In this article, we will dive into the world of audio interfaces and explore the purpose and importance of the monitor dial. We will discuss how it affects the monitoring process, how to adjust it correctly, and share some tips for optimizing its usage. So, let’s embark on this journey to uncover the mysteries of the monitor dial and enhance our understanding of audio interfaces.
Understanding an Audio Interface
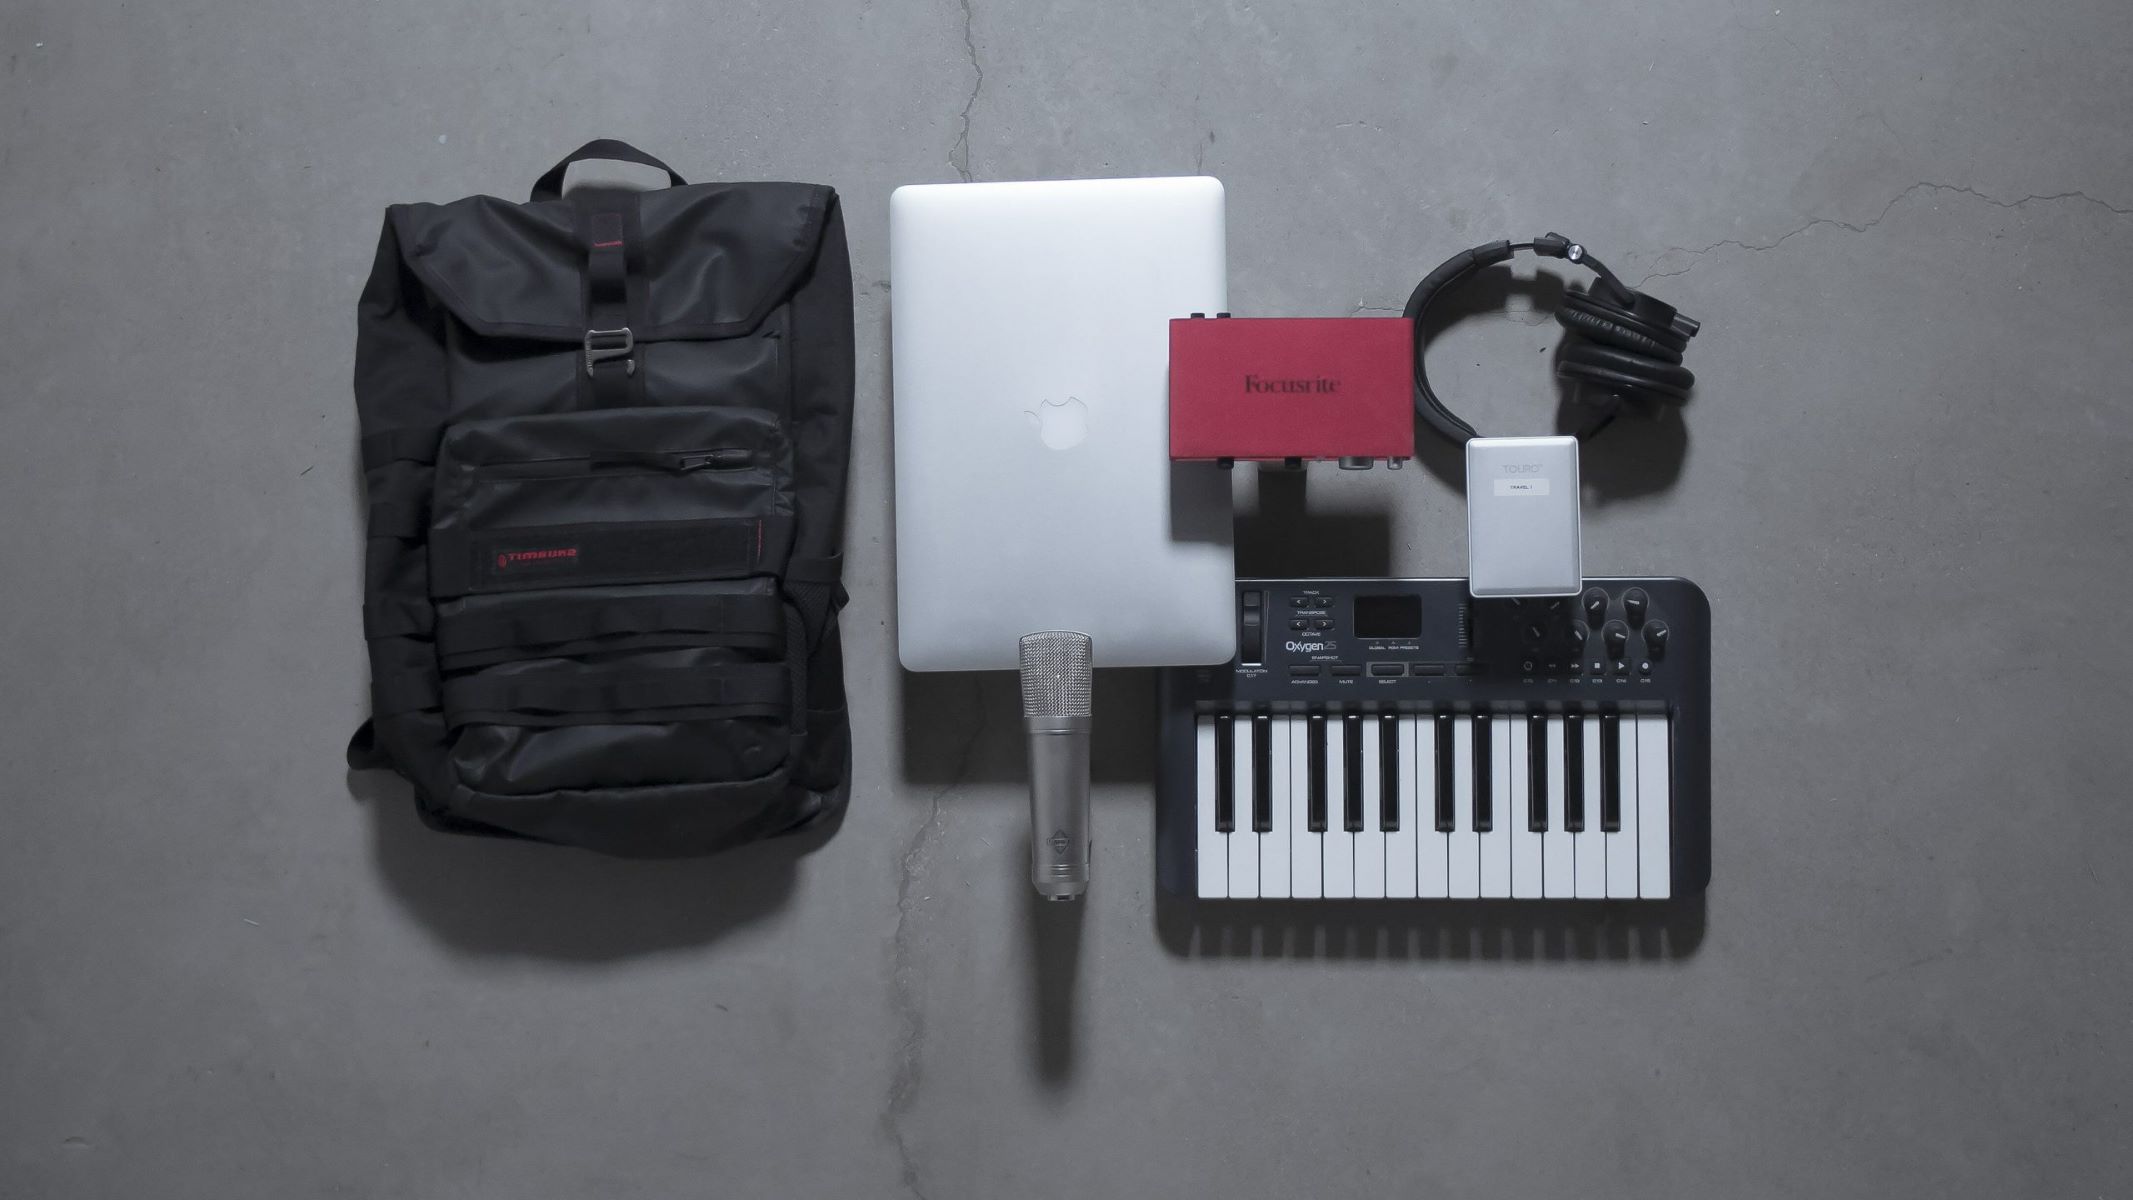
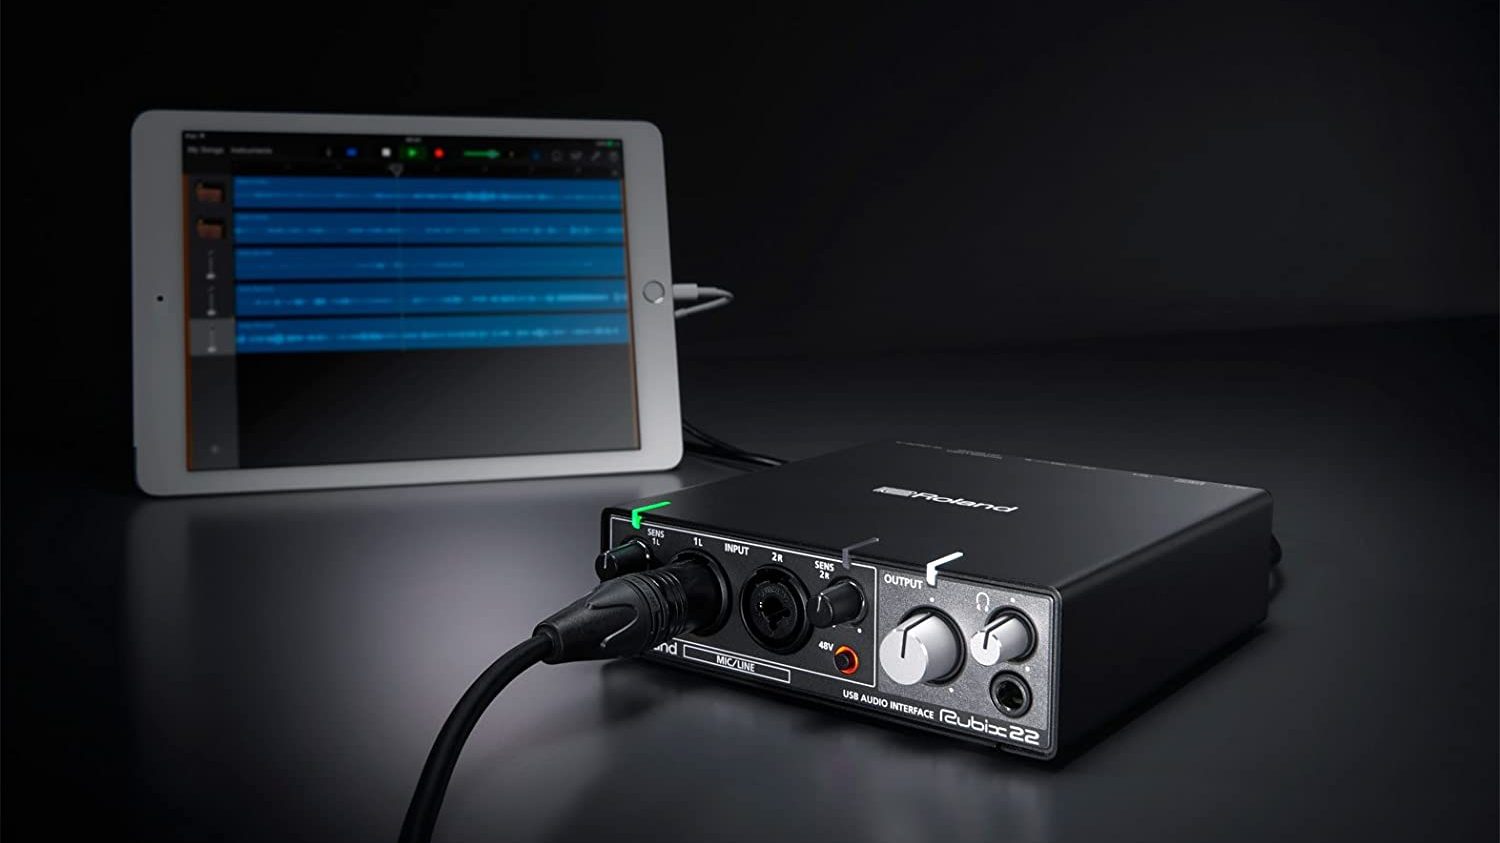
Before we delve into the specific details of the monitor dial, let’s first gain a basic understanding of what an audio interface is. An audio interface is a hardware device that connects musical instruments, microphones, and other audio sources to a computer or recording setup. It converts analog audio signals into digital data that can be processed and recorded on a computer.
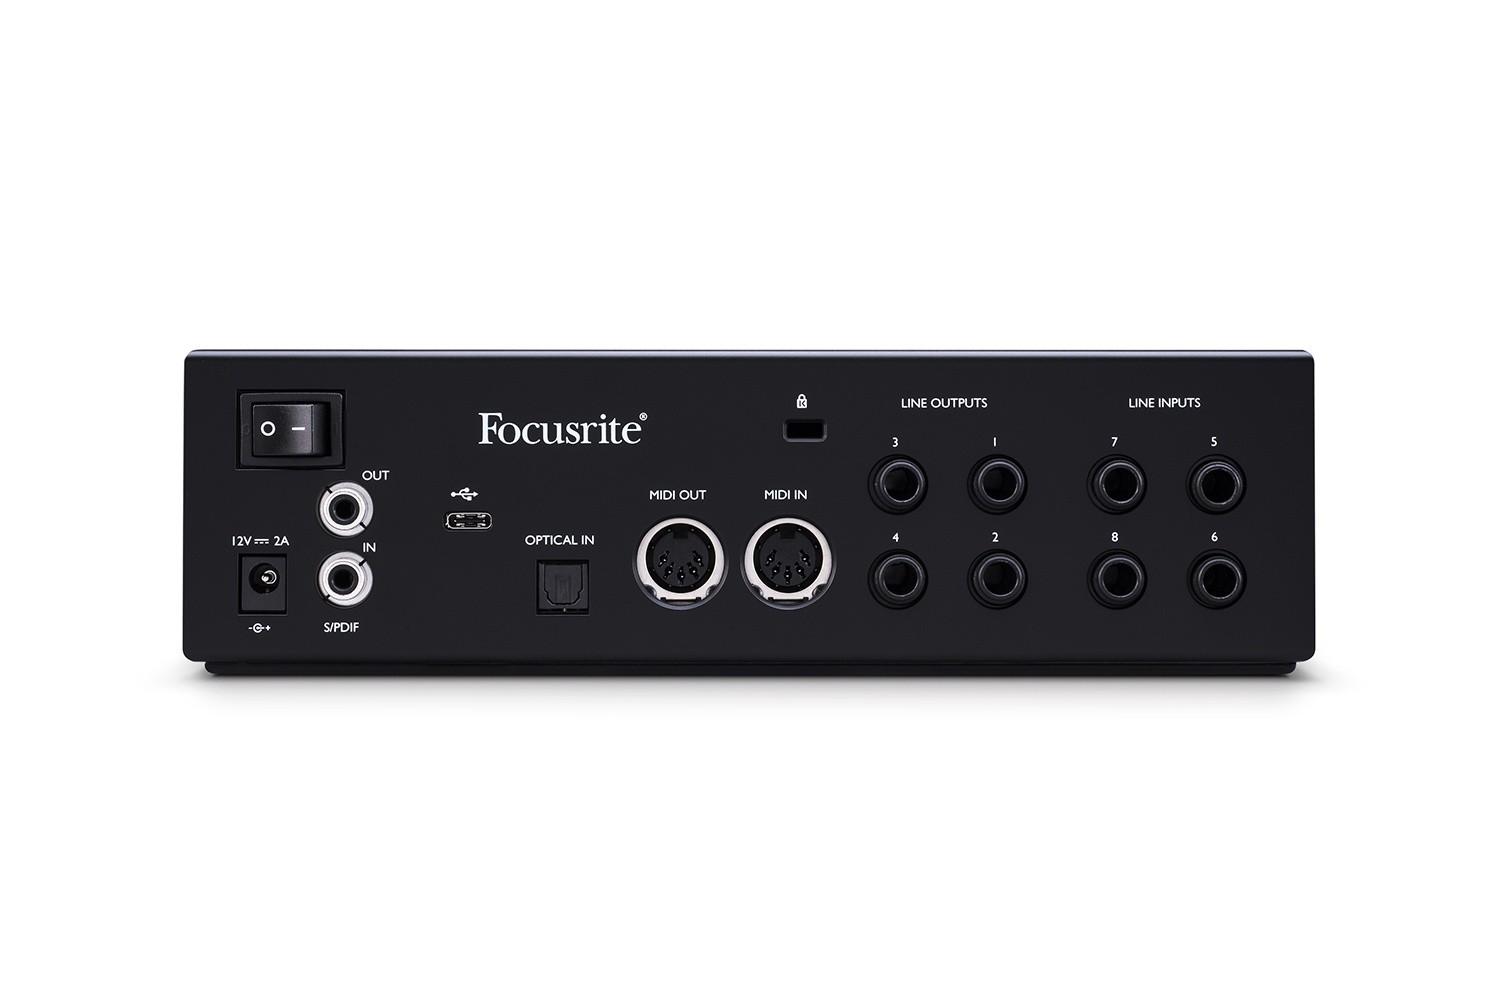
An audio interface typically features multiple inputs and outputs, allowing users to connect various audio sources and simultaneously monitor and record them. It serves as the intermediary between the physical world of sound and the digital realm of recording and production software.
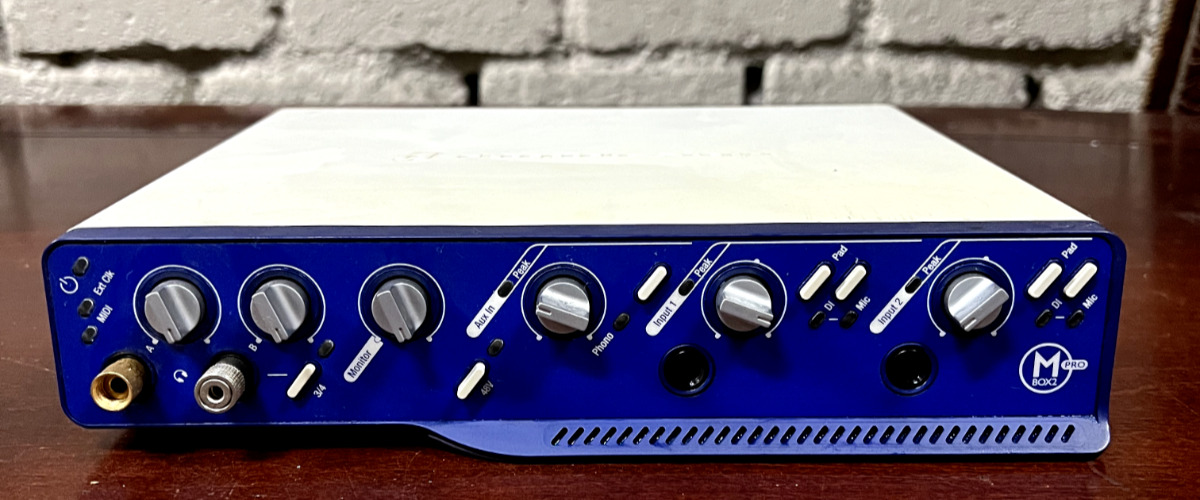
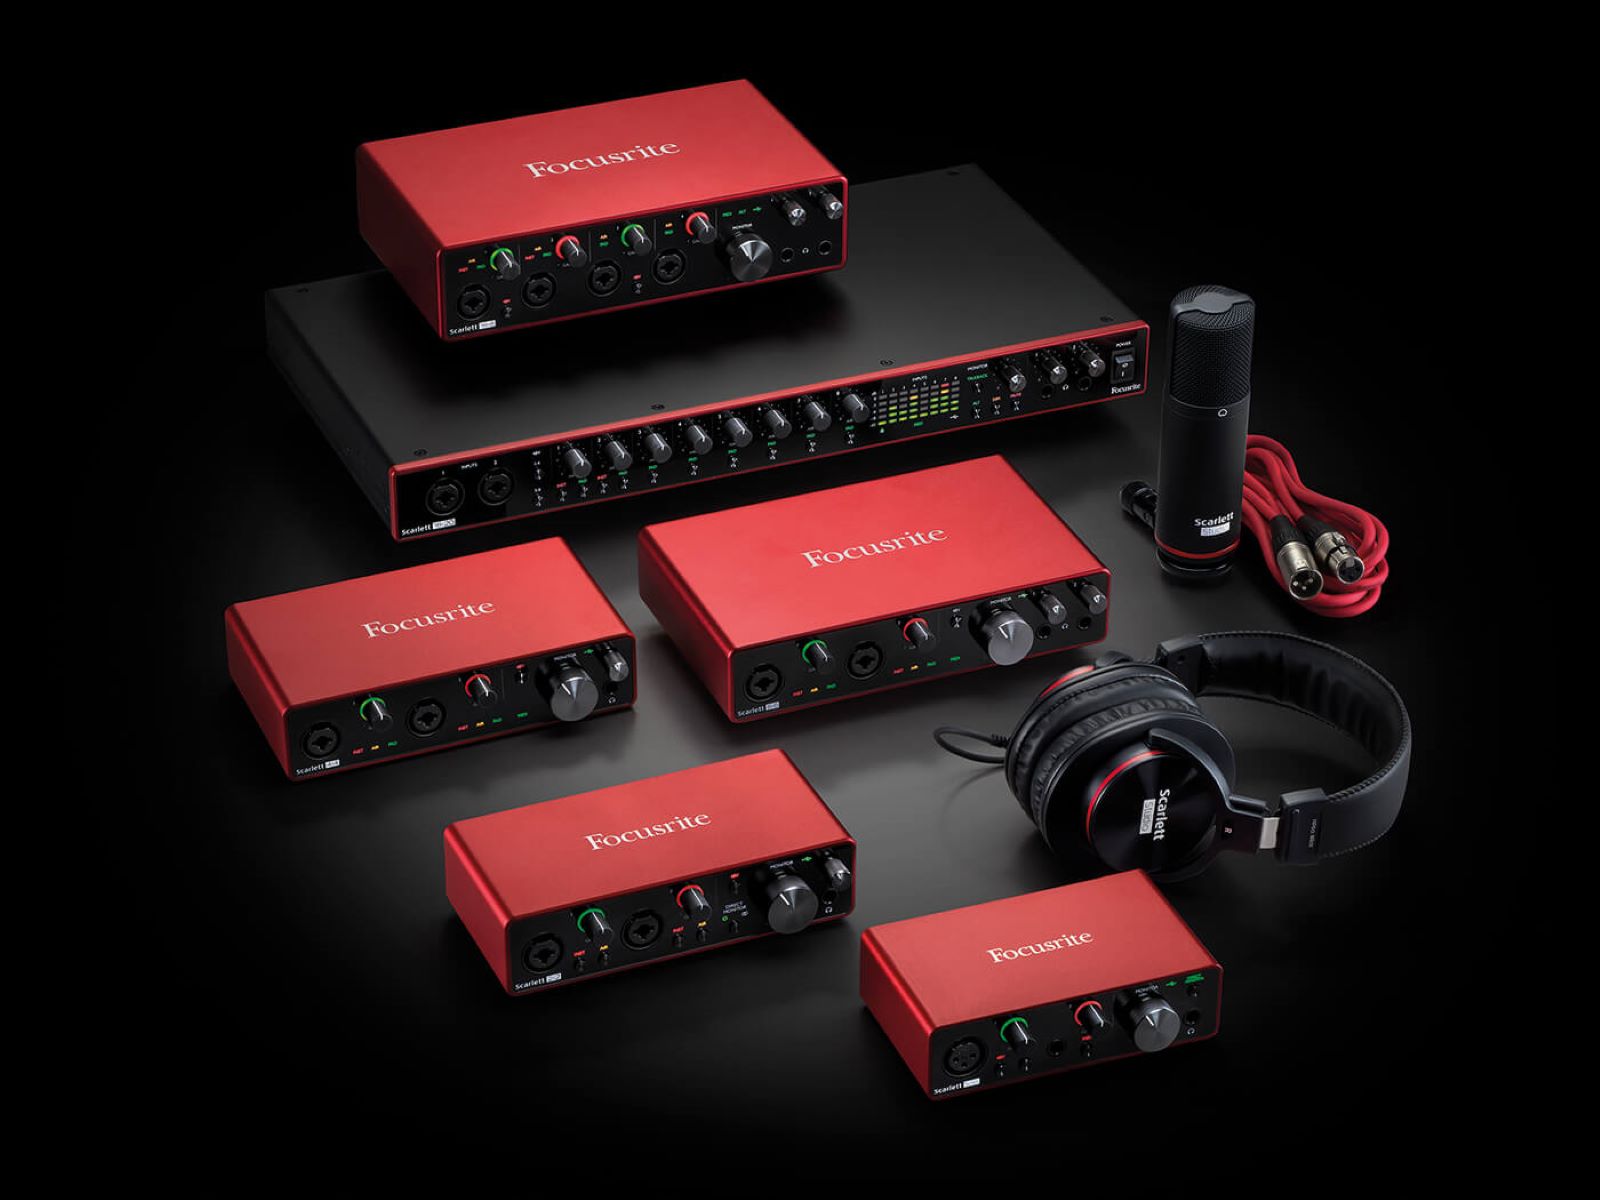
Audio interfaces come in different shapes and sizes, ranging from compact portable devices to larger rack-mounted units. They offer a wide range of connection options such as USB, FireWire, Thunderbolt, and PCIe, catering to different types of computers and setups.
In addition to the essential input and output connections, audio interfaces often include additional features like built-in preamps, phantom power for condenser microphones, headphone outputs, MIDI ports, and control knobs for adjusting input gain and output volume.
Now that we have a broad understanding of audio interfaces, let’s zoom in on one crucial control—the monitor dial.
What Is a Monitor Dial?
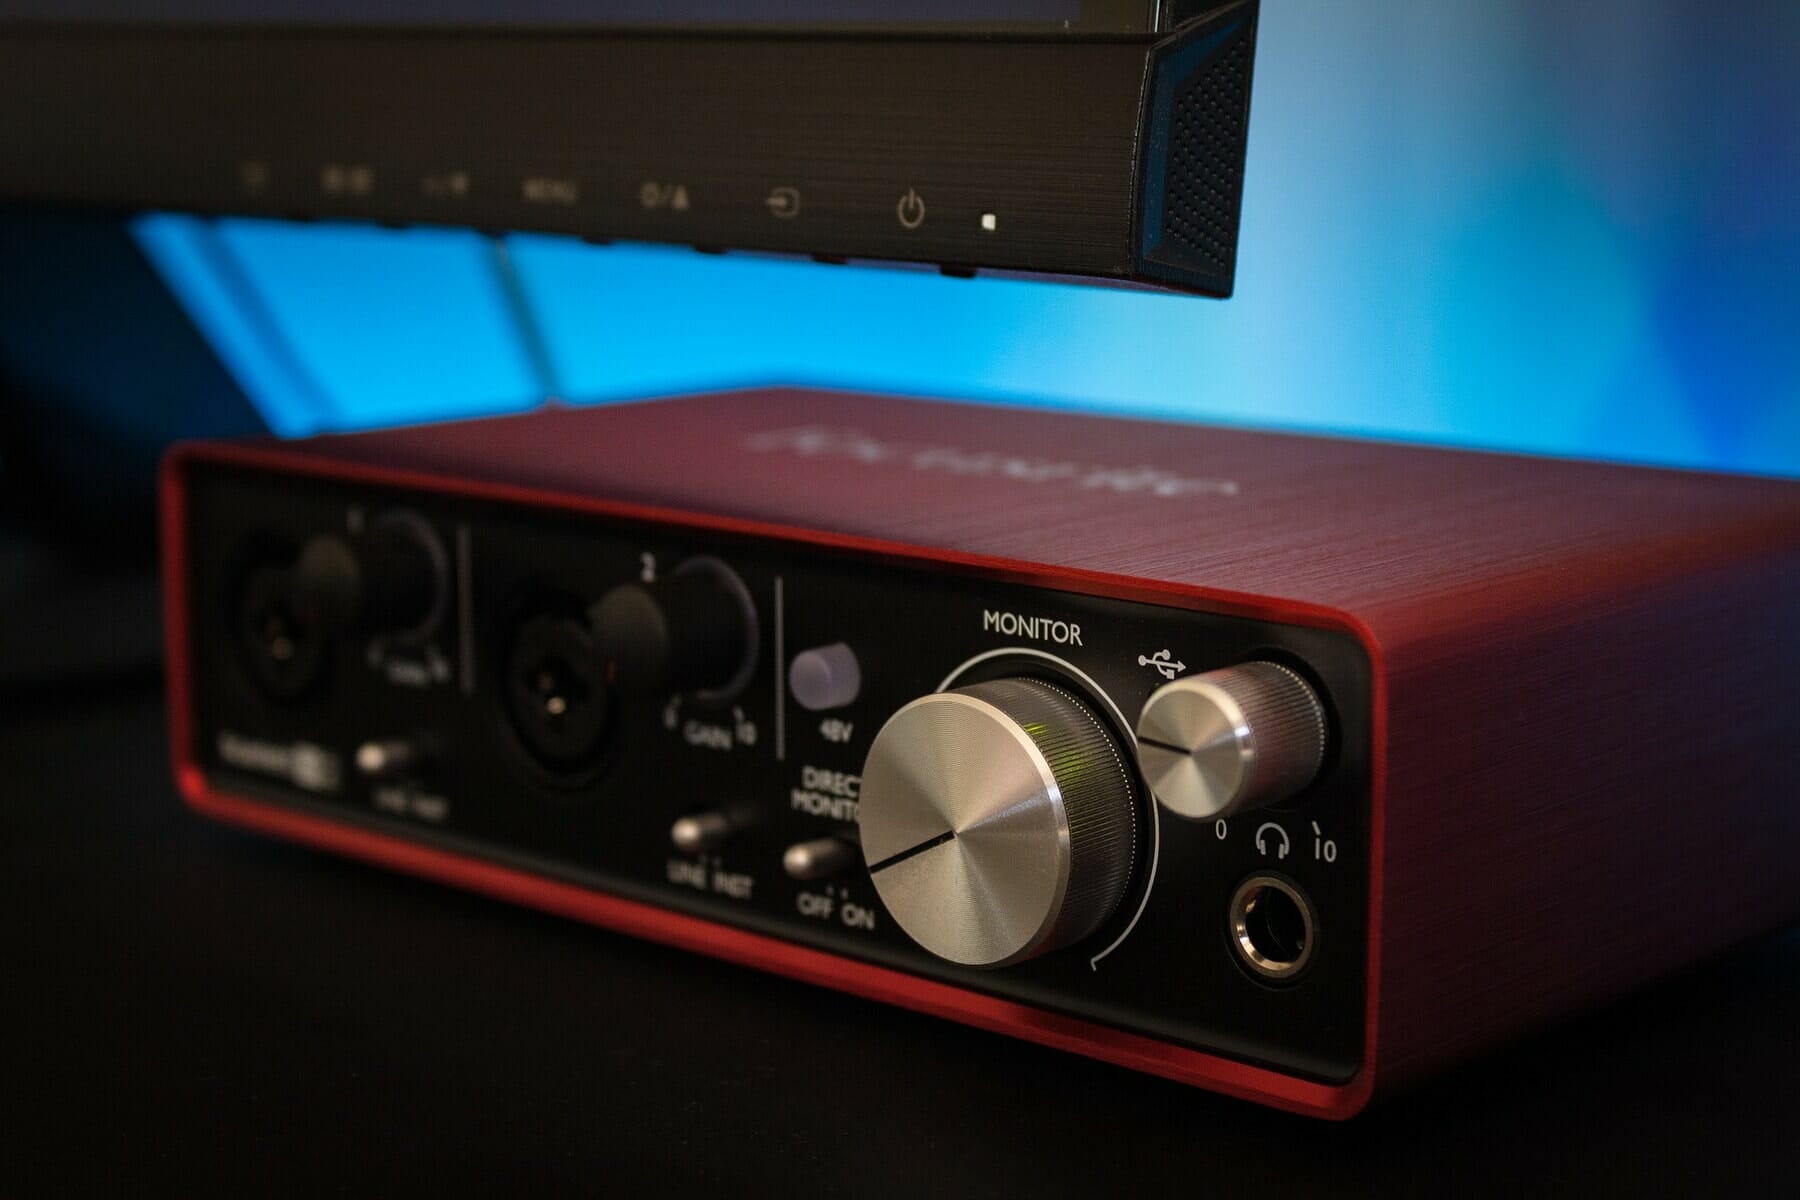
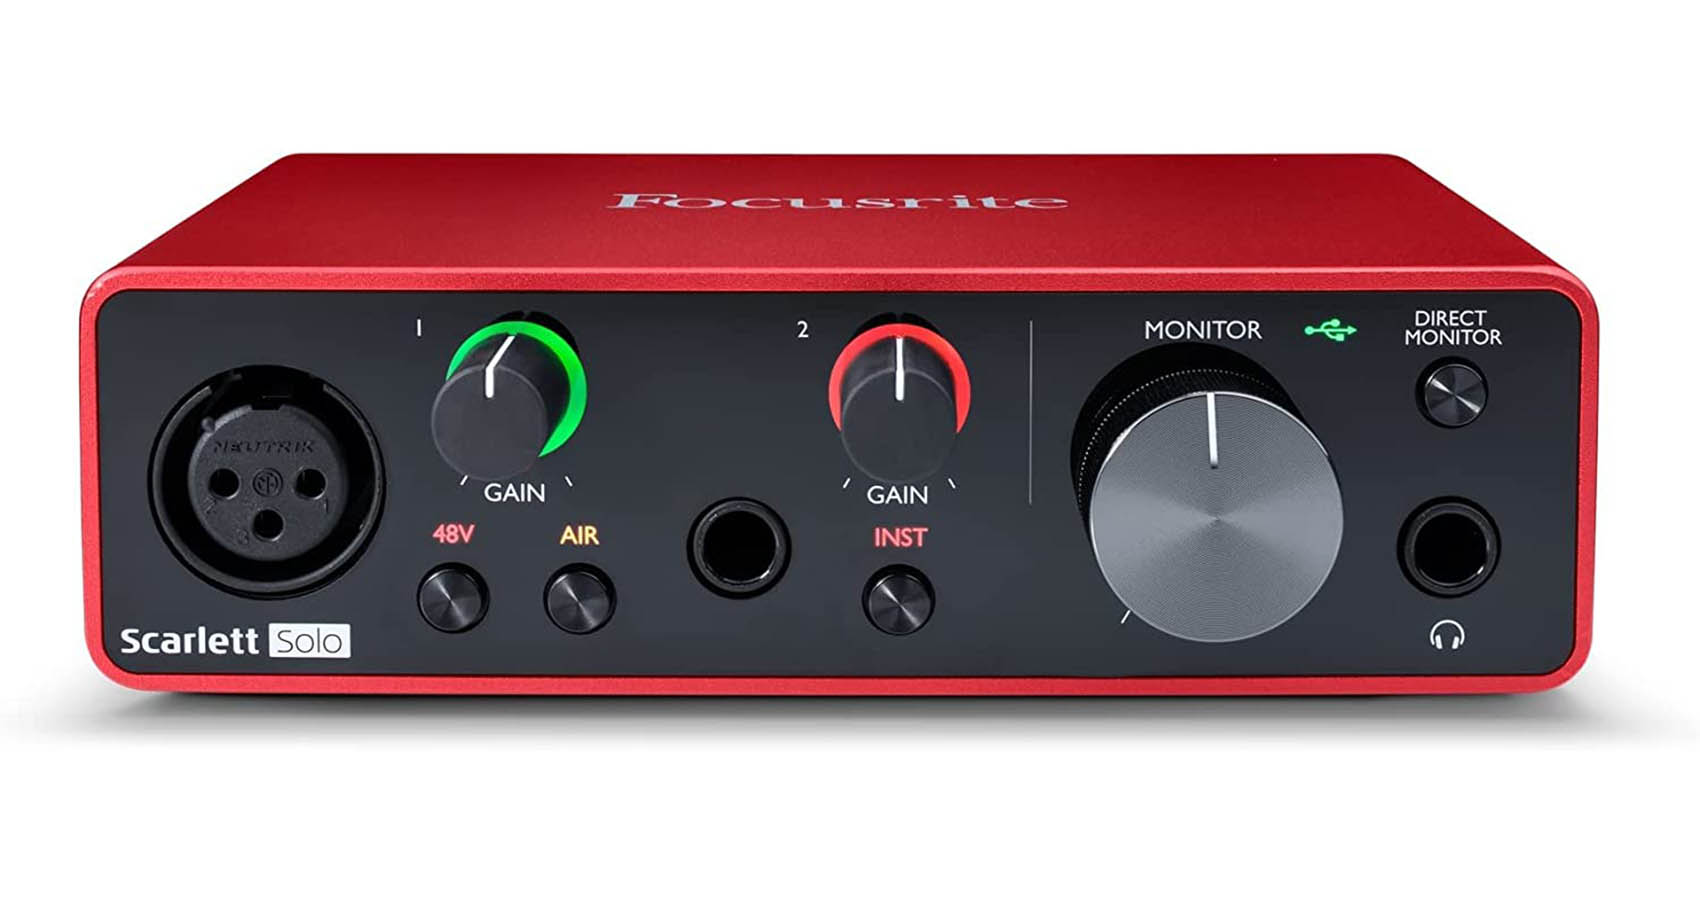
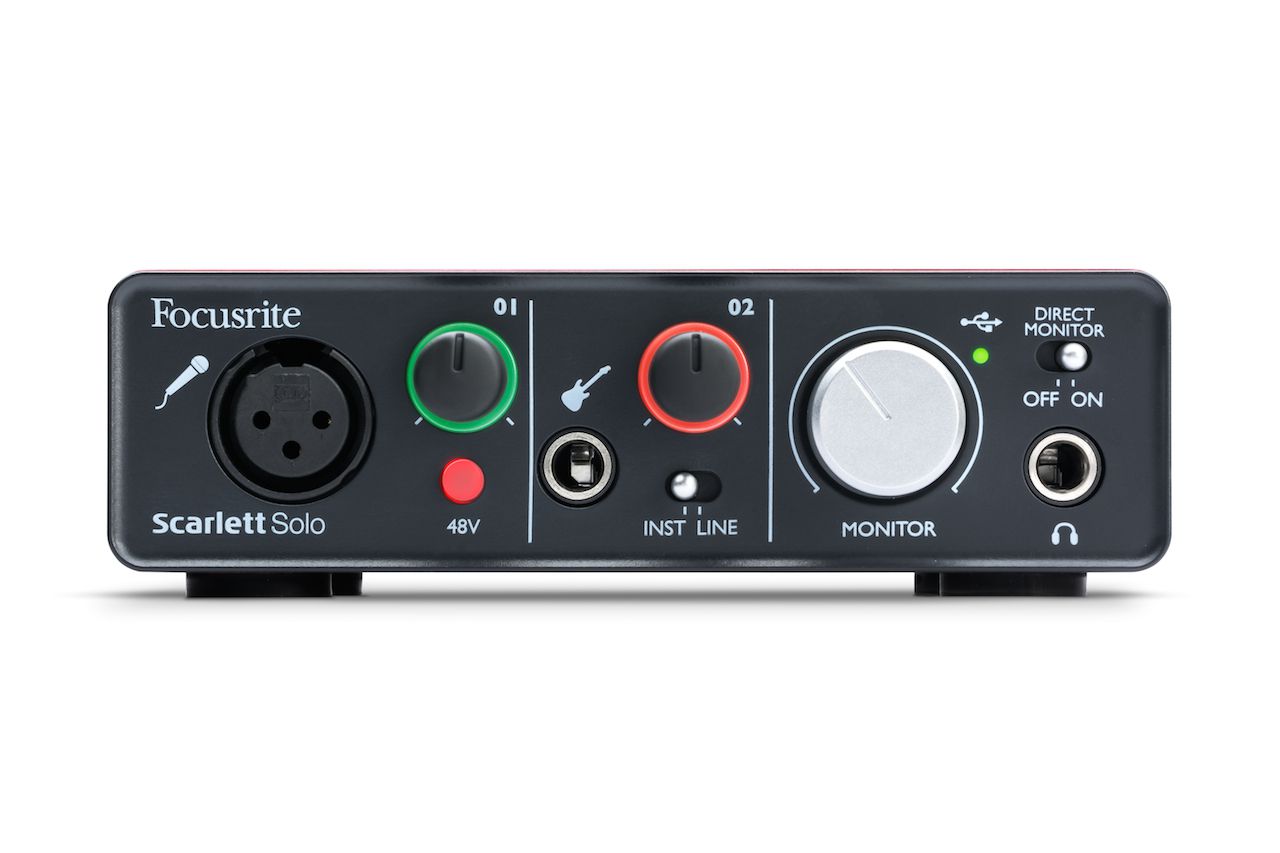
The monitor dial is a control knob found on most audio interfaces that allows users to adjust the volume of the monitor output. It determines the level at which the audio signals are played back through the connected speakers or headphones.
Think of the monitor dial as the master volume control for your audio interface. It serves as a crucial tool for achieving the perfect balance between the audio you are recording and the audio playback you are monitoring in real-time.
The monitor dial typically exists as a physical knob on the front panel of the audio interface, allowing for quick and convenient access. Some interfaces may also offer virtual monitor controls through software, but the physical dial is the most common and user-friendly implementation.
With the monitor dial, you can adjust the volume level of the monitor output independently from the input levels being recorded. This feature is particularly useful when you need to balance the volume of different audio sources or when you want to isolate certain signals for monitoring purposes.
It’s important to note that the monitor dial controls the playback volume after the audio has passed through the interface’s digital-to-analog converter (DAC). This means that adjusting the monitor dial does not affect the recorded levels or the signal going to your recording software. It only pertains to what you hear in real-time through your speakers or headphones.
Now that we understand what the monitor dial is and how it functions, let’s explore its significance in the monitoring process.
Importance of the Monitor Dial
The monitor dial plays a crucial role in the monitoring process when using an audio interface. Its importance cannot be overstated, as it directly affects the quality of your listening experience and the accuracy of your audio production.
One of the primary reasons the monitor dial is essential is its ability to control the volume of the monitor output independently from the recording input levels. This means you can adjust the playback volume to a comfortable level without affecting the recording levels. By having precise control over the monitor output, you can avoid any distortion or clipping issues and ensure the audio is reproduced accurately.
Another key aspect of the monitor dial’s importance is the ability to balance different audio sources. When you are recording multiple audio sources simultaneously, such as vocals, instruments, or external devices, the monitor dial enables you to adjust the levels of each source in the monitoring mix. This allows you to properly hear and evaluate the balance between instruments and vocals, ensuring a well-balanced mix in your recordings.
Additionally, the monitor dial can help you isolate specific signals during recording. In situations where you need to focus on a particular instrument or track, you can adjust the monitor dial to emphasize or attenuate that specific signal. This is particularly useful during live performances or when recording in a noisy environment, allowing you to clearly monitor the desired audio source without distraction.
Furthermore, the monitor dial provides a means for controlling the overall volume of your playback. Whether you are working on audio editing, mixing, or just listening to music, having quick and easy access to the monitor dial allows you to adjust the volume to your desired level without the need to rely on external volume controls.
Ultimately, the monitor dial is an essential tool for achieving accurate monitoring and ensuring the fidelity of your audio recordings. With its ability to control the monitor output volume independently and balance different audio sources, the monitor dial empowers you to create professional-grade recordings and mixes.
Now that we understand the significance of the monitor dial, let’s explore how to adjust it effectively.
Adjusting the Monitor Dial
Adjusting the monitor dial correctly is crucial for achieving optimal monitoring levels and ensuring an accurate listening experience. Here are some steps to help you adjust the monitor dial effectively:
- Start at a low volume: Begin by setting the monitor dial at a low volume level before playing any audio. This will prevent any sudden spikes in volume that may damage your speakers or cause discomfort.
- Play audio material: Choose a piece of audio material that represents the type of content you’ll be working with. It could be a song, a recording, or a test tone. Play the audio material at a moderate volume to establish a baseline for your monitoring.
- Gradually increase the volume: While playing the audio material, slowly increase the volume of the monitor dial until it reaches a comfortable listening level. Take care to avoid excessively high volumes, as this can distort the audio and potentially harm your ears.
- Monitor the balance: As you adjust the monitor dial, pay attention to the balance between different audio sources. Ensure that all the instruments and vocals are audible and well-balanced in the mix. Make any necessary adjustments to the individual input levels or monitor dial to achieve the desired balance.
- Consider the environment: Take into account the acoustics of your listening environment. Some spaces may have natural acoustic reflections or noise that can affect the perception of sound. Adjusting the monitor dial in relation to your environment can help compensate for any sonic irregularities.
- Refer to reference tracks: Use reference tracks of professionally mixed and mastered songs to compare the sound of your mix. Adjust the monitor dial to match the perceived volume levels of the reference tracks, aiming for a similar balance and dynamics.
- Make fine adjustments: Once you have set the initial volume level, fine-tune the monitor dial as needed during your work session. Pay attention to any changes in the audio material or mixing elements that may require adjustments in the monitoring levels.
By following these steps and being mindful of your listening environment, you can effectively adjust the monitor dial to achieve optimal monitoring levels for your audio projects.
Next, let’s explore how the monitor dial allows us to monitor different audio sources through an audio interface.
Monitoring Different Audio Sources
One of the advantages of an audio interface with a monitor dial is the ability to monitor different audio sources. This feature is particularly useful when recording multiple instruments, vocals, or external devices simultaneously. Let’s explore how the monitor dial enables us to monitor these various audio sources:
Individual Source Monitoring: The monitor dial allows you to adjust the volume level of each audio source independently. This means you can control the playback volume of each instrument, vocal track, or external device separately, ensuring that you can hear each source clearly and make necessary adjustments during recording or mixing.
Mixing and Blending: When working on a mix, the monitor dial offers the flexibility to blend the different audio sources together for a cohesive sound. By carefully adjusting the monitor dial, you can find the right balance between instruments, vocals, and other elements in your mix. This allows you to create a well-rounded and polished sound that complements the overall composition.
Signal Isolation: The monitor dial also enables you to isolate specific audio sources during recording or playback. This is particularly beneficial when you need to focus on one instrument or vocal track, allowing you to hear it clearly and make intricate adjustments without being overwhelmed by other sounds in the mix. This level of control ensures precision and accuracy in your recordings and edits.
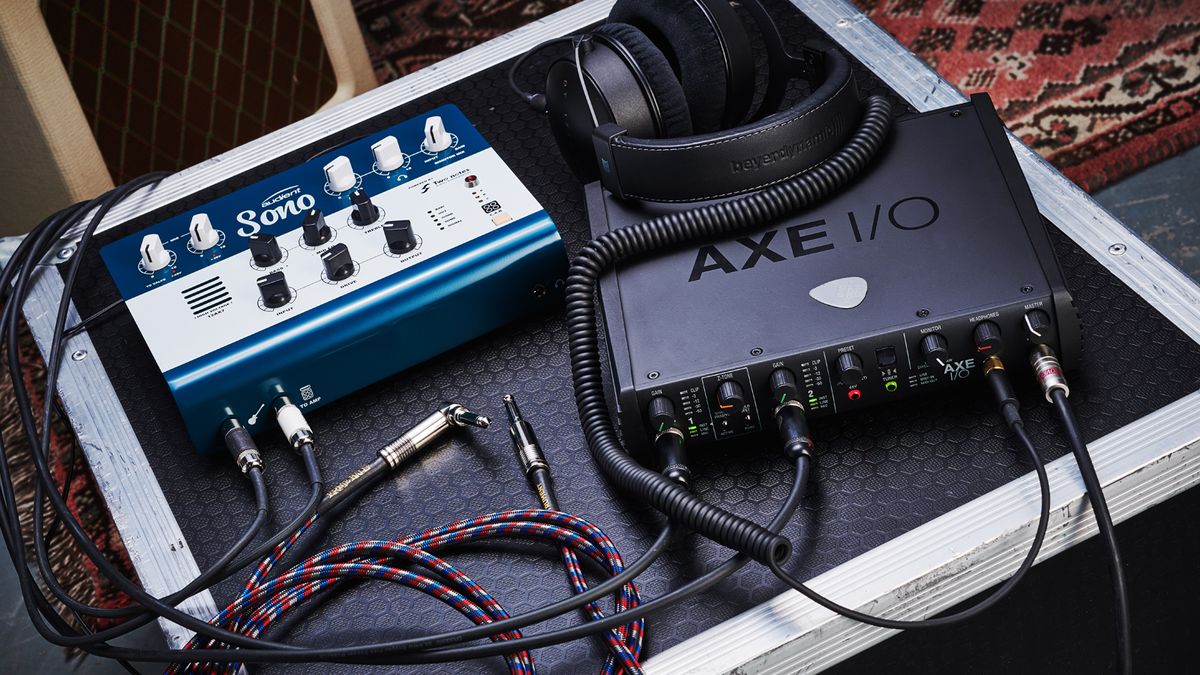
Monitoring External Devices: Audio interfaces often allow you to connect external devices such as synthesizers, drum machines, or DJ mixers. The monitor dial allows you to control the volume of these external devices in the mix. By adjusting the monitor dial, you can ensure that the levels of the external devices are properly balanced with the other audio sources in your setup.
Being able to monitor different audio sources through the monitor dial provides flexibility and control over your recordings and mixes. It allows you to focus on specific elements, blend them together seamlessly, and ensure an accurate representation of the sound you are creating.
Now that we understand how the monitor dial facilitates monitoring different audio sources, let’s explore some tips for optimizing its usage.
Tips for Using the Monitor Dial
Using the monitor dial effectively can greatly enhance your audio monitoring experience and improve the overall quality of your recordings and mixes. Here are some tips to help you optimize the usage of the monitor dial:
1. Set a comfortable listening level: Start by setting the monitor dial at a volume level that is comfortable for extended periods of listening. Avoid listening at excessively high volumes, as it can lead to ear fatigue and potentially damage your hearing.
2. Use reference tracks: Refer to well-mixed and mastered reference tracks in your genre to compare the sound of your mix. Adjust the monitor dial to match the perceived volume levels and balance of these reference tracks, ensuring your mix maintains similar quality and dynamics.
3. Regularly take breaks: To maintain an accurate perception of sound, it’s important to take regular breaks from monitoring. Prolonged listening without breaks can lead to ear fatigue and compromise your ability to make precise adjustments. Give your ears periodic rests to maintain objectivity.
4. Consider the acoustics of your room: Take into account the acoustic characteristics of your listening environment, as it can influence the way sound is perceived. Adjust your monitor dial accordingly to compensate for any reflections, resonances, or sonic irregularities in your room.
5. Experiment with different monitor dial positions: Don’t be afraid to explore different monitor dial positions to find the sweet spot for your listening preference. Small adjustments can make a significant difference in the clarity and balance of your audio sources.
6. Regularly calibrate your system: Perform periodic calibration of your audio interface and monitor setup to ensure accurate monitoring levels. This involves using a calibration tool or software to measure and adjust the output levels to a standardized reference point.
7. Trust your ears: While technical guidelines can be helpful, remember that your ears are the ultimate judge. If something doesn’t sound right, trust your instincts and make adjustments to the monitor dial accordingly.
By following these tips and developing a keen ear for monitoring, you can make the most of the monitor dial and achieve professional-grade audio results.
Now, let’s summarize what we’ve covered in this article.
Conclusion
The monitor dial is a vital control on an audio interface that allows for adjusting the volume of the monitor output. It plays a crucial role in achieving optimal monitoring levels, balancing audio sources, and ensuring accurate listening experiences.
Throughout this article, we have explored the purpose and importance of the monitor dial. We have learned that it enables independent control of the monitor output volume, allowing for comfortable listening without affecting recording levels. We’ve also seen how it can balance different audio sources, isolate specific signals, and monitor external devices, enhancing our ability to create professional-quality recordings and mixes.
Adjusting the monitor dial requires starting at a low volume, gradually increasing it to a comfortable level, and monitoring the balance between audio sources. It’s essential to consider room acoustics, refer to reference tracks, and take breaks to maintain accurate perception. By following these guidelines and trusting our ears, we can optimize our monitoring experience and achieve accurate and pleasing results.
The monitor dial is just one of the many controls on an audio interface, but its significance should not be underestimated. It serves as the gateway to our audio world, allowing us to hear and shape our recordings in real-time. By understanding and mastering the monitor dial, we unlock the potential to create exceptional music, podcasts, videos, and other audio projects.
So, next time you sit down to record, mix, or produce, remember the power of the monitor dial and utilize it to its fullest potential. Happy monitoring!