Home>Production & Technology>Audio Interface>What Is The Proper Gain Setting On The Audio Interface
Audio Interface
What Is The Proper Gain Setting On The Audio Interface
Modified: February 16, 2024
Discover the proper gain setting on your audio interface to optimize sound quality and prevent distortion. Expert tips and advice for setting up your audio interface.
(Many of the links in this article redirect to a specific reviewed product. Your purchase of these products through affiliate links helps to generate commission for AudioLover.com, at no extra cost. Learn more)
Table of Contents
Introduction
Welcome to the world of audio interfaces! In today’s digital age, where the possibilities for recording and producing music are endless, having a good quality audio interface is essential. Whether you are a musician, podcaster, or content creator, the audio interface is the bridge that connects your instruments or microphones to your computer, ensuring the highest quality audio recordings.
When using an audio interface, one crucial aspect to consider is the gain setting. Properly setting the gain on your audio interface is essential for achieving optimal audio quality and avoiding unwanted noise or distortion in your recordings. Understanding the purpose of gain, the different types of gain control, and how to set the appropriate gain level can significantly impact your recording and mixing process.
In this article, we will explore the importance of gain setting on audio interfaces and provide practical tips to help you achieve the proper gain for your recordings. So, let’s dive in and uncover the mysteries of gain on audio interfaces!
Importance of Gain Setting on Audio Interfaces
The gain setting on an audio interface plays a crucial role in capturing the optimal audio levels from your microphones or instruments. It determines the amount of amplification applied to the incoming signal, ensuring that the audio is neither too quiet nor too loud. Here are a few reasons why the gain setting is so important:
- Signal-to-Noise Ratio: Proper gain setting helps maintain a good signal-to-noise ratio, which is the ratio between the desired audio signal and the background noise. If the gain is set too low, the recorded signal may be too quiet, leading to an increased noise floor. On the other hand, if the gain is set too high, it can introduce unwanted noise and distortion to the recording.
- Preventing Clipping: Clipping occurs when the audio signal exceeds the maximum level that the interface can handle, resulting in distortion and a harsh, unpleasant sound. By setting the gain appropriately, you can ensure that the signal neither clips nor remains too low, allowing for a clean and distortion-free recording.
- Dynamic Range: The gain setting helps capture the full dynamic range of your audio source. Dynamic range refers to the difference between the quietest and loudest parts of the audio signal. By setting the gain properly, you can ensure that the delicate nuances and quiet details in your recordings are captured accurately, without sacrificing the impact of louder sections.
- Compatibility with Plugins: When mixing and processing audio, plugins are often used to enhance and shape the sound. If the gain level is mismatched, it may affect how these plugins respond and can lead to inaccurate adjustments, affecting the overall mix quality. Setting the gain correctly ensures that plugins work optimally and produce the desired results.
- Consistency and Workflow: Maintaining consistent gain levels across multiple recording sessions or different tracks is important for achieving a cohesive and balanced mix. By establishing proper gain settings, you can maintain consistency throughout your projects, making it easier to achieve a professional-sounding mix.
Understanding the importance of gain setting on audio interfaces is fundamental for achieving optimal audio quality and avoiding common recording pitfalls. In the next section, we will dive deeper into understanding gain and its different types of control on audio interfaces.
Understanding Gain
Before we delve into the different types of gain control on audio interfaces, let’s take a moment to understand what exactly gain is. In the context of audio interfaces, gain refers to the amount of amplification applied to an incoming audio signal.
Essentially, gain acts as a volume control for your microphone or instrument signal. It determines how much the signal is boosted or attenuated before it reaches the recording software or digital audio workstation (DAW). This amplification allows you to capture the desired level of audio, ensuring that it is neither too quiet nor too loud.
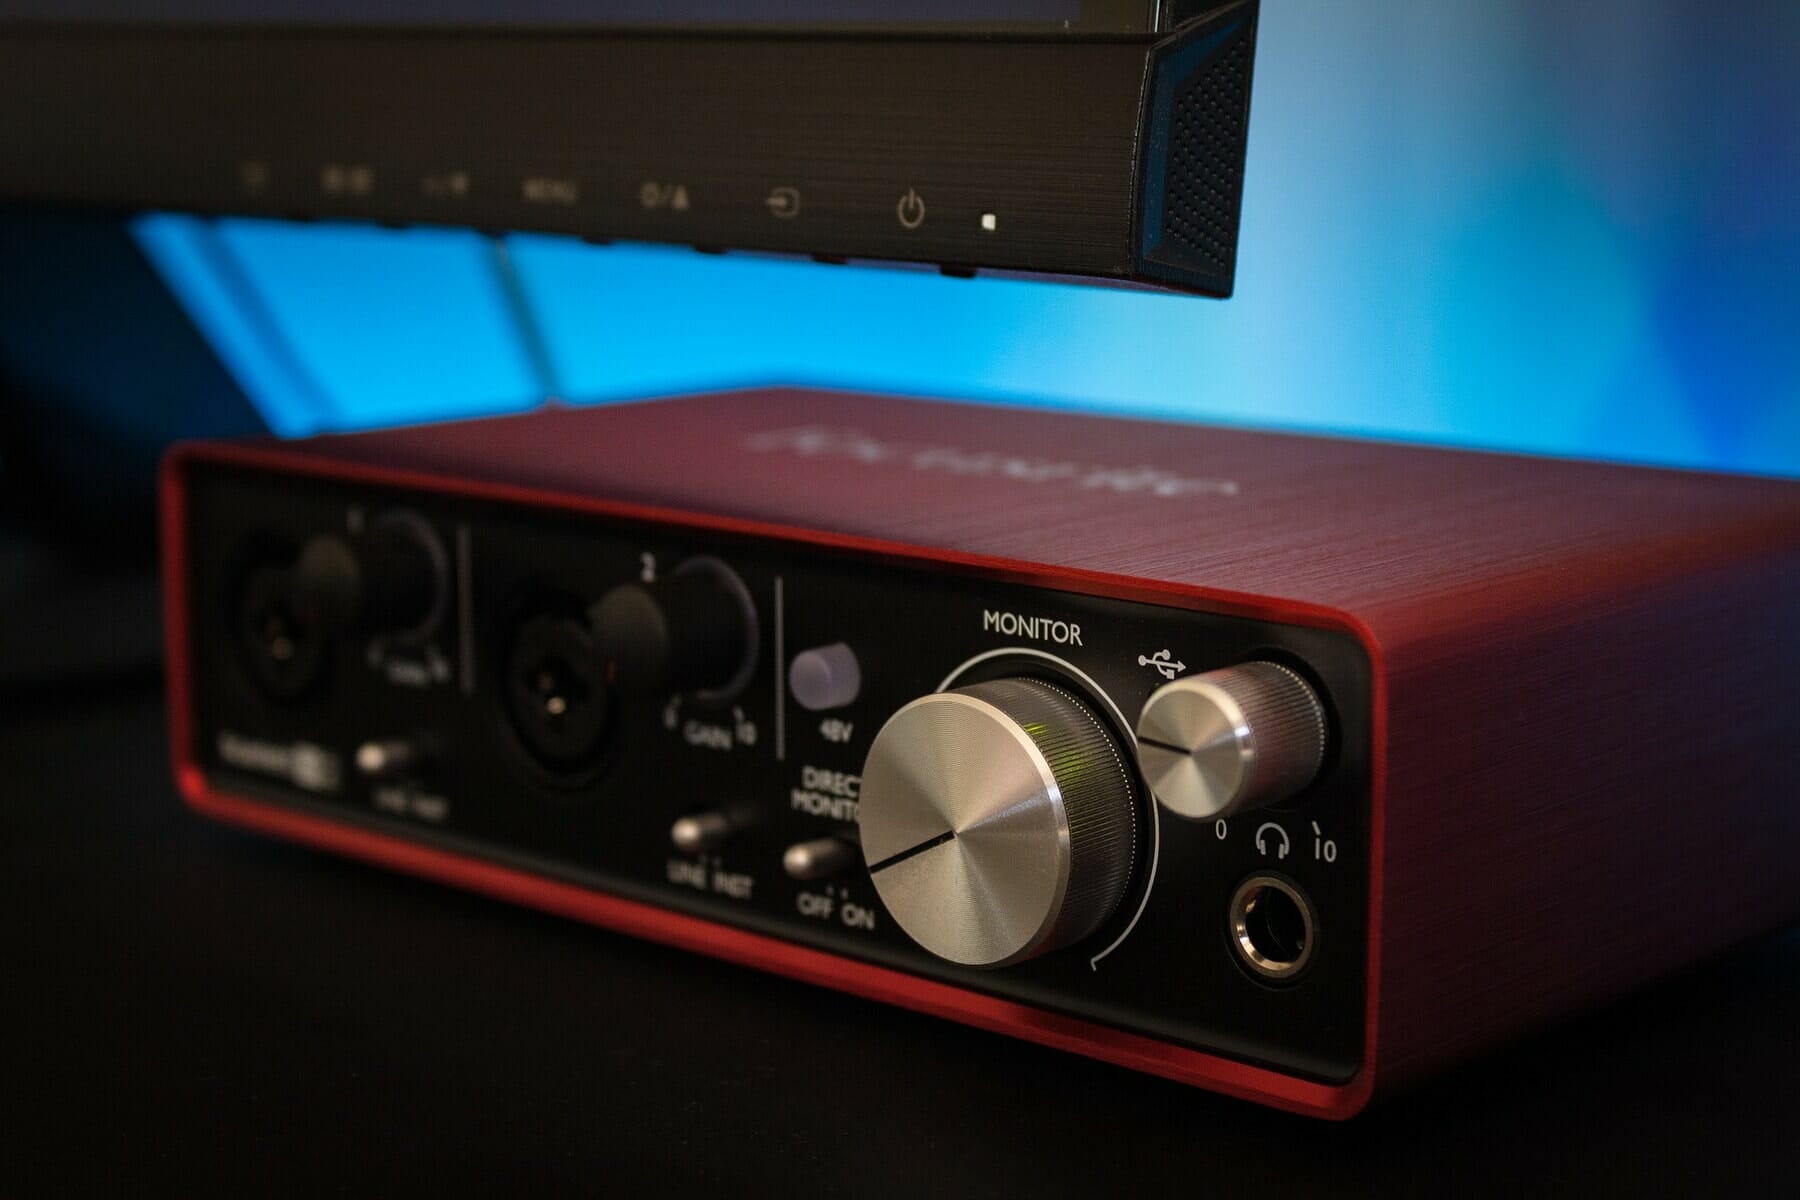
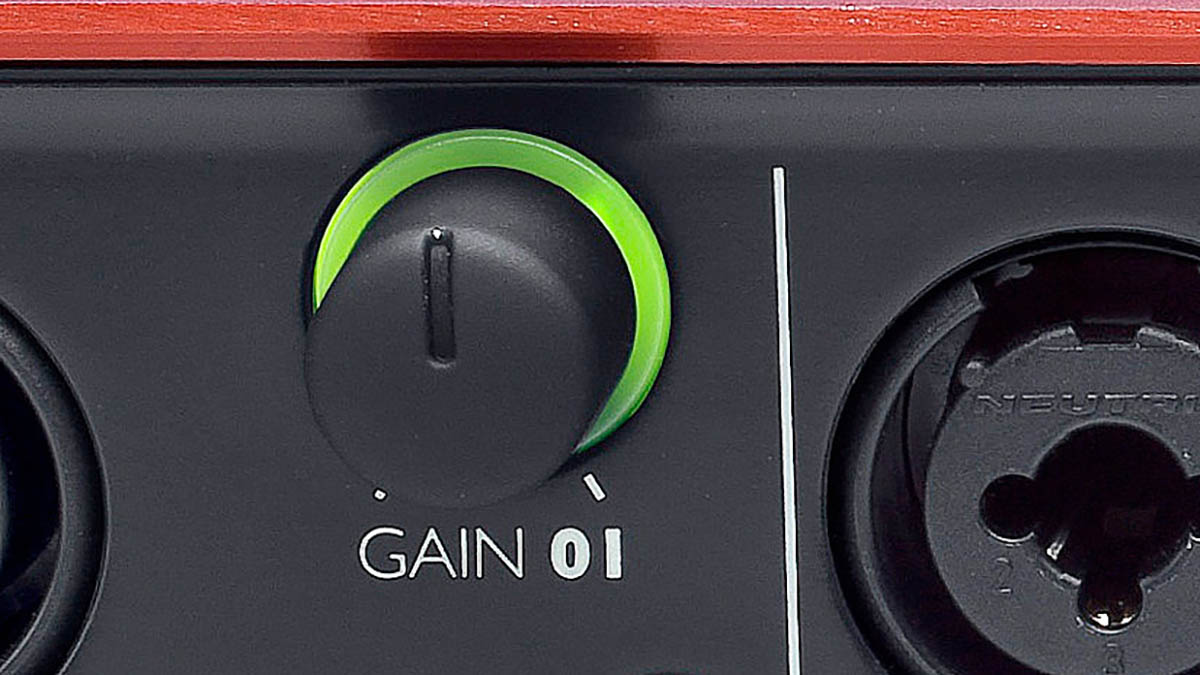
The gain control on an audio interface is typically represented by a knob or slider labeled “Gain,” “Preamp,” or “Trim.” Adjusting this control increases or decreases the gain value. Turning the control clockwise increases the gain, making the audio signal louder, while turning it counterclockwise decreases the gain, resulting in a quieter signal.
It’s important to note that gain is not the same as volume. While gain adjusts the level of the incoming signal, volume controls the output level. Think of gain as the first stage of amplification, happening at the interface level, and volume as the final stage of control, adjusting the output level of the audio signal.
Understanding gain is crucial because it allows you to achieve the optimal signal level without introducing unwanted noise, distortion, or clipping. It is important to strike a balance between amplifying the signal enough to capture the desired audio content and avoiding excessive gain that can result in audio degradation.
Next, let’s explore the different types of gain control commonly found on audio interfaces, which will help you further refine your understanding of gain and its applications.
Types of Gain Control on Audio Interfaces
Audio interfaces typically offer different types of gain control options to accommodate various recording scenarios and equipment setups. Let’s take a closer look at the most common types of gain control found on audio interfaces:
- Input Gain: This type of gain control is used to adjust the level of the incoming signal from microphones, instruments, or line-level sources. It allows you to set the appropriate gain for each input channel of your audio interface. Input gain controls are usually located near the input connectors of the interface and are adjusted individually for each channel.
- Master Gain: Some audio interfaces feature a master gain control that adjusts the overall gain level for all input channels simultaneously. It can be useful when you want to make global adjustments to the input gain levels or maintain consistent gain settings across multiple channels.
- Software Gain Control: Many audio interfaces also offer software-based gain control. This allows you to adjust the gain levels directly from your recording software or DAW. Software gain control provides additional flexibility and convenience, as you can fine-tune the input gain settings digitally without needing to reach for the physical gain knobs or sliders on the interface.
- Pad Switch: Some audio interfaces include a pad switch, which reduces the gain by a fixed amount, usually by 10 or 20 decibels. The pad switch is particularly useful when recording loud sources, such as electric guitars or drums, as it prevents the signal from overpowering the interface’s preamp and avoids clipping.
- Hi-Z Switch: A Hi-Z switch, also known as a high-impedance switch or instrument switch, is often found on audio interfaces designed for recording electric guitars, basses, or other high-impedance instruments directly. When engaged, the Hi-Z switch matches the impedance of the instrument, ensuring optimal signal transfer and maintaining the instrument’s tonal characteristics.
Understanding the different types of gain control on audio interfaces gives you the flexibility to adapt to various recording situations and optimize the gain settings for different instruments and microphones. In the next section, we will discuss the recommended gain setting for recording to help you achieve the best audio quality in your recordings.
Recommended Gain Setting for Recording
Setting the proper gain level on your audio interface is crucial for capturing high-quality recordings. While the specific gain setting may vary depending on the audio source, here are some general guidelines to help you achieve the recommended gain level:
- Avoid Clipping: The first rule of setting gain is to avoid clipping. Clipping occurs when the audio signal exceeds the maximum level that the interface can handle, resulting in distortion. To prevent clipping, set the gain level such that the loudest parts of the audio signal just reach the maximum level without going over. This ensures a clean and distortion-free recording.
- Provide Adequate Headroom: Leaving some headroom in your recordings is important to maintain dynamic range and avoid digital distortion. Aim to set the gain level so that the peaks of the audio signal are around -12 dB to -6 dB. This allows enough room for processing and mixing without introducing unwanted artifacts.
- Optimize Signal-to-Noise Ratio: Setting the gain level too low can result in a low signal-to-noise ratio, where the desired audio signal is masked by background noise. On the other hand, setting the gain level too high can introduce unnecessary noise. Find the sweet spot where the desired audio is sufficiently amplified while keeping the noise floor as low as possible.
- Consider Microphone Sensitivity: Different microphones have different sensitivity levels. Some microphones may require more gain to capture a suitable signal level, while others may be more sensitive and require less gain. Be mindful of the microphone’s specifications and adjust the gain accordingly to achieve an optimal signal level.
- Experiment and Trust Your Ears: While the guidelines mentioned above can be helpful, it’s important to trust your ears and use them as the ultimate judge. Every recording scenario is unique, and what works for one instrument or microphone may not work for another. Experiment with different gain settings and listen carefully to achieve the desired sound.
Remember, the recommended gain setting may vary based on the specific equipment and recording environment. It’s always a good practice to test and adjust the gain levels before committing to a full recording to ensure optimal results.
In the next section, we will discuss gain staging, which is essential for maintaining optimal signal levels throughout the recording and mixing process.
Gain Staging
Gain staging is the process of managing and optimizing the gain levels at each stage of your audio signal path, from the source to the final output. It involves setting appropriate gain levels at different points in the signal chain to achieve optimal signal-to-noise ratio and prevent unnecessary distortion.
Proper gain staging is crucial because it ensures that the audio signal maintains its integrity and fidelity throughout the recording and mixing process. Here are some key aspects to consider when it comes to gain staging:
- Input Gain: Set the input gain on your audio interface to capture the desired signal level without clipping or excessive noise. This is the first stage of gain staging and directly affects the quality of the recorded signal.
- Processing and Effects: When applying processing and effects plugins to your audio, such as compression or EQ, it’s important to pay attention to their input and output gain controls. Adjust these controls to maintain consistent signal levels, ensuring that the processing is applied properly and without introducing unwanted artifacts or distortion.
- Track Faders: During the mixing process, use the track faders in your DAW to balance the levels of individual tracks. This allows you to create a well-balanced mix and ensures that no track is too loud or too quiet in relation to the others.
- Master Output: Finally, pay attention to the master output level. Adjust the output gain or master fader in your DAW to achieve the desired overall volume. Be mindful of maintaining headroom to avoid digital clipping and allow for mastering or further processing down the line.
By paying attention to gain staging, you can optimize the dynamic range, maintain clarity, and prevent excessive noise or distortion throughout your audio signal path.
It’s important to note that gain staging is a balancing act, and different genres or recording styles may require different approaches. Trust your ears and make adjustments as needed to achieve the desired sonic outcome.
In the next section, we will provide you with some helpful tips for setting the proper gain on your audio interface.
Tips for Setting the Proper Gain
Setting the proper gain on your audio interface can be a subjective process, but here are some helpful tips to guide you in achieving the optimal gain levels:
- Start with a conservative gain setting: Begin by setting the gain on your audio interface to a conservative level. This means setting it lower initially and gradually increasing it until you achieve the desired signal level without clipping or excessive noise. It’s easier to increase the gain if the signal is too quiet than to fix distortion caused by high gain.
- Use visual aids: Many audio interfaces and recording software provide visual indicators, such as LED meters or waveform displays, to showcase the signal level. Utilize these visual aids to monitor the incoming signal and ensure that it stays within an appropriate range. Aim for a healthy level of peaks without hitting the maximum level.
- Listen attentively: Never solely rely on visual indicators; always trust your ears. Listen attentively to the recording to determine if the signal level is appropriate. Pay attention to the clarity, presence, and overall quality of the sound. Adjust the gain until it sounds natural and balanced.
- Consider the context: Take into account the specific context of the recording. For example, if you are recording a vocalist with a dynamic microphone, you might need to increase the gain to capture the nuances of their performance. On the other hand, if you are recording an electric guitar with a high-output pickup, you might need to lower the gain to prevent clipping.
- Experiment with microphone placement: Instead of solely relying on the gain control, consider experimenting with microphone placement to achieve the desired sound. Sometimes, moving the microphone closer or farther from the sound source can affect the signal strength, allowing you to adjust the gain accordingly. This technique can help optimize the signal level and minimize unwanted noise.
- Take room acoustics into account: Room acoustics can impact the gain requirements for recording. A reflective or reverberant room might require higher gain settings to capture the desired sound, while a well-treated or dead room may allow for lower gain settings. Take the room characteristics into consideration and adjust the gain accordingly.
- Compare recordings and reference tracks: Compare your recordings to professional reference tracks to gain insights into proper gain settings. Listen to how the reference tracks balance different elements and aim to achieve a similar level of quality and balance in your recordings.
Remember, the goal is to find the sweet spot where the signal level is optimal without introducing unwanted noise, distortion, or clipping. It may take some experimentation and practice to develop a good sense of setting the proper gain, so be patient and trust your instincts.
Before we wrap up, let’s summarize what we’ve covered.
Conclusion
Setting the proper gain on your audio interface is a fundamental aspect of achieving high-quality recordings. It allows you to capture the desired audio levels while maintaining an optimal signal-to-noise ratio and preventing clipping or distortion. By understanding the importance of gain, the different types of gain control, and implementing the recommended gain settings, you can significantly improve the quality of your recordings.
Remember to pay attention to gain staging throughout your recording and mixing process. Optimizing gain levels at each stage of the signal path ensures that the audio maintains its integrity and clarity. With careful consideration and adjustments, you can achieve a balanced mix and a professional sound.
While guidelines and tips provide a general framework, it’s important to trust your ears and make adjustments based on the specific context and desired outcome of your recordings. Every recording situation is unique, and experimentation is key to finding the best gain settings for your particular setup.
By implementing these best practices and continuously honing your skills in setting the proper gain, you will unleash the full potential of your audio interface and achieve outstanding audio recordings that truly shine.
Now, armed with this knowledge, go forth and explore the world of audio interfaces with confidence. Happy recording!