Home>Production & Technology>Audio Interface>What Audio Interface Works With Garageband
Audio Interface
What Audio Interface Works With Garageband
Published: February 4, 2024
Looking for the perfect audio interface for Garageband? Discover the best options for seamless compatibility with Garageband and enhance your recording and mixing experience.
(Many of the links in this article redirect to a specific reviewed product. Your purchase of these products through affiliate links helps to generate commission for AudioLover.com, at no extra cost. Learn more)
Table of Contents
Introduction
Welcome to the world of audio interfaces! If you’re a music producer or an aspiring musician, having a good audio interface is essential for recording and producing high-quality sound. But with so many options available in the market, it can be overwhelming to choose the right one, especially if you’re using popular music production software like Garageband.
In this article, we will explore the world of audio interfaces and help you understand which ones are compatible with Garageband. Whether you’re a beginner just starting your musical journey or a seasoned professional looking to upgrade your setup, this guide will provide you with valuable insights and recommendations.
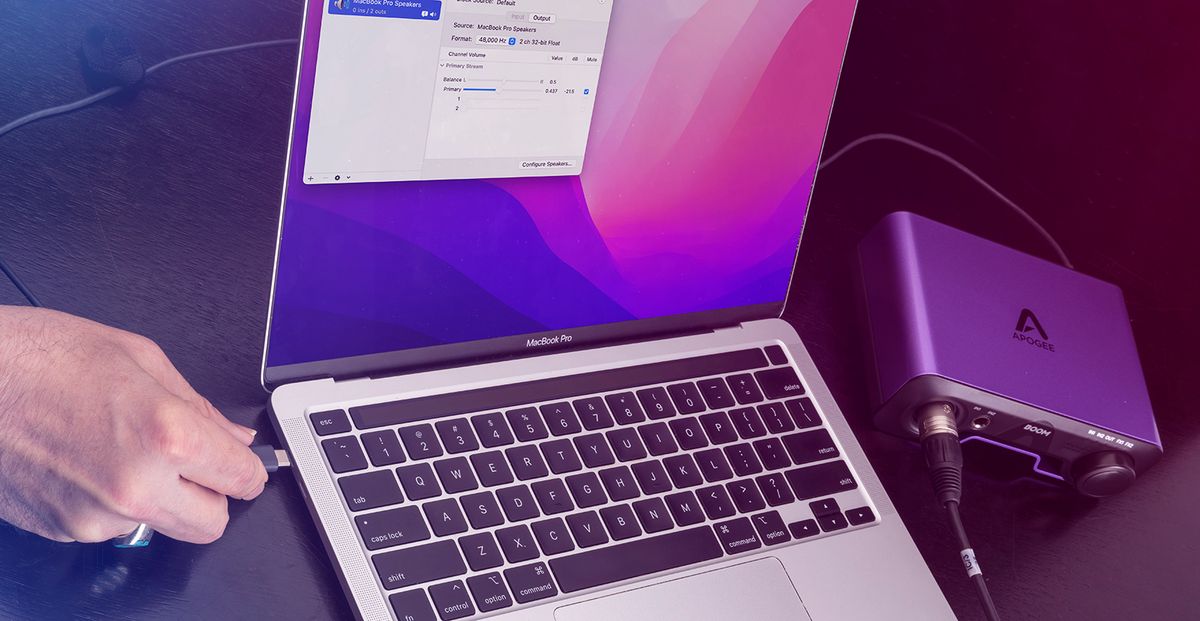
An audio interface serves as the connection between your computer and the outside world of audio signals. It allows you to record and playback audio with better quality and lower latency. With the right audio interface, you can capture the nuances of your instruments and voices, bringing your recordings to life.
When it comes to compatibility with Garageband, it’s important to ensure that the audio interface you choose is supported by the software. Garageband is known for its user-friendly interface and powerful capabilities, making it a popular choice among music enthusiasts and professionals alike. However, not all audio interfaces are compatible out of the box.
To help you make an informed decision, we will discuss different types of audio interfaces that work seamlessly with Garageband, including USB, Thunderbolt, and Firewire interfaces. We’ll also guide you on how to connect your audio interface to Garageband and troubleshoot any issues that may arise.
So, if you’re ready to take your music production to the next level and unleash your creative potential, let’s dive into the world of audio interfaces that are compatible with Garageband. Whether you’re recording vocals, instruments, or creating electronic music, having the right audio interface can make all the difference in the quality of your sound.
Understanding Audio Interfaces
Before we delve into the compatibility of audio interfaces with Garageband, it’s crucial to have a basic understanding of what an audio interface is and how it functions.
An audio interface is an external hardware device that connects to your computer and allows you to record and playback audio. It serves as a bridge between the analog world of microphones, instruments, and studio equipment, and the digital realm of your computer’s digital audio workstation (DAW) software, such as Garageband.
Audio interfaces provide several crucial functions. First and foremost, they convert analog audio signals into digital data that your computer can process. This conversion process, known as analog-to-digital conversion, ensures that the audio captured by microphones or instruments is accurately represented in the digital domain.
Additionally, audio interfaces provide preamps, which boost the low-level microphone signals to a usable level. They also offer high-quality digital-to-analog converters (DACs) that convert the digital audio signals from your computer back into analog signals for monitoring and playback through speakers or headphones.
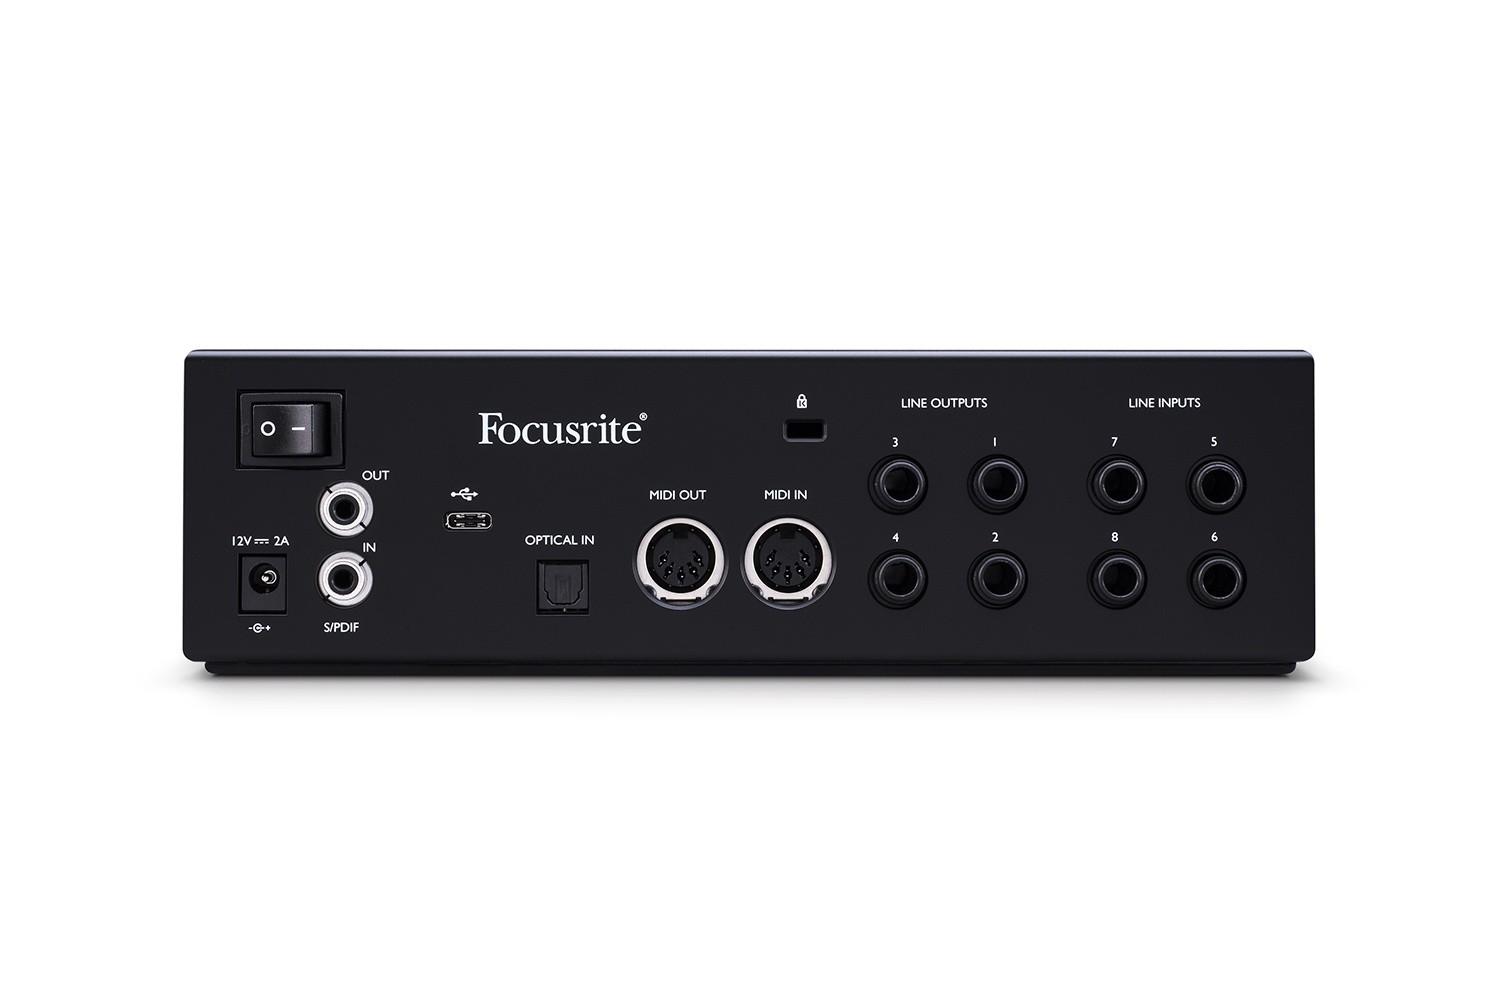
Furthermore, audio interfaces may include features such as phantom power, which is necessary for powering condenser microphones, and inputs and outputs for connecting multiple audio sources, such as microphones, instruments, and studio monitors.
When choosing an audio interface, it’s important to consider the number and type of inputs and outputs you require. If you plan on recording multiple microphones or instruments simultaneously, you’ll need an interface with multiple inputs. Similarly, if you want to connect studio monitors and headphones, make sure the interface has dedicated outputs for both.
Another crucial consideration is the sample rate and bit depth supported by the interface. The sample rate determines the number of samples per second that the interface can capture or playback, while the bit depth determines the dynamic range and resolution of the audio. Higher sample rates and bit depths result in better audio quality but require more processing power and storage space.
Now that you have a basic understanding of audio interfaces, their functions, and the key features to consider, let’s explore which interfaces are compatible with Garageband.
Compatibility with Garageband
When choosing an audio interface for use with Garageband, it’s important to ensure that the interface is compatible with the software. Garageband is designed to work seamlessly with a wide range of audio interfaces, but it’s always a good idea to check the specifications and system requirements to avoid any compatibility issues.
Garageband supports various types of audio interfaces, including USB, Thunderbolt, and Firewire interfaces. These interfaces provide different connection options and can offer varying levels of performance and flexibility.
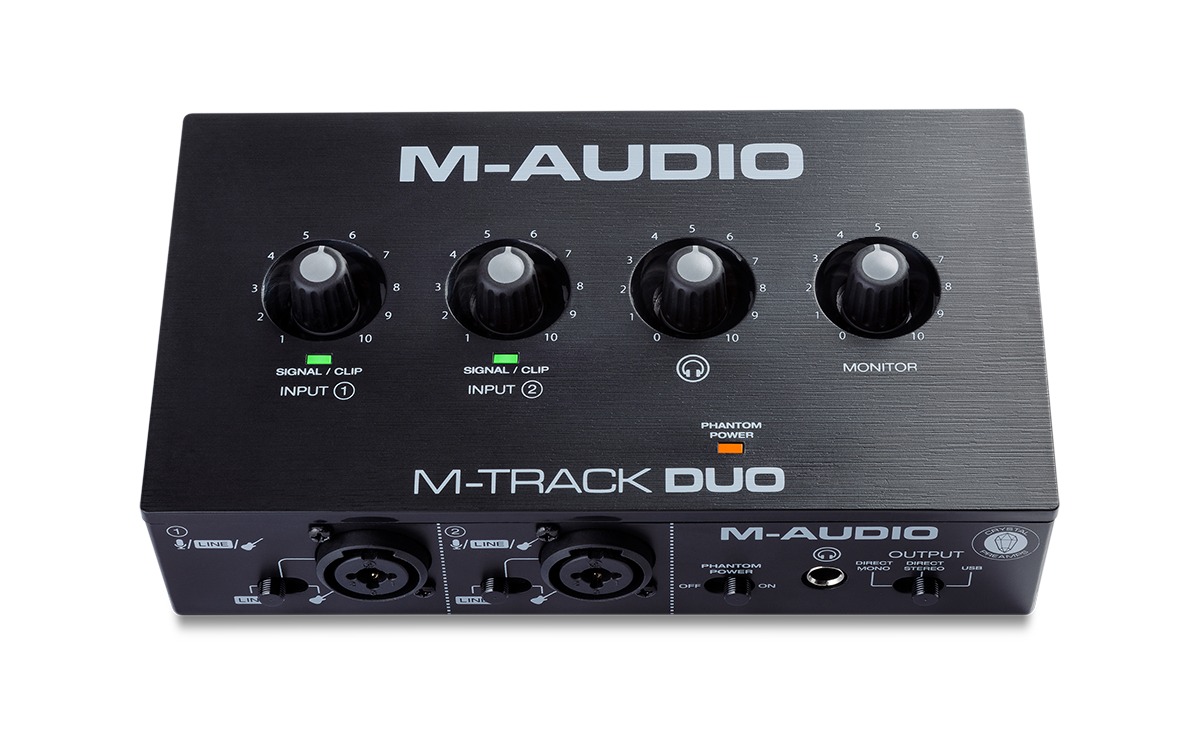
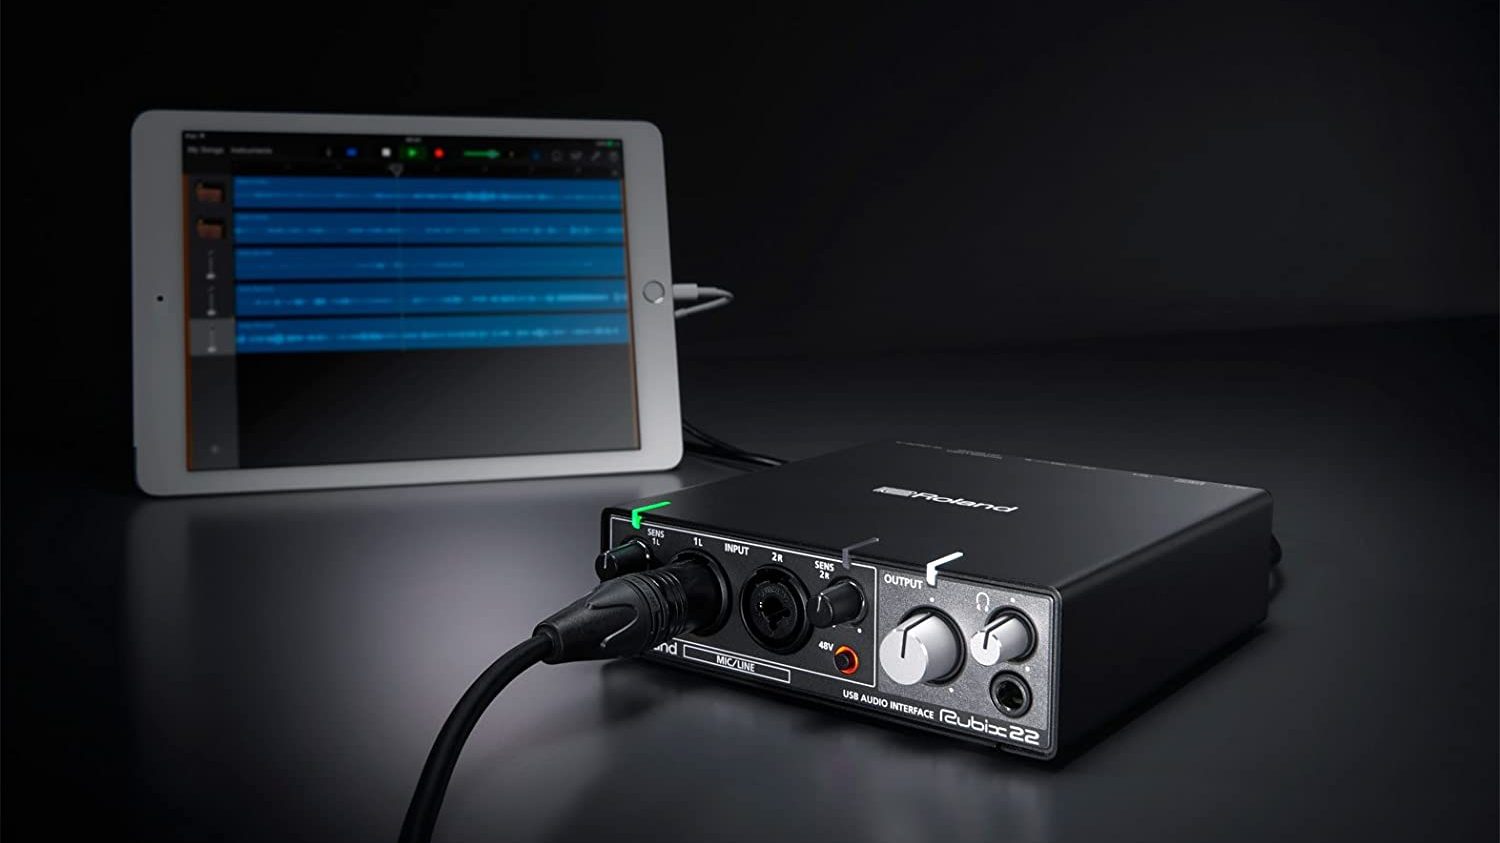
USB audio interfaces are the most common and widely used type. They connect to your computer via a USB port and offer plug-and-play functionality, making them incredibly easy to set up. USB interfaces come in a range of sizes, from compact two-input models to larger interfaces with multiple inputs and outputs.
If you’re using a Mac computer, Thunderbolt audio interfaces are another excellent option. Thunderbolt technology offers higher data transfer rates and lower latency compared to USB interfaces, resulting in better performance and faster processing. Some Thunderbolt interfaces also provide additional features, such as direct monitoring and DSP processing capabilities.
Firewire audio interfaces, although less common these days, are still compatible with Garageband. These interfaces connect to your computer via a Firewire port and offer fast data transfer rates and low latency. They are known for their stability and reliability, making them a preferred choice for many professional musicians and producers.
It’s worth noting that Garageband supports both audio input and output on compatible interfaces. This means that you can not only use the interface to record vocals and instruments into Garageband but also use it to monitor playback through studio monitors or headphones.
Before purchasing an audio interface, make sure to check the specifications and system requirements provided by both Garageband and the interface manufacturer. Additionally, it’s a good idea to read reviews and user experiences to ensure that the interface you choose works smoothly with Garageband and meets your specific needs.
Now that you have an understanding of the different types of audio interfaces compatible with Garageband, and their connection options, you’re ready to choose the right interface to enhance your music production journey. In the following sections, we will discuss each type in more detail and provide specific recommendations to help you make an informed decision.
USB Audio Interfaces
USB audio interfaces are widely regarded as the most popular and beginner-friendly option for connecting audio devices to your computer, including Garageband. These interfaces offer simplicity, affordability, and ease of use, making them a great choice for musicians and producers of all skill levels.
One of the key advantages of USB interfaces is their plug-and-play functionality. Simply connect the interface to your computer’s USB port, and Garageband will recognize it automatically, allowing you to start recording and monitoring in no time. This convenience makes USB interfaces perfect for musicians on the go or those who frequently switch between different setups.
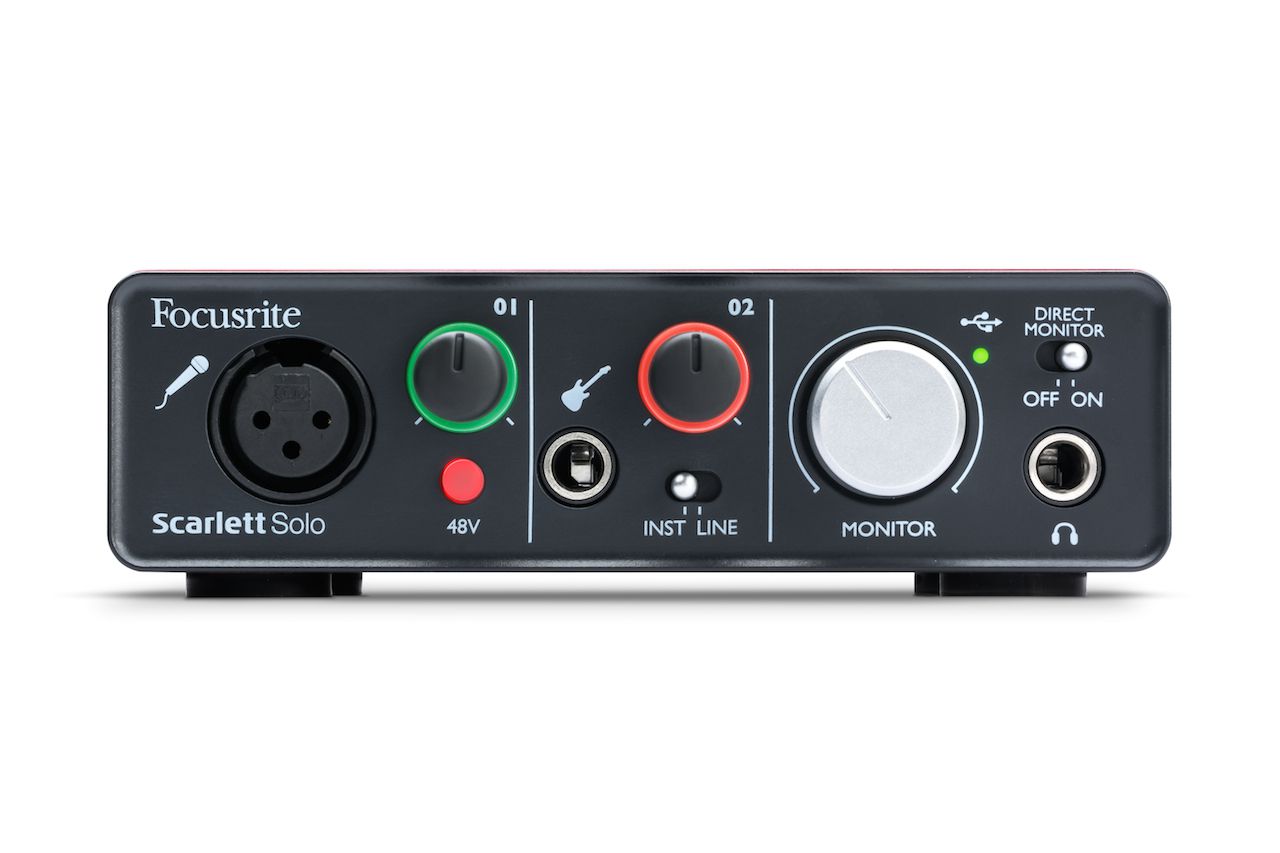
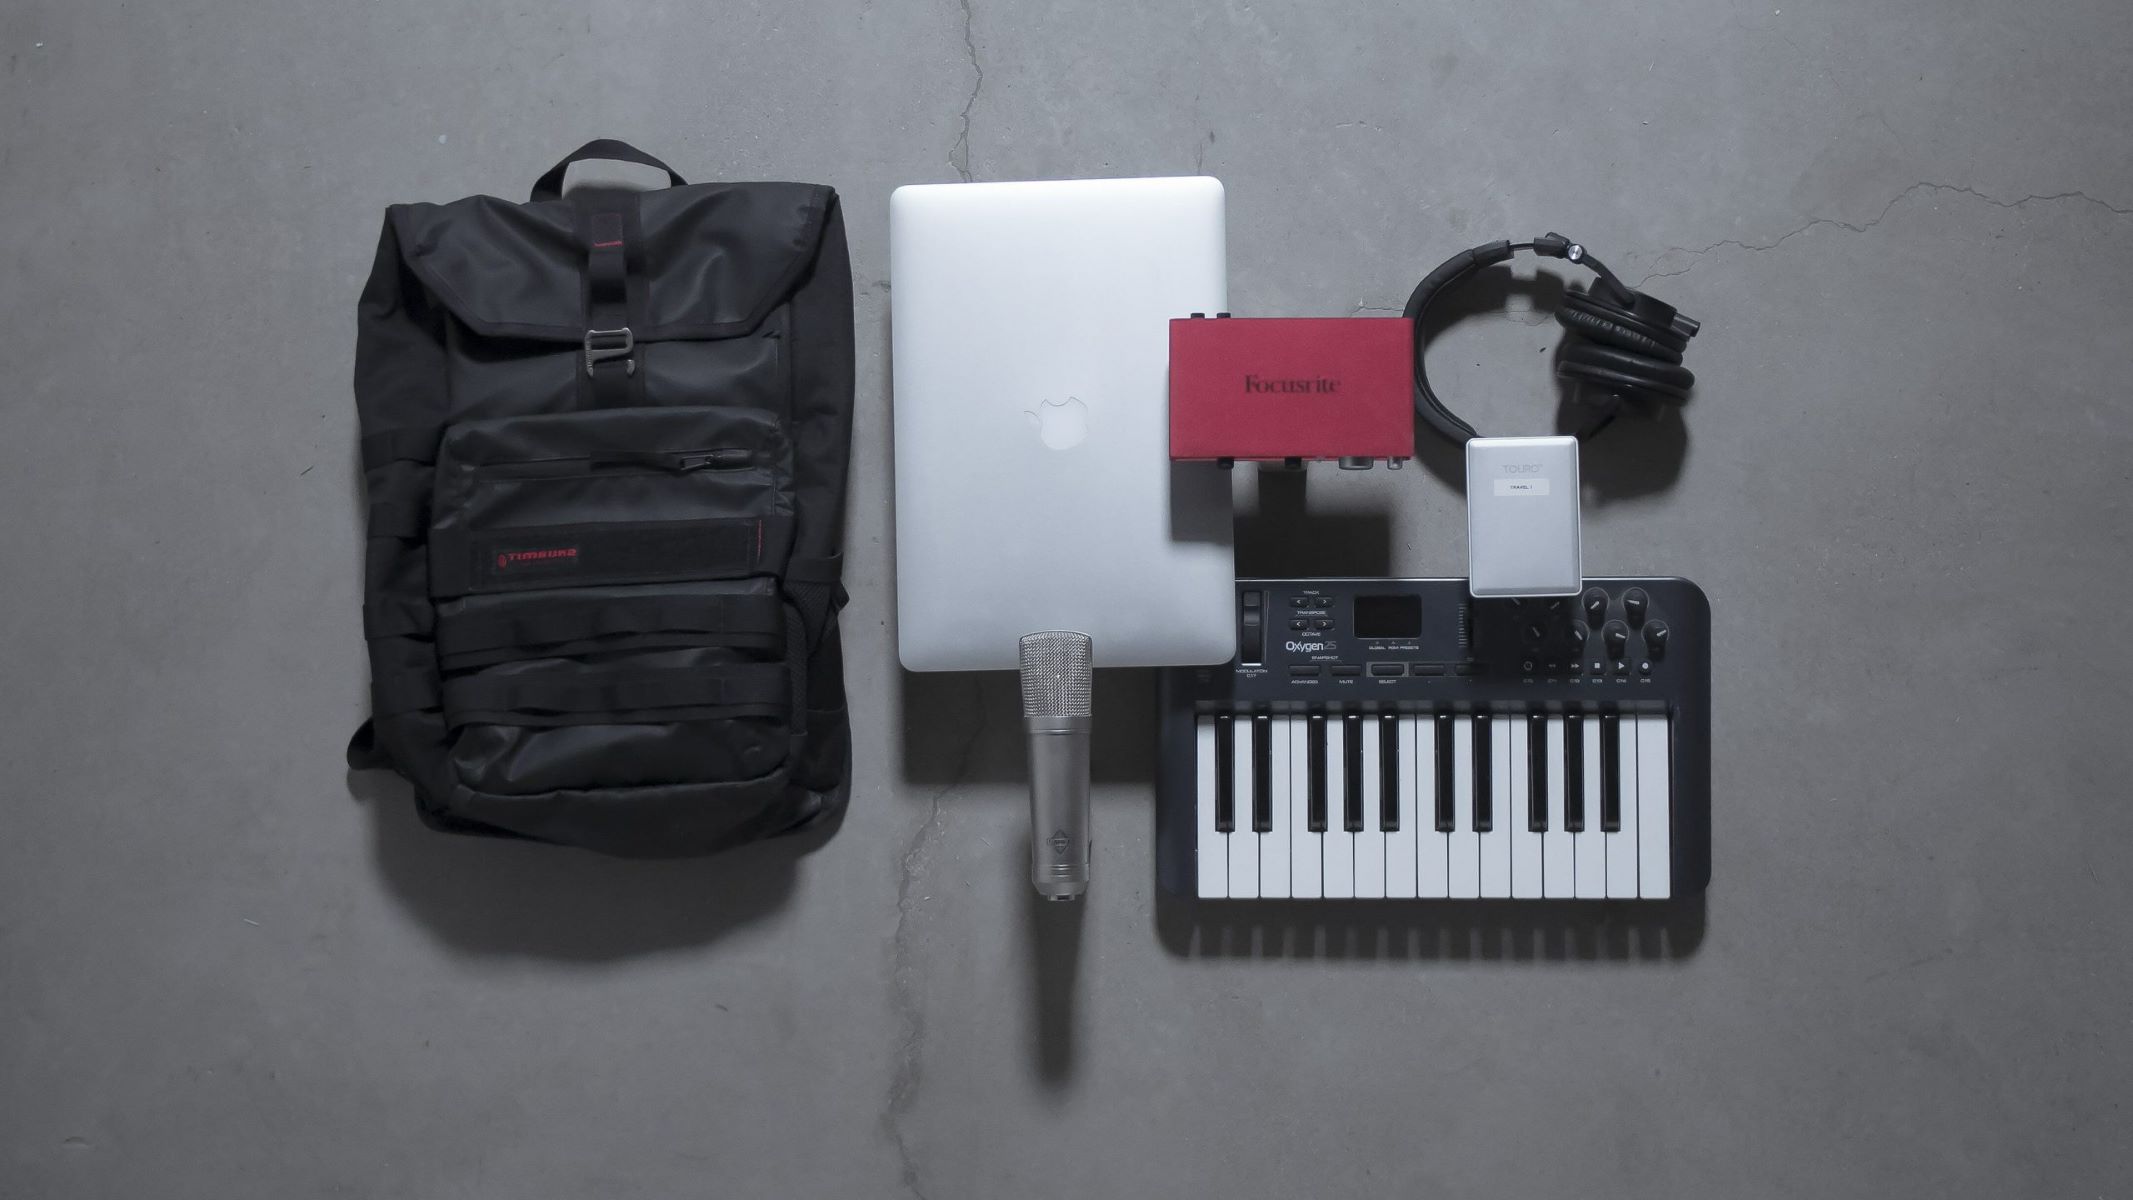
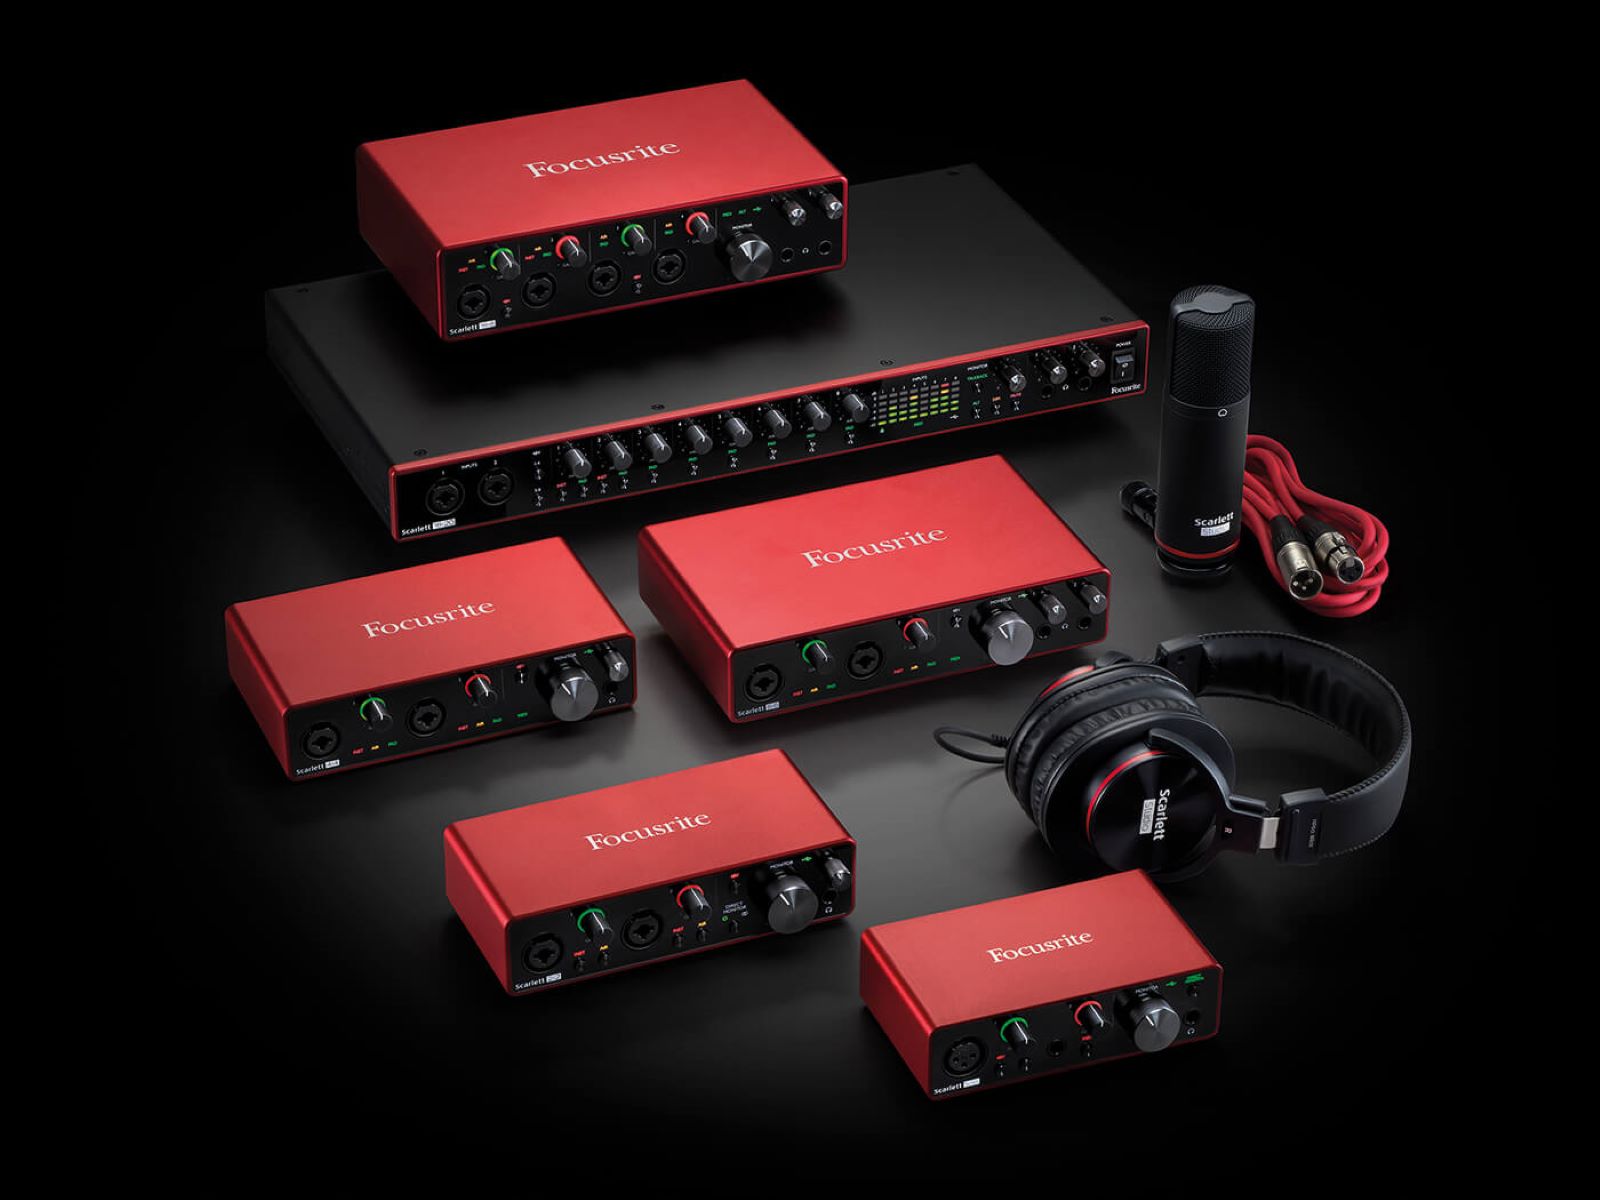
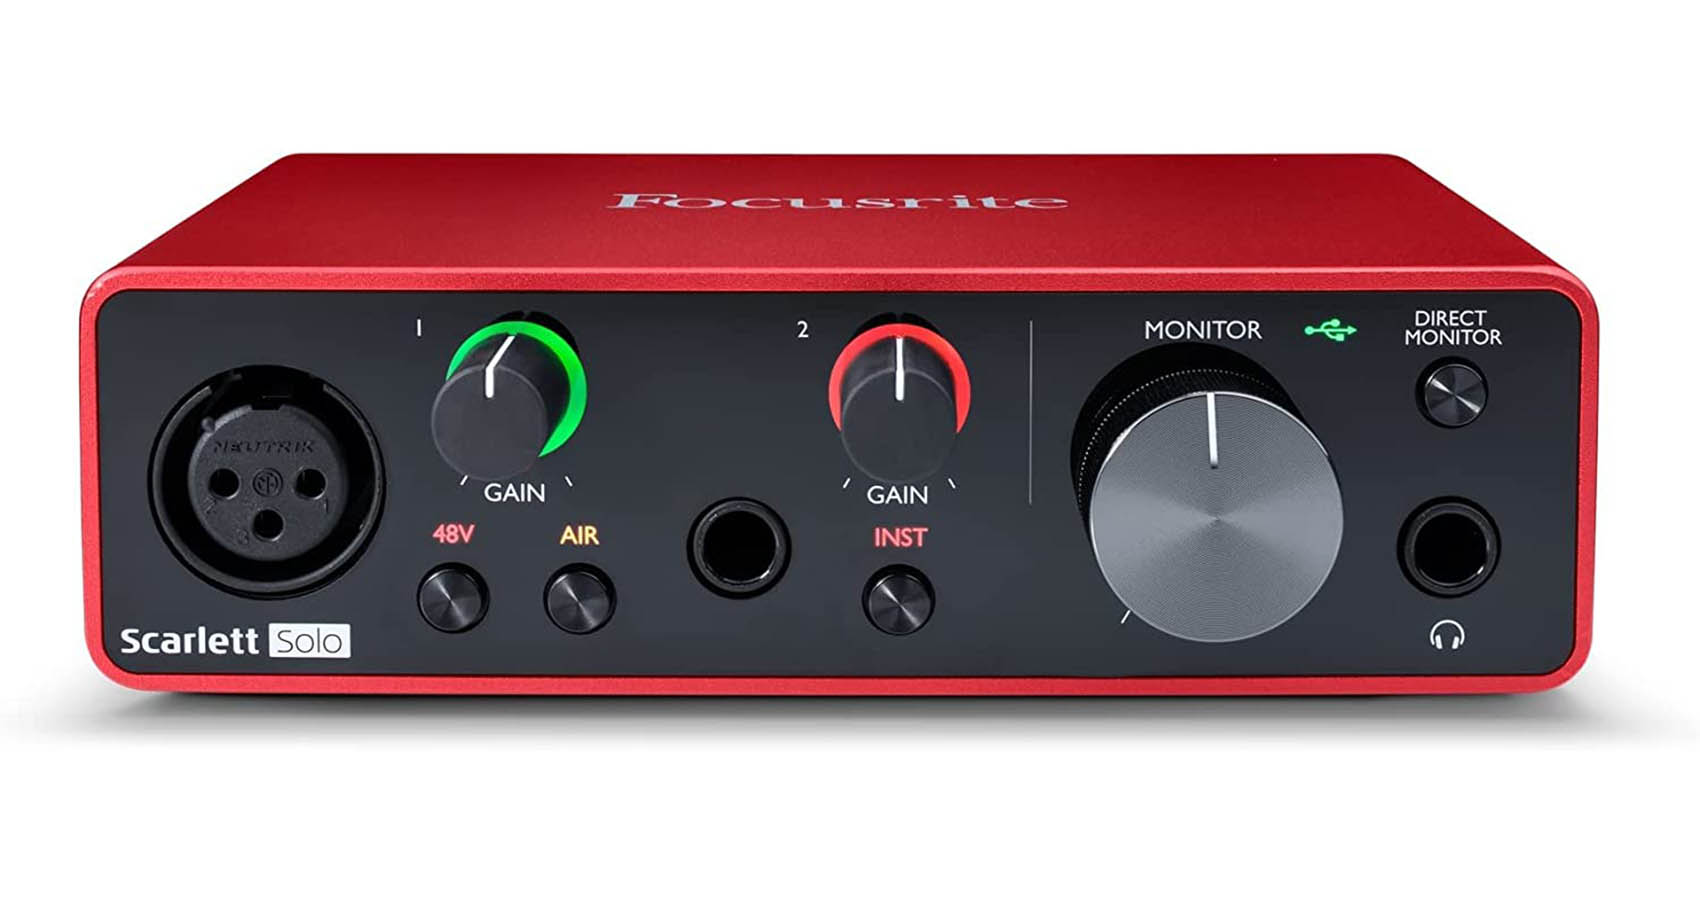
USB interfaces come in various configurations to suit different recording needs. If you’re a solo musician or podcaster, a compact two-input interface like the Focusrite Scarlett 2i2 or the PreSonus AudioBox USB might be sufficient. These interfaces typically have a microphone input and a line or instrument input, allowing you to record vocals, guitars, and other instruments simultaneously.
For larger projects or situations where multiple musicians or microphones are involved, USB interfaces with more inputs and outputs are available. The Behringer U-Phoria UMC1820, for example, offers 18 inputs and 20 outputs, making it suitable for recording entire bands or complex audio setups.
When selecting a USB audio interface, it’s crucial to consider factors such as the quality of the preamps, the supported sample rate and bit depth, and the overall build quality. The preamps determine the sound quality and clarity of your recorded audio, while a higher sample rate and bit depth ensure better fidelity and dynamic range.
Some popular USB audio interfaces that are highly compatible with Garageband include the aforementioned Focusrite Scarlett series, PreSonus AudioBox series, and the Steinberg UR22C. These interfaces offer excellent performance, ease of use, and a wide range of features at different price points.
Remember to check the system requirements to ensure that the USB interface is compatible with your operating system and version of Garageband. Manufacturers usually provide compatibility information on their websites, and it’s always a good idea to read user reviews and testimonials for real-world feedback.
In summary, USB audio interfaces provide a convenient and cost-effective solution for connecting audio devices to Garageband. Whether you’re a solo musician or working on more complex recordings, USB interfaces offer flexibility, ease of use, and compatibility that can enhance your music production experience.
Thunderbolt Audio Interfaces
For Mac users seeking top-notch performance and low latency, Thunderbolt audio interfaces are an excellent choice. Thunderbolt technology provides faster data transfer rates and lower latency compared to USB interfaces, making it ideal for professional musicians and producers who require high-speed connectivity.
One of the biggest advantages of Thunderbolt interfaces is their ability to handle large multi-channel audio projects with ease. They offer ultra-fast data transfer rates, allowing for simultaneous recording and playback of multiple tracks without any noticeable latency. This makes Thunderbolt interfaces perfect for demanding recording sessions and live performances.
When it comes to Thunderbolt audio interfaces compatible with Garageband, there are several reputable options available. One popular choice is the Universal Audio Apollo Twin, which combines high-quality audio conversion with powerful DSP processing capabilities. It offers pristine sound quality, real-time monitoring, and a range of plugins designed to enhance your recording and mixing experience.
The Focusrite Clarett series is another highly regarded Thunderbolt interface line. The Clarett interfaces deliver impressive audio performance with low-latency conversion and offer a range of inputs and outputs for versatile recording setups. They also come bundled with Focusrite’s Red 2 and Red 3 EQ and compression plugins, further expanding your creative possibilities.
For those seeking a more compact and portable Thunderbolt interface, the PreSonus Quantum series is worth considering. These interfaces offer high-speed recording and playback, studio-grade audio quality, and expandability for larger recording setups. With the PreSonus Quantum, you can confidently tackle professional audio projects with ease.
It’s important to note that Thunderbolt audio interfaces require a Thunderbolt port on your computer for proper connectivity. While Mac computers typically come equipped with Thunderbolt ports, it’s essential to verify that your specific model supports Thunderbolt connectivity and check the system requirements provided by both Garageband and the interface manufacturer.
Thunderbolt audio interfaces are an excellent choice for Mac users who demand top performance, low latency, and professional-grade audio quality. With their fast data transfer rates and robust features, they provide the necessary tools to tackle complex audio projects and elevate your music production capabilities.
Firewire Audio Interfaces
Firewire audio interfaces, although less common these days, are still a viable option for connecting your audio devices to Garageband. These interfaces offer fast data transfer rates, low latency, and reliable performance, making them a preferred choice for many professional musicians and producers.
Firewire interfaces operate by connecting to your computer via a Firewire port, which provides a stable and dedicated connection for audio data. This dedicated connection ensures that audio signals are transmitted efficiently and without interference, resulting in improved audio quality and lower latency compared to USB interfaces.
One notable advantage of Firewire interfaces is their ability to handle large amounts of simultaneous audio data. This makes them well-suited for recording multiple tracks at once, making them ideal for studio environments where multi-channel recording is common.
When it comes to Garageband compatibility, Firewire audio interfaces have broader support for both Mac and Windows operating systems. Some popular Firewire interfaces that are known for their compatibility with Garageband include the PreSonus FireStudio Project and the Focusrite Saffire Pro range.
The PreSonus FireStudio Project offers eight preamps and a range of inputs and outputs to accommodate recording needs. With its high-quality microphone preamps and professional-grade converters, it delivers exceptional audio performance. The Focusrite Saffire Pro series, on the other hand, offers a range of models with varying I/O configurations and features, ensuring flexibility and versatility in your recording setup.
It’s important to note that not all computers come equipped with Firewire ports, so you may need to use an adapter or additional PCIe card to utilize a Firewire audio interface. Additionally, it’s essential to check the system requirements provided by the interface manufacturer to ensure compatibility with your operating system and version of Garageband.
While Firewire audio interfaces may not be as prevalent as they once were, they still offer reliable performance and are a trusted choice for many professionals in the music industry. If you have a computer with a Firewire port and require stable and high-performance audio connectivity for Garageband, a Firewire audio interface may be the ideal option for you.
Connecting an Audio Interface to Garageband
Connecting an audio interface to Garageband is a straightforward process that requires a few simple steps. Follow the instructions below to ensure a seamless connection and setup.
- Start by gathering the necessary cables and adapters. Depending on your audio interface and computer, you may need a USB cable, Thunderbolt cable, or Firewire cable, as well as any necessary adapters or connectors. Ensure that all cables and connections are in good condition.
- Power on your audio interface and connect it to your computer using the appropriate cable or adapter. Insert one end of the cable into the interface’s output port and the other end into the corresponding input port on your computer.
- If your audio interface requires external power, plug it into a power outlet or USB connection, depending on the interface’s power requirements. Make sure the interface is receiving power and turned on.
- Launch Garageband on your computer. Once the software is open, go to the Preferences menu. On a Mac, you can access Preferences by clicking on the Garageband menu and selecting Preferences.
- In the Preferences menu, navigate to the Audio/MIDI tab. Here, you should see a section labeled “Audio Output” or “Audio Interface.” Click on the dropdown menu to select your connected audio interface from the list of available devices. Garageband should automatically detect the interface and display it as an option.
- Once you have selected your audio interface, adjust the input and output settings as needed. You can set the input source to the specific input on the interface that you want to use, such as a microphone or instrument input. Similarly, you can choose the output source for monitoring and playback, such as headphones or studio monitors connected to the interface.
- Ensure that the input and output levels are set correctly. You can adjust these levels within Garageband by accessing the Mixer or Track Inspector. Test the levels by speaking or playing your instrument and monitoring the input meter in Garageband. Make any necessary adjustments to avoid clipping or distortion.
- Once your audio interface is connected and the settings are adjusted, you are ready to start recording and producing with Garageband. Create a new project or open an existing one, and you should now be able to select your audio interface as the input source for recording vocals, instruments, or any other audio sources.
Remember to consult the user manual or documentation provided by your specific audio interface for any additional setup instructions or troubleshooting tips. Following these steps should ensure a successful connection and integration of your audio interface with Garageband, allowing you to unleash your creativity and capture high-quality recordings.
Troubleshooting Audio Interface Issues in Garageband
While connecting and using an audio interface with Garageband is usually a straightforward process, you may encounter some issues along the way. Here are some common troubleshooting steps to help you resolve any audio interface-related problems in Garageband.
- Check the physical connections: Ensure that all cables are securely plugged in and that there are no loose connections. Sometimes, a loose cable can cause audio dropouts or intermittent issues.
- Update drivers and firmware: Visit the manufacturer’s website and check for any driver or firmware updates for your audio interface. Outdated drivers or firmware can lead to compatibility issues. Install the latest updates to ensure optimal performance.
- Restart your computer and audio interface: Sometimes, a simple restart can resolve minor glitches. Start by closing Garageband, disconnecting and reconnecting the audio interface, and then restarting your computer. Once restarted, relaunch Garageband and check if the issue persists.
- Verify software settings: Double-check the audio settings within Garageband to ensure that the input and output settings are correctly configured for your audio interface. Make sure the correct input source is selected and that the input and output levels are appropriately set.
- Try a different USB/Firewire/Thunderbolt port: If you’re using a USB, Firewire, or Thunderbolt audio interface, try connecting it to a different port on your computer. Sometimes, a faulty port can cause connectivity issues. Switching ports can help identify if the problem lies with the audio interface or the computer.
- Disable conflicting software: Other audio-related software or system settings can sometimes conflict with Garageband and your audio interface. Disable or quit any other applications or services that may be using the audio interface, such as video conferencing apps, music players, or system audio settings.
- Reset audio settings: In Garageband, navigate to Preferences and select the Audio/MIDI tab. Click on “Reset All Settings” or a similar option within the preferences window. This will reset Garageband’s audio settings to their default values, which can help resolve any configuration issues.
- Try a different USB/Firewire/Thunderbolt cable: Faulty cables can cause connectivity problems. If you have access to a spare cable, try using it to connect your audio interface to see if the issue persists. This will help determine if the problem lies with the cable itself.
- Contact customer support: If you have tried all the troubleshooting steps above and are still experiencing issues, it may be time to reach out to the customer support team of your audio interface manufacturer. They can provide specific support and guidance tailored to your interface model.
Remember to consult the user manual or documentation provided by your audio interface manufacturer for any specific troubleshooting steps or recommendations. Additionally, checking online forums or community groups can often provide valuable insights and solutions from others who may have experienced similar issues.
By following these troubleshooting steps and reaching out for support when needed, you can quickly resolve any audio interface issues and continue enjoying the seamless recording and production experience offered by Garageband.
Conclusion
In conclusion, selecting the right audio interface is crucial for a seamless and high-quality recording experience in Garageband. Whether you opt for a USB, Thunderbolt, or Firewire interface, compatibility with Garageband is a key consideration.
USB audio interfaces are popular due to their ease of use, affordability, and wide compatibility. They are suitable for solo musicians or smaller recording setups. Thunderbolt audio interfaces provide top-notch performance with low latency, making them ideal for professional musicians and producers working on more demanding projects.
While less common these days, Firewire audio interfaces are still a viable choice for those seeking stable and reliable performance in larger multi-channel recording setups.
Connecting your audio interface to Garageband involves a straightforward process of ensuring proper physical connections, adjusting software settings, and troubleshooting any issues that may arise.
Remember to check for driver and firmware updates, verify audio settings within Garageband, and try different ports or cables if necessary. In case of persistent issues, reaching out to customer support can provide valuable assistance.
Ultimately, the right audio interface will enhance your creative abilities and help you achieve professional-quality recordings in Garageband. So take the time to research, evaluate your needs, and choose an audio interface that fits your requirements and budget.
With the right audio interface compatible with Garageband, you’ll be well-equipped to capture the best audio recordings, unleash your musical talent, and bring your creative visions to life.