Home>Production & Technology>Audio Interface>How To Output To Audio Interface And Monitors
Audio Interface
How To Output To Audio Interface And Monitors
Modified: March 7, 2024
Learn how to output audio to your audio interface and monitors. Get step-by-step instructions and optimize your audio setup with an audio interface.
(Many of the links in this article redirect to a specific reviewed product. Your purchase of these products through affiliate links helps to generate commission for AudioLover.com, at no extra cost. Learn more)
Table of Contents
Introduction
Welcome to the world of audio interfaces, where sound manipulation and music production become possible for aspiring artists and audio enthusiasts. An audio interface is a crucial piece of equipment that allows you to connect your instruments, microphones, and other audio sources to your computer or recording device.
One essential aspect of using an audio interface is understanding how to output audio to monitors or speakers for accurate playback and monitoring. This article will guide you through the process of connecting your audio interface to your monitors and setting up the audio output on your device.
Whether you are a musician, podcaster, or sound engineer, having a proper audio monitoring setup is vital to ensure the fidelity and accuracy of your audio recordings and productions. With the right audio interface and monitor configuration, you can hear every subtle detail and make precise adjustments to create the perfect sound.
In the following sections, we will walk you through the step-by-step process of connecting your audio interface to your monitors, configuring the audio output on your device, and troubleshooting common issues that may arise. So let’s dive in and explore how to output to audio interfaces and monitors.
Step 1: Connect the Audio Interface and Monitors
The first step in outputting audio to your audio interface and monitors is to establish the physical connection between the two. Here’s how you can do it:
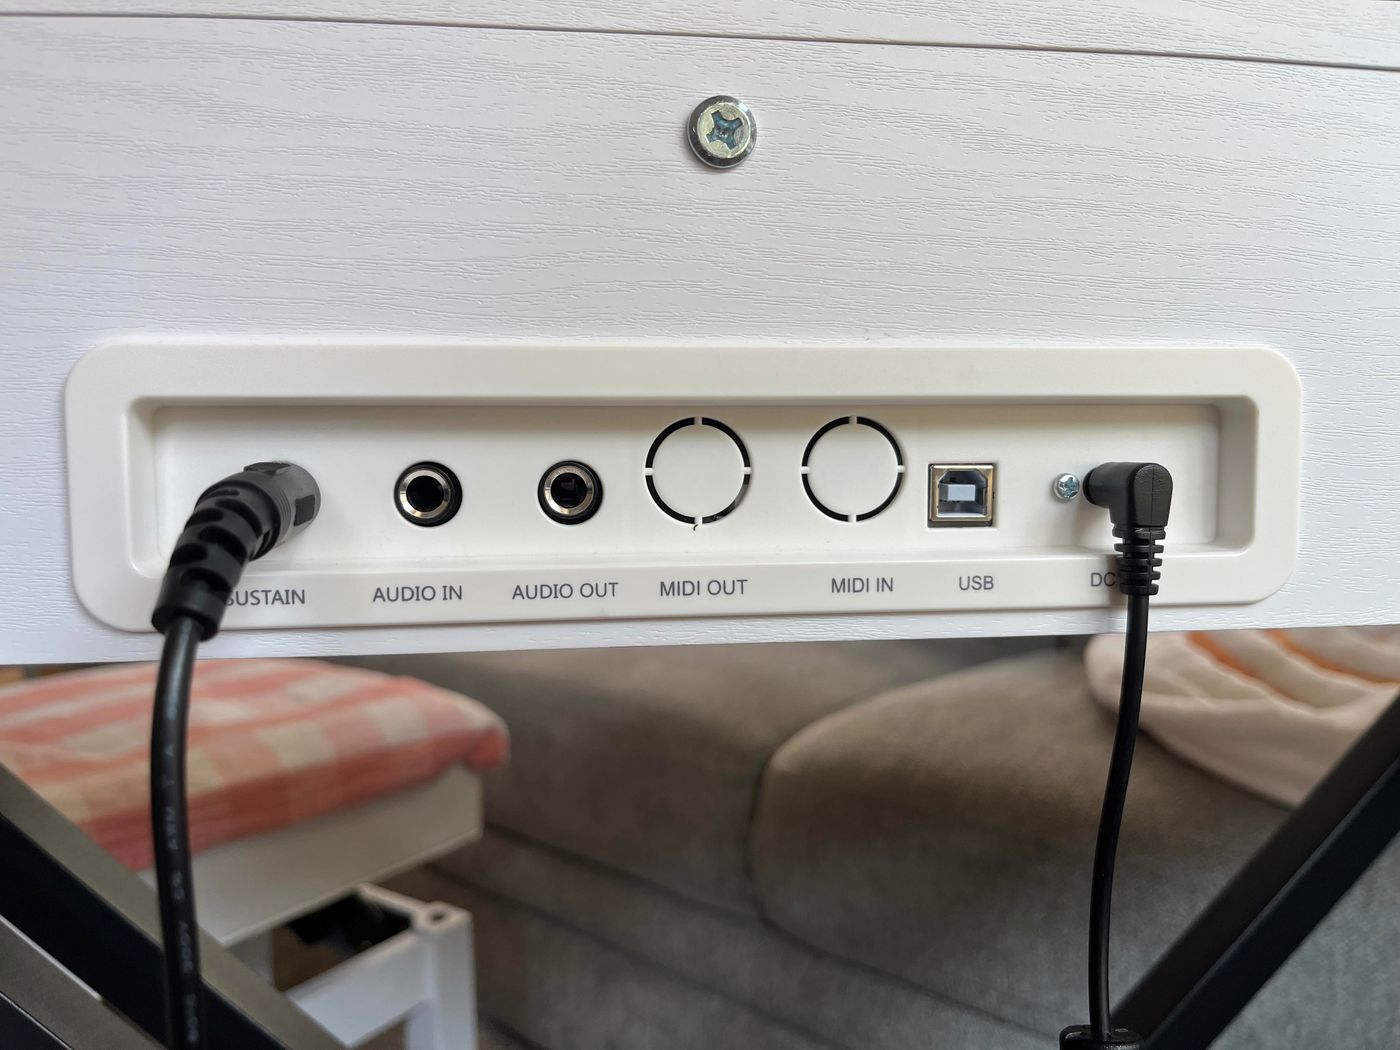
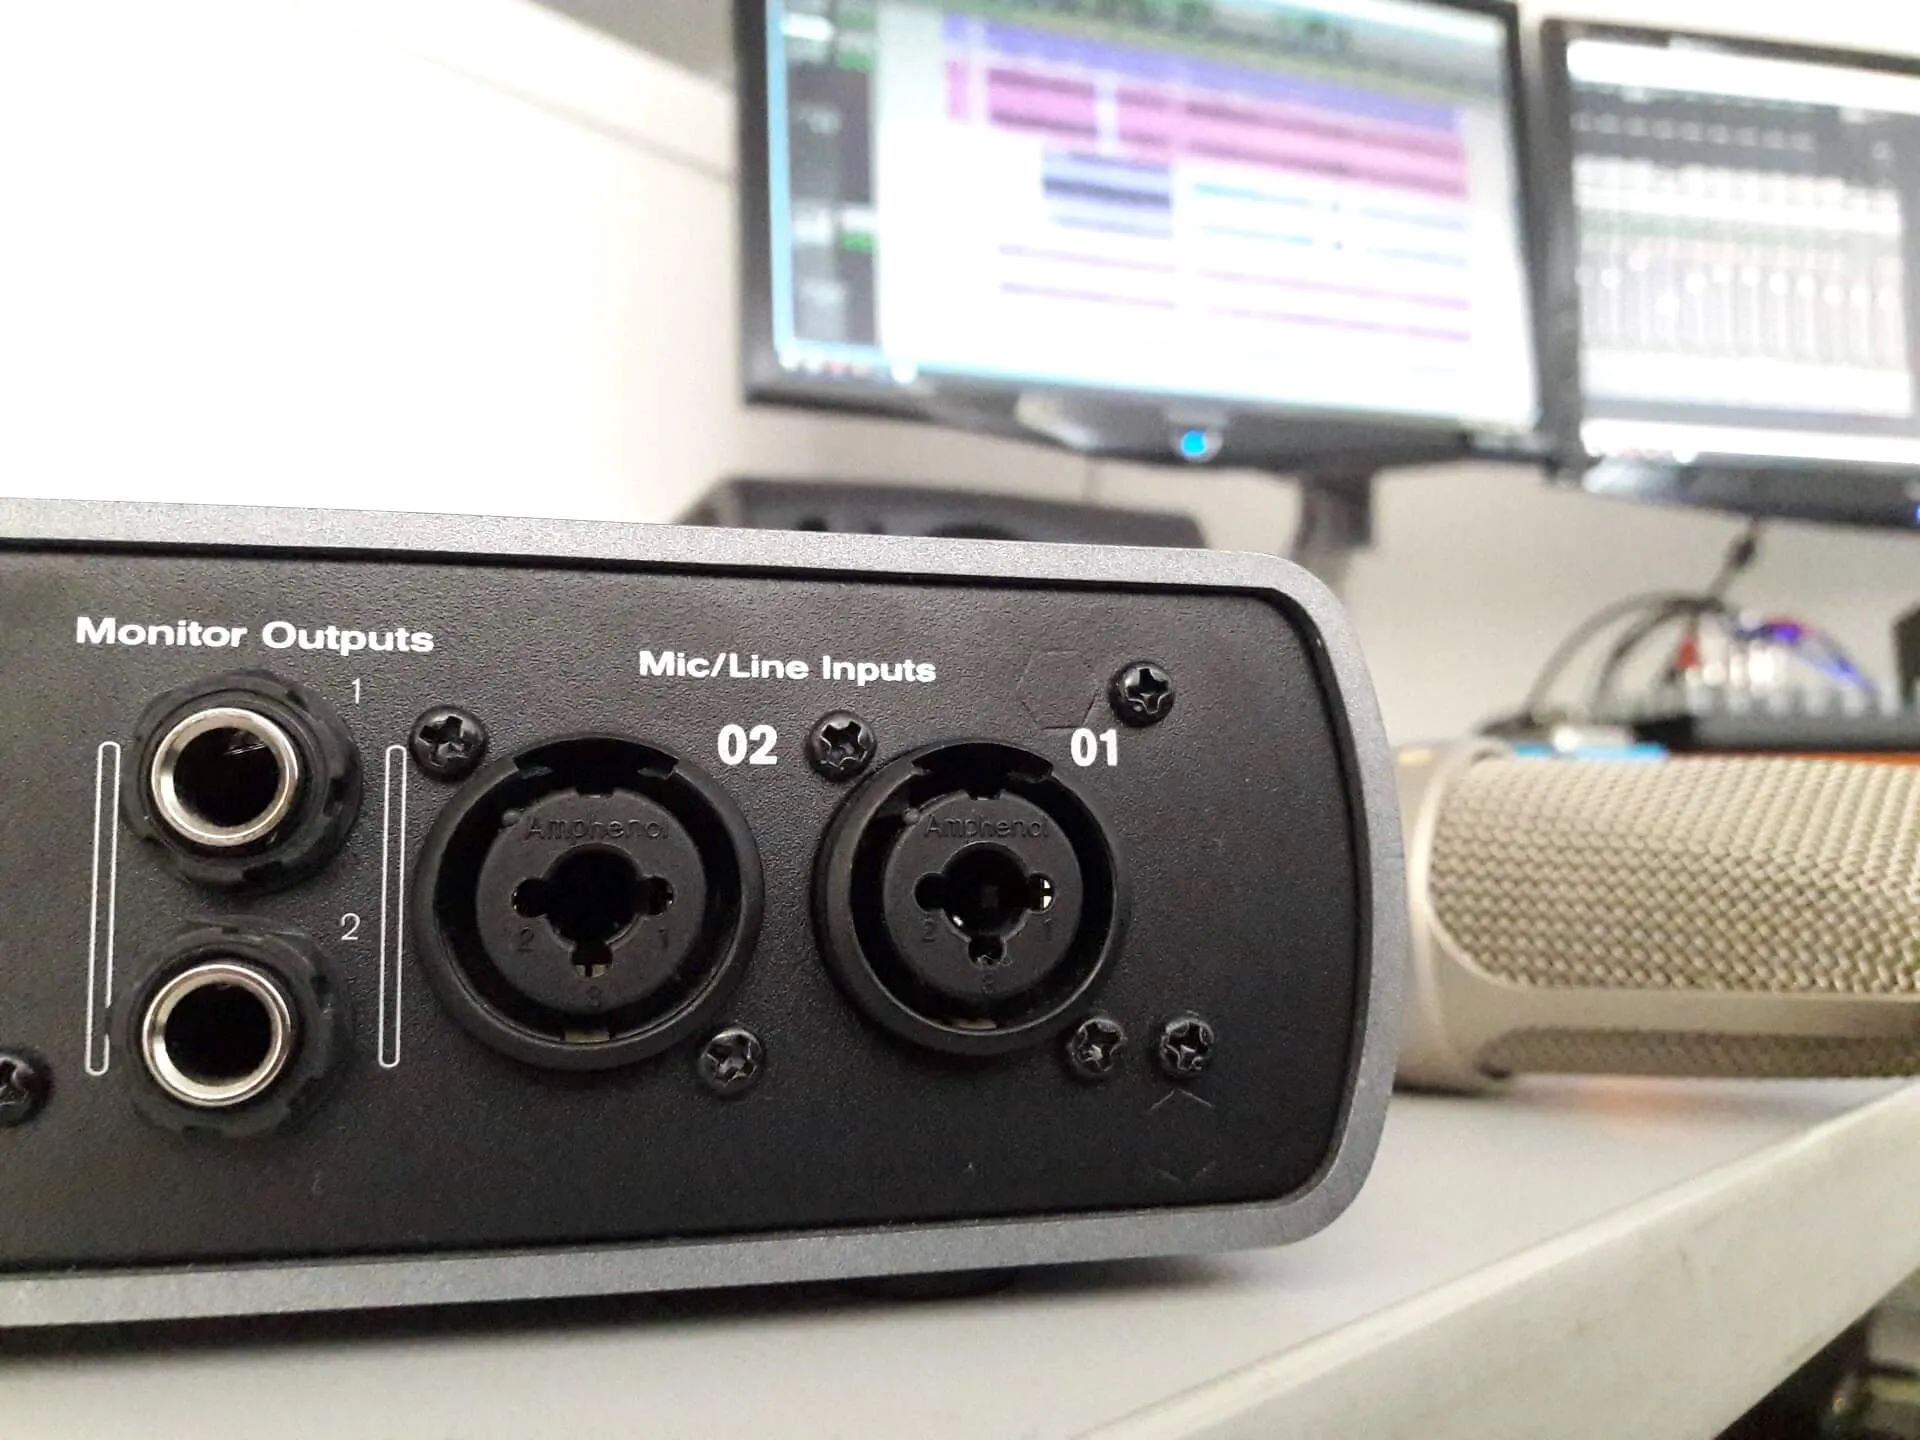
- Start by identifying the outputs on your audio interface. Typically, audio interfaces have multiple output options, such as analog outputs, digital outputs, or both. Analog outputs are usually represented by 1/4″ or XLR jacks, while digital outputs may include options like S/PDIF or ADAT.
- Next, locate the corresponding inputs on your monitors. These inputs are commonly labeled as “Line In” or “Monitor In” and are typically found on the back of the monitors.
- Once you have identified the outputs on your audio interface and the inputs on your monitors, use the appropriate cables to establish the connection. For analog connections, you may need TRS (tip-ring-sleeve) or XLR cables, depending on the type of outputs and inputs available. For digital connections, you may require coaxial or optical cables.
- Connect one end of the cable to the output ports of your audio interface and the other end to the input ports of your monitors. Ensure that the connections are secure and tight to prevent any audio loss or interference.
- If you are using multiple monitors, make sure to connect each monitor to its respective output on the audio interface following the same procedure.
Once the physical connections have been established, you are ready to move on to the next step and set up the audio output on your device. This will allow your computer or recording device to recognize and utilize the audio interface as the designated output device for audio playback.
Step 2: Setting Up the Audio Output on Your Device
After connecting the audio interface and monitors, the next step is to configure the audio output on your device to ensure that the audio signals are routed through the interface. Here’s how you can do it:
- Start by accessing the audio settings on your computer or recording device. The location of these settings may vary depending on your operating system or software.
- In the audio settings, look for the option to select the output device. It may be labeled as “Playback Device” or “Output Device.”
- Click on the drop-down menu and select your audio interface as the desired output device. It should be listed by its name or model number.
- Ensure that the output settings are correctly configured. The sample rate and bit depth should match the settings on your audio interface for optimal performance.
- Save the changes and exit the audio settings. Your computer or recording device should now recognize the audio interface as the default output for audio playback.
It’s essential to note that some audio software applications may have their own audio output settings that override the system’s settings. Make sure to check the preferences or settings within your specific audio software and configure it to use the audio interface as the output device if necessary.
Once you have set up the audio output on your device, you are ready to move on to the next step and configure the audio output preferences within your audio software or digital audio workstation (DAW) for optimal performance and monitoring.
Step 3: Configuring Audio Output Preferences
Now that you have set up the audio output on your device to recognize the audio interface, it’s time to configure the audio output preferences within your audio software or digital audio workstation (DAW). This step ensures that your software routes the audio signals correctly through the audio interface and monitors. Here’s how you can do it:
- Launch your audio software or DAW and open the preferences or settings menu. This location may vary depending on the software you are using.
- Navigate to the audio settings or preferences section within the software.
- Select the audio interface as the designated output device within the software preferences. It should be listed by its name or model number.
- Adjust the buffer size or latency settings, if available, to optimize the performance and reduce any noticeable latency during audio playback. Lower buffer sizes typically result in lower latency but may require more processing power.
- Some software may offer additional options for configuring specific routing or channel configuration. Explore the settings and ensure that the audio signals are correctly routed to the desired outputs on the audio interface.
- Depending on your workflow and requirements, you may also have the option to configure specific output channels for different monitors or speaker setups.
- Save the changes and exit the preferences or settings menu. Your software should now be configured to output audio through the audio interface and monitors.
It’s crucial to note that the configuration process may differ across different software applications. Therefore, it’s advisable to consult the software’s documentation or online resources for specific instructions on configuring audio output preferences.
Once you have successfully configured the audio output preferences, you can proceed to the next step and test the output on your monitors to ensure everything is working correctly.
Step 4: Testing the Output on Your Monitors
After connecting the audio interface, setting up the audio output on your device, and configuring the audio output preferences within your software, it’s time to test the output on your monitors. This step ensures that you can hear audio playback accurately and make any necessary adjustments. Here’s how to test the output:
- Play a test audio file or open a project in your audio software that contains audio tracks.
- Gradually increase the volume on your monitors to a comfortable level.
- Verify that you are hearing audio playback through the monitors connected to your audio interface.
- Listen carefully for any distortions, imbalances, or irregularities in the sound. If you notice any issues, consider adjusting the output levels both on your audio interface and within your software.
- Test different audio sources, such as instruments, microphones, or external audio devices, to ensure that the audio is correctly routed through the audio interface and monitors.
- Make any necessary adjustments to the settings or gain levels to achieve the desired sound quality and volume.
During the testing phase, it’s also a good idea to listen to reference tracks that you are familiar with and that represent the sound qualities you desire. This can help you assess the accuracy and fidelity of your audio playback and make any additional adjustments if needed.
If you encounter any issues with the audio playback, ensure that all cables are securely connected, check the audio interface’s power and input settings, and verify that the audio output preferences in your software are correctly configured.
Once you have thoroughly tested the output on your monitors and are satisfied with the performance, you can move on to the final step, which involves troubleshooting common issues that may arise during the setup process.
Step 5: Troubleshooting Common Issues
While setting up an audio interface and configuring the audio output, you may encounter common issues that can affect the functionality and performance. Here are some troubleshooting steps to help you resolve these issues:
- No audio output: If you’re not getting any audio output through your monitors, ensure that all connections between the audio interface and monitors are secure. Check the settings in your audio software and make sure the audio interface is selected as the output device. Additionally, verify that the volume levels on the audio interface, device, and software are properly adjusted.
- Poor sound quality: If you notice any distortions, imbalances, or low-quality sound, make sure that the cables used for connection are of high quality and properly connected. Also, ensure that the sample rate and bit depth settings in the audio software match the settings on your audio interface. Consider adjusting the gain levels on the audio interface, monitors, or within the software to achieve a balanced and clean sound.
- Latency issues: If you experience noticeable delay or latency between input and output, adjust the buffer size or latency settings within your audio software to reduce the latency. Keep in mind that lowering the buffer size may require more processing power and may impact the overall performance of your system.
- Noise or interference: If you hear unwanted noise, hum, or interference, check for any ground loop issues. Ensure that the audio interface and monitors are properly grounded, and try using different power outlets. Using balanced cables (TRS or XLR) instead of unbalanced cables (RCA) can also help reduce noise. Additionally, keep audio cables away from power cables or other potential sources of interference.
- Audio dropout: If you experience intermittent audio dropouts, check for any software or driver updates for your audio interface. Ensure that your computer or recording device meets the minimum system requirements for the audio interface. If the issue persists, try using a different USB or Thunderbolt cable, as faulty cables can sometimes cause dropouts.
If you have tried the troubleshooting steps mentioned above and are still experiencing issues, consult the user manual or contact the technical support of your audio interface manufacturer or software provider for further assistance.
Remember, troubleshooting can be a process of trial and error, so don’t hesitate to explore different solutions and seek help when needed. With patience and persistence, you will overcome any hurdles and enjoy a seamless audio output experience with your audio interface and monitors.
Conclusion
Setting up an audio interface and configuring the audio output to monitors is a crucial step in ensuring accurate audio playback and monitoring during music production, recording, or other audio-related tasks. By following the steps outlined in this guide, you can successfully output audio to your audio interface and monitors and enjoy high-quality sound.
Throughout this guide, we have covered the essential steps, including connecting the audio interface and monitors, setting up the audio output on your device, configuring the audio output preferences within your software, testing the output on your monitors, and troubleshooting common issues. These steps provide a comprehensive framework for a seamless and optimized audio output process.
Remember to double-check your physical connections, choose the correct audio output device, and configure the audio settings with precision. Taking the time to properly set up your audio interface and monitors will help you achieve accurate sound representation and make informed decisions during audio production, mixing, and mastering.
Additionally, don’t hesitate to explore the various features and options offered by your audio interface and software. Each setup may have its unique capabilities and workflow configurations, enabling you to customize and enhance your audio output experience further.
By following these steps and troubleshooting common issues, you can overcome any hurdles that may arise and enjoy a smooth and efficient audio output process with your audio interface and monitors.
Now that you have a solid understanding of how to output to an audio interface and monitors, it’s time to put your knowledge into practice and unlock the full potential of your audio setup. Whether you’re a musician, sound engineer, podcaster, or audio enthusiast, enjoy the rich and immersive sound experience that a properly configured audio interface and monitor setup can provide.