Home>Production & Technology>Audio Interface>How To Set Up Precue With Audio Interface
Audio Interface
How To Set Up Precue With Audio Interface
Published: February 5, 2024
Learn how to set up Precue with an audio interface for optimal sound quality and seamless transitions. Ensure your audio interface is compatible and follow our step-by-step guide.
(Many of the links in this article redirect to a specific reviewed product. Your purchase of these products through affiliate links helps to generate commission for AudioLover.com, at no extra cost. Learn more)
Table of Contents
- Introduction
- Step 1: Determine Your Audio Interface Compatibility
- Step 2: Install the Required Software and Drivers
- Step 3: Connect Your Audio Interface to Your Computer
- Step 4: Set Up Your Audio Interface as the Default Playback Device
- Step 5: Configure Your Precue Software
- Step 6: Test and Adjust Your Precue Setup
- Conclusion
Introduction
An audio interface is an essential tool for musicians, producers, and sound engineers. It allows you to connect microphones, instruments, and other audio devices to your computer for recording and playback. But what if you want to set up precue, also known as cue mix or monitoring, with your audio interface?
Precue is the ability to listen to a specific audio source, such as a click track or a playback track, separately from the main mix. This feature is particularly useful for musicians who need to hear themselves while recording, or for DJs who want to cue up the next track without playing it through the main speakers.
In this article, we will guide you through the process of setting up precue with your audio interface. Whether you’re a musician, producer, or DJ, this step-by-step guide will help you get the most out of your audio interface and improve your workflow. So let’s dive in and get started!
Step 1: Determine Your Audio Interface Compatibility
The first step in setting up precue with your audio interface is to determine if your interface supports this feature. Not all audio interfaces have the built-in capability for precue, so it’s important to check the specifications or documentation of your specific model.
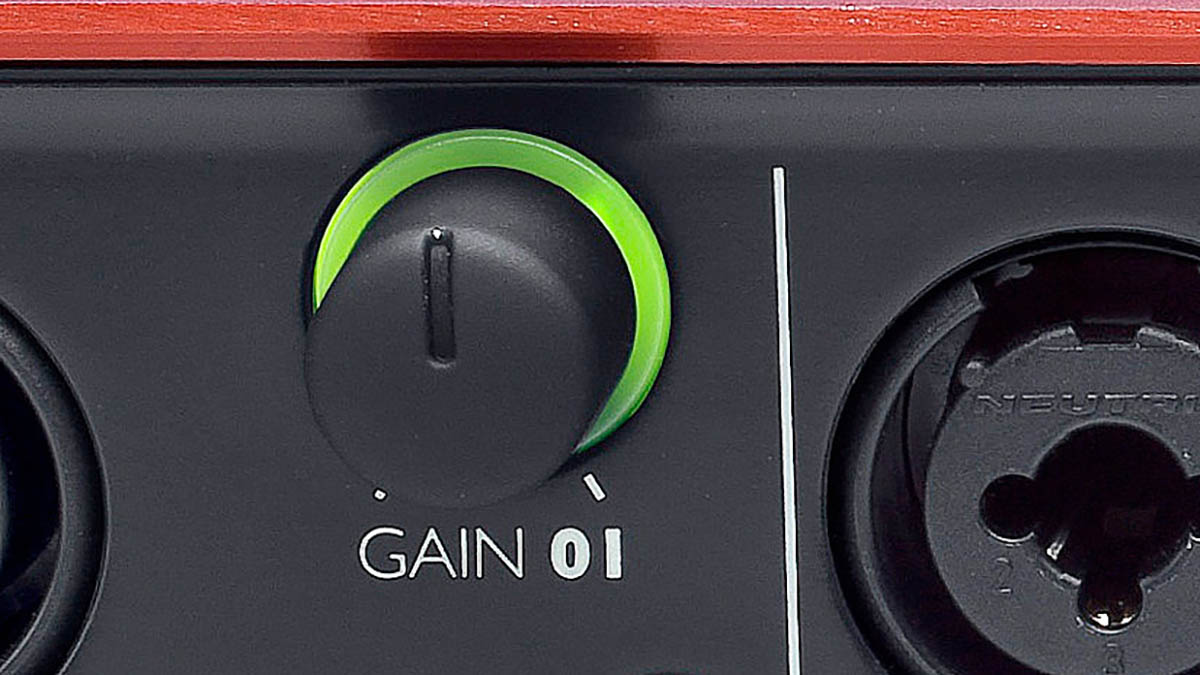
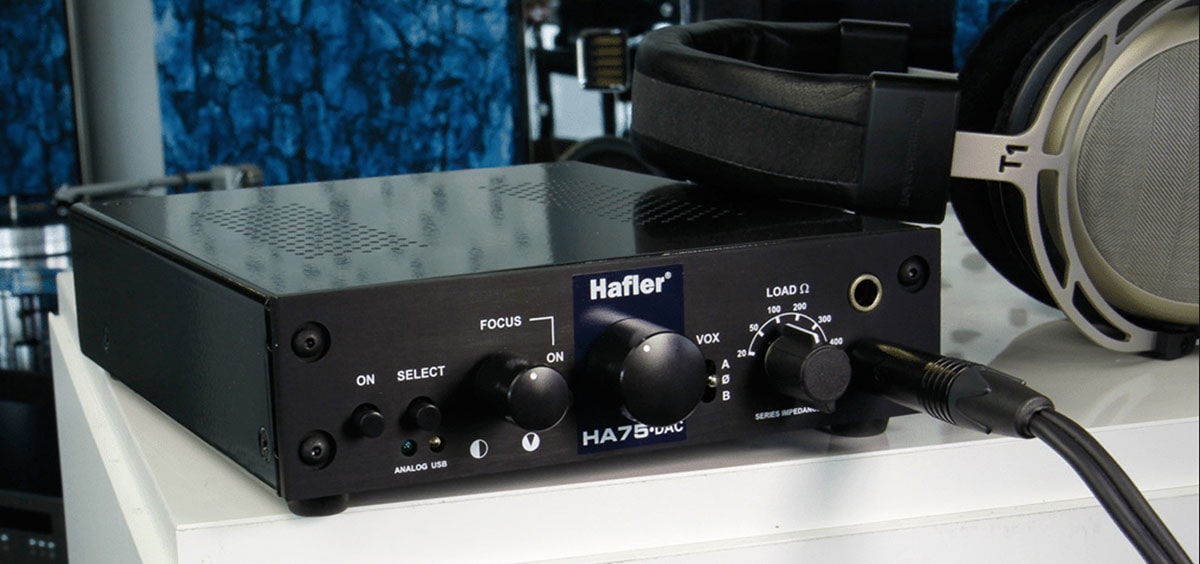
Most newer audio interfaces come with dedicated software or built-in functionality that allows you to control and configure precue settings. These interfaces often have headphone outputs with separate volume controls, which is essential for achieving a proper precue mix.
If you’re unsure whether your audio interface supports precue, here are a few ways to find out:
- Check the manufacturer’s website: Visit the website of the audio interface manufacturer and look for your specific model. Read the product description and specifications to see if it mentions precue functionality.
- Read the user manual: If you still have the user manual that came with your audio interface, check if it provides information about precue. Look for keywords like “cue mix,” “monitoring,” or “headphone output.”
- Research online: Browse online forums, discussion boards, and review websites to see if other users have successfully set up precue with your audio interface model. They may provide tips and insights on how to achieve the best results.
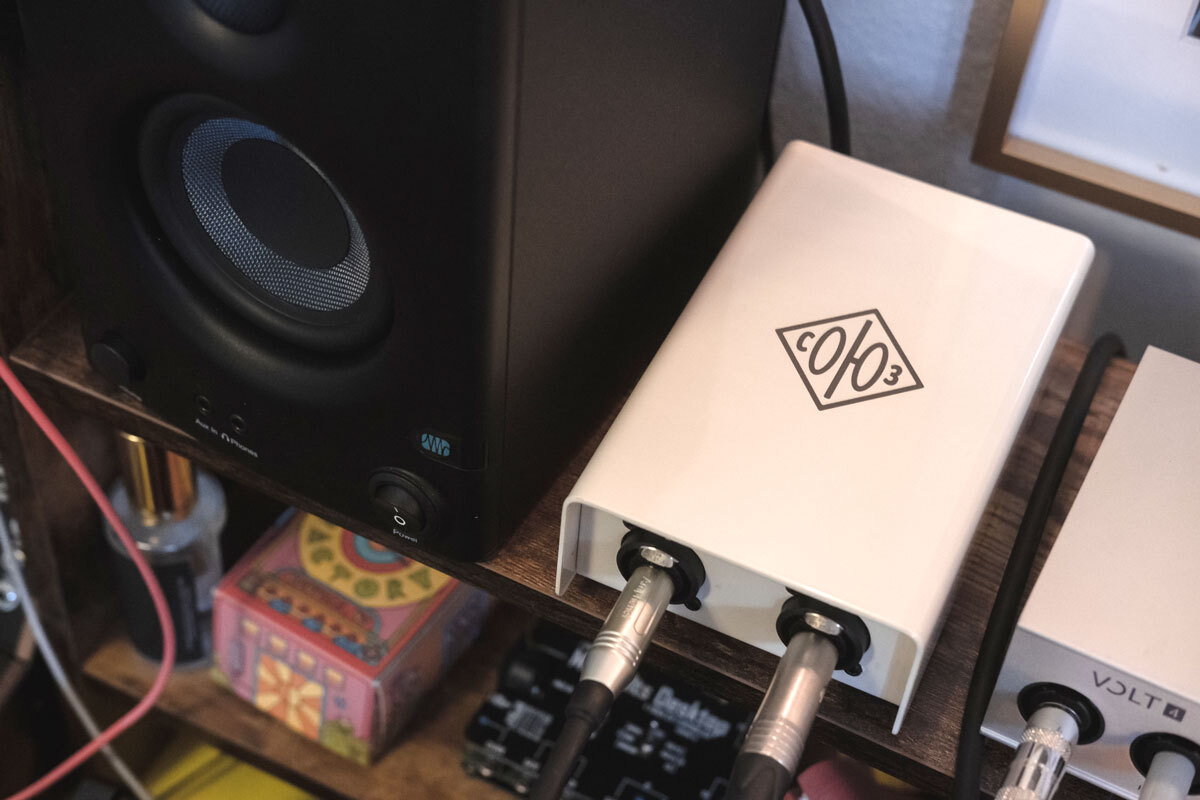
If your audio interface doesn’t have built-in precue functionality, don’t worry. There are external solutions available, such as dedicated headphone amplifiers with multiple inputs and volume controls. These devices can be connected to your audio interface and provide the necessary precue capabilities.
Once you have confirmed that your audio interface supports precue, you can proceed to the next steps to set it up and start enjoying a more efficient and productive recording or DJing experience.
Step 2: Install the Required Software and Drivers
Now that you’ve determined that your audio interface supports precue, it’s time to install the necessary software and drivers. These software components ensure that your computer can communicate with your audio interface effectively and enable the precue functionality.
Here are the general steps to install the required software and drivers:
- Check for driver updates: Visit the manufacturer’s website and look for driver updates specific to your audio interface model. Download the latest driver software and follow the installation instructions provided.
- Install the driver software: Once you have the driver software downloaded, run the installation file and follow the on-screen prompts. Restart your computer if prompted to complete the installation process.
- Install any additional software: Some audio interfaces come with dedicated control panel software or mixing software that allows you to configure precue settings. If your interface includes this software, install it according to the instructions provided.
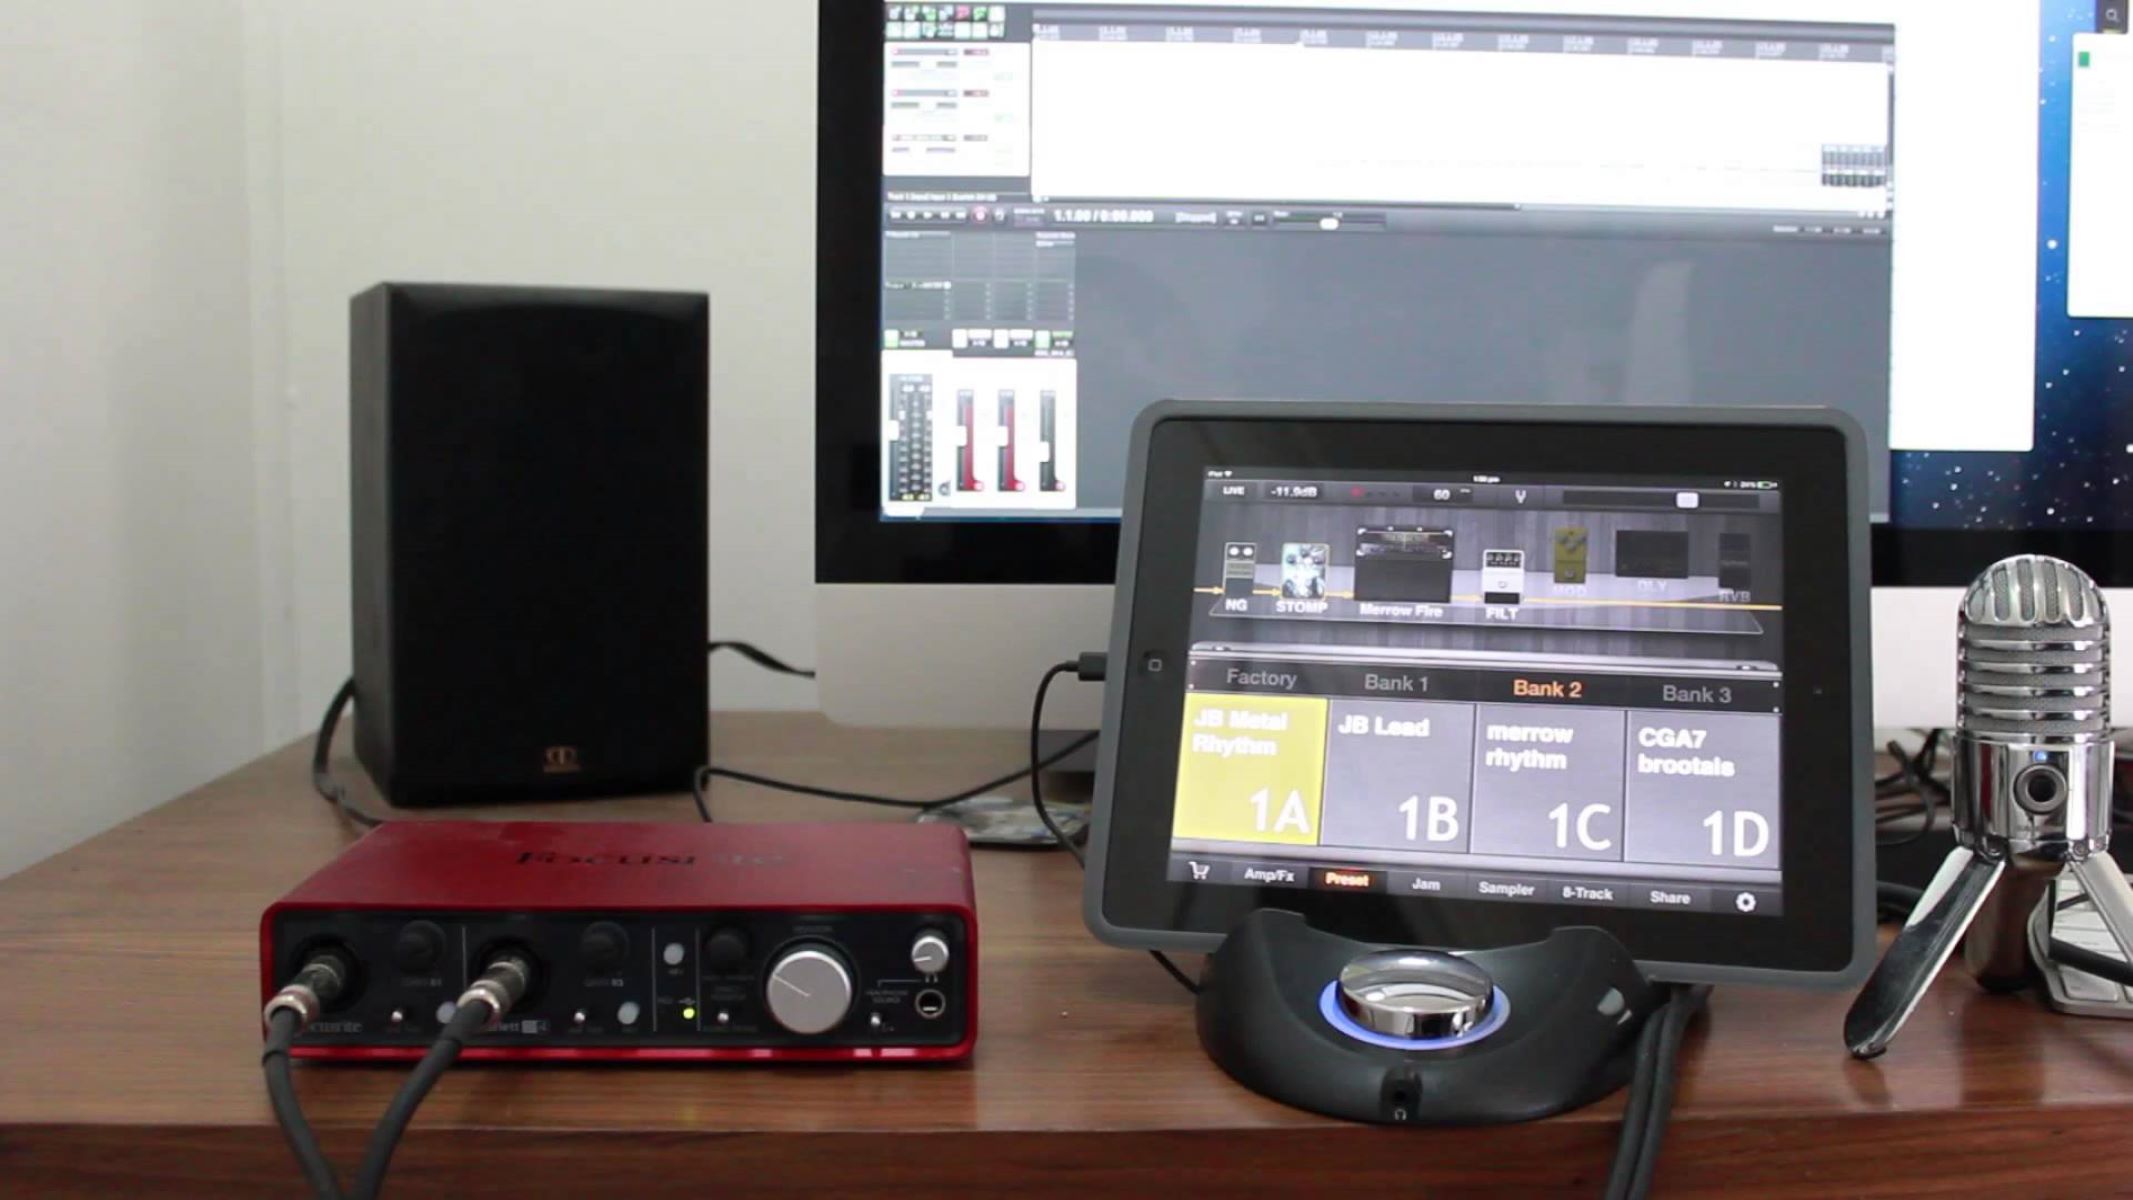
- Connect your audio interface: Before using the software, connect your audio interface to your computer using the provided USB or Thunderbolt cable. Ensure that the interface is powered on and recognized by your computer.
Once the software and drivers are successfully installed, you can proceed to the next step and configure your audio interface for precue.
It’s worth noting that different audio interfaces may have specific software installation procedures. It’s important to refer to the documentation or user manual that came with your specific model for detailed instructions. The manufacturer’s website may also provide additional resources or troubleshooting guides if you encounter any issues during the installation process.
With the software and drivers installed, your audio interface is ready to be configured for precue. Let’s move on to the next step!
Step 3: Connect Your Audio Interface to Your Computer
With the software and drivers installed, it’s time to connect your audio interface to your computer. This step is crucial for establishing the communication between your audio interface and your computer, allowing you to harness the power and capabilities of your interface.
Here’s how you can connect your audio interface to your computer:
- Choose the appropriate cable: Most audio interfaces connect to your computer via a USB or Thunderbolt cable. Make sure to use the cable that came with your interface or a compatible one. These cables transmit both the audio signals and the control data between your interface and computer.
- Turn off your computer: Before connecting the cable, it’s advisable to turn off your computer. This ensures that you won’t accidentally damage any ports or connectors during the process.
- Connect the cable: Plug one end of the cable into the appropriate port on your audio interface and the other end into an available USB or Thunderbolt port on your computer. Ensure that the connection is secure and snug.
- Power on your audio interface: Once the cable is connected, power on your audio interface. Some interfaces may have a dedicated power switch, while others may receive power directly from the computer via the USB or Thunderbolt connection.
Upon connecting your audio interface, your computer should recognize it and configure the necessary settings automatically. You may need to follow on-screen prompts or confirm the installation of the device drivers if prompted.
It’s important to note that different audio interfaces may have additional connectivity options, such as MIDI ports or digital inputs/outputs. Consult the documentation or user manual that came with your audio interface to explore these additional connectivity options and determine if you need to utilize them for your specific setup.
With your audio interface successfully connected to your computer, you can move on to the next step and set it up as the default playback device.
Step 4: Set Up Your Audio Interface as the Default Playback Device
Setting up your audio interface as the default playback device ensures that your computer routes audio output through the interface rather than the built-in sound card. This is crucial for achieving proper precue functionality and ensuring that you hear audio through your interface’s headphone outputs.
Follow these steps to set up your audio interface as the default playback device:
- Access the sound settings: On your computer, navigate to the sound settings. This can typically be found in the Control Panel (Windows) or System Preferences (Mac).
- Select your audio interface: In the sound settings, look for the playback device options. Locate your audio interface from the list of available devices. It may be listed by the manufacturer’s name or the specific model.
- Set as default: Once you’ve identified your audio interface, choose it as the default playback device. This ensures that all audio playback is routed through your interface rather than the built-in speakers or sound card.
- Adjust volume and other settings: Depending on your operating system, you may have additional options to adjust the volume and other audio settings for your audio interface. Take a moment to explore and configure these settings according to your preferences.
By setting your audio interface as the default playback device, you ensure that any audio played on your computer, including your DAW (digital audio workstation), media player, or streaming services, is directed through your interface. This allows you to monitor and control the audio output using the headphone outputs or other dedicated monitoring outputs on your interface.
It’s important to note that some software applications may have their own audio settings that need to be adjusted separately. For example, your DAW may have its own audio preferences where you can select the audio interface as the playback device. Make sure to explore these settings within your specific software applications to ensure proper audio routing and monitoring.
With your audio interface set as the default playback device, you’re ready to move on to the next step and configure your precue software!
Step 5: Configure Your Precue Software
Now that your audio interface is set up as the default playback device, it’s time to configure your precue software. Precue software allows you to control the routing and monitoring of specific audio sources, ensuring that you can listen to them separately from the main mix.
The specific steps to configure your precue software may vary depending on the software you’re using. However, here are some general guidelines to help you get started:
- Open your precue software: Launch the software that controls the precue functionality on your audio interface. This may be dedicated control panel software provided by the interface manufacturer or built-in functionality within your DAW.
- Select the audio sources: In the precue software, you’ll typically have the option to select the audio sources you want to monitor separately. This can include click tracks, playback tracks, or specific inputs from your audio interface.
- Configure volume and cue mix: Adjust the volume levels of each audio source to create a proper cue mix. You’ll want to ensure that the volume of your own instrument or voice (if recording) is balanced with the playback tracks or click track. This allows you to hear yourself clearly without being overpowered by the other audio sources.
- Enable monitoring and routing: Check if there are any additional options to enable monitoring for the selected audio sources. This ensures that the audio is routed to the headphone outputs or other monitoring outputs on your audio interface.
- Save your settings: Once you’ve configured your precue settings to your liking, save your settings within the precue software. This ensures that your preferences are retained for future use.
It’s important to reference the documentation or user manual that came with your audio interface or precue software for specific instructions tailored to your setup. The interface manufacturer’s website may also offer tutorials or resources to guide you through the configuration process.
Remember, the goal of configuring your precue software is to achieve a comfortable and balanced monitoring experience, allowing you to hear yourself or the desired audio sources clearly without any distractions or imbalances.
Once you have successfully configured your precue software, you are ready to test and adjust your precue setup, ensuring that everything is functioning as desired.
Step 6: Test and Adjust Your Precue Setup
After setting up and configuring your precue software, it’s essential to test and adjust your precue setup to ensure optimal performance and a comfortable monitoring experience. This step allows you to fine-tune the volume levels and make any necessary adjustments to achieve the desired mix.
Here are some steps to test and adjust your precue setup:
- Play a test track: Start by playing a test track that includes the audio sources you want to monitor. This could be a song, a click track, or any audio that represents your typical use case.
- Listen and evaluate: Pay close attention to the volume levels and the balance between your instrument or voice and the other audio sources. Listen for any distortion, clipping, or imbalances that may need adjustment.
- Adjust volume levels: If any audio sources are too loud or too quiet, adjust their volume levels within your precue software. Tweak the levels until you achieve a well-balanced mix where you can hear yourself clearly without being overwhelmed by the other audio sources.
- Test with different audio sources: Experiment with different types of audio sources, such as different instruments or tracks, to ensure that your precue setup works consistently across various scenarios.
- Test with different headphones: If you have multiple pairs of headphones, try testing your precue setup with each of them to ensure compatibility and optimal sound quality.
- Make necessary adjustments: Note any adjustments or changes you need to make to improve your precue setup. This could involve modifying volume levels, adjusting EQ settings, or exploring different monitoring options within your precue software.
Testing and adjusting your precue setup may require some trial and error to find the perfect balance. Take your time and trust your ears to guide you towards the desired monitoring experience.
Remember to save any changes or adjustments you make to your precue software, ensuring that you can easily replicate your preferred settings for future recordings or performances.
Once you are satisfied with the results of your testing and adjustments, your precue setup is ready to deliver an enhanced monitoring experience. Enjoy the benefits of being able to hear yourself or specific audio sources separately from the main mix, improving your recording, production, or DJing workflow.
Conclusion
Setting up precue with your audio interface is a game-changer for musicians, producers, and DJs alike. The ability to monitor specific audio sources separately from the main mix can greatly enhance your recording, production, or DJing workflow. By following the steps outlined in this guide, you can easily configure your audio interface for precue and enjoy a more efficient and immersive monitoring experience.
We began by determining the compatibility of your audio interface, ensuring that it supports precue functionality. If your interface lacks built-in precue capabilities, we explored the option of external solutions such as dedicated headphone amplifiers.
We then moved on to installing the required software and drivers for your audio interface, ensuring that your computer can communicate effectively with the interface. Connecting your audio interface to your computer was the next step, establishing the crucial link between the two for audio routing and monitoring.
Setting up your audio interface as the default playback device allowed us to direct audio output through the interface and prepare for configuring the precue software. We then dove into the necessary steps to configure your precue software, adjusting volume levels and routing options to achieve a balanced and comfortable monitoring mix.
Testing and adjusting your precue setup allowed us to fine-tune the volume levels and make any necessary changes to achieve the desired monitoring experience. This step ensured that you can hear yourself or specific audio sources clearly without any distractions or imbalances.
With your precue setup in place, you can now enjoy the benefits of improved workflow, enhanced recording or production sessions, and seamless DJing performance. Whether you’re a musician tracking instruments, a producer mixing and mastering, or a DJ cueing up the next track, precue with your audio interface opens up a whole new level of control and creativity.
Remember, every audio interface and precue software may have specific features and settings, so it’s important to consult the documentation and resources provided by the manufacturer. Additionally, experimenting with your precue setup and trusting your ears will help you find the perfect mix that suits your needs and preferences.
Now go ahead and set up precue with your audio interface to unlock a whole new world of monitoring possibilities. Happy music making and DJing!