Home>Production & Technology>Audio Interface>How To Set Up Audio Interface In Pro Tools
Audio Interface
How To Set Up Audio Interface In Pro Tools
Published: February 4, 2024
Learn how to easily set up your audio interface in Pro Tools with our step-by-step guide. Enhance your recording and production workflow with the help of an audio interface.
(Many of the links in this article redirect to a specific reviewed product. Your purchase of these products through affiliate links helps to generate commission for AudioLover.com, at no extra cost. Learn more)
Table of Contents
- Introduction
- Step 1: Selecting the Audio Interface
- Step 2: Installing the Drivers
- Step 3: Connecting the Audio Interface to Your Computer
- Step 4: Configuring Pro Tools
- Step 5: Setting Up Inputs and Outputs in Pro Tools
- Step 6: Testing the Audio Interface
- Step 7: Adjusting Latency Settings
- Step 8: Troubleshooting Common Issues
- Conclusion
Introduction
Setting up an audio interface in Pro Tools is an essential step for any music producer, sound engineer, or home studio owner. An audio interface serves as the connection between your computer and your audio gear, allowing you to record and playback high-quality audio.
By using an audio interface, you can achieve low-latency recording, better sound quality, and access to a wide range of inputs and outputs. Whether you’re recording vocals, instruments, or mixing and mastering tracks, a well-configured audio interface can make a significant difference in your audio production workflow.
In this article, I will guide you through the process of setting up an audio interface in Pro Tools, one of the most popular digital audio workstations in the industry. We will cover everything from selecting the right interface, installing the necessary drivers, connecting the hardware, configuring the software, and troubleshooting common issues you may encounter along the way.
While the specific steps may vary depending on the audio interface and version of Pro Tools you are using, the general principles and concepts discussed in this article will apply to most setups. By the end of this guide, you’ll have the knowledge and confidence to seamlessly integrate your audio interface with Pro Tools and unleash your creativity.
So, let’s dive in and explore the world of audio interfaces and Pro Tools, and unlock the potential of your music production capabilities.
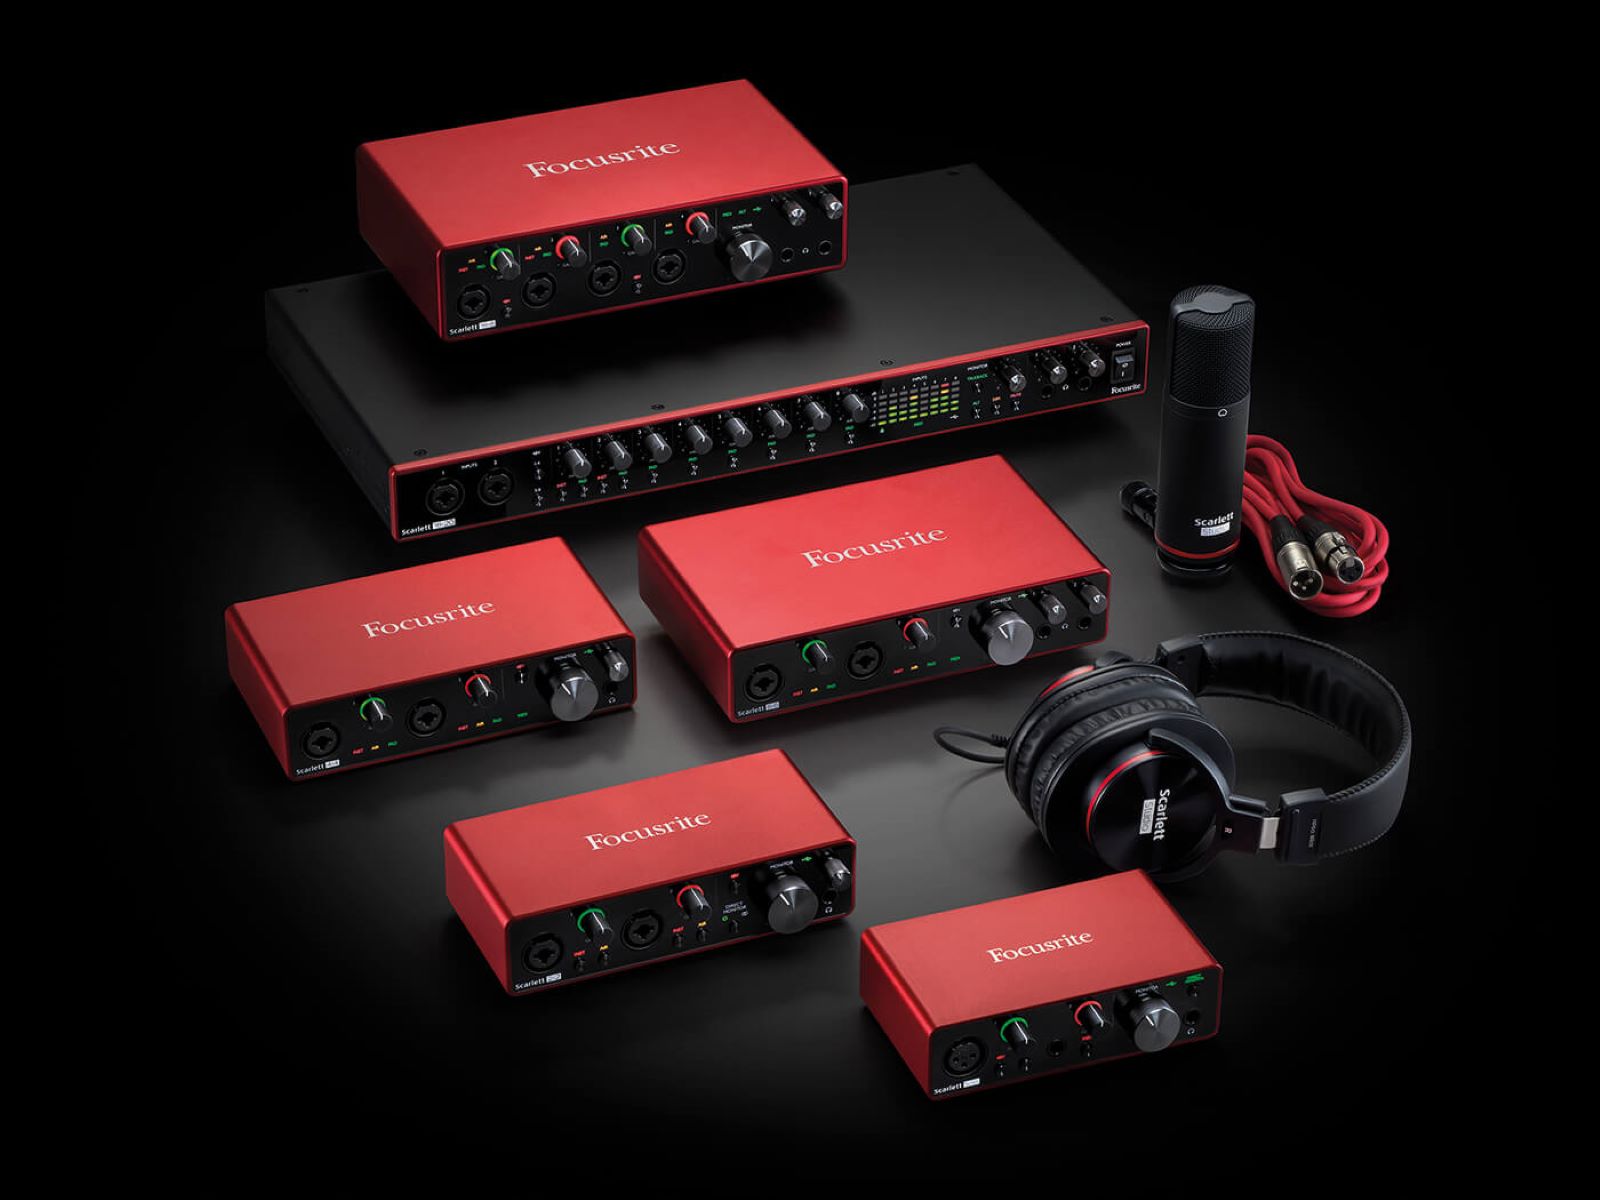
Step 1: Selecting the Audio Interface
The first step in setting up an audio interface in Pro Tools is selecting the right interface for your needs. With a wide range of options available on the market, it’s important to consider factors such as your budget, desired input and output count, and the specific requirements of your recording projects.
Here are a few key factors to consider when choosing an audio interface:
- Input and Output Count: Determine how many simultaneous inputs and outputs you will need for your recording and mixing needs. This will depend on the number of microphones, instruments, and outboard gear you plan to use. It’s recommended to choose an interface with more inputs and outputs than you currently require to allow for future expansion.
- Audio Quality: Consider the audio quality of the interface. Look for a high-quality analog-to-digital and digital-to-analog conversion to ensure accurate sound reproduction.
- Connection Type: Check the connection options of the interface. USB, Thunderbolt, and PCIe are common connection types. Choose the one that is compatible with your computer and offers the required bandwidth for your audio needs.
- Preamps and Gain Control: If you plan to record vocals or acoustic instruments, pay attention to the quality of the preamps and the availability of gain control on the interface.
- Software Compatibility: Ensure that the audio interface you choose is compatible with Pro Tools. Check the manufacturer’s website for compatibility information and drivers required for seamless integration.
Take your time to research and compare different audio interfaces available in the market. Read reviews, watch video demonstrations, and consider seeking advice from fellow musicians and audio professionals. It’s important to find an interface that meets your specific needs and fits within your budget.
Once you have selected the audio interface that suits your requirements, you can proceed to the next step: installing the necessary drivers.
Step 2: Installing the Drivers
After selecting your audio interface, the next step is to install the appropriate drivers on your computer. Drivers are software components that facilitate communication between your audio interface and your computer’s operating system. They ensure that your system recognizes and utilizes the interface’s features correctly.
Here is a step-by-step guide on how to install the drivers for your audio interface:
- Check the Manufacturer’s Website: Visit the manufacturer’s website and navigate to the support or downloads section. Look for the drivers specific to your audio interface model and the operating system you are using.
- Download the Drivers: Once you’ve located the appropriate drivers, download them to your computer. Make sure to save them in a location that is easily accessible.
- Extract the Installation Files: If the drivers are compressed in a zip folder, extract the files to a new folder on your desktop or any other location of your choice.
- Run the Installation Wizard: Open the folder where you extracted the driver files and run the installation wizard by double-clicking on the setup file. Follow the on-screen instructions to proceed with the installation.
- Restart Your Computer: After the installation is complete, it’s recommended to restart your computer. This helps ensure that the drivers are properly integrated with the operating system.
- Connect the Audio Interface: Once your computer restarts, connect your audio interface using the appropriate cables and ports. Ensure that the interface is powered on.
- Check Device Manager: Open the device manager on your computer and verify that the audio interface is detected and listed without any errors. If you encounter any issues, consult the troubleshooting section in the manufacturer’s documentation or contact their support team for assistance.
It is important to keep your audio interface drivers up to date. Periodically check the manufacturer’s website for any driver updates, as new releases may include bug fixes and performance optimizations.
With the drivers successfully installed, your audio interface is now ready to be connected to your computer, and we can proceed to the next step: connecting the audio interface to your computer.
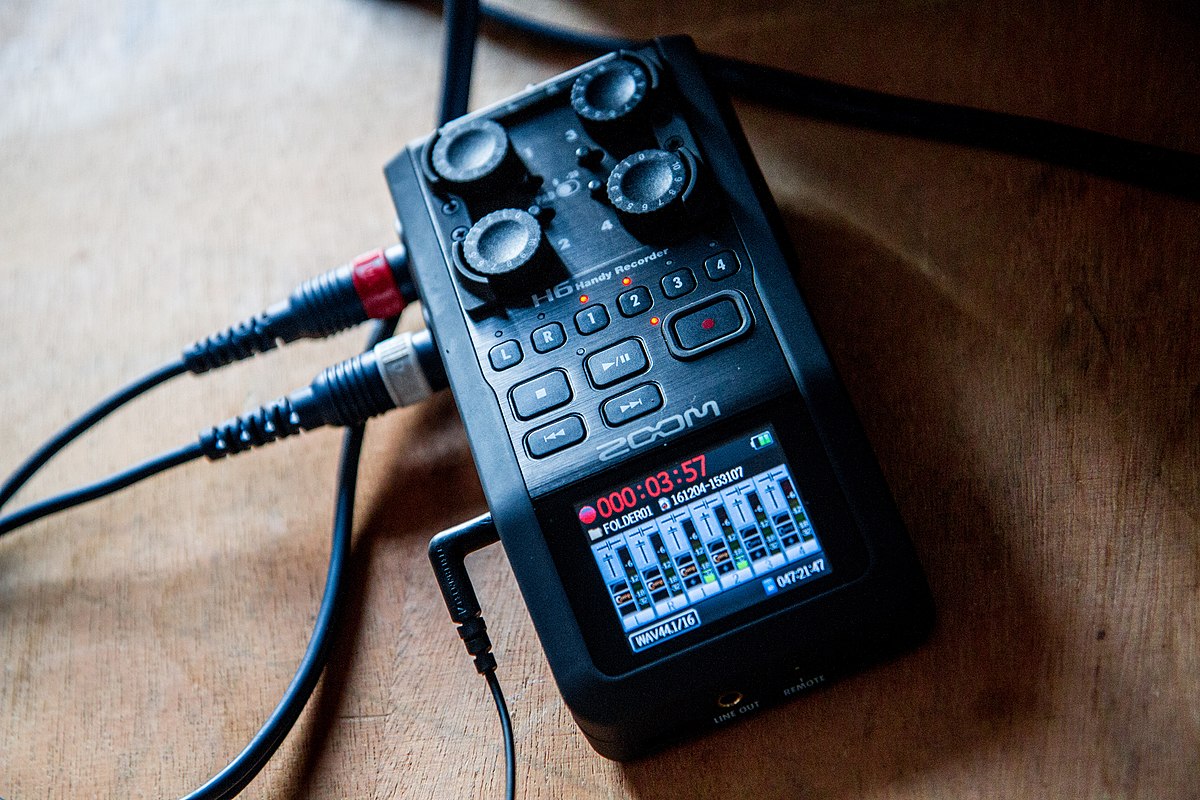
Step 3: Connecting the Audio Interface to Your Computer
Once you have installed the drivers for your audio interface, it’s time to connect it to your computer. Connecting the audio interface correctly is crucial for seamless communication between the hardware and software components of your setup.
Follow these steps to connect your audio interface to your computer:
- Choose the Right Cables: Identify the appropriate cables required to connect your audio interface to your computer. Common cable types include USB, Thunderbolt, and Firewire cables. Refer to the manufacturer’s documentation to ensure you have the correct cables.
- Power Off Your Computer and Audio Interface: Before making any connections, it’s advisable to power off your computer and audio interface to prevent any potential damage.
- Connect the Cables: Connect one end of the cable to the respective port on your audio interface. Then, connect the other end of the cable to the corresponding port on your computer. Ensure a secure connection on both sides.
- Power On Your Audio Interface: Once the cables are connected, power on your audio interface. It may take a few moments for the interface to initialize.
- Power On Your Computer: After powering on the audio interface, you can now power on your computer. Allow your computer to boot up fully.
- Check Connection Status: Once your computer is up and running, check the connection status of your audio interface. Most interfaces will have LED indicators or software utilities that display the connection status.
It’s important to note that different audio interfaces may have specific connection requirements. Always refer to the manufacturer’s documentation for any additional instructions or recommendations.
With the audio interface successfully connected to your computer, it’s time to move on to the next step: configuring Pro Tools for your setup.
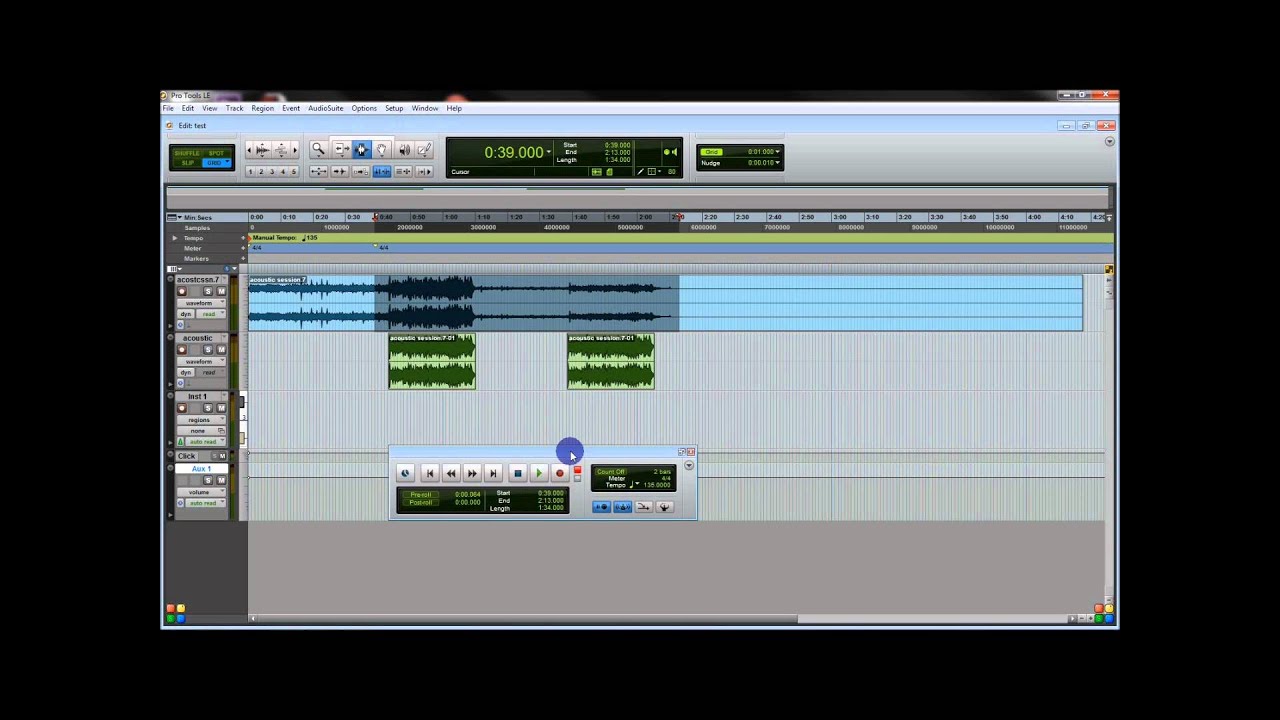
Step 4: Configuring Pro Tools
Now that your audio interface is connected to your computer, it’s time to configure Pro Tools to work with it. Proper configuration ensures that Pro Tools recognizes and utilizes your audio interface’s inputs and outputs correctly.
Follow these steps to configure Pro Tools for your audio interface:
- Launch Pro Tools: Open Pro Tools on your computer. If this is your first time using Pro Tools, the startup dialog box will appear. If you have used Pro Tools before, open your existing session or create a new one.
- Open the Playback Engine Settings: In Pro Tools, go to the Setup menu and select Playback Engine. This will open the Playback Engine settings window.
- Select your Audio Interface: In the Playback Engine settings window, select your audio interface from the drop-down menu. Make sure it is the same interface that you have connected to your computer.
- Set the Buffer Size: Adjust the buffer size according to your needs. A larger buffer size will result in higher latency but can alleviate processing strain on your computer. A smaller buffer size will decrease latency but may require more processing power.
- Click OK: Once you have selected your audio interface and set the buffer size, click OK to save the changes.
- Configure Input and Output Settings: Depending on your project requirements, you may need to configure the input and output settings in Pro Tools. Go to the Setup menu and select I/O Settings. Here, you can assign inputs and outputs to your desired tracks and devices.
- Test Audio Playback and Recording: To ensure that your audio interface is functioning correctly, try playing back audio or recording a test signal in Pro Tools. Monitor the audio levels and verify that sound is coming in and going out through the appropriate channels.
It’s important to note that the specific configuration steps may vary depending on the version of Pro Tools you are using. Consult the Pro Tools documentation or online resources for detailed instructions specific to your version.
With Pro Tools successfully configured for your audio interface, you’re now ready to move on to the next step: setting up inputs and outputs in Pro Tools.
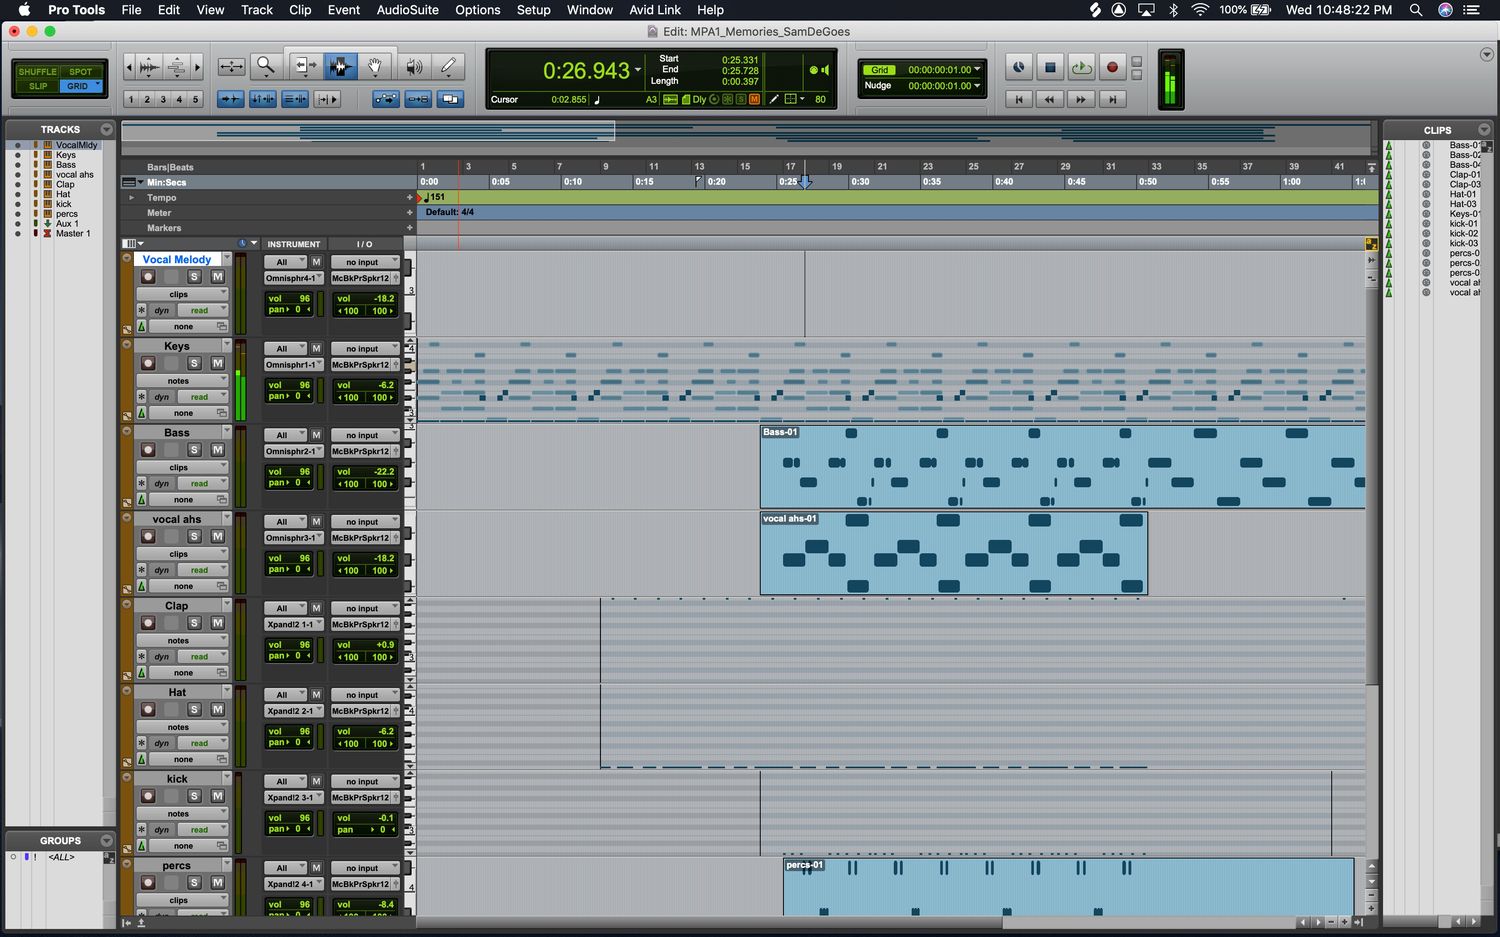
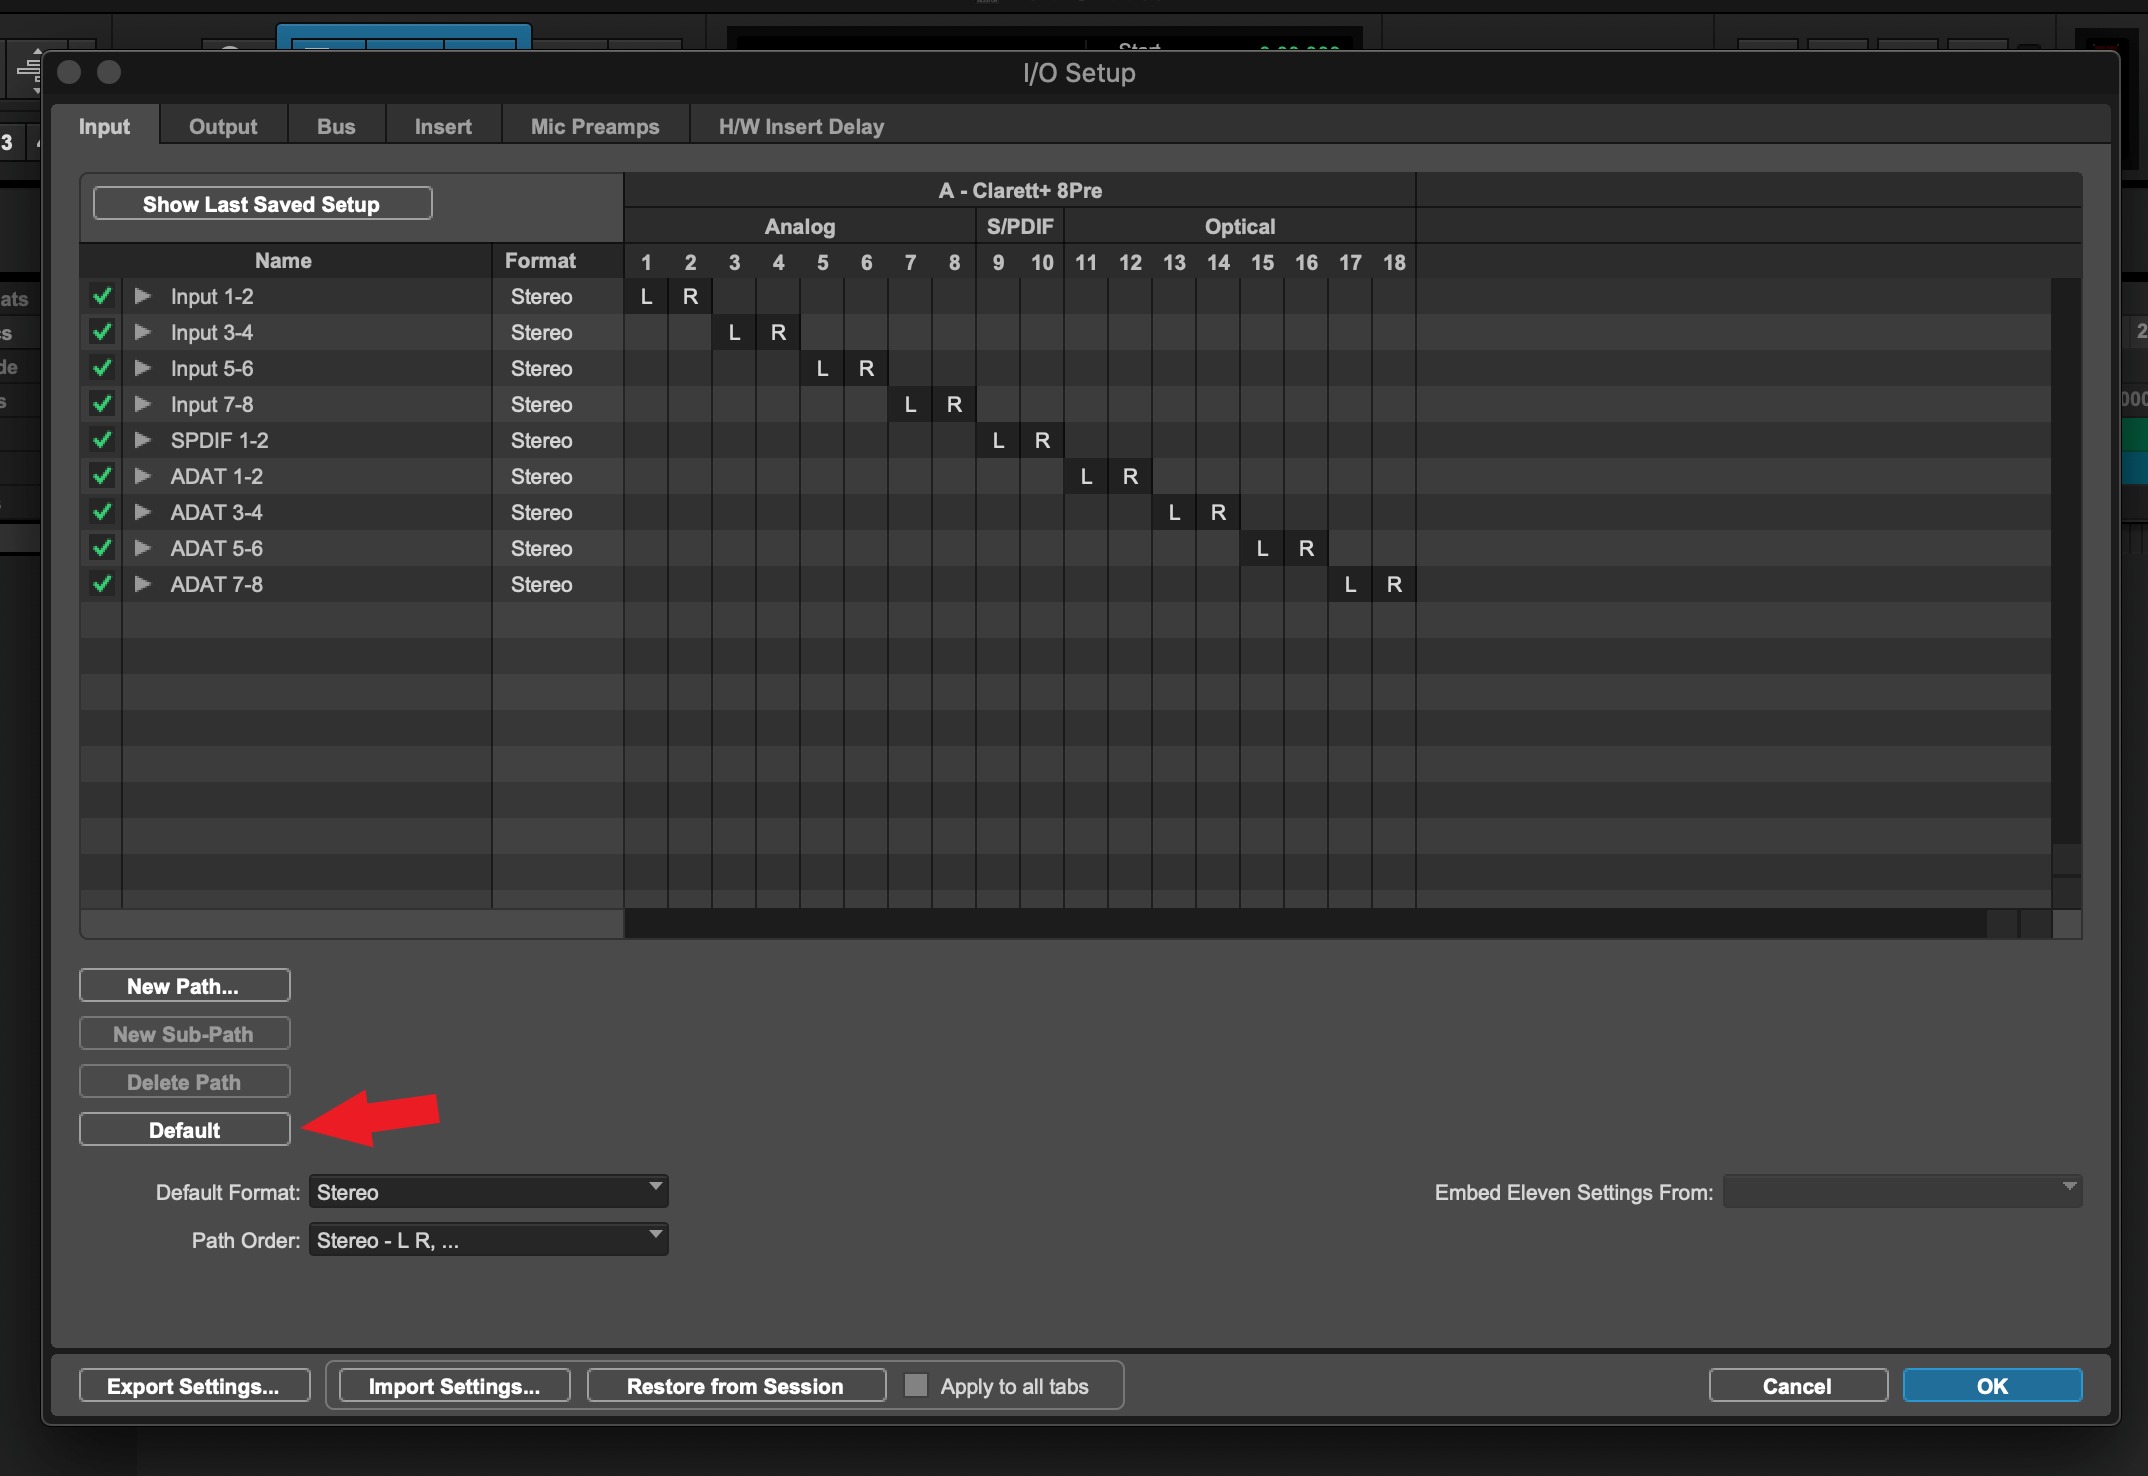
Step 5: Setting Up Inputs and Outputs in Pro Tools
Once your audio interface is properly configured in Pro Tools, it’s time to set up the inputs and outputs. This step allows you to define how Pro Tools interacts with your audio interface’s physical inputs and outputs.
Follow these steps to set up inputs and outputs in Pro Tools:
- Open the I/O Setup Window: In Pro Tools, go to the Setup menu and select I/O Setup. This will open the Input/Output Setup window.
- Select the Input Tab: In the Input/Output Setup window, click on the Input tab to configure the inputs.
- Add Inputs: To add inputs, click on the Add Path button. A dialog box will appear, allowing you to select the input channels of your audio interface. Choose the desired input channels and click OK to add them.
- Configure Input Names: After adding the inputs, you can customize their names to match your audio sources. This step makes it easier to identify and select the appropriate inputs for your tracks.
- Select the Output Tab: In the Input/Output Setup window, click on the Output tab to configure the outputs.
- Add Outputs: Similar to adding inputs, click on the Add Path button to add outputs. Choose the desired output channels of your audio interface and click OK to add them.
- Configure Output Names: Customize the names of your output channels to accurately represent their purpose or destination.
- Set Default Input and Output Paths: To ensure that Pro Tools uses the correct inputs and outputs by default, select the desired paths as default in the Default column of the Input/Output Setup window.
- Click OK: Once you have configured the inputs and outputs, click OK to save the changes and close the Input/Output Setup window.
Configuring the inputs and outputs correctly is crucial for proper audio routing and monitoring within Pro Tools. Take your time to ensure that you have assigned the correct channels and named them appropriately.
With the inputs and outputs set up in Pro Tools, you’re now ready to move on to the next step: testing the audio interface.
Step 6: Testing the Audio Interface
After setting up the inputs and outputs in Pro Tools, it’s important to test your audio interface to ensure it is functioning properly. Testing allows you to verify the audio quality, check for any latency issues, and confirm that all connections are working as expected.
Follow these steps to test your audio interface in Pro Tools:
- Create a New Session or Open an Existing One: In Pro Tools, create a new session or open an existing one that contains audio tracks.
- Prepare Your Audio Sources: Connect your microphones, instruments, or any other audio sources to the inputs of your audio interface. Make sure they are properly plugged in and powered on.
- Arm Tracks for Recording: Enable the record-ready mode on the tracks you want to record on. Ensure that the input assignments are correct for each track.
- Adjust Input Levels: Set the input levels on your audio interface for each recording source. You can use the gain knobs or software control provided by your interface to adjust the input levels to an optimal level without clipping.
- Monitor Audio: Enable the monitoring function in Pro Tools to listen to the audio input through your audio interface. Check if the audio is coming through the correct input channels and if there are any issues with the signal.
- Record and Playback: Start recording on the armed tracks and play back the recorded audio. Check for any distortion, unwanted noise, or issues with playback. Ensure that the audio is routed to the desired output channels and that you can hear the playback through your monitors or headphones.
- Test Different Sample Rates and Buffer Sizes: Experiment with different sample rates and buffer sizes to find the optimal settings for your audio interface. Lower buffer sizes may result in lower latency, but your computer’s processing power may be limited at lower buffer settings.
- Listen for Latency: Play a software instrument or click on a virtual drum pad to observe if there is any noticeable delay between pressing the keys or pads and hearing the sound. Adjust the buffer size if necessary to reduce latency.
By thoroughly testing your audio interface, you can identify and address any issues that may affect your recording and playback experience. If you encounter any problems, refer to the troubleshooting section in the manufacturer’s documentation or seek assistance from their support team.
With the audio interface successfully tested, you can proceed to the next step: adjusting latency settings, if necessary.
Step 7: Adjusting Latency Settings
Latency refers to the delay between the moment a sound is input into your audio interface and the moment it is output or played back. It is an important consideration when working with audio interfaces, as excessive latency can negatively impact your recording and monitoring experience.
Follow these steps to adjust latency settings in Pro Tools:
- Open the Playback Engine Settings: In Pro Tools, go to the Setup menu and select Playback Engine. This will open the Playback Engine settings window.
- Adjust the Buffer Size: The buffer size determines the amount of audio information stored in the buffer before it is processed and played back. A smaller buffer size reduces latency but may increase the strain on your computer’s processing power. A larger buffer size increases latency but can reduce the CPU load. Adjust the buffer size to find a balance between low latency and smooth performance based on your system capabilities and project requirements.
- Click OK: Once you have adjusted the buffer size, click OK to save the changes.
It’s important to note that the optimal buffer size will vary depending on your computer’s specifications, the complexity of your session, and the available processing power. Experiment with different buffer sizes to find the setting that works best for your setup.
In addition to adjusting the buffer size, there are a few other measures you can take to further minimize latency:
- Close Unnecessary Applications: Close any unnecessary applications or processes running on your computer to free up system resources for Pro Tools.
- Optimize Plugin Usage: Limit the number of CPU-intensive plugins you use in your session, especially those with high buffer sizes or heavy processing requirements.
- Disable Software Monitoring: If you’re experiencing significant latency during recording, disable the software monitoring option in Pro Tools and rely on the direct monitoring capabilities of your audio interface instead.
- Consider Hardware Monitoring: If your audio interface supports it, consider using hardware monitoring where the input signal is routed directly to the output without passing through the computer, thereby eliminating latency entirely.
- Keep your System and Pro Tools Up to Date: Ensure that your operating system, Pro Tools version, and audio interface drivers are all up to date. This helps to ensure compatibility, stability, and performance improvements.
By adjusting latency settings and implementing these optimization techniques, you can achieve a smoother recording and monitoring experience in Pro Tools.
With latency settings adjusted as needed, we can now move on to the final step: troubleshooting common issues that may arise when setting up an audio interface in Pro Tools.
Step 8: Troubleshooting Common Issues
While setting up an audio interface in Pro Tools, you may encounter a few common issues. Troubleshooting these issues can help you overcome any obstacles that may arise and ensure a smooth and glitch-free recording experience.
Here are some common issues you may encounter and how to troubleshoot them:
- No Audio Signal: If you’re not getting any audio signal, first ensure that your audio interface is properly connected to your computer and powered on. Check the input and output connections, cables, and settings in Pro Tools. Make sure the correct input and output paths are selected in the I/O Setup window.
- High Latency: If you’re experiencing high latency, adjust the buffer size in the Pro Tools Playback Engine settings. Decrease the buffer size to reduce latency, but be mindful of the strain it may put on your computer’s processing power. Make sure that unnecessary processes are closed, and the system is optimized for performance.
- Crackling or Distorted Audio: If the audio playback is crackling or distorted, check the cables and connections between your audio interface and speakers or headphones. Ensure that the sample rate settings in Pro Tools match those of your interface and that you’re not exceeding the interface’s maximum sample rate. Adjust the buffer size to see if it improves the audio playback quality.
- Driver Issues: If you’re experiencing driver-related problems, make sure you have installed the latest drivers for your audio interface from the manufacturer’s website. Check for any available updates or firmware upgrades. If the issue persists, try uninstalling and reinstalling the drivers. Contact the manufacturer’s support team for further assistance if needed.
- MIDI Connectivity Issues: If you’re using MIDI devices alongside your audio interface, ensure that the MIDI connections are set up correctly. Verify the MIDI input and output connections in Pro Tools’ MIDI studio setup. Make sure the MIDI devices are powered on and properly connected to your computer.
If you’re still experiencing issues after attempting the troubleshooting steps mentioned above, refer to the manufacturer’s documentation or support resources. They can provide specific guidelines and solutions for your particular audio interface and Pro Tools version.
Remember, troubleshooting can sometimes be a trial-and-error process. Patience and persistence are key to resolving any issues that may arise during the setup of your audio interface in Pro Tools.
With the common issues addressed, you’ve now successfully completed the steps to set up your audio interface in Pro Tools. You can now enjoy the benefits of improved recording, mixing, and mastering capabilities with your audio interface.
Conclusion
Setting up an audio interface in Pro Tools is a crucial step in creating high-quality recordings and achieving professional-level sound production. By following the steps outlined in this guide, you can successfully integrate your audio interface with Pro Tools and unlock the full potential of your audio recording and mixing capabilities.
We started by selecting the right audio interface based on your specific needs, considering factors such as input and output count, audio quality, connection type, preamps, and software compatibility. Then, we proceeded to install the necessary drivers for your audio interface, ensuring seamless communication between the hardware and software components of your setup.
With the drivers installed, we connected the audio interface to your computer using the appropriate cables and ports, ensuring a secure and stable connection. We then moved on to configuring Pro Tools, where we set up the playback engine and input/output settings to ensure Pro Tools recognizes and utilizes your audio interface correctly.
After configuring Pro Tools, we focused on setting up the inputs and outputs, enabling you to route audio signals effectively for recording and playback. We then tested the audio interface, checking for proper audio playback, recording functionality, and monitoring levels, while also adjusting latency settings to optimize performance.
Throughout the process, we addressed common issues that may arise, such as no audio signal, high latency, crackling or distorted audio, driver issues, and MIDI connectivity issues. By troubleshooting these problems, you can overcome obstacles and ensure a seamless recording experience in Pro Tools.
In conclusion, setting up an audio interface in Pro Tools requires careful attention to detail, patience, and troubleshooting skills. By following the steps and guidance provided in this article, you can confidently set up your audio interface in Pro Tools and embark on your creative journey with enhanced recording and sound production capabilities.
Remember, every audio setup is unique, so it’s important to consult the manufacturer’s documentation and support resources for specific instructions and guidelines for your audio interface and Pro Tools version. With the right setup and configuration, your audio interface can become a powerful tool in your music production arsenal. Happy recording!