Home>Production & Technology>Audio Interface>How To Set Up An Audio Interface Steinberg

Audio Interface
How To Set Up An Audio Interface Steinberg
Modified: March 11, 2024
Learn how to set up an audio interface with Steinberg. Step-by-step guide on connecting and configuring your audio interface for optimal sound quality.
(Many of the links in this article redirect to a specific reviewed product. Your purchase of these products through affiliate links helps to generate commission for AudioLover.com, at no extra cost. Learn more)
Table of Contents
- Introduction
- Step 1: Determine the requirements
- Step 2: Choose the appropriate audio interface
- Step 3: Install necessary drivers
- Step 4: Connect the audio interface to your computer
- Step 5: Configure audio settings on your computer
- Step 6: Set up audio inputs and outputs
- Step 7: Test and troubleshoot
- Conclusion
Introduction
An audio interface is an essential tool for anyone looking to record and produce high-quality audio. Whether you are a musician, podcaster, or content creator, a reliable and efficient audio interface is crucial for capturing and processing audio signals with minimal latency and maximum clarity. With countless options available in the market, it can be overwhelming to choose the right audio interface for your specific needs. However, with the right knowledge and guidance, setting up an audio interface can be a breeze.
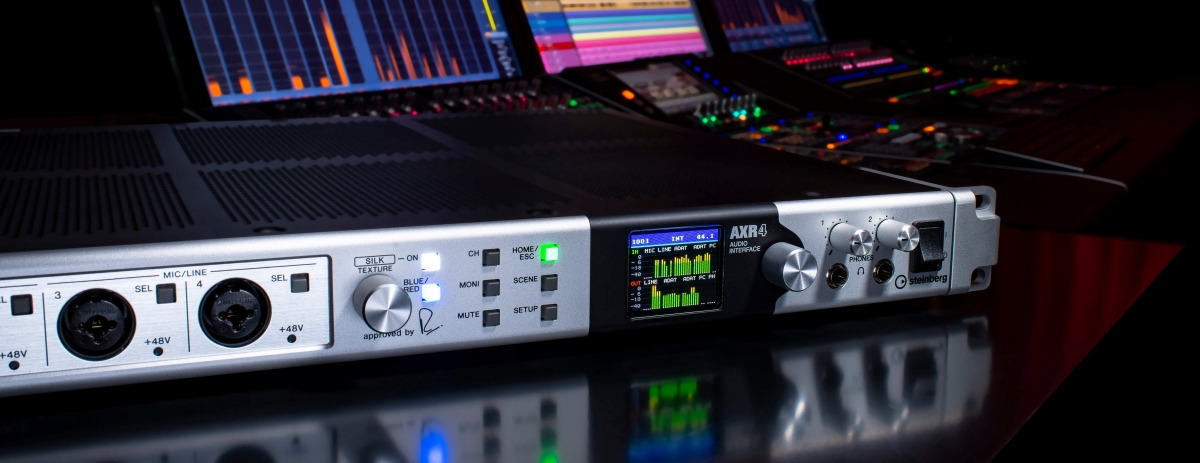
In this article, we will guide you through the process of setting up an audio interface, specifically focusing on the Steinberg brand. Steinberg is renowned for producing top-notch audio interfaces that are trusted by professionals around the world. By following the steps outlined in this guide, you will be on your way to seamlessly integrating a Steinberg audio interface into your recording setup.
Before we dive into the details, it’s important to note that the instructions provided here are general in nature and may vary slightly depending on the specific model of audio interface you own. Always refer to the manufacturer’s user manual for detailed instructions tailored to your device.
Step 1: Determine the requirements
The first step in setting up an audio interface is to determine your specific requirements. This involves considering factors such as your intended use, budget, and the desired number of audio inputs and outputs.
Start by assessing your recording needs. Are you a solo musician needing to record vocals and an instrument simultaneously, or do you need more inputs and outputs for recording a full band? Determine the number of simultaneous audio sources you will be working with, as this will determine the number of input channels your audio interface should have.
Consider your budget as well, as audio interfaces come in a wide range of prices. While more expensive interfaces may offer additional features and higher quality components, it is important to find a balance between your needs and your budget.
It is also worth considering future expansion possibilities. If you anticipate needing more inputs and outputs in the future, it may be worth investing in an audio interface with expandability options, such as ADAT or S/PDIF connections.
Lastly, make sure to check the compatibility of the audio interface with your computer’s operating system. Most audio interfaces are compatible with both Windows and Mac systems, but it is always good practice to double-check before making a purchase.
By properly assessing your requirements, you can choose an audio interface that meets your needs and ensures a smooth and efficient recording experience.
Step 2: Choose the appropriate audio interface
Once you have determined your requirements, it’s time to choose the appropriate audio interface. With countless options available in the market, it can be overwhelming to make the right choice. Here are some factors to consider when selecting an audio interface:
- Audio Quality: Look for an interface that provides high-resolution audio and low noise levels. Consider the bit depth and sample rate, as higher values generally result in better sound quality.
- Number of Inputs and Outputs: Choose an interface that has enough inputs to accommodate your recording needs. If you work with multiple audio sources simultaneously, opt for an interface with multiple XLR or TRS inputs. Also, consider the number of outputs you require for proper monitoring and routing.
- Connectivity: Consider the types of connectivity options you need. USB is the most common and versatile option, but other interfaces may offer Thunderbolt, FireWire, or PCIe connections. Ensure compatibility with your computer and check for additional connections like MIDI or digital inputs/outputs if needed.
- Preamps: Pay attention to the quality of preamps if you plan on recording vocals or acoustic instruments. Good preamps will provide clean and transparent amplification of your signals.
- Software Compatibility: Ensure that the audio interface is compatible with your preferred recording software. Most audio interfaces work well with popular Digital Audio Workstations (DAWs), but it’s always best to double-check for any specific requirements.
- Budget: Consider your budget when choosing an audio interface. Determine the features that are essential for your recording needs and find a balance between quality and affordability.
Once you have narrowed down your choices, read reviews and compare specifications to make an informed decision. Want to dive deeper into the features, ask for recommendations from fellow musicians or audio professionals.
Remember, the chosen audio interface should align with your specific requirements, ensuring optimal performance and a smooth recording experience.
Step 3: Install necessary drivers
After you have chosen and purchased your audio interface, the next step is to install the necessary drivers to ensure proper functionality. Drivers are software components that allow your computer’s operating system to communicate with the audio interface.
Most audio interfaces come with a driver installation disc or provide a download link on their website. Here’s how to install the drivers:
- Insert the driver installation disc into your computer’s disc drive or download the driver software from the manufacturer’s website.
- Follow the on-screen instructions to begin the installation process. If you downloaded the driver from the website, locate the downloaded file and open it.
- Read and accept any license agreements or terms and conditions presented during the installation.
- Proceed with the installation by clicking the “Next” or “Install” button, and wait for the process to complete.
- Once the installation is finished, restart your computer when prompted or as recommended by the driver installer.
It’s important to ensure that you have the latest drivers installed to benefit from any software updates or bug fixes provided by the manufacturer. Check the manufacturer’s website periodically for driver updates for your specific audio interface model.
In some cases, connecting your audio interface to your computer before installing the drivers may prompt the operating system to automatically search for and install the necessary drivers. However, it is always recommended to follow the manufacturer’s instructions and install the drivers manually to avoid any potential compatibility issues or missing features.
Once the drivers are installed, your audio interface should be recognized by your computer’s operating system, allowing you to configure the audio settings and proceed with the setup process.
Step 4: Connect the audio interface to your computer
Now that you have installed the necessary drivers, it’s time to connect your audio interface to your computer. Follow these steps to establish a solid connection:
- Locate the appropriate cables for your audio interface. Most interfaces use USB, Thunderbolt, or FireWire connections.
- Connect one end of the cable to the corresponding port on your audio interface.
- Connect the other end of the cable to an available USB, Thunderbolt, or FireWire port on your computer. Ensure that the cable is firmly plugged in.
- Power on your audio interface by connecting it to a power source or turning it on, depending on the specific model.
- Your computer should recognize the connected audio interface and display a notification or a confirmation sound to indicate a successful connection.
Note that some audio interfaces may require additional power or may have specific instructions for connecting to your computer. Always refer to the user manual provided with your audio interface for any specific guidelines.
Additionally, if your audio interface has multiple inputs and outputs, you may need to connect your audio sources, such as microphones or instruments, to the corresponding input jacks on the interface. Use XLR, TRS, or other appropriate cables for these connections.
Once the audio interface is connected and powered on, you are ready to move on to the next step of configuring the audio settings on your computer.
Step 5: Configure audio settings on your computer
With your audio interface connected to your computer, it’s time to configure the audio settings to ensure proper communication between the interface and your recording software. Follow these steps to configure the audio settings:
- Open the audio settings on your computer. This can usually be done by accessing the “Sound” or “Audio” settings in the control panel or system preferences of your operating system.
- Select the audio interface as the default input and output device. This ensures that audio signals are routed through the interface for recording and playback.
- Adjust the sample rate and buffer size settings. The sample rate determines how many audio samples are processed per second, while the buffer size determines the amount of audio data stored in the buffer for processing by the computer. For recording, a lower buffer size is usually preferred to minimize latency, but lower buffer sizes may require more processing power.
- Configure the recording and playback channels. If your audio interface has multiple inputs and outputs, set the appropriate channels for recording and playback in your recording software.
- Test the audio settings by playing back audio or recording a test signal. Ensure that you can hear the playback and that the audio is being recorded correctly.
It’s important to consult the user manual of your specific audio interface and recording software for any additional settings or recommendations. Some interfaces may have dedicated control panels or software that allow for more advanced configuration options.
Remember to save your audio settings once you have configured them to avoid having to repeat the process each time you use the interface.
By properly configuring the audio settings on your computer, you ensure that the interface and your recording software work in sync, providing a seamless recording and playback experience.
Step 6: Set up audio inputs and outputs
Now that you have configured the audio settings on your computer, it’s time to set up the audio inputs and outputs on your audio interface. This step involves connecting your microphones, instruments, speakers, and headphones to the appropriate jacks on the interface.
- Identify the input and output ports on your audio interface. These may include XLR, TRS, MIDI, or other types of connectors.
- Connect your microphones, instruments, or any other audio sources to the corresponding input ports on the interface using the appropriate cables.
- For output connections, connect your speakers or headphones to the appropriate output jacks on the interface.
- Make sure all connections are secure and properly plugged in. Check for any looseness or interference that could affect the audio quality.
- Once the inputs and outputs are connected, double-check the audio settings on your computer or recording software to ensure that they are properly routed to the desired channels on your audio interface.
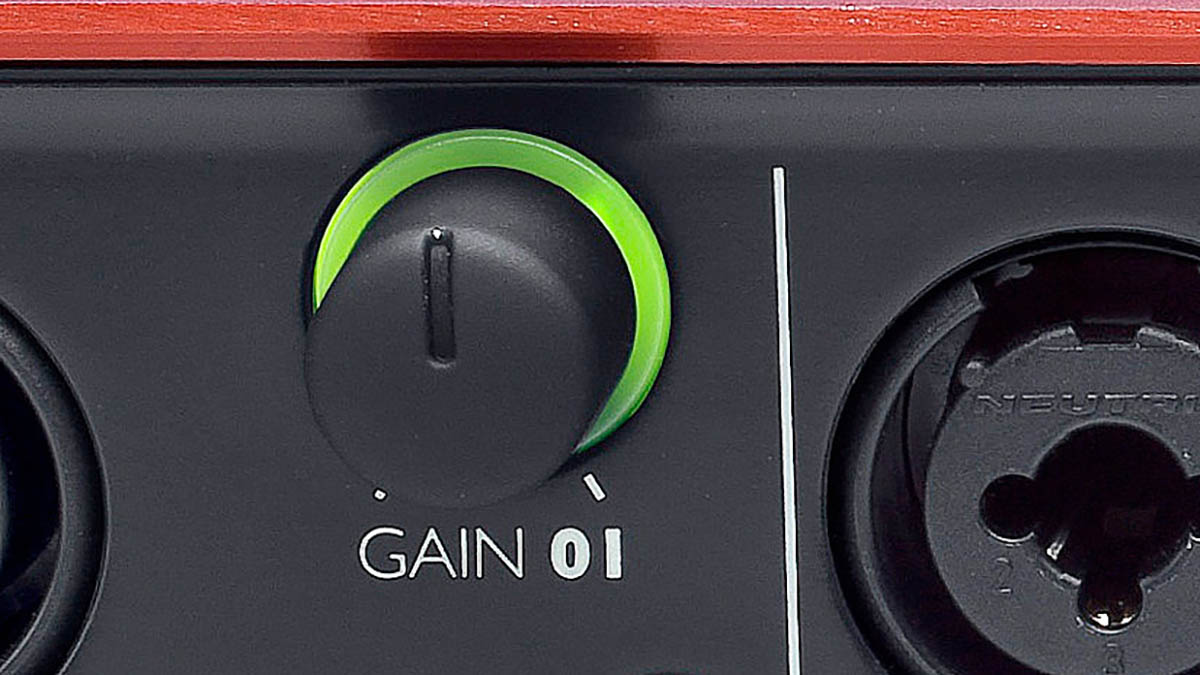
- Test the inputs and outputs by monitoring the audio as you play back or record. Make any necessary adjustments to the input gain or output levels to achieve optimal sound quality.
It’s worth mentioning that different audio interfaces may have different features and connectivity options. Some interfaces may offer built-in preamps, phantom power for condenser microphones, or direct monitoring capabilities. Take the time to familiarize yourself with the specific features of your audio interface and explore any additional options or settings provided.
Remember to consult the user manual of your audio interface for any specific guidelines or recommendations regarding the setup of audio inputs and outputs.
By properly setting up the audio inputs and outputs, you ensure that the audio signals flow smoothly through your interface, delivering high-quality results.
Step 7: Test and troubleshoot
Once you have completed the setup of your audio interface and configured the audio settings, it’s important to test and troubleshoot to ensure everything is working as expected. Here are some steps to follow:
- Test the audio playback by playing a sound or music file through your recording software. Check if you can hear the audio through your speakers or headphones connected to the audio interface.
- Record a test signal using your preferred microphone or instrument. Monitor the recording to ensure that the audio is being captured properly and without any unwanted noise or distortion.
- Double-check the audio levels during recording and playback. Make sure they are not too low, causing a weak signal, or too high, resulting in distortion. Adjust the input gain and output levels as necessary.
- If you encounter any issues, first check the connections between your audio interface, computer, and audio sources. Ensure that all cables are securely plugged in and that there are no loose connections.
- If the audio interface is not being recognized by your computer, try restarting both the computer and the audio interface. Also, check for any driver updates from the manufacturer’s website and reinstall the drivers if necessary.
- If you continue to experience issues, consult the troubleshooting section of the user manual for your audio interface. You can also reach out to the manufacturer’s technical support for further assistance.
It’s important to keep in mind that troubleshooting steps may vary depending on the specific audio interface model and recording software you are using. Always refer to the relevant manuals and resources for accurate troubleshooting guidance.
Once you have successfully tested and resolved any issues, you are now ready to start using your audio interface for recording, producing, and enjoying high-quality audio.
Conclusion
Setting up an audio interface is an important step in achieving professional-quality audio recordings. By following the steps outlined in this guide, you can seamlessly integrate an audio interface into your recording setup. From determining your requirements and choosing the appropriate audio interface to installing drivers, connecting the interface to your computer, configuring audio settings, setting up inputs and outputs, and testing and troubleshooting, each step plays a crucial role in ensuring a smooth recording experience.
Remember to always refer to the user manual provided with your specific audio interface for detailed instructions tailored to your device. Additionally, regularly check for driver updates and stay familiar with the features and options available on your audio interface.
With the right audio interface and proper setup, you can capture and produce high-quality audio, whether you are a musician, podcaster, or content creator. Take the time to explore the capabilities of your audio interface and experiment with different recording techniques to elevate your audio production to new heights.
Now that you have completed the setup process, it’s time to unleash your creativity and let your audio projects come to life with the power of your newly set up audio interface.

