Home>Production & Technology>Audio Interface>How To Set Up Synth With Audio Interface
Audio Interface
How To Set Up Synth With Audio Interface
Modified: February 22, 2024
Learn how to set up your Synth with an Audio Interface for optimal sound quality and seamless recording. Enhance your music production with this step-by-step guide.
(Many of the links in this article redirect to a specific reviewed product. Your purchase of these products through affiliate links helps to generate commission for AudioLover.com, at no extra cost. Learn more)
Table of Contents
- Introduction
- Step 1: Choosing the Right Audio Interface
- Step 2: Connecting the Audio Interface to the Synthesizer
- Step 3: Configuring Your Audio Interface Settings
- Step 4: Connecting the Audio Interface to Your Computer
- Step 5: Setting Up the Synth in Your DAW
- Step 6: Testing and Adjusting the Audio Levels
- Step 7: Playing and Recording with Your Synth
- Conclusion
Introduction
In the world of music production and recording, having a high-quality audio interface is essential for achieving professional sound results. An audio interface acts as the bridge between your computer and your external audio equipment, allowing you to capture and process sound with incredible clarity and detail. When it comes to setting up a synthesizer with an audio interface, the process can seem a bit daunting for beginners. However, with the right guidance, you’ll be able to harness the power of your synth and unleash your creativity.
In this article, we’ll walk you through the step-by-step process of setting up a synth with an audio interface. We’ll cover everything from choosing the right audio interface to connecting it to your computer, configuring your settings, and getting your synth up and running in your digital audio workstation (DAW). By the end of this guide, you’ll have the knowledge and confidence to create music with your synthesizer and audio interface setup.
Step 1: Choosing the Right Audio Interface
The first and most crucial step in setting up your synthesizer with an audio interface is selecting the right audio interface for your needs. There are a few factors to consider when making this decision:
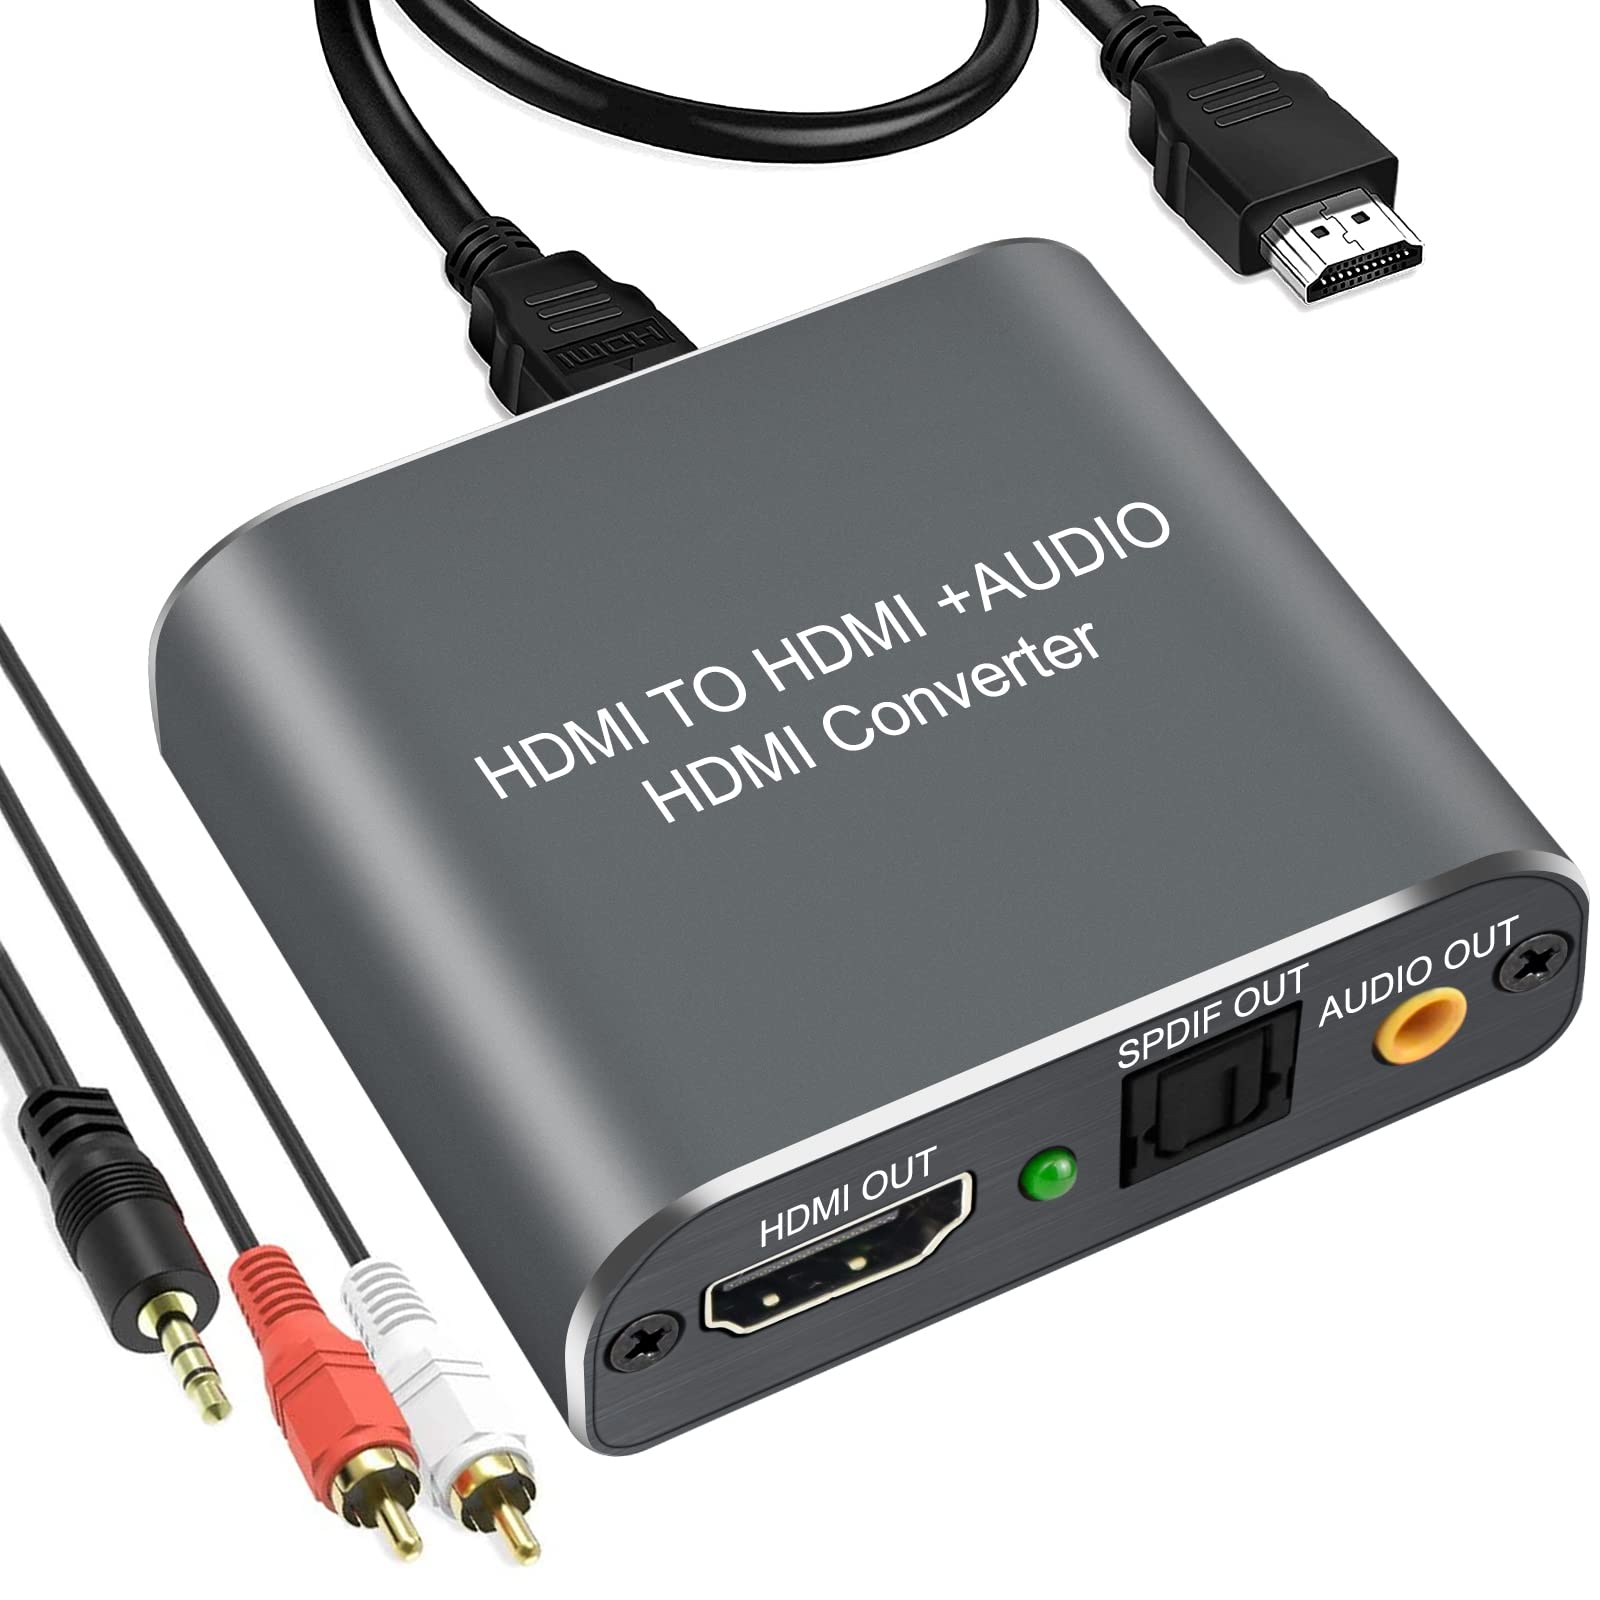
- Connectivity: Audio interfaces come in various forms of connectivity, such as USB, Thunderbolt, Firewire, and PCI. Consider the available ports on your computer and choose an interface that matches those ports for a seamless connection.
- Input and Output Channels: Depending on your recording setup, you’ll need to determine how many input and output channels you need. If you plan on recording multiple synths simultaneously or routing audio from external hardware, make sure the interface offers enough channels to accommodate your setup.
- Sample Rate and Bit Depth: The sample rate refers to the number of audio samples taken per second, and the bit depth represents the depth of each sample. Higher sample rates and bit depths result in better audio quality, so choose an interface that supports the sample rate and bit depth that aligns with your desired recording quality.
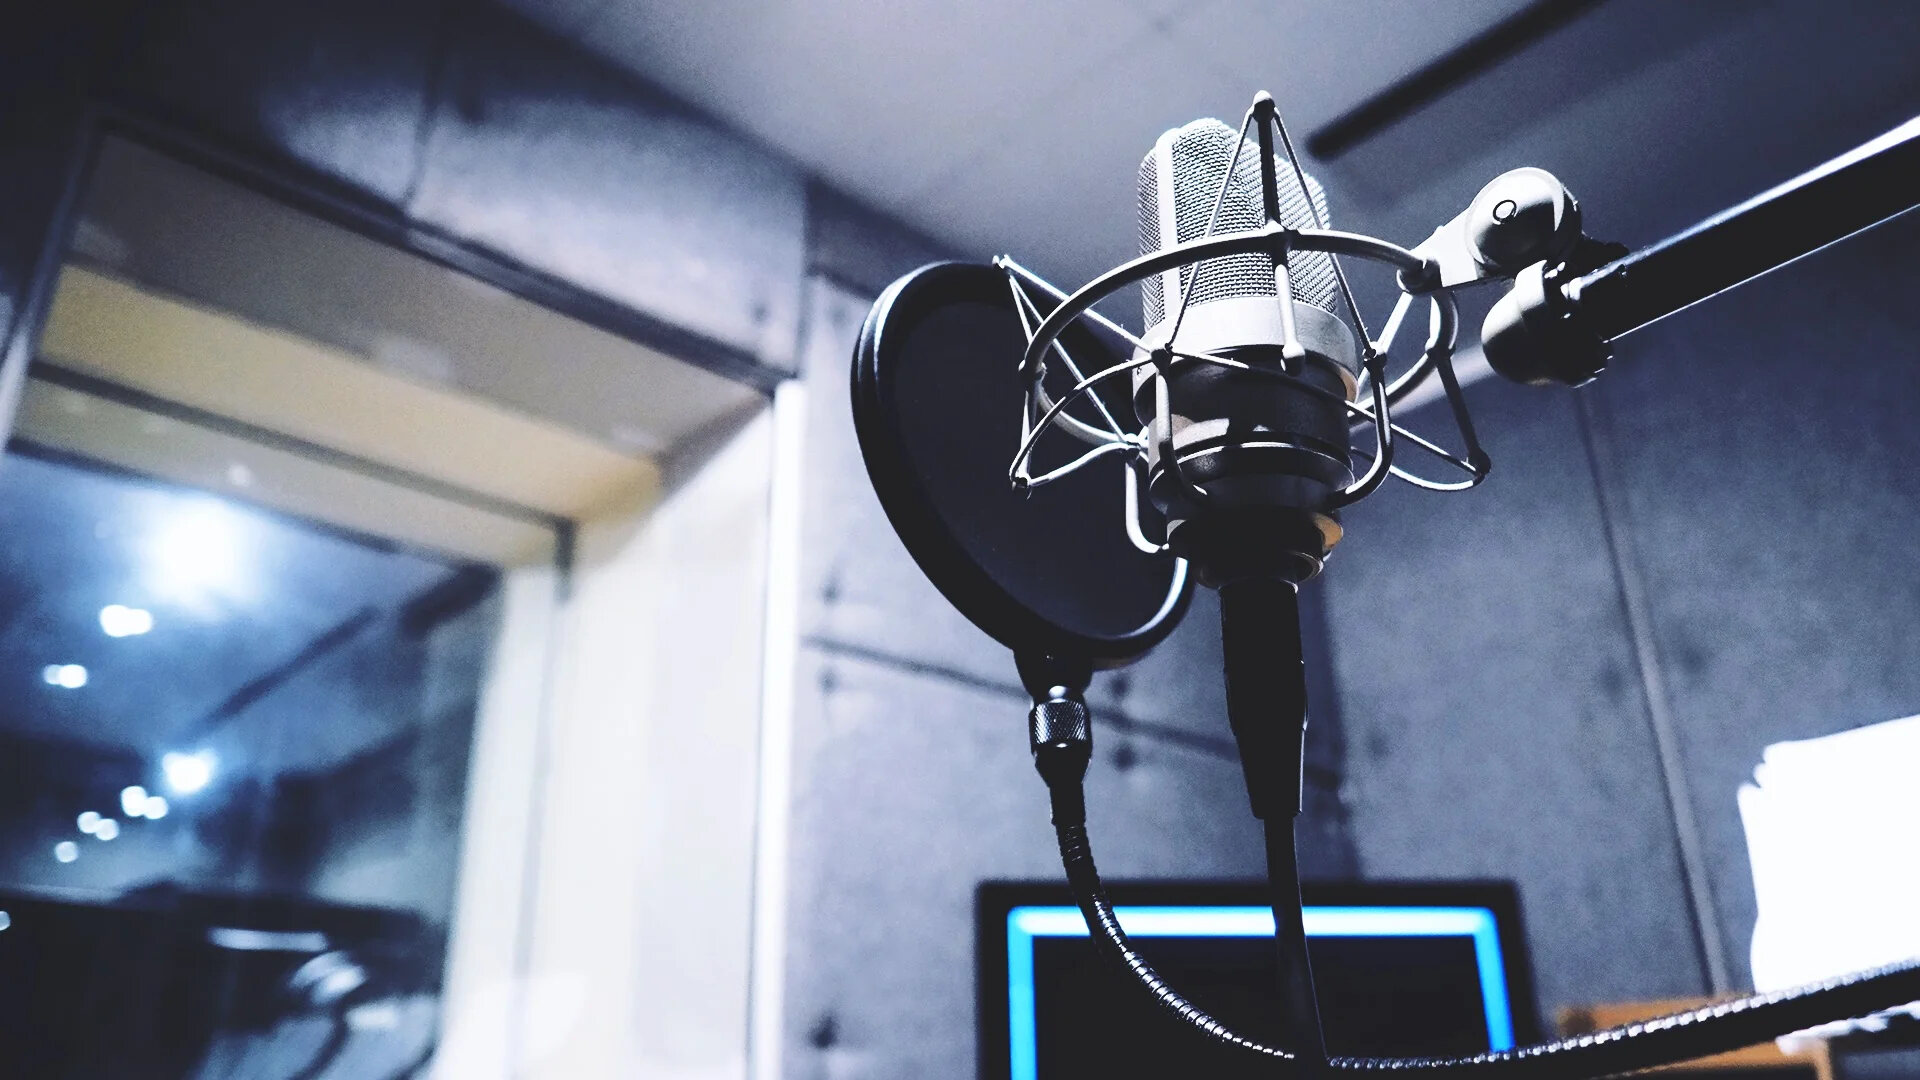
- Preamps and Phantom Power: If you plan on recording with microphones or using external hardware, look for an interface that offers high-quality preamps and phantom power. Preamps amplify the signal from microphones or instruments, while phantom power is needed for condenser microphones, so having these features will ensure optimal audio recording.
- Budget: Finally, it’s important to consider your budget when selecting an audio interface. Determine how much you’re willing to spend and choose an interface that offers the best balance between features and affordability.
Once you’ve considered these factors, research different audio interfaces, read user reviews, and compare specifications to find the one that suits your needs the best. Remember that investing in a high-quality audio interface is paramount for achieving professional sound quality in your recordings.
Step 2: Connecting the Audio Interface to the Synthesizer
Once you have selected the right audio interface for your setup, it’s time to connect it to your synthesizer. Follow these steps to ensure a proper connection:
- Power off your synthesizer: Before making any connections, make sure your synthesizer is turned off to avoid any potential damage.
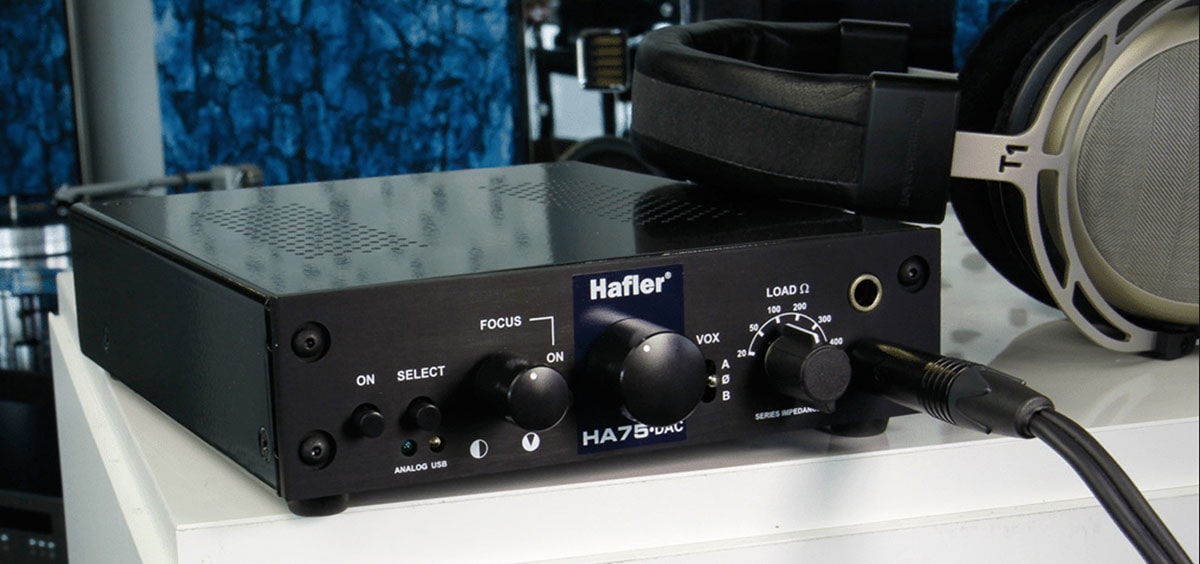
- Identify the audio inputs and outputs: Locate the audio inputs and outputs on both your audio interface and your synthesizer. The inputs on the audio interface will typically be labeled as “line inputs” or “instrument inputs,” while the outputs on your synthesizer may be labeled as “audio outputs” or “main outputs.”
- Connect the audio cables: Take an audio cable with the appropriate connectors (usually a 1/4-inch TRS or XLR cable) and plug one end into the output on your synthesizer and the other end into the input on your audio interface. Repeat this step for each synth you want to connect.
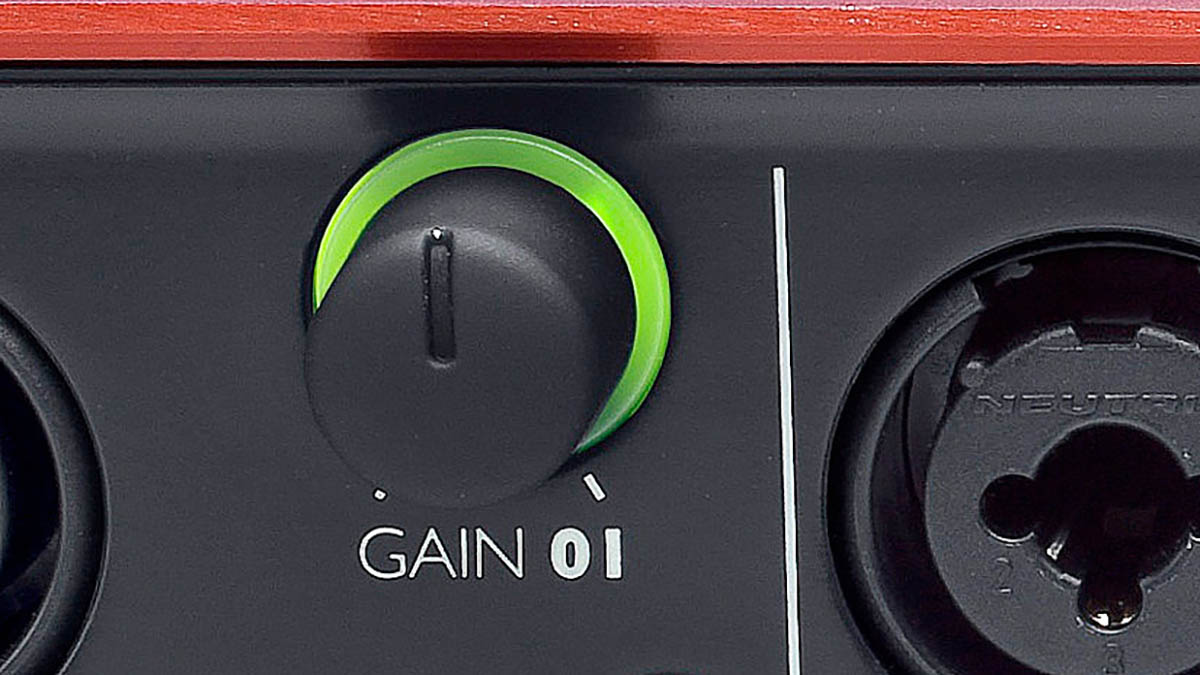
- Adjust the gain levels (optional): Some audio interfaces have gain knobs or trim controls for each input channel. If available, adjust the gain levels on the audio interface to ensure a clean and balanced input signal from your synthesizer.
- Check the signal flow: Once the connections are made, double-check the signal flow from your synthesizer to the audio interface. You want the audio signal to flow from the synthesizer’s output to the audio interface’s input for each connected synth.
By following these steps, you have successfully connected your synthesizer to the audio interface. The audio interface acts as the intermediary between your synthesizer and computer, allowing you to capture and process the sound from your synthesizer with precision and clarity.
Step 3: Configuring Your Audio Interface Settings
After connecting your audio interface to the synthesizer, the next step is to configure the settings on your audio interface. Here’s what you need to do:
- Access the audio interface control panel: Most audio interfaces come with a control panel software that allows you to adjust various settings. Launch the control panel software for your audio interface on your computer.
- Select the sample rate and buffer size: Adjust the sample rate and buffer size settings in the audio interface control panel. The sample rate determines the quality of audio recordings, while the buffer size affects the latency (delay) between when you play a note on the synthesizer and when you hear it through your computer speakers. Choose the appropriate settings based on your preference and system’s capabilities.
- Configure the input and output settings: Set the input settings of your audio interface to match the corresponding input channels you connected your synthesizer to. Similarly, configure the output settings to direct the sound output from your computer to the correct output channels on the audio interface.
- Enable phantom power (if necessary): If you’re using a condenser microphone or any other equipment that requires phantom power, make sure to enable phantom power in the audio interface control panel. This will provide the necessary power to your connected devices.
- Adjust monitoring options: Depending on your setup and preferences, you may need to adjust the monitoring options in the audio interface control panel. This includes selecting whether to monitor the input signal directly from the audio interface or only monitor the output signal from your computer.
Once you have configured the settings on your audio interface, save any changes and close the control panel software. You’re now ready to move on to the next step of connecting the audio interface to your computer.
Step 4: Connecting the Audio Interface to Your Computer
Now that you have configured the settings on your audio interface, it’s time to connect it to your computer. Follow these steps to establish a connection:
- Power off your computer: Before making any connections, turn off your computer to avoid any potential electrical damage.
- Locate the appropriate ports: Identify the type of connection your audio interface uses, whether it’s a USB, Thunderbolt, Firewire, or PCI connection. Locate the corresponding port on your computer for the audio interface.
- Plug in the cable: Take the appropriate cable for your audio interface (such as a USB or Thunderbolt cable) and plug one end into the port on your audio interface. Then, connect the other end to the corresponding port on your computer.
- Power on your audio interface and computer: Turn on your audio interface followed by your computer. This allows the computer to recognize the audio interface and establish a connection.
- Install any necessary drivers: In some cases, your computer may prompt you to install drivers for the audio interface. Follow the on-screen instructions to install any necessary drivers provided by the audio interface manufacturer.
Once the connection is established, your audio interface should be recognized by your computer. You may need to select the audio interface as the default input and output device in your computer’s audio settings. Refer to the user manual or online resources for your specific operating system for instructions on how to do this.
With the audio interface successfully connected to your computer, you’re now ready to proceed to the next step of setting up your synth in your digital audio workstation (DAW).
Step 5: Setting Up the Synth in Your DAW
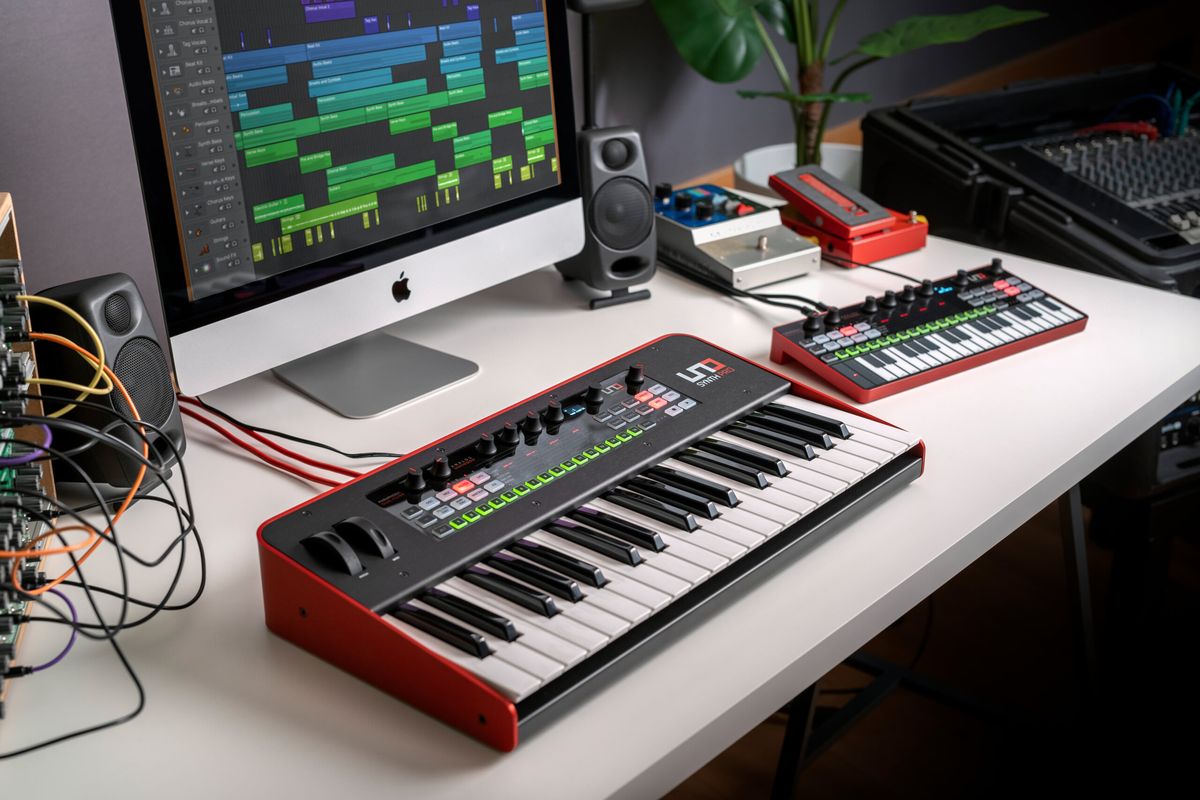
With your audio interface connected to your computer, it’s time to configure your digital audio workstation (DAW) to recognize and integrate your synthesizer. Follow these steps to set up your synth in your DAW:
- Launch your DAW: Open your DAW software on your computer.
- Create a new MIDI track: In your DAW, create a new MIDI track for your synthesizer. This will allow you to send MIDI data and receive audio from your synth.
- Select the MIDI input: In the MIDI track settings, choose the MIDI input that corresponds to your audio interface’s MIDI ports. This will enable your DAW to transmit MIDI messages to your synthesizer.
- Assign the audio output: Set the audio output routing of your MIDI track to the correct output channel on your audio interface. This will ensure that you can hear the sound produced by your synthesizer.
- Configure the MIDI settings: Configure the MIDI settings in your DAW to match the MIDI channel and parameters of your synthesizer. This will ensure that your DAW properly communicates with the synth and captures the MIDI data correctly.
- Load the synth plugin (optional): If you’re using a software synthesizer or a synth plugin, load it onto your MIDI track. This will allow you to trigger and control the synth directly within your DAW.
- Test the connection: Play some notes or MIDI data on your MIDI track and verify that you’re able to hear the sound from your synthesizer. Check the audio levels and make any necessary adjustments in your DAW’s mixer.
Once you have successfully set up your synth in your DAW, you’re ready to start playing and recording with your synthesizer, taking advantage of the powerful features and capabilities that your audio interface and DAW provide.
Step 6: Testing and Adjusting the Audio Levels
After setting up your synthesizer in your digital audio workstation (DAW), it’s important to test and adjust the audio levels to ensure an optimal sound quality. Follow these steps to test and adjust the audio levels:
- Play some test notes: Trigger your synthesizer or play some MIDI data in your DAW to generate sound. This will allow you to assess the audio output and determine if any adjustments are necessary.
- Monitor the input levels: Keep an eye on the input levels on your audio interface. Aim for a healthy input signal without any clipping or distortion. If the input levels are too high, you may need to lower the volume or gain on your synthesizer or adjust the input gain on your audio interface.
- Check the output levels: Monitor the output levels in your DAW’s mixer or on your audio interface. Ensure that the output levels are within an appropriate range to avoid clipping or distortion. Adjust the master output level or the individual track’s output level if necessary.
- Balance the levels: If you have multiple synth tracks or audio tracks playing simultaneously, ensure that the levels are balanced. Make adjustments to individual track levels to achieve a good balance between the different elements in your mix.
- Apply EQ and effects (if desired): Depending on your musical preferences and the sound you’re aiming for, you may want to apply EQ or effects to your synth tracks. Use your DAW’s EQ and effects plugins to shape the sound and enhance it to your liking.
- Revisit the gain staging: Double-check your gain staging to ensure that each element in your setup is properly set. This includes the gain settings on your audio interface, synth, and in your DAW. Adjust the gain staging as needed to optimize the signal flow and prevent any unwanted noise or distortion.
By testing and adjusting the audio levels, you’ll be able to fine-tune the sound coming from your synthesizer and achieve a balanced and professional mix. Take the time to experiment and find the right settings that suit your musical style and preferences.
Step 7: Playing and Recording with Your Synth
Now that you have successfully set up your synthesizer with an audio interface and configured it in your digital audio workstation (DAW), it’s time to unleash your creativity and start playing and recording with your synth. Follow these steps to begin:
- Select a sound: Choose a preset or sound on your synthesizer that suits the mood and style of your music. Explore different sounds and experiment with the parameters to create unique tones.
- Play your synth: Use a MIDI controller or the keys on your synthesizer to play notes and melodies. Experiment with different playing techniques, such as using sustained chords, arpeggios, or expressive techniques like vibrato and pitch bending, to add depth and emotion to your performance.
- Record your performance: In your DAW, arm the MIDI track that is connected to your synthesizer for recording. Press the record button and start playing your synth. Your DAW will capture the MIDI data and record your performance in real-time.
- Edit and refine: After recording your performance, you can edit the MIDI data in your DAW’s piano roll editor. This allows you to refine the timing, note lengths, and other musical elements to perfect your composition.
- Layer and mix: Consider layering multiple synth tracks to create lush and textured sounds. Experiment with panning, EQ, and effects to create a well-balanced mix. Adding additional instrumentation or vocals can also enhance the overall musical arrangement.
- Experiment with effects: Enhance your synth sounds by applying effects like reverb, delay, modulation, or distortion. These effects can add depth, atmosphere, and character to your synth tracks.
- Automation and modulation: Explore the use of automation and modulation to add movement and dynamics to your synth parts. Experiment with automating filter sweeps, LFOs, or other parameters to create evolving and expressive soundscapes.
Remember to save your project regularly as you work on your composition. This will ensure you don’t lose any progress and can easily come back to it in the future.
By playing and recording with your synthesizer, you can create captivating melodies, rich textures, and unique soundscapes that elevate your music productions to new heights. Enjoy the process of exploring the sonic capabilities of your synthesizer and let your creativity soar.
Conclusion
Setting up a synthesizer with an audio interface may initially seem like a complex task, but with the right guidance, it becomes an accessible and rewarding process. By following the steps outlined in this article, you can create a seamless connection between your synthesizer and audio interface, unlocking the full potential of your music production setup.
Choosing the right audio interface is crucial, considering factors such as connectivity, input and output channels, sample rate and bit depth, preamps and phantom power, and your budget. With the appropriate audio interface selected, connecting it to your synthesizer is simply a matter of making the right cable connections and adjusting the gain levels if necessary.
Configuring your audio interface settings allows you to optimize the sample rate, buffer size, input and output settings, phantom power, and monitoring options. These settings ensure that your synthesizer’s sound is transmitted accurately and at its best quality.
Connecting your audio interface to your computer involves identifying the appropriate ports and utilizing the suitable cable for your connection type. Installing any required drivers will complete the connection, allowing your computer to recognize and communicate with the audio interface.
Once the setup is complete, setting up your synth in your DAW involves creating a MIDI track, configuring the MIDI input and output, and loading the synth plugin if desired. Testing and adjusting the audio levels ensures optimal sound quality, while exploring effects and automation allows you to add depth and creativity to your synth parts.
In conclusion, setting up a synthesizer with an audio interface opens up a world of possibilities in music production. It provides a powerful platform for creating unique sounds, recording performances, and producing professional-quality music. With patience, practice, and a little experimentation, you’ll be able to harness the full potential of your synthesizer and audio interface setup to create music that truly stands out.