Home>Production & Technology>Audio Interface>How To Set Up An Audio Interface With Ableton
Audio Interface
How To Set Up An Audio Interface With Ableton
Modified: February 19, 2024
Learn how to set up an audio interface with Ableton, step by step. Improve your music production workflow with an audio interface.
(Many of the links in this article redirect to a specific reviewed product. Your purchase of these products through affiliate links helps to generate commission for AudioLover.com, at no extra cost. Learn more)
Table of Contents
- Introduction
- Step 1: Installing the drivers
- Step 2: Connecting the audio interface
- Step 3: Configuring Ableton preferences
- Step 4: Selecting the audio interface in Ableton
- Step 5: Setting up inputs and outputs
- Step 6: Adjusting buffer size and sample rate
- Step 7: Testing the audio interface
- Step 8: Troubleshooting common issues
- Conclusion
Introduction
Welcome to the world of audio interfaces! If you’re an aspiring musician, podcaster, or audio enthusiast, setting up an audio interface can greatly enhance your sound quality and creativity. Whether you’re using Ableton Live for production or recording instruments and vocals, an audio interface acts as the bridge between your computer and the outside audio world.
In this article, we will guide you through the process of setting up an audio interface with Ableton Live. We’ll cover everything from installing the drivers to configuring the software, and even troubleshooting common issues that may arise.
An audio interface serves as an external sound card, providing high-quality audio inputs and outputs for your computer. It allows you to connect microphones, instruments, and other audio devices to your computer, and ensures minimal latency and maximum audio fidelity.
Whether you’re a beginner or an experienced producer, getting your audio interface set up correctly is crucial for a smooth recording or production experience. So let’s dive in and get you up and running with your audio interface and Ableton Live!
Step 1: Installing the drivers
The first step in setting up your audio interface with Ableton Live is installing the necessary drivers. Drivers are software components that allow your computer to communicate with the audio interface and ensure compatibility and optimal performance.
Before connecting your audio interface to your computer, check the manufacturer’s website for the latest drivers and download them. Make sure to select the drivers that are compatible with your operating system (Windows, macOS, etc.).
Once the drivers are downloaded, double-click the installer file and follow the on-screen instructions to complete the installation process. In some cases, you may need to restart your computer after the installation is complete.
It’s important to note that some audio interfaces require the drivers to be installed before connecting the device, while others allow you to connect first and then install the drivers. Refer to the manufacturer’s instructions to determine the correct order.
After the driver installation is complete, it’s a good idea to verify that the drivers are functioning correctly. You can do this by opening the Device Manager (Windows) or System Information (macOS) and checking for any errors or warnings related to the audio interface. If everything looks good, you’re ready to move on to the next step.
Step 2: Connecting the audio interface
Now that you have the drivers installed, it’s time to connect your audio interface to your computer. Before starting, make sure both your computer and audio interface are powered off.
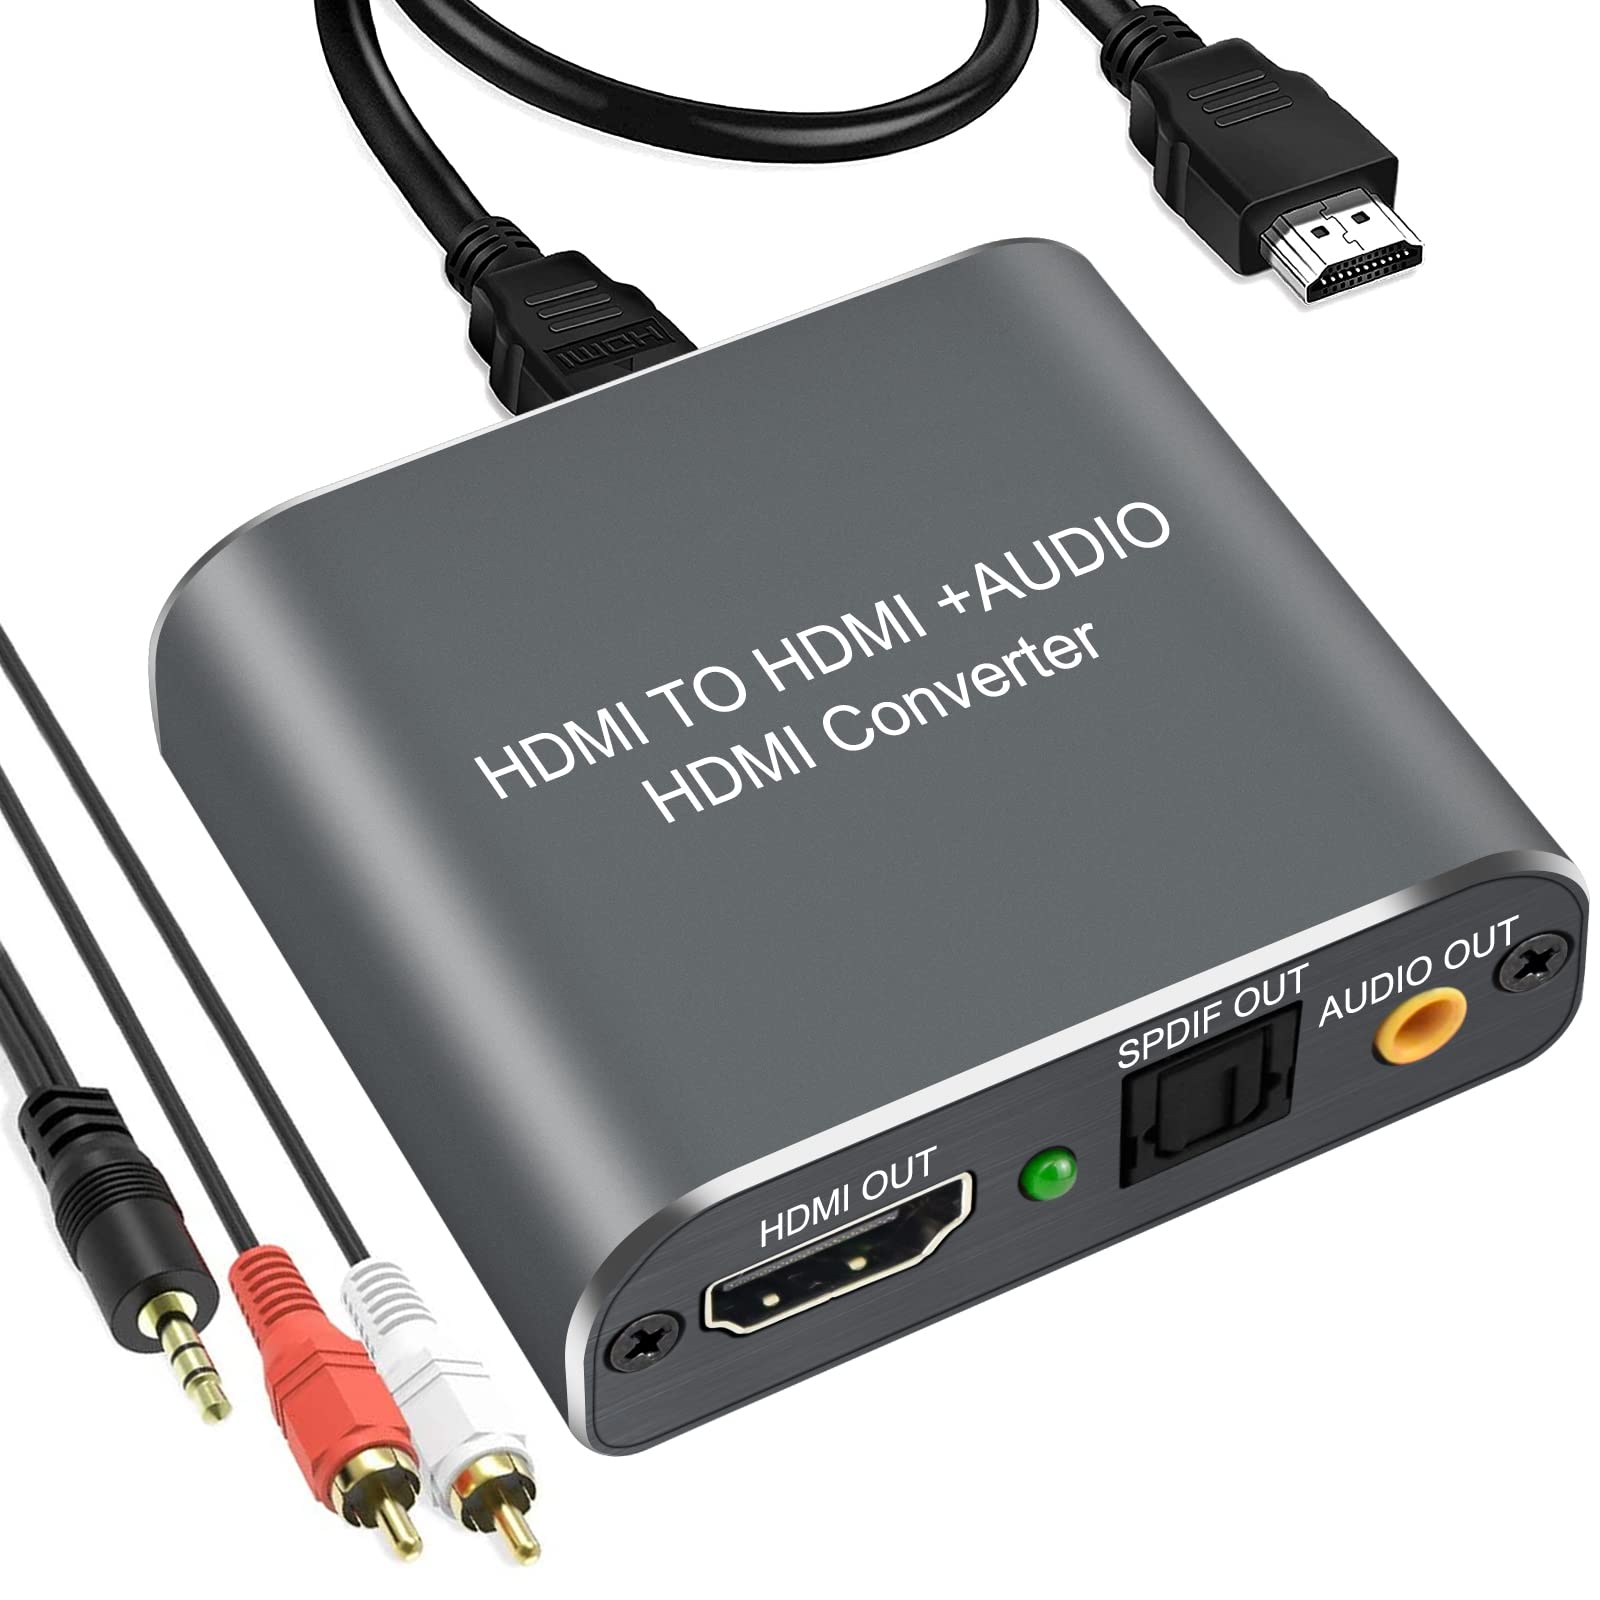
1. Grab the appropriate cables: Most audio interfaces use USB or Thunderbolt connections. Check the ports on your computer and audio interface to determine which cable you’ll need. If your audio interface requires an external power source, ensure it’s plugged in and turned on.
2. Connect the audio interface: Take one end of the cable and plug it into the corresponding port on the audio interface. Then, connect the other end to an available port on your computer. Ensure a secure and snug connection.
3. Power on: Once everything is properly connected, turn on your audio interface and power on your computer. Wait for the operating system to recognize the audio interface.
4. Driver recognition: In most cases, your computer will automatically detect and recognize the newly connected audio interface. However, if a driver recognition window pops up, follow the on-screen instructions to properly install the driver.
5. Confirm connection: To ensure your audio interface is successfully connected, check the device settings on your computer. On Windows, go to the Sound settings and select the audio interface as the default playback and recording device. On macOS, navigate to the Sound preferences and choose the audio interface for input and output.
That’s it! Your audio interface is now connected to your computer. Proceed to the next step to configure the preferences in Ableton Live.
Step 3: Configuring Ableton preferences
Now that your audio interface is connected, it’s time to configure the preferences in Ableton Live to ensure proper communication between the software and the audio interface.
1. Launch Ableton Live: Open Ableton Live and create a new project or open an existing one.
2. Open the preferences: In the top menu, click on “Options” and select “Preferences” from the dropdown menu.
3. Select the audio tab: In the Ableton Live Preferences window, click on the “Audio” tab.
4. Set the audio device: Under the “Audio Device” section, choose your audio interface from the dropdown menu. It should appear by its manufacturer or model name.
5. Set the sample rate and buffer size: The sample rate determines the number of samples taken per second, while the buffer size determines the amount of audio data stored before it’s processed. Set the sample rate and buffer size higher for better sound quality, but keep in mind that it may increase latency. Experiment to find the right balance for your needs.
6. Enable input/output channels: If your audio interface has multiple input and output channels, you can enable/disable them in Ableton Live. This allows you to customize your routing options and take advantage of the full capabilities of your audio interface.
7. Configure audio preferences: Depending on your needs and workflow, explore the other audio preferences in Ableton Live, such as audio input/output configuration, driver error compensation, and CPU usage.
8. Test the settings: To ensure everything is set up correctly, try playing a sample in Ableton Live and monitor the audio output. Make sure you’re hearing sound through the audio interface and that the levels are coming through properly.
9. Save the preferences: Once you’re satisfied with the settings, click on the “Save” button at the bottom of the Ableton Live Preferences window to save your preferences for future use.
That’s it! You have successfully configured the audio preferences in Ableton Live to work with your audio interface. Now you’re ready to start recording, producing, and exploring the endless possibilities of your audio setup.
Step 4: Selecting the audio interface in Ableton
Once you have configured the audio preferences in Ableton Live, the next step is to select your audio interface as the designated input and output device.
1. Launch Ableton Live: Open Ableton Live and create a new project or open an existing one.
2. Open the preferences: In the top menu, click on “Options” and select “Preferences” from the dropdown menu.
3. Select the audio tab: In the Ableton Live Preferences window, click on the “Audio” tab.
4. Set the audio device: Under the “Audio Device” section, ensure that your audio interface is selected from the dropdown menu. It should appear by its manufacturer or model name.
5. Enable input and output channels: If your audio interface has multiple input and output channels, make sure to enable the ones you wish to use in Ableton Live. This allows you to route audio signals to and from specific channels on your audio interface.
6. Set the sample rate and buffer size: Confirm that the sample rate and buffer size in Ableton Live match the settings you configured in the audio preferences. This ensures synchronization between the software and your audio interface.
7. Save the preferences: After making any necessary adjustments, click on the “Save” button at the bottom of the Ableton Live Preferences window to save your settings.
8. Ready to go: With your audio interface selected, input and output channels enabled, and preferences saved, you’re now ready to start using Ableton Live with your audio interface.
It’s worth noting that you may need to restart Ableton Live for the changes to take effect. Additionally, if you switch audio interfaces or make any changes to your setup in the future, you can always return to the Ableton Live Preferences and update the audio device settings accordingly.
By correctly selecting your audio interface in Ableton Live, you establish the crucial connection between your software and hardware, ensuring seamless communication and an optimized audio production experience.
Step 5: Setting up inputs and outputs
Now that your audio interface is properly connected and selected in Ableton Live, it’s time to configure the inputs and outputs. This step is crucial for routing audio signals and capturing or playing back audio through your desired sources.
1. Launch Ableton Live: Open Ableton Live and ensure that your audio interface is selected as the audio device, as explained in the previous steps.
2. Choose the desired track: Select the track in Ableton Live where you want to configure the inputs and outputs. This could be an audio track, MIDI track, or a track you’re using for external instruments or microphone recordings.
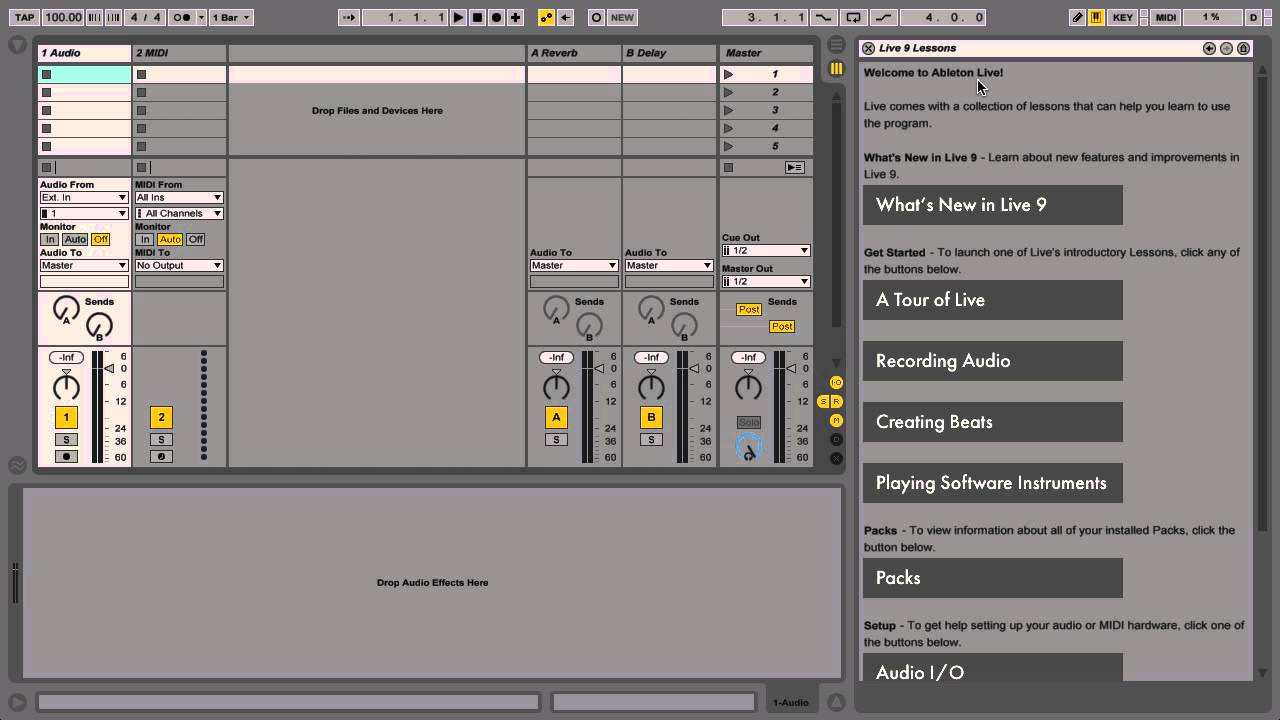
3. Enable the audio input: In the track view, locate the “Audio From” section and click on the dropdown menu. Choose the input source that corresponds to the physical input on your audio interface that you wish to use for the track. This could be a microphone, instrument, or any other audio source you want to record or process.
4. Set the monitoring mode: Depending on your preference, you can choose between “Auto,” “In,” or “Off” for the track’s monitoring mode. The “Auto” mode enables monitoring when the track is armed for recording or playing, the “In” mode always enables monitoring, while the “Off” mode disables monitoring.
5. Configure outputs: If you’re using external instruments or hardware synthesizers, you’ll need to configure the outputs to send audio signals to your audio interface. In the “Audio To” section of the track, select the appropriate output channels on your audio interface to route the sound to the desired destination.
6. Repeat for other tracks: If you have multiple tracks in your project, repeat steps 2-5 for each track where you need to configure the inputs and outputs. This allows you to customize the routing for each track according to your specific needs.
Once you have set up the inputs and outputs for your tracks, you can start recording, monitoring, and playing back audio through your audio interface within Ableton Live. It’s important to note that the options available in the “Audio From” and “Audio To” sections may vary depending on your audio interface and its capabilities.
Remember to save your project to ensure that the inputs and outputs are set up correctly for future use. Experiment with different routing options to explore new creative possibilities and adapt your setup to match your workflow.
Step 6: Adjusting buffer size and sample rate
When setting up your audio interface with Ableton Live, it’s important to optimize the buffer size and sample rate settings for the best performance and audio quality. These settings determine the latency and the number of samples recorded and processed per second.
1. Launch Ableton Live: Open Ableton Live and ensure that your audio interface is selected as the audio device in the preferences, as explained in the earlier steps.
2. Open the preferences: In the top menu, click on “Options” and select “Preferences” from the dropdown menu.
3. Select the audio tab: In the Ableton Live Preferences window, click on the “Audio” tab.
4. Adjust the buffer size: The buffer size, measured in samples, determines the amount of audio data stored and processed at a time. A smaller buffer size results in lower latency but may require more processing power. Conversely, a larger buffer size increases latency but reduces the strain on your computer’s CPU. Adjust the buffer size according to your needs and the capabilities of your computer and audio interface.
5. Set the sample rate: The sample rate, measured in Hz, represents the number of samples captured per second. Higher sample rates provide better audio quality and accuracy but require more processing power. The standard sample rate for most audio interfaces is 44.1 kHz, but you can experiment with higher rates such as 48 kHz or 96 kHz for professional recordings.
6. Test and adjust: After adjusting the buffer size and sample rate, test the settings by recording or playing back audio in Ableton Live. Pay attention to the latency, audio quality, and the strain on your computer’s resources. If you experience audio glitches or dropouts, increase the buffer size. If you require lower latency, decrease the buffer size. Similarly, adjust the sample rate based on your desired audio quality and system performance.
7. Save the preferences: Once you’re satisfied with the buffer size and sample rate settings, click on the “Save” button at the bottom of the Ableton Live Preferences window to save your changes.
Remember, finding the right balance between buffer size, sample rate, and system performance is essential for a smooth and optimal audio production experience. Experiment with different settings to see how they affect your workflow and audio quality, and make adjustments according to your specific needs.
Step 7: Testing the audio interface
After setting up your audio interface and configuring Ableton Live, it’s crucial to test the functionality of the audio interface to ensure proper performance and troubleshooting any potential issues.
1. Connect your audio sources: Plug in any microphones, instruments, or other audio devices that you plan to use with your audio interface. Make sure they are properly connected to the input channels of your audio interface.
2. Launch Ableton Live: Open Ableton Live and load a project that contains audio tracks or MIDI instruments.
3. Record and play: Start by recording some audio or playing MIDI instruments within Ableton Live. Use your connected audio sources and check if the audio is being captured and played back correctly through your audio interface.
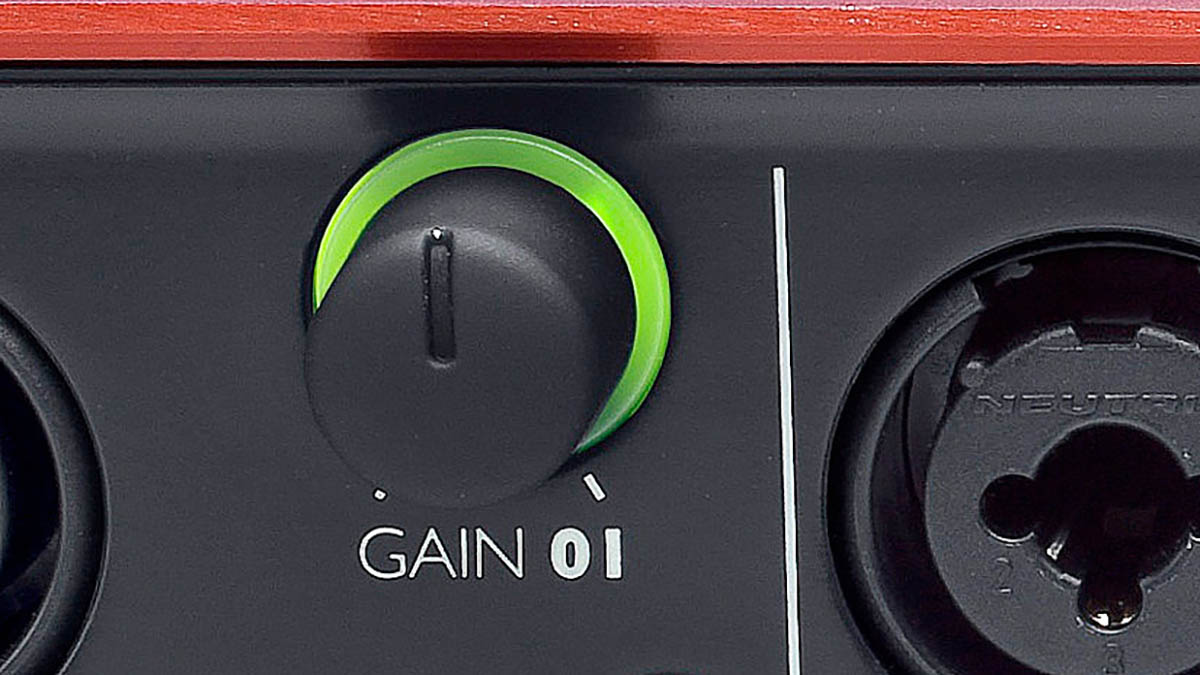
4. Monitor audio levels: Pay attention to the audio levels displayed in Ableton Live’s mixer or track view. Ensure that the levels are not clipping or distorting, and make any necessary adjustments to the input gain on your audio interface if needed.
5. Check for latency: Latency is the delay between when you create a sound and when you hear it through your monitors or headphones. Perform some tests to ensure that the latency is at an acceptable level. If you notice significant latency, you may need to adjust the buffer size settings or consider using direct monitoring if your audio interface supports it.
6. Test multiple inputs and outputs: If your audio interface has multiple input and output channels, test each of them to make sure they are functioning correctly. Route audio to different outputs and confirm that the sound is coming through as expected.
7. Monitor audio quality: Listen closely to the audio playback from Ableton Live, checking for any distortions, artefacts, or unwanted noise. If you encounter any issues, double-check your connections, cables, and audio interface settings to troubleshoot the problem.
8. Experiment with different settings: Take the opportunity to explore various settings and features on your audio interface. Adjust input gain levels, try different monitoring modes, and experiment with different effects and plugins within Ableton Live to fully leverage the capabilities of your audio interface.
By thoroughly testing your audio interface in Ableton Live, you can ensure that it is working as expected and deliver the best audio quality possible. If you encounter any issues during testing, refer to the troubleshooting section to help resolve them.
Step 8: Troubleshooting common issues
While setting up an audio interface with Ableton Live is generally a straightforward process, it’s not uncommon to encounter some common issues along the way. Here are a few troubleshooting tips to help you address these issues:
1. Check connections: Ensure that all cables are securely connected to both your audio interface and your computer. Loose connections can result in audio dropouts or no sound at all.
2. Update drivers: If you’re experiencing compatibility or performance issues, make sure you have the latest drivers installed for your audio interface. Check the manufacturer’s website for any available updates.
3. Restart your computer: Sometimes, a simple restart can solve many software-related issues. If you’re encountering any unexpected behavior or glitches, try restarting your computer and relaunching Ableton Live.
4. Adjust buffer size: If you’re experiencing latency or audio dropouts, try adjusting the buffer size in the audio preferences. Increasing the buffer size can help reduce strain on your computer’s processor and minimize audio glitches.
5. Check sample rate settings: Ensure that the sample rate settings in Ableton Live match the sample rate supported by your audio interface. Mismatched sample rates can cause audio distortion or synchronization issues.
6. Test different USB ports: If you’re using a USB audio interface, try connecting it to a different USB port on your computer. Some USB ports may have better compatibility or stability than others.
7. Update Ableton Live: Make sure you’re using the latest version of Ableton Live. Updates often include bug fixes and improvements that can help resolve compatibility or performance issues.
8. Disable other audio devices: If you have other audio devices connected to your computer, such as built-in speakers or auxiliary devices, disable them temporarily to ensure that Ableton Live is utilizing the correct audio interface.
9. Reset preferences: If all else fails, you can try resetting Ableton Live’s preferences to their default settings. This can help resolve software-related issues. To do this, navigate to the preferences menu and look for the “Reset” or “Default” option.
If you’re still experiencing issues after attempting these troubleshooting steps, it’s recommended to consult the documentation or contact the support team of your audio interface manufacturer for further assistance. They will be able to provide specific guidance based on your device and specific issue.
By following these troubleshooting steps, you can overcome common issues and enjoy a smooth and problem-free experience with your audio interface and Ableton Live.
Conclusion
Congratulations! You have successfully set up your audio interface with Ableton Live, allowing you to unlock a new level of creativity and professional sound quality in your music production or recording projects.
We began by installing the necessary drivers for your audio interface and ensuring a proper connection between the device and your computer. Then, we configured the preferences in Ableton Live to optimize the communication between the software and your audio interface. We also walked through the process of selecting inputs and outputs, adjusting buffer size and sample rate, testing the functionality of the audio interface, and troubleshooting common issues.
Setting up an audio interface can be a transformative experience for any musician, podcaster, or audio enthusiast. It provides a seamless interface for capturing and manipulating audio, allowing you to bring your artistic vision to life with precision and clarity.
Remember to experiment and explore the various capabilities and features of your audio interface and Ableton Live. Whether you’re recording vocals, laying down guitar tracks, or programming electronic beats, the possibilities are endless.
If you encounter any challenges or have specific questions regarding your audio interface setup, always refer to the manufacturer’s documentation or reach out to their support team for assistance. They are the experts in their products and can provide invaluable guidance tailored to your specific needs.
Now that you are equipped with the knowledge and understanding of how to set up an audio interface with Ableton Live, go forth and create music that resonates with your unique voice and style. Let your creativity soar as you unleash the full potential of your audio setup!