Home>Production & Technology>MP3>How To Upload MP3 To YouTube

MP3
How To Upload MP3 To YouTube
Modified: January 22, 2024
Learn how to easily upload MP3 files to YouTube and share your favorite music with the world. Convert and upload your MP3s hassle-free!
(Many of the links in this article redirect to a specific reviewed product. Your purchase of these products through affiliate links helps to generate commission for AudioLover.com, at no extra cost. Learn more)
Table of Contents
Introduction
Uploading MP3 files to YouTube can be a great way to expand your audience and share your music with the world. While YouTube primarily focuses on video content, it does allow you to upload and share audio files as well. By converting your MP3 files into a video format, you can create a compelling visual experience for your listeners.
Whether you’re a musician looking to promote your latest single or a content creator searching for a way to incorporate background music into your videos, this article will guide you through the process of uploading MP3 files to YouTube. We will provide step-by-step instructions to ensure a smooth and successful upload.
But why should you upload your MP3 files to YouTube? Well, YouTube is the largest video-sharing platform globally, with millions of active users and a vast audience eager to discover new content. By leveraging the platform, you can reach a wider audience and potentially gain new fans or followers.
Additionally, YouTube provides various tools for creators, such as analytics and monetization options, allowing you to track your performance and earn revenue from your uploaded MP3 files. This makes YouTube an attractive platform for both established artists and emerging talents.
In the following sections, we will walk you through the necessary steps to upload MP3 files to YouTube. From converting the files to creating a YouTube account, filling in the upload details, and finally publishing your MP3 videos, we’ve got you covered. So, let’s dive in and bring your music to the world!
Step 1: Convert the MP3 to a video format
In order to upload an MP3 file to YouTube, you first need to convert it to a video format. YouTube requires videos for uploading, so converting your MP3 file into a video format is necessary to fulfill this requirement. There are several ways to accomplish this:
- Using video editing software: Many video editing software programs, such as Adobe Premiere Pro or iMovie, allow you to create a video file by combining images or adding a static image with your audio track. Simply import your MP3 file into the software, add a visual element or static image, and export the video file.
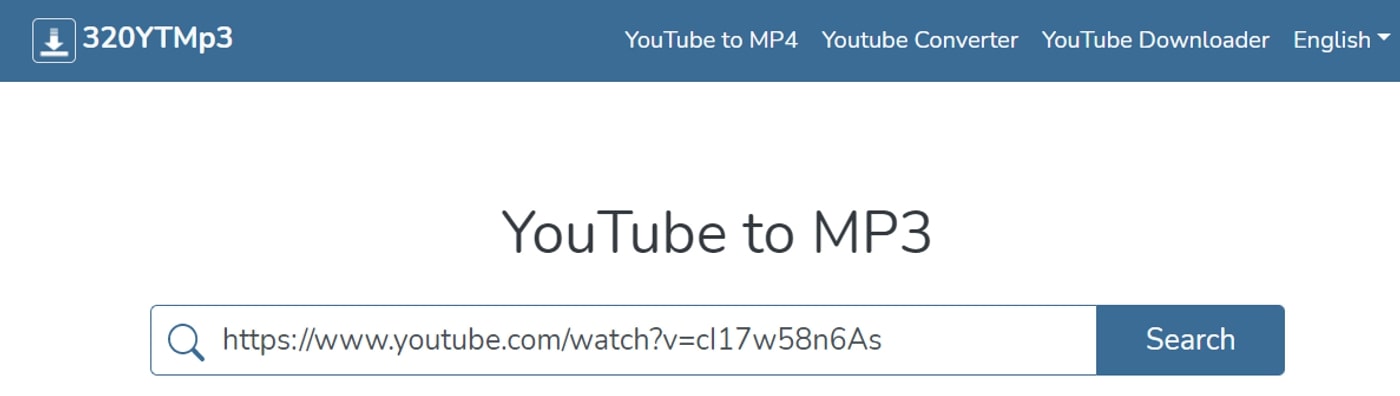
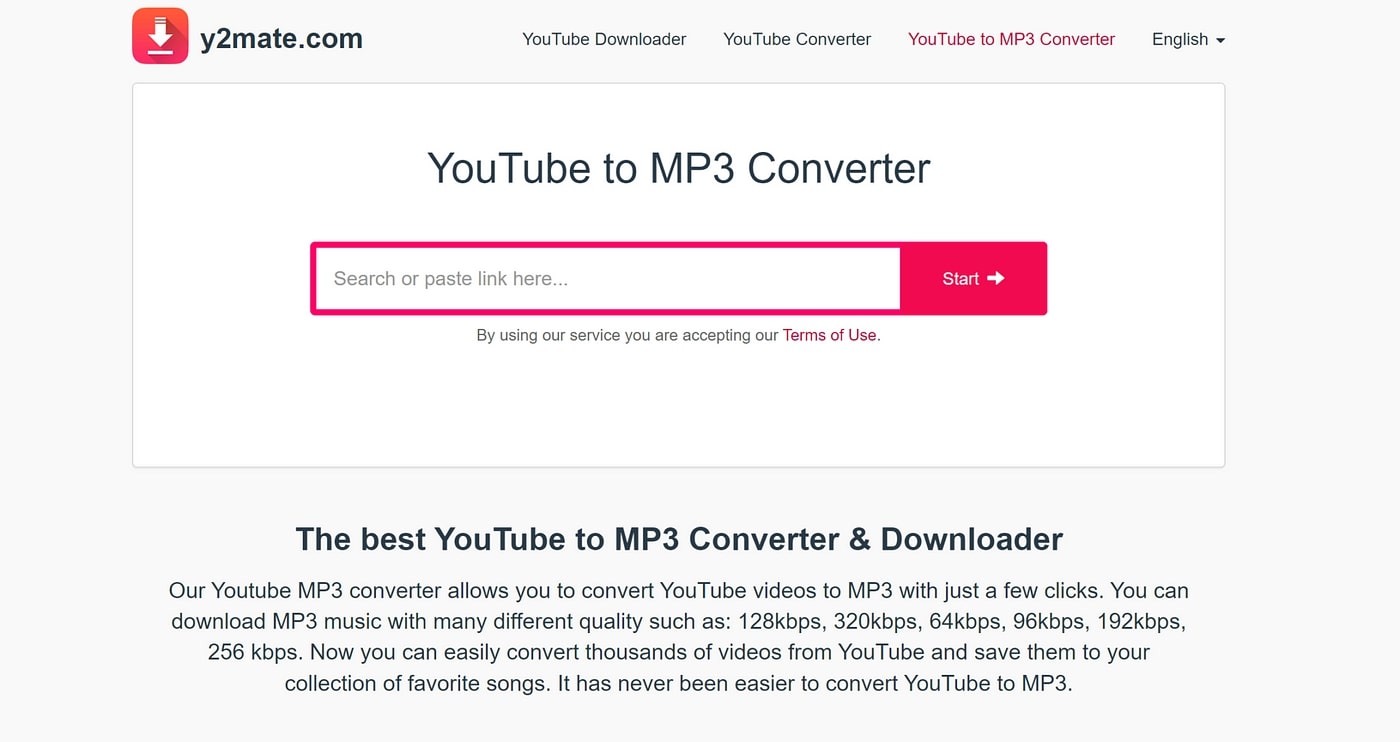
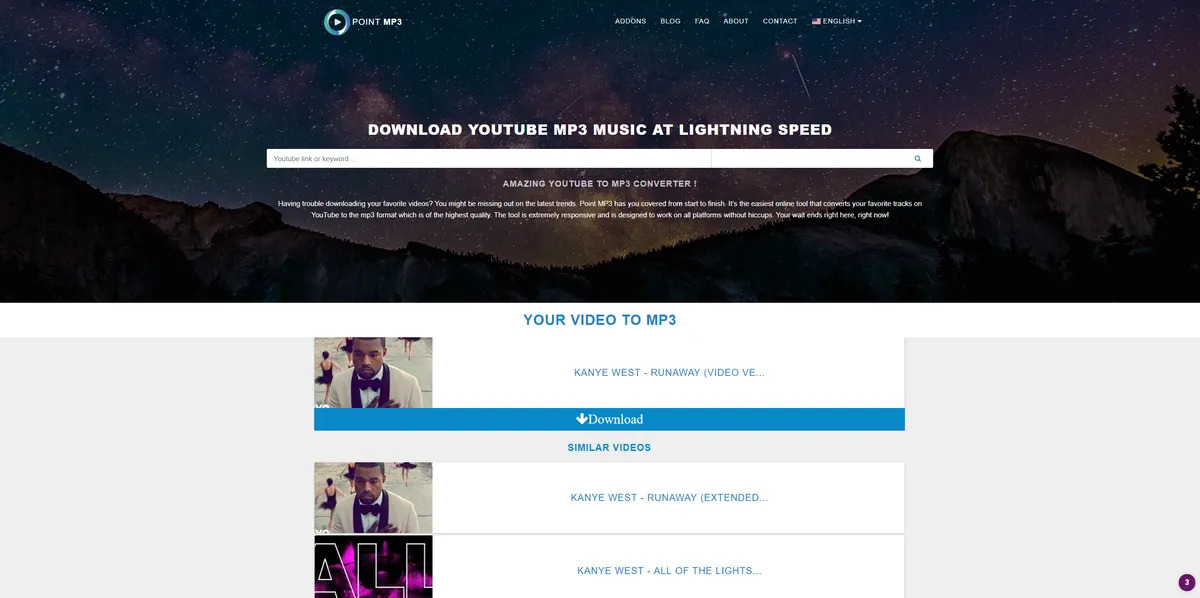
- Online conversion tools: Numerous online tools are available that can convert your MP3 file to a video file. These tools usually provide customizable options, such as adding album art or text overlays to create a more visually appealing video.
- Screen recording: If you have a video editing software or screen recording software, you can play your MP3 file and record the screen while it’s playing. This will capture the audio and create a video file simultaneously.
Regardless of the method you choose, make sure that the resulting video file meets YouTube’s requirements for format and duration. YouTube recommends using the MP4 file format with a resolution of 720p or higher. The length of the video should match the length of your MP3 file.
Once you have successfully converted your MP3 file to a video format, you are ready to proceed to the next step of uploading it to YouTube. Keep in mind that the quality and visual appeal of your video can impact its reception among viewers, so take the time to ensure your video represents your music in the best possible way.
In the next section, we will guide you through the process of creating a YouTube account or logging in if you already have one.
Step 2: Create a YouTube Account or Log In
In order to upload your MP3 video to YouTube, you’ll need to have a YouTube account. If you don’t already have one, follow these steps to create a new account:
- Go to the YouTube website: Open your preferred web browser and navigate to www.youtube.com.
- Click on “Sign In”: You’ll find this option in the upper-right corner of the website.
- Select “Create Account”: This will take you to the account creation page.
- Fill in the required information: Enter your email address, choose a password, and provide your first and last name. You may also need to enter your phone number for verification purposes.
- Agree to the terms and conditions: Review the terms of service and privacy policy, and check the box to indicate your agreement.
- Complete the verification process: Depending on your chosen method, you may need to verify your email address or receive a code via text message.
- Set up your profile: Add a profile picture and customize your channel name and description. This will be the public identity associated with your YouTube uploads.
If you already have a Google account, such as a Gmail account, you can use it to sign in and access YouTube without creating a new account. Simply click on the “Sign In” button and enter your Google account credentials.
Having a YouTube account allows you to manage your uploads, track statistics, interact with your audience, and participate in the YouTube community. It also grants you access to additional features and settings that enhance your overall YouTube experience.
Once you have created or logged into your YouTube account, you’re ready to move on to the next step: accessing the YouTube upload page. We’ll cover this in the following section.
Step 3: Access the YouTube Upload Page
Now that you have a YouTube account, it’s time to access the YouTube upload page where you can begin the process of uploading your MP3 video. Follow these steps to navigate to the upload page:
- Sign in to your YouTube account: Open your preferred web browser and go to www.youtube.com. Click on the “Sign In” button located in the upper-right corner of the website. Enter your YouTube account credentials and click “Sign In”.
- Click on the upload icon: Once signed in, you’ll see several icons at the top right corner of the YouTube homepage. Look for the upward-pointing arrow icon, which represents the upload button. Click on it.
- Access the upload page: A drop-down menu will appear when you click the upload icon. Select the “Upload video” option from the menu. This will take you to the YouTube upload page. Alternatively, you can directly visit the upload page by going to www.youtube.com/upload.
After accessing the YouTube upload page, you’re one step closer to uploading your MP3 video. On this page, you’ll be able to provide all the necessary details for your video, including the title, description, and thumbnail image. You will also have the option to manage privacy settings, add tags, and select a category for your video.
However, before proceeding to that step, make sure you have your MP3 video file ready on your computer or device so that you can easily locate and upload it. It’s best to have the file saved in a location that you can easily access.
In the next section, we will guide you through the process of filling in the upload details for your MP3 video. This includes adding a title, description, thumbnail, and other important information. Let’s continue!
Step 4: Fill in the Upload Details
Once you have accessed the YouTube upload page, it’s time to provide all the necessary details for your MP3 video. The upload details are important as they help viewers understand what your video is about and make it more discoverable. Follow these steps to fill in the upload details:
- Choose your MP3 video file: Click on the “Select Files to Upload” button or simply drag and drop the file from your computer to the upload page. YouTube will start processing the video file once it’s selected.
- Add a title: Provide a descriptive and catchy title for your video. This is the first thing viewers will see, so make sure it accurately represents the content and grabs their attention.
- Write a compelling description: Use the description box to provide more details about your MP3 video. This is an opportunity to engage with viewers, share information about the song, provide links to your website or social media accounts, and encourage them to take specific actions (e.g., like, share, or subscribe).
- Upload a thumbnail image: Thumbnails are small preview images that viewers see before clicking on a video. They play a significant role in attracting viewers and increasing click-through rates. Choose or create an eye-catching thumbnail that accurately reflects the content of your MP3 video.
- Add tags: Tags are keywords or phrases that help YouTube understand and categorize your video. They also make it easier for viewers to find your content through search and recommended videos. Use relevant tags that align with the theme, genre, and keywords associated with your MP3 video.
- Select a category: Choose the appropriate category that best represents your content. This will help YouTube recommend your video to users interested in similar content.
- Check privacy settings: Determine the visibility of your MP3 video by selecting a suitable privacy setting. You can make it public, unlisted (only accessible through a direct link), or private (visible to you and those you share it with).
Take the time to thoughtfully fill in these upload details as they significantly impact how your MP3 video is perceived and discovered by viewers. The more accurate, engaging, and informative your upload details are, the better chance you have of attracting a relevant and interested audience.
In the next section, we’ll walk you through the process of uploading your MP3 video to YouTube. Exciting times ahead!
Step 5: Upload the MP3 Video to YouTube
Now that you have completed the necessary upload details, it’s time to actually upload your MP3 video to YouTube. Follow these steps to successfully upload your video:
- Review the upload details: Before proceeding with the upload, double-check that all the information you provided, such as the title, description, thumbnail, tags, and privacy settings, is accurate and meets your expectations. Make any necessary adjustments if needed.
- Start the upload process: Click on the “Publish” or “Upload” button (the terminology may vary) to start the uploading process. YouTube will begin processing the video file and display a progress bar to indicate the upload status. The time it takes to upload depends on the file size and Internet connection speed.
- Wait for the upload to complete: Be patient while the video uploads. Avoid navigating away from the upload page or closing the browser window until the upload process is complete. This ensures a smooth and uninterrupted upload. You can monitor the progress of the upload as the progress bar fills up.
- Provide additional information (optional): While the video is being uploaded, you have the option to provide additional information such as end screens, cards, captions, or subtitles. These features can enhance the viewer experience and provide additional engagement opportunities.
- Celebrate the successful upload: Once the upload is complete, you will receive a notification or see a confirmation message indicating that the MP3 video has been successfully uploaded to your YouTube channel. Take a moment to celebrate this achievement!
After successfully uploading your MP3 video, YouTube will process the video further to optimize it for playback on different devices and resolutions. This process can take some time, depending on the length and complexity of your video. Be patient as YouTube does its magic.
Now that your MP3 video is uploaded and being processed, it’s time to move on to the final step where you can choose privacy settings, publish your video, and make it available to your audience. We’ll cover this in the next section.
Step 6: Choose Privacy Settings and Publish
Now that your MP3 video has been successfully uploaded, it’s time to choose the privacy settings and publish it on YouTube. Follow these steps to finalize your video’s accessibility:
- Preview your video: Before making your video available to the public, take a moment to preview it. You can watch the video to ensure that everything looks and sounds as intended.
- Adjust privacy settings: Decide who can view your video by selecting the appropriate privacy setting. YouTube offers three options:
- Public: Your video will be accessible and visible to anyone who searches for it or visits your YouTube channel.
- Unlisted: Only people who have the direct link to the video can view it. It won’t appear in search results or on your channel.
- Private: The video will be visible only to you and anyone you explicitly share it with. It won’t be visible on your channel or in search results.
- Publish your video: Once you’ve chosen your desired privacy setting, click on the “Publish” or “Save” button to make your video live. For public videos, it may take a few minutes for YouTube to fully process and index the video for search availability.
- Share your video: After publishing, you can share your MP3 video with your friends, fans, or on social media platforms. YouTube provides options to easily share the video on various platforms or copy the video’s URL for manual sharing.
- Engage with your audience: As your video gains views and comments, make sure to respond to viewer engagement. Interacting with your audience builds a sense of community and keeps them coming back for more of your content.
Congratulations! You’ve successfully uploaded your MP3 video to YouTube and made it accessible to your audience. From here, you can track the performance of your video using YouTube Analytics, explore monetization options, and continue creating and sharing more great content.
Remember to stay engaged with your audience, promote your video through various channels, and continue to refine your content creation skills. YouTube offers a platform with immense opportunities for showcasing your talent and growing your fan base.
Now, go ahead and enjoy the journey of sharing your MP3 videos with the world through the power of YouTube!
Conclusion
Uploading MP3 files to YouTube opens up a world of opportunities to share your music, gain new fans, and expand your reach. By following the step-by-step process outlined in this guide, you can successfully convert your MP3 files into video format and upload them to YouTube.
Creating a YouTube account, accessing the upload page, filling in the necessary details, and choosing the right privacy settings are all crucial steps in the upload process. From there, you can publish your MP3 video and make it available to your audience.
Remember to optimize your upload details by choosing descriptive titles, engaging descriptions, eye-catching thumbnails, and relevant tags. These elements will help attract viewers and make your video more discoverable among the vast YouTube community.
Engagement with your audience is key. Responding to comments, promoting your videos through various channels, and participating in the YouTube community will help foster a loyal fan base and drive more views to your MP3 videos.
Take advantage of YouTube’s analytics tools to track the performance of your videos, gain insights into your audience demographics, and make data-driven decisions to improve your content strategy.
As you continue on your YouTube journey, don’t forget to showcase your creativity, authenticity, and passion for your music. YouTube provides a powerful platform for artists to connect with a global audience and make a lasting impact.
So, what are you waiting for? Get started today and share your MP3 files with the world on YouTube. Let your music be heard and your talent shine through the power of this incredible video-sharing platform. Happy uploading!