Home>Production & Technology>Audiobook>How To Combine MP3 Files Into Audiobook

Audiobook
How To Combine MP3 Files Into Audiobook
Modified: January 22, 2024
Learn how to combine multiple MP3 files into an audiobook effortlessly. Create a seamless listening experience with our step-by-step guide.
(Many of the links in this article redirect to a specific reviewed product. Your purchase of these products through affiliate links helps to generate commission for AudioLover.com, at no extra cost. Learn more)
Table of Contents
- Introduction
- Step 1: Gathering the MP3 files
- Step 2: Choosing the right software
- Step 3: Installing and setting up the software
- Step 4: Adding the MP3 files to the software
- Step 5: Arranging the MP3 files in the desired order
- Step 6: Customizing the audiobook settings
- Step 7: Combining and merging the MP3 files
- Step 8: Saving and exporting the audiobook
- Step 9: Testing the audiobook
- Conclusion
Introduction
With the increasing popularity of audiobooks, more and more people are looking for ways to create their own customized audiobooks. Combining MP3 files into a cohesive audiobook is a great way to enjoy your favorite books on the go, whether it’s during your daily commute, at the gym, or while relaxing at home.
Creating an audiobook from separate MP3 files may sound like a daunting task, but fear not! In this article, we will guide you through the process step by step, making it easier than ever to merge your MP3 files into a high-quality audiobook.
Before we dive into the details, let’s take a moment to understand the benefits of creating an audiobook. Audiobooks provide a convenient way to enjoy literature while engaging in other activities, such as driving, exercising, or simply relaxing. They allow you to multitask and make the most of your time.
By combining MP3 files into an audiobook, you can ensure a seamless listening experience without the hassle of switching between different tracks. You can also customize the order of the chapters or sections to better suit your preferences.
This process is great for those who have recorded their own audio versions of books, downloaded multiple chapters or sections from different sources, or simply want to merge audio files into one cohesive audiobook.
Now that you understand the benefits and possibilities of creating an audiobook from MP3 files, let’s get started with the step-by-step process.
Step 1: Gathering the MP3 files
The first step in creating your own audiobook is gathering the necessary MP3 files. These files may already be available in your digital library, or you may need to download them from various sources.
Start by identifying the books or texts you want to convert into an audiobook. If you have already converted the books into MP3 files or recorded your own audio, locate those files on your computer or device. Ensure that the MP3 files are properly named and organized for easy identification and arrangement later in the process.
If you don’t have the MP3 files yet, you can search for free or paid audiobook versions online. There are numerous platforms and websites that offer a wide range of audiobooks in MP3 format. Look for reputable sources and consider the availability and quality of the audio files.
Once you have identified the MP3 files you need, download and save them on your computer or device in a dedicated folder. It’s important to keep all the files in one location to simplify the merging process later on.
Remember to check the terms of use and copyright restrictions for the MP3 files you are downloading. Ensure that you have the necessary permissions to use and combine the files into your own audiobook.
By gathering all the required MP3 files upfront, you can proceed to the next step of choosing the right software to merge and create your audiobook.
Step 2: Choosing the right software
Choosing the right software is a crucial step in merging MP3 files and creating your audiobook. There are various software options available, both free and paid, each with its own features and capabilities.
Start by identifying your specific needs and requirements. Consider factors such as accessibility, user-friendliness, compatibility with your operating system, and the ability to handle large audio files. Additionally, think about any specific features you may require, such as the option to edit or enhance the audio, add chapter markers, or adjust the volume levels.
If you are new to audio editing or want a hassle-free experience, there are user-friendly software options available, specifically designed for merging MP3 files into audiobooks. Some popular choices include Audacity, MP3 Merge, and Adobe Audition.
Audacity is a free and open-source audio editing software that offers a wide range of features, making it suitable for both beginners and experienced users. With Audacity, you can easily import and arrange your MP3 files, apply edits or enhancements, and export the final audiobook in various formats.
MP3 Merge is another straightforward tool that focuses specifically on merging and combining MP3 files. It offers a simple and intuitive interface, allowing you to add your MP3 files, arrange them in the desired order, and export the merged audiobook with just a few clicks.
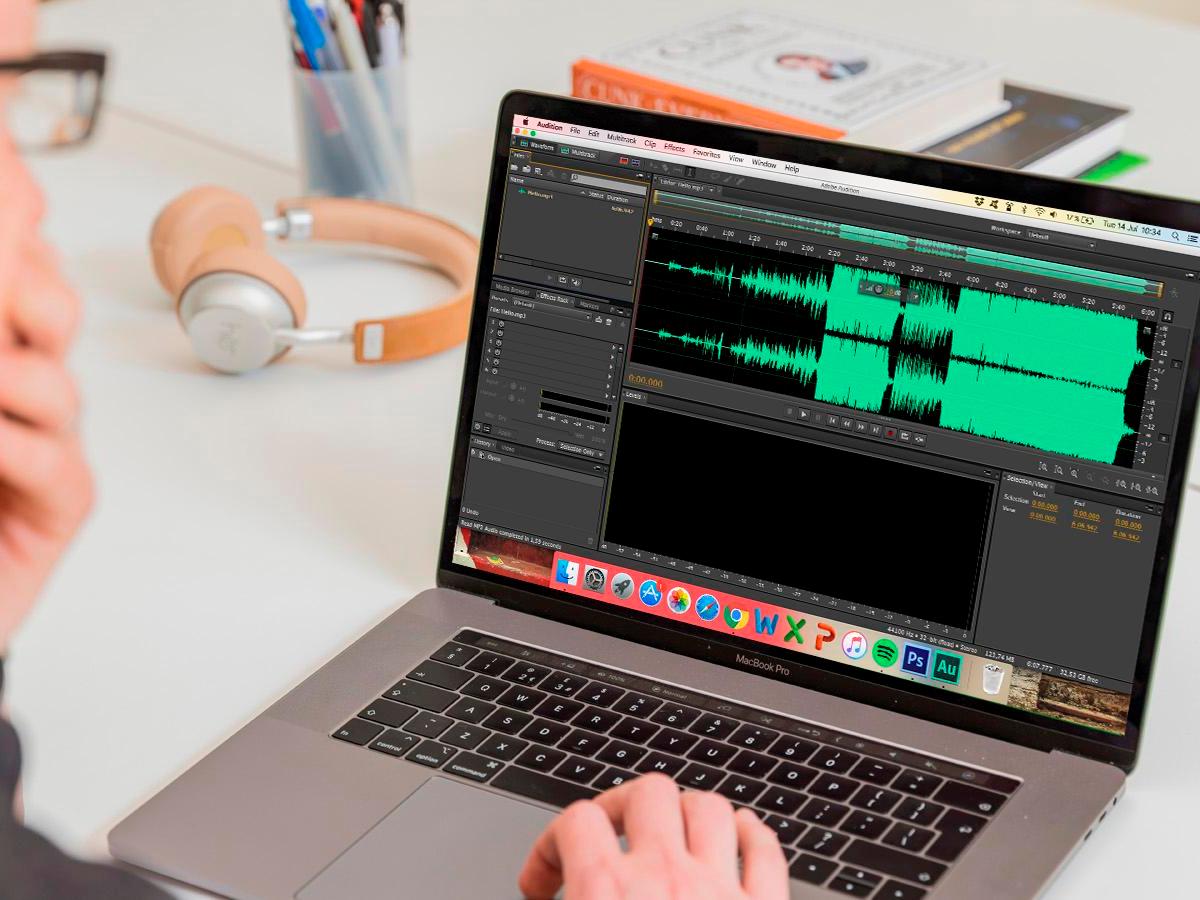
If you prefer a professional-grade software with advanced features and capabilities, Adobe Audition is a popular choice. It offers comprehensive audio editing tools, including the ability to mix and arrange multiple MP3 files, apply effects and transitions, and export the final audiobook in high-quality formats.
When choosing the right software, consider your level of experience and comfort with audio editing software. It’s a good idea to test out different options and see which one works best for you before committing to a specific software.
Once you have chosen the software that meets your needs, you can proceed to the next step of installing and setting it up on your computer or device.
Step 3: Installing and setting up the software
Now that you have selected the software for merging your MP3 files into an audiobook, it’s time to install and set it up on your computer or device. The installation process may vary depending on the software you chose, but the general steps remain the same.
Start by downloading the software from the official website or a trusted source. Make sure to download the correct version that is compatible with your operating system.
Once the software is downloaded, locate the installer file and run it. Follow the on-screen instructions to install the software on your computer or device. Pay attention to any additional settings or options that may be available during the installation process.
After the installation is complete, launch the software to ensure it is running properly. Take some time to familiarize yourself with the interface and navigation options. Look for any tutorials or help resources provided by the software developer to get a better understanding of the software’s features and functionalities.
If the software requires any additional setup or configuration, follow the instructions provided. This may include selecting the default audio output device, choosing the preferred language, or adjusting other settings to optimize the software for your needs.
Some software may also require additional plugins or extensions to enhance its capabilities. If necessary, download and install the recommended plugins or extensions to ensure smooth operation and access to all the features you may need.
Ensure that your computer or device meets the software’s minimum system requirements. This is important to ensure optimal performance and avoid any compatibility issues. Check the software’s documentation or website for the specific system requirements.
By installing and setting up the software correctly, you are now ready to move on to the next step of adding the MP3 files to the software.
Step 4: Adding the MP3 files to the software
Now that you have installed and set up the software on your computer or device, it’s time to add the MP3 files to begin creating your audiobook.
Open the software and look for the option to import or add audio files. This may be located in the file menu or represented by an icon/button within the software’s interface.
Click on the appropriate option to import the MP3 files. A file browser window will appear, allowing you to navigate to the folder where you saved the MP3 files. Select all the files, or the specific ones you want to include in your audiobook, and click on the “Open” or “Import” button.
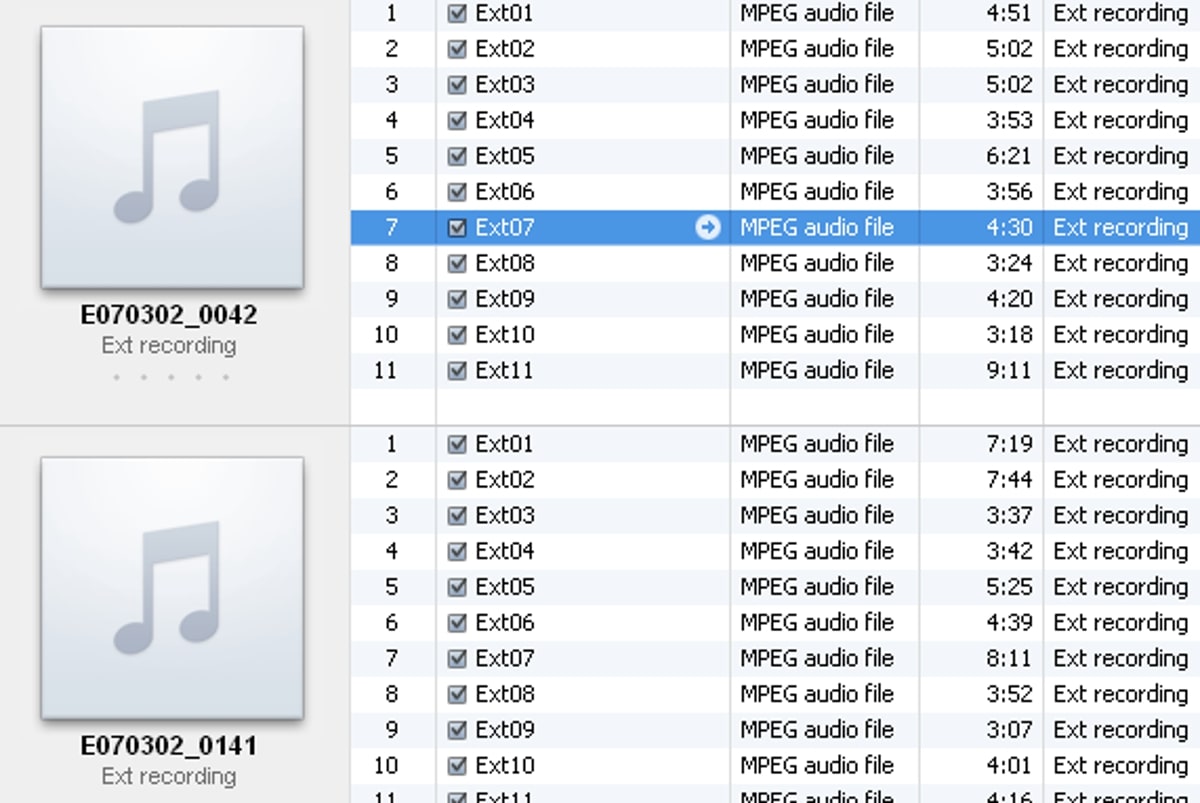
Depending on the software you are using, the MP3 files may be added as separate tracks or chapters. They will be displayed in the software’s interface, usually in a list or visual representation. Take a moment to confirm that all the files were successfully imported and are listed in the correct order.
If the files are not in the desired order, you can usually drag and drop them within the software’s interface to arrange them accordingly. Some software may also offer options to sort the files by name, date, or other criteria to facilitate organization.
Before proceeding, take a final look at the MP3 files within the software to ensure that they are correctly imported and in the desired order. This step is crucial to avoid any errors or discrepancies in your final audiobook.
Once you are satisfied with the arrangement of the MP3 files, you are ready to customize the audiobook settings in the next step.
Step 5: Arranging the MP3 files in the desired order
Now that you have added the MP3 files to the software, the next step is to arrange them in the desired order for your audiobook. This is an important step as it determines the flow and structure of your final creation.
Most software options provide a user-friendly interface that allows you to easily rearrange the MP3 files. Within the software’s workspace, you will typically find an option to drag and drop the files into the desired position.
To arrange the MP3 files, click on a file and hold down the mouse button, then drag it to the desired location within the software’s interface. You can move files up or down to rearrange their order, ensuring that the chapters or sections of the audiobook are in the sequence you desire.
Take your time to carefully arrange the MP3 files in the order that makes the most sense for your audiobook. This can be done based on the original book’s structure or any other logical progression that you prefer. For example, you may arrange them chronologically, by topic, or in any other way that enhances the listening experience.
Make sure to review the order of the MP3 files once you have arranged them. This step is essential to ensure the correct flow of the audiobook. If necessary, make any additional adjustments until you are satisfied with the arrangement.
Some software may offer additional features, such as the ability to add chapter markers or labels to the MP3 files. If desired, take advantage of these options to enhance the navigation and organization of your audiobook.
Remember, taking the time to carefully arrange the MP3 files will result in a more cohesive and enjoyable listening experience for your final audiobook.
Once you have arranged the MP3 files to your satisfaction, it’s time to move on to the next step of customizing the audiobook settings.
Step 6: Customizing the audiobook settings
After arranging the MP3 files in the desired order, it’s time to customize the settings of your audiobook. This step allows you to fine-tune various aspects of the audio, ensuring an optimal listening experience.
Start by exploring the options and settings provided by the software you are using. Look for features that allow you to adjust the audio quality, volume levels, and other parameters.
One of the key settings to consider is the audio format. Depending on the software, you may have the option to choose from various audio formats such as MP3, WAV, or AAC. Consider the compatibility of the format with your desired devices and platforms, as well as the desired quality and file size.
Additionally, you may have the option to enhance the audio quality by adjusting settings such as the equalizer, noise reduction, or audio effects. Experiment with these settings to achieve the desired tone and clarity for your audiobook.
Another important setting to customize is the volume levels. Ensure that the volume of the different MP3 files is balanced so that there are no sudden changes in volume throughout the audiobook. Most software options provide tools for adjusting the volume levels and ensuring a consistent listening experience.
Consider adding some brief silence or fade-in/fade-out effects between the MP3 files to create smooth transitions. This can help maintain the flow of the audiobook and avoid abrupt changes between chapters or sections.
Some software options also offer the option to set the playback speed or add bookmarks to specific sections of the audiobook. Explore these features to enhance the user experience and provide additional flexibility.
Take the time to experiment and listen to the audiobook settings to ensure that they meet your expectations. Make any necessary adjustments until you are satisfied with the overall audio quality and customization.
Once you have customized the audiobook settings, you are ready to move on to the next step of combining and merging the MP3 files into your final audiobook.
Step 7: Combining and merging the MP3 files
Now that you have customized the settings for your audiobook, it’s time to combine and merge the MP3 files into a single cohesive file. This step will create your final audiobook that can be easily enjoyed on various devices and platforms.
Most software options provide a straightforward process for combining and merging the MP3 files. Look for an option specifically for merging or exporting the audio files.
Click on the appropriate option, and a dialog box or window will appear, allowing you to specify the output settings for the audiobook. Choose the desired audio format, bitrate, and file name for the final merged file.
Verify that the selected output settings align with your preferences and requirements, taking compatibility and file size into consideration.
Once you have confirmed the output settings, proceed with the merging process. Click on the “Merge” or “Export” button to initiate the operation.
Depending on the size and number of MP3 files, the merging process may take some time. The software will automatically combine the selected files into a single MP3 or audio file.
Ensure that you do not interrupt the merging process and allow it to complete. Once finished, the software will notify you that the audiobook has been successfully created.
Take a moment to listen to a portion of the final merged audiobook to ensure that it sounds as expected. If any issues or discrepancies arise, you may need to revisit the customization settings and make any necessary adjustments before re-merging the MP3 files.
Once you are satisfied with the merged audiobook, you can proceed to the final step of saving and exporting it.
Note that some software options may offer additional features or options during the merging process, such as the ability to add cover art, metadata, or chapter markers. Explore these options if you want to further enhance the aesthetics and functionality of your audiobook.
Step 8: Saving and exporting the audiobook
Once you have successfully merged the MP3 files into your final audiobook, it’s time to save and export it in a format that can be easily shared and enjoyed.
Look for the option to save or export the audiobook within the software you are using. This option is usually located in the file menu or represented by an icon/button.
Click on the option, and a dialog box will appear, prompting you to select the destination folder and specify the file name for the audiobook.
Choose a location on your computer or device where you want to save the audiobook. Consider creating a dedicated folder to keep all your audiobooks organized.
Enter a descriptive name for the audiobook file, ensuring that it is easily recognizable and reflects the content of the book.
Select the desired audio format for the audiobook. This could be MP3, WAV, AAC, or any other compatible format depending on your preferences and the intended devices or platforms for playback.
Once you have finalized the saving and exporting settings, click on the “Save” or “Export” button to generate the audiobook file.
The software will process the audiobook file and save it to the specified destination folder. The duration of this process may vary depending on the size and complexity of the audiobook.
After the audiobook file has been successfully saved, navigate to the destination folder to verify its presence. Click on the file to ensure that it plays back as expected.
It’s a good practice to listen to a few minutes of the audiobook to ensure that the quality and settings have been accurately preserved during the exporting process.
Once you have confirmed that the audiobook file is correctly saved and plays back without issues, congratulations! You have successfully saved and exported your audiobook.
You can now transfer the audiobook file to your preferred devices or platforms, or share it with others to enjoy. Remember to respect any copyright restrictions and terms of use for the content within the audiobook.
Step 9: Testing the audiobook
Before considering your audiobook creation process complete, it’s essential to thoroughly test the audiobook to ensure that it meets your expectations and delivers a high-quality listening experience. Testing will help you identify any potential issues or inconsistencies that need to be addressed.
Start by playing the audiobook on various devices and platforms to assess its compatibility and functionality. Test it on your computer, smartphone, tablet, or any other device you plan to use for listening to audiobooks.
Listen to the audiobook from start to finish, paying attention to the audio quality, volume levels, and any potential audio glitches or artifacts. Ensure that the chapters or sections flow smoothly and that there are no abrupt pauses or changes in the audio.
Take note of any issues or areas for improvement that you discover during the testing phase. This could include audio inconsistencies, incorrect chapter markers, or any other factors that may affect the overall listening experience.
If you encounter any problems or shortcomings, revisit the previous steps to identify the cause and make the necessary adjustments. This might involve re-arranging the MP3 files, modifying the customization settings, or re-exporting the audiobook using different settings.
It’s also helpful to gather feedback from others who listen to the audiobook. Share the audiobook with friends, family, or members of your target audience and ask for their input. Pay attention to their feedback and suggestions for improvement.
By thoroughly testing the audiobook, addressing any issues, and incorporating feedback, you can ensure that the final product is of the highest quality and provides a satisfying listening experience for your audience.
Once you are confident that the tested audiobook meets your standards and the expectations of your audience, you can consider the creation process complete.
Congratulations! You have successfully created and tested your own audiobook from merged MP3 files. Now, you can enjoy your customized audio version of your favorite books or share them with others to experience the joy of audiobooks.
Remember to keep backups of your audiobook files in a secure location to protect them from loss or accidental deletion.
Conclusion
Creating your own audiobook by combining and merging MP3 files is a rewarding process that allows you to customize your listening experience and enjoy literature in a convenient and engaging way. By following the step-by-step guide outlined in this article, you now have the knowledge and tools to create your own personalized audiobooks.
Throughout the process, we covered important steps such as gathering the MP3 files, choosing the right software, installing and setting up the software, adding and arranging the MP3 files, customizing the audiobook settings, combining and merging the MP3 files, saving and exporting the audiobook, and testing the final product.
Remember to consider factors such as audio quality, volume levels, and organization as you create and merge the MP3 files. Take advantage of the customization options available in the software you select to enhance and refine the audiobook to your liking.
Testing the audiobook on various devices and platforms, as well as gathering feedback from others, is crucial to ensuring its quality and functionality. Make any necessary adjustments based on the testing and feedback received to create the best possible listening experience for your audience.
By combining your favorite books, or any other audio material, into a personalized audiobook, you can enjoy literature on the go, expand your knowledge, and make the most of your time.
So why wait? Start gathering your MP3 files, choose the right software, and embark on the journey of creating your own unique audiobook. Unleash your creativity, share your creations, and immerse yourself in the world of literature through the power of audiobooks.
Get started today and experience the joy of listening to your favorite books brought to life in a whole new way.