Home>Production & Technology>Surround Sound>How To Set Your Headphones To Surround Sound

Surround Sound
How To Set Your Headphones To Surround Sound
Modified: January 22, 2024
Learn how to set your headphones to surround sound and enhance your audio experience. Follow our step-by-step guide to optimize your headphones for immersive sound.
(Many of the links in this article redirect to a specific reviewed product. Your purchase of these products through affiliate links helps to generate commission for AudioLover.com, at no extra cost. Learn more)
Table of Contents
Introduction
Welcome to the world of surround sound! In an era where entertainment has become more immersive than ever, the audio experience plays a crucial role in delivering a captivating and lifelike sensation. Whether you’re watching a movie, playing video games, or listening to music, having your headphones set to surround sound can elevate your audio experience to new heights.
Surround sound technology provides a multidimensional audio experience by using multiple speakers strategically placed around the listener. When properly configured, it creates the illusion of sound coming from different directions, enhancing the sense of depth and realism. This is particularly beneficial for genres like action movies and first-person shooter games, where precise audio cues can make you feel like you’re right in the middle of the action.
In this article, we’ll guide you through the process of setting up your headphones to take advantage of the surround sound feature. We’ll explore different methods and platforms, including Windows, Mac, PlayStation, and Xbox, so you can enjoy an immersive audio experience no matter which device you use. But before we dive into the setup process, let’s first make sure your headphones are compatible with surround sound technology.
Understanding Surround Sound
Surround sound technology is a revolutionary advancement in audio technology that aims to replicate the way sound is perceived in real life. It goes beyond the traditional stereo setup by incorporating multiple speakers to create a more spatial and immersive audio experience.
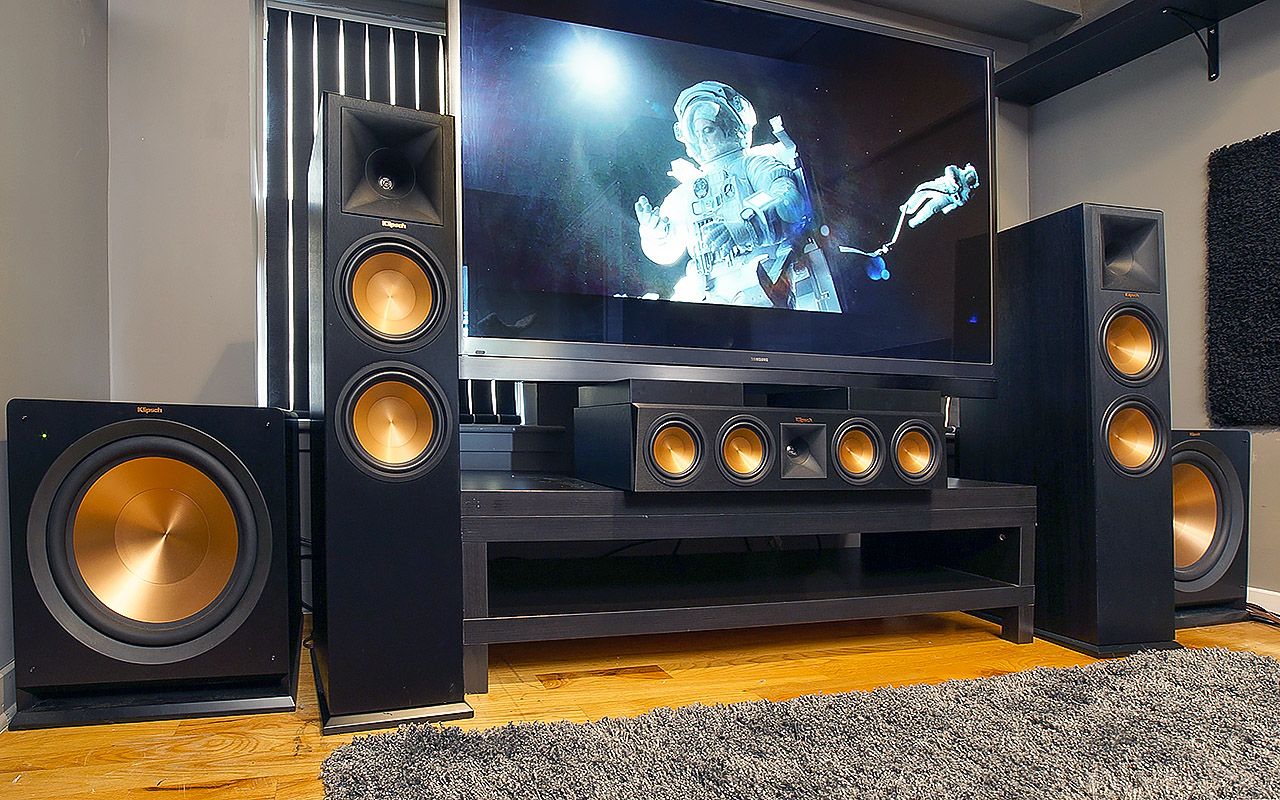
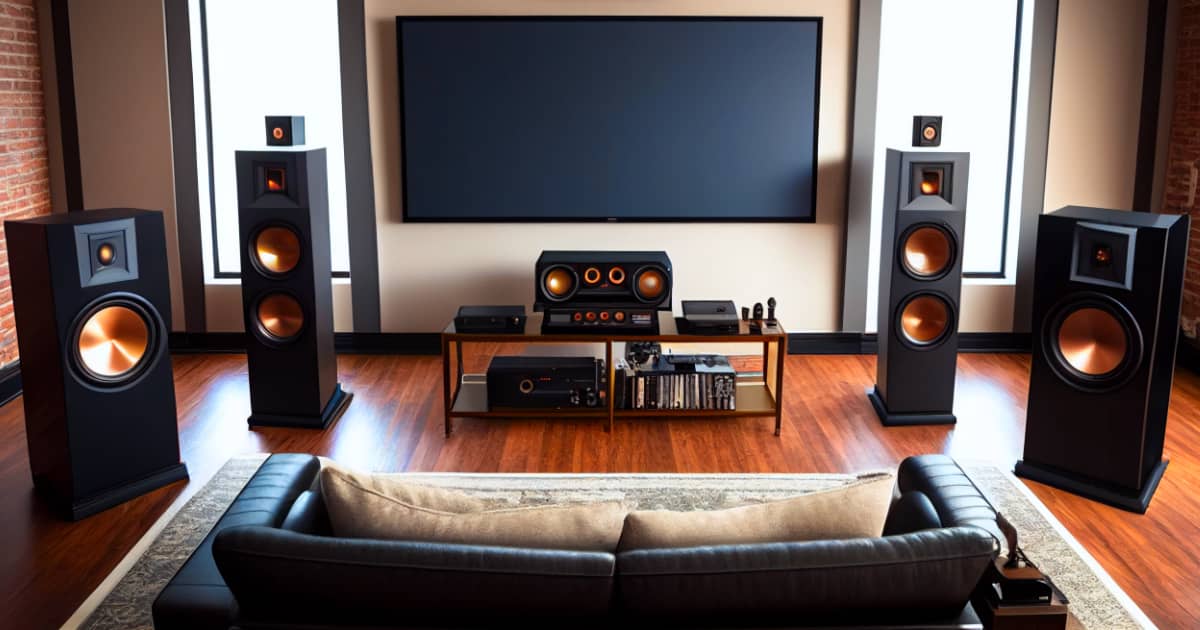
The most common surround sound setup is a 5.1 system, consisting of five main speakers and a subwoofer. The five main speakers are positioned in a specific arrangement: three speakers in the front (left, center, right), and two speakers in the rear (left surround, right surround). The subwoofer is responsible for reproducing low-frequency sounds for a deep and impactful bass.
By having sound emanate from different directions, the listener can feel like they are in the middle of the action. For example, in a movie scene where a car is passing from left to right, the sound of the car engine will move across the speakers, creating a realistic sense of movement. This spatial audio experience enhances the immersion and engagement of the viewer.
Surround sound formats can vary, with common ones being Dolby Digital and DTS. These formats support different channels and audio encoding methods, ensuring compatibility across various devices and platforms. It is important to note that not all headphones are compatible with surround sound technology right out of the box.
To take advantage of surround sound on headphones, virtual surround sound technology comes into play. Virtual surround sound utilizes advanced algorithms and audio processing techniques to simulate the effect of having multiple speakers positioned around the listener. It digitally manipulates the audio signals to create a surround sound experience using just two earcups.
Now that we have a basic understanding of surround sound technology, let’s dive into the next section and see if your headphones are compatible.
Checking Headphone Compatibility
Before you can start enjoying the benefits of surround sound on your headphones, it’s important to ensure that they are compatible with this feature. While some headphones come with built-in surround sound capabilities, others may require additional software or hardware to enable it.
To check the compatibility of your headphones, you can start by referring to the manufacturer’s specifications or product description. Look for any mentions of surround sound, virtual surround sound, or support for specific surround sound formats like Dolby Digital or DTS.
If your headphones don’t have built-in surround sound capabilities, don’t worry! You can still enjoy a surround sound experience by using external software or hardware. There are various virtual surround sound software applications available that can enhance your audio experience, such as Dolby Atmos for Headphones and Windows Sonic for Headphones.
The next step is to ensure that your device supports surround sound. For example, if you plan to use your headphones on a computer, check if your sound card or audio interface supports surround sound output. Additionally, if you are using a gaming console like PlayStation or Xbox, make sure that surround sound is supported on your specific console model.
It’s also worth noting that some gaming headsets come with their own software or external audio processors that provide enhanced surround sound functionality. These features can include personalized audio profiles, equalizer settings, and simulated surround sound effects. If you own a gaming headset, check if there are any specific instructions or software recommendations from the manufacturer.
Ultimately, the compatibility of your headphones with surround sound technology will depend on the specific model and brand. It’s always a good idea to research and read user reviews to gain insights into the surround sound capabilities of your headphones.
Once you have confirmed the compatibility of your headphones, you can proceed to the next section and learn how to adjust the sound settings to enable surround sound.
Adjusting Sound Settings
Now that you have confirmed the compatibility of your headphones with surround sound technology, it’s time to adjust the sound settings on your device to enable this feature. The specific steps may vary depending on the operating system or gaming console you are using.
First, make sure that your headphones are properly connected to your device. Whether it’s through a wired connection or wireless Bluetooth connection, ensure that the audio output is directed to your headphones.
Next, access the sound settings on your device. On a Windows computer, you can usually find the sound settings by right-clicking on the speaker icon in the system tray and selecting “Playback devices.” On a Mac, you can go to “System Preferences” and click on “Sound.”
Within the sound settings, look for options related to surround sound or virtual surround sound. Depending on your device and software, you may see options like “Dolby Atmos for Headphones,” “Windows Sonic for Headphones,” or “Virtual Surround Sound.”
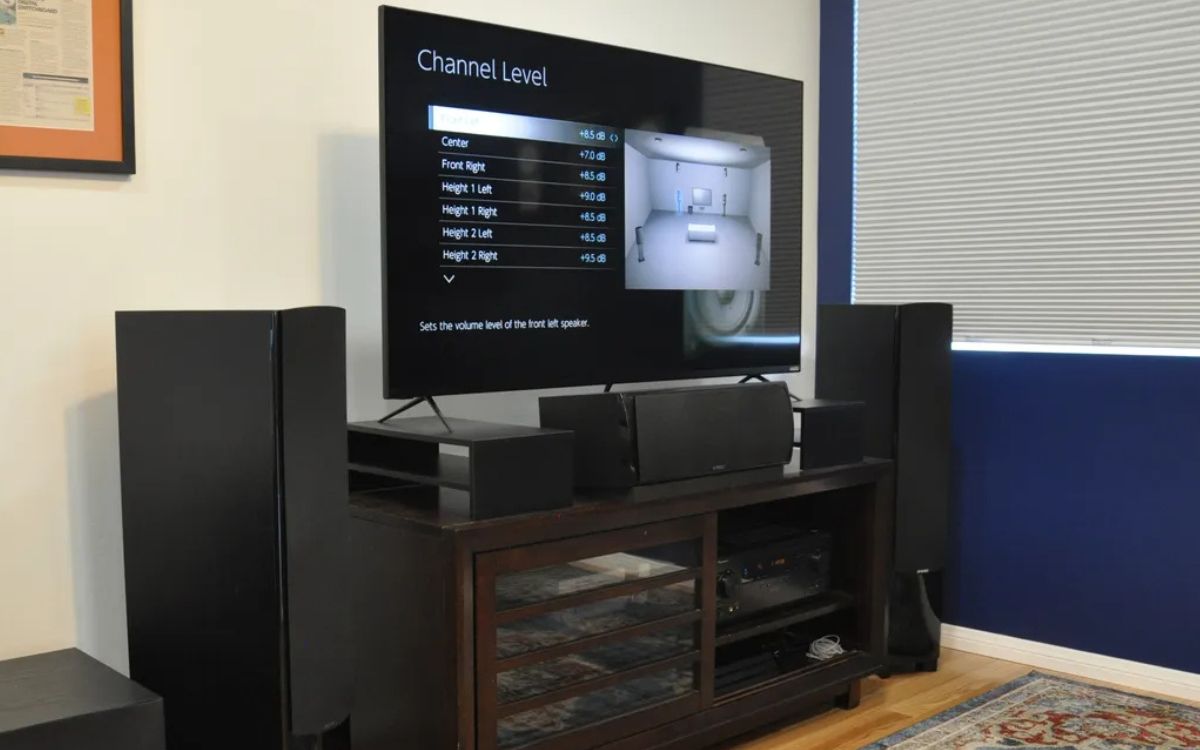
Select the desired surround sound option and check any additional settings or configurations that need to be adjusted. This may include selecting the number of channels (5.1 or 7.1), adjusting the equalizer settings, or enabling any additional audio enhancements.
Once you have made the necessary adjustments, test the surround sound by playing a video or audio clip that features directional audio. You can find demo videos or test clips specifically designed to showcase surround sound effects. Listen closely to ensure that the sound is coming from the correct channels and that the spatial audio effect is working effectively.
If you are using a gaming console like PlayStation or Xbox, navigate to the audio settings within the console’s system settings. Look for options related to “Audio Output” or “Surround Sound” and follow the on-screen instructions to enable surround sound.
It’s important to note that the availability of surround sound settings can vary depending on the device and software you are using. Additionally, not all content is optimized for surround sound, so the effectiveness of the feature may vary from one audio source to another.
Now that you have adjusted the sound settings on your device, let’s move on to the specific steps for configuring surround sound on different platforms, starting with Windows.
Configuring Surround Sound on Windows
If you’re using a Windows computer, you have several options for configuring surround sound on your headphones. Here’s a step-by-step guide to help you get started:
- Right-click on the speaker icon in the system tray and select “Playback devices.”
- A new window will appear, showing the playback devices connected to your computer. Locate your headphones in the list and select them.
- Click on the “Configure” button located at the bottom of the window.
- In the Speaker Setup wizard, select the appropriate audio setup based on your headphone configuration. For example, if you’re using a 5.1 surround sound system, choose the “5.1 Surround” option, or if you’re using a stereo headphone with virtual surround sound, choose the “Stereo” option.
- Click “Next” and follow any additional on-screen instructions to complete the setup process.
- Once the configuration is complete, click “Finish” to save the changes.
In addition to the built-in configuration options, Windows also offers two virtual surround sound technologies: Dolby Atmos for Headphones and Windows Sonic for Headphones. These technologies provide immersive surround sound effects using advanced audio processing algorithms. To enable them:
- Right-click on the speaker icon in the system tray and select “Spatial sound.”
- A drop-down menu will appear, showing the available spatial sound technologies. Select either “Dolby Atmos for Headphones” or “Windows Sonic for Headphones.”
- Check the “Turn on 7.1 virtual surround sound” option if available.
- Click “Apply” to save the changes.
Remember to test the surround sound settings on your Windows computer by playing audio or video content that features directional sounds. If everything is set up correctly, you should be able to experience an immersive audio experience with enhanced spatial awareness.
Next, let’s explore how to configure surround sound on Mac computers.
Configuring Surround Sound on Mac
If you’re using a Mac computer, configuring surround sound on your headphones is a straightforward process. Here’s how you can do it:
- Go to “System Preferences” from the Apple menu or by clicking on the gear icon in the Dock.
- Click on the “Sound” icon.
- In the “Output” tab, select your headphones from the list of available audio devices.
- Click on the “Configure Speakers” button.
- In the Speaker Configuration window, select the appropriate audio setup based on your headphone configuration.
- Click “Continue” and follow any additional on-screen instructions to complete the setup process.
- Once the configuration is complete, close the Speaker Configuration window.
With the surround sound settings properly configured, your Mac will now deliver an immersive audio experience on your headphones. You can test it by playing audio or video content that features directional sounds, such as movies or games.
It’s worth noting that Mac computers do not have built-in virtual surround sound technologies like Dolby Atmos or Windows Sonic. However, you can still enhance your audio experience by using third-party software applications specifically designed for Mac, such as Boom 3D or Boom for Mac. These applications offer virtual surround sound effects and customizable audio enhancements to further elevate your headphone audio experience.
Now that you know how to configure surround sound on Mac, let’s explore how to do it on gaming consoles like PlayStation.
Configuring Surround Sound on PlayStation
If you’re using a PlayStation gaming console, you can configure surround sound on your headphones to enhance your gaming experience. Follow these steps to set it up:
- On your PlayStation console, go to the “Settings” menu.
- Select “Sound and Screen.”
- Choose “Audio Output Settings.”
- Select “Primary Output Port.”
- Choose “Digital Out (Optical)” or “HDMI.”
- If you choose “Digital Out (Optical),” select “Bitstream (Dolby)” or “Bitstream (DTS)” depending on your headphones’ compatibility.
- If you choose “HDMI,” select “Linear PCM.”
- Configure any additional settings like audio format, audio device type, and microphone settings, if necessary.
- Save the settings and exit the menu.
By configuring the surround sound settings on your PlayStation console, you will be able to enjoy an immersive audio experience while gaming. Ensure that your headphones are properly connected to the console for the settings to take effect.
It’s important to note that the specific options and settings may vary depending on the PlayStation console model you have. Make sure to refer to the user manual or the manufacturer’s website for detailed instructions specific to your console.
Now, let’s move on to the final section and learn how to configure surround sound on Xbox consoles.
Configuring Surround Sound on Xbox
If you’re an Xbox console user, you can configure surround sound on your headphones to enhance your gaming and multimedia experience. Follow these simple steps to set it up:
- Press the Xbox button on your controller to open the guide menu.
- Go to the “System” tab and select “Settings.”
- In the Settings menu, choose “General.”
- Select “Volume & audio output.”
- Under the “Headset audio” or “HDMI audio” section, choose “Windows Sonic for Headphones” or “Dolby Atmos for Headphones,” depending on your preference and headphone compatibility.
- Save the changes and exit the menu.
By enabling either Windows Sonic for Headphones or Dolby Atmos for Headphones on your Xbox console, you’ll be able to enjoy immersive surround sound with your headphones while gaming or watching content.
It’s important to note that for Dolby Atmos, you may need to purchase a separate license from the Xbox Store to fully unlock its features.
If you want to further customize your audio experience on Xbox, you can also explore additional settings like adjusting the equalizer, balance, or volume control, which can be found in the “Volume & audio output” menu.
Remember to ensure that your headphones are properly connected to the Xbox controller or console for the surround sound settings to take effect.
Now that you know how to configure surround sound on Xbox, you’re all set to enjoy an immersive audio experience on your headphones.
Next, let’s explore some troubleshooting tips to help you overcome any common issues you may encounter while setting up surround sound on your headphones.
Troubleshooting Tips
Setting up surround sound on your headphones can sometimes come with its challenges. If you encounter any issues during the configuration process, here are some troubleshooting tips to help you overcome them:
- Ensure that your headphones are compatible with surround sound technology. Double-check the specifications and look for any software or hardware requirements.
- Verify that your device’s audio drivers are up to date. Outdated drivers can cause compatibility issues and hinder surround sound functionality.
- Check all audio connections to make sure they are secure and properly plugged in. Loose or faulty connections can result in audio issues or a lack of surround sound effects.
- Restart your device after making any changes to the sound settings. This can help apply the new settings and resolve any temporary software glitches.
- Experiment with different virtual surround sound software or settings. Not all software applications or modes may work optimally with your headphones or content, so try out different options to find the one that suits your preferences best.
- If using a gaming console, ensure that the console’s firmware is up to date. System updates can often fix bugs or compatibility issues that may affect the surround sound functionality.
- Refer to the user manual or online support resources for your specific device or software. Manufacturers often provide troubleshooting guides and FAQs to address common issues.
- Consider seeking help from technical support or online forums. If you’ve exhausted all troubleshooting options, reaching out to the manufacturer or seeking advice from fellow users can provide valuable insights and solutions.
Remember, troubleshooting audio issues can be trial and error, but with persistence, you should be able to resolve any problems and enjoy the immersive surround sound experience on your headphones.
Now that we’ve covered some troubleshooting tips, let’s wrap up this article with a brief summary.
Conclusion
Setting your headphones to surround sound can transform your audio experience, whether you’re watching movies, playing games, or listening to music. By understanding the technology behind surround sound and properly configuring your device’s settings, you can immerse yourself in a multidimensional audio environment.
In this article, we’ve covered the basics of surround sound, how to check headphone compatibility, and how to adjust sound settings on various platforms. We explored the steps for configuring surround sound on Windows, Mac, PlayStation, and Xbox. Additionally, we provided troubleshooting tips to help you overcome any potential issues you may encounter during the process.
Remember to verify the compatibility of your headphones, ensure software and drivers are up to date, and follow the specific configuration steps for your device or gaming console. By investing a little time and effort into setting up your headphones for surround sound, you’ll be rewarded with a more immersive and captivating audio experience.
Now that you have the knowledge and tools to unleash the power of surround sound on your headphones, go ahead and enjoy the remarkable audio journey that awaits you!