Home>Production & Technology>Background Music>How To Cut Background Music In IMovie
Background Music
How To Cut Background Music In IMovie
Modified: January 22, 2024
Learn how to easily cut background music in iMovie and create professional videos. Remove unwanted audio tracks with our step-by-step guide.
(Many of the links in this article redirect to a specific reviewed product. Your purchase of these products through affiliate links helps to generate commission for AudioLover.com, at no extra cost. Learn more)
Table of Contents
- Introduction
- Step 1: Importing the video clip with background music
- Step 2: Splitting the video clip
- Step 3: Detaching the audio from the video clip
- Step 4: Adjusting the audio levels
- Step 5: Muting or deleting the background music track
- Step 6: Exporting the edited video without background music
- Conclusion
Introduction
Background music can play a crucial role in enhancing the overall quality of a video. However, there may be instances where you need to remove or cut the background music from a video clip. Whether it’s to eliminate copyright issues, adjust the audio balance, or simply create a different audio ambiance, cutting background music is a common task for video editors.
iMovie, a popular video editing software for Mac, offers a simple and efficient way to cut background music. By following a few easy steps, you can achieve the desired results and create a professional-looking video without the distraction of unwanted background music.
In this tutorial, we will guide you through the process of cutting background music using iMovie. Whether you’re a beginner or an experienced video editor, these steps will help you achieve the desired results and take your videos to the next level.
So, let’s dive into the steps and discover how to cut background music in iMovie!
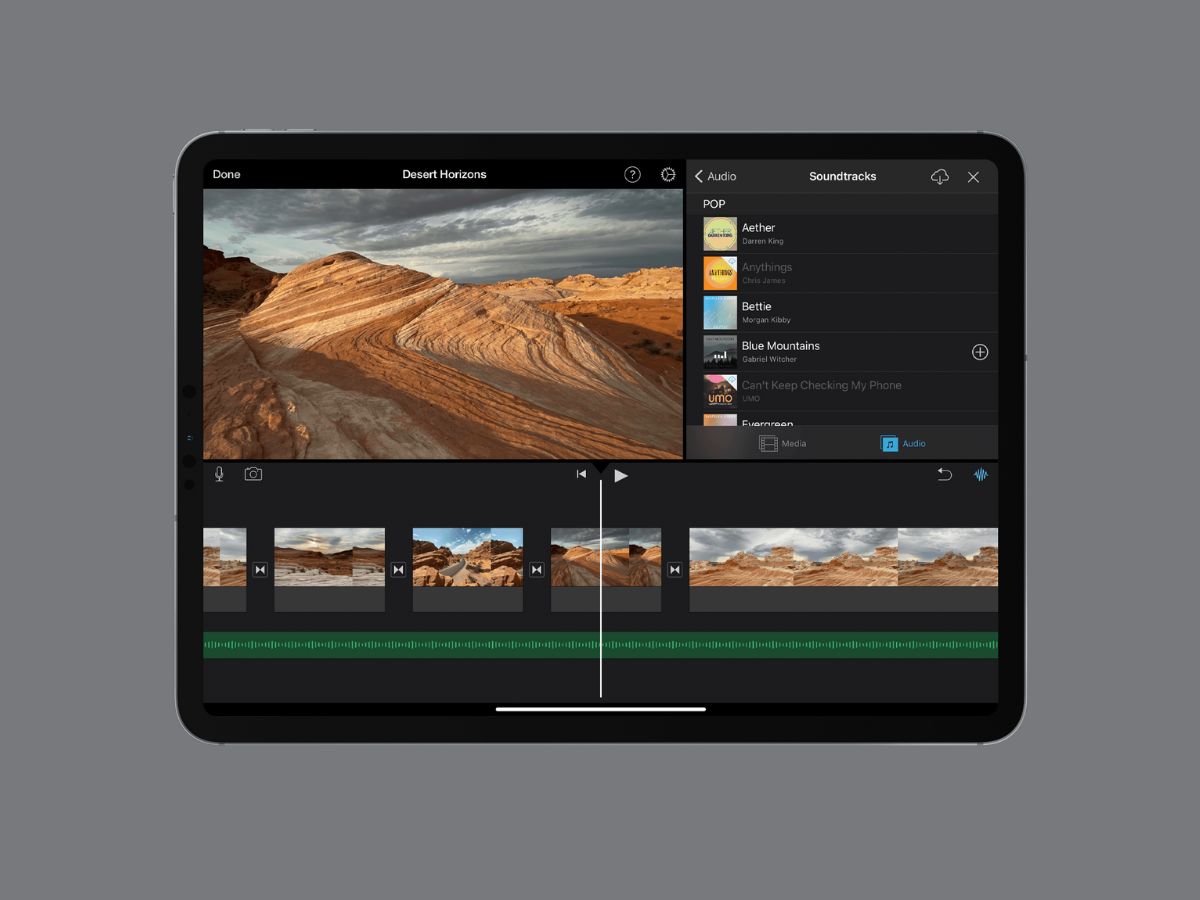
Step 1: Importing the video clip with background music
The first step in cutting background music in iMovie is to import the video clip that contains the background music into your project. Follow these simple instructions to import the video clip:
- Launch iMovie on your Mac. If you don’t have iMovie installed, you can download it from the Mac App Store.
- Create a new project or open an existing one where you want to edit the video clip.
- Click on the “Import Media” button, represented by a small downward arrow icon, located at the top left corner of the iMovie interface.
- Navigate to the location where the video clip with the background music is saved on your computer.
- Select the video clip and click on the “Import Selected” button to import it into your iMovie project.
Once the video clip is imported, it will appear in the iMovie timeline. You can now proceed to the next step to start cutting the background music.
Please ensure that the imported video clip has the desired background music that you wish to remove. If necessary, review the video clip to confirm that the background music is present and needs to be cut.
Now that you have successfully imported the video clip with background music into iMovie, let’s move on to the next step and learn how to cut the background music.
Step 2: Splitting the video clip
Before we can remove the background music, we need to split the video clip into smaller segments. This will allow us to isolate the sections that contain the background music, making it easier to remove or adjust the audio.
Follow the instructions below to split the video clip in iMovie:
- Locate the video clip in the iMovie timeline.
- Move the playhead (the white vertical line) to the point in the timeline where you want to split the video clip.
- Click on the “Modify” menu at the top of the screen.
- From the dropdown menu, select the “Split Clip” option. Alternatively, you can use the shortcut key Command + B to split the clip.
By splitting the video clip at specific points, you can create multiple segments within the clip. This allows you to selectively remove or adjust the background music in certain sections, while keeping the desired audio intact in other parts.
Repeat the above steps to split the video clip into multiple segments as needed. Take your time to analyze the video and identify the portions where the background music is playing. Splitting the video into smaller segments will provide more control over the editing process.
Now that we have split the video clip into smaller segments, we can move on to the next step and detach the audio from the video clip in iMovie.
Step 3: Detaching the audio from the video clip
Once you have split the video clip into smaller segments, the next step is to detach the audio from the video clip. This will allow you to have separate control over the audio and make adjustments or remove the background music.
To detach the audio from the video clip in iMovie, follow these steps:
- Select the first segment of the video clip that contains the background music.
- Right-click on the selected segment and choose the “Detach Audio” option from the context menu. Alternatively, you can use the shortcut key Option + Command + B to detach the audio.
After detaching the audio, you will notice that the audio waveform appears as a separate track below the video clip in the iMovie timeline. The detached audio track can now be edited or removed independently from the video.
Repeat the above steps for each segment that contains background music. Detaching the audio from each segment will allow you to have full control over the background music and make precise edits.
Detaching the audio from the video clip is a crucial step in the process of removing the background music. With the audio detached, we can now move on to adjusting the audio levels to improve the overall quality of the video.
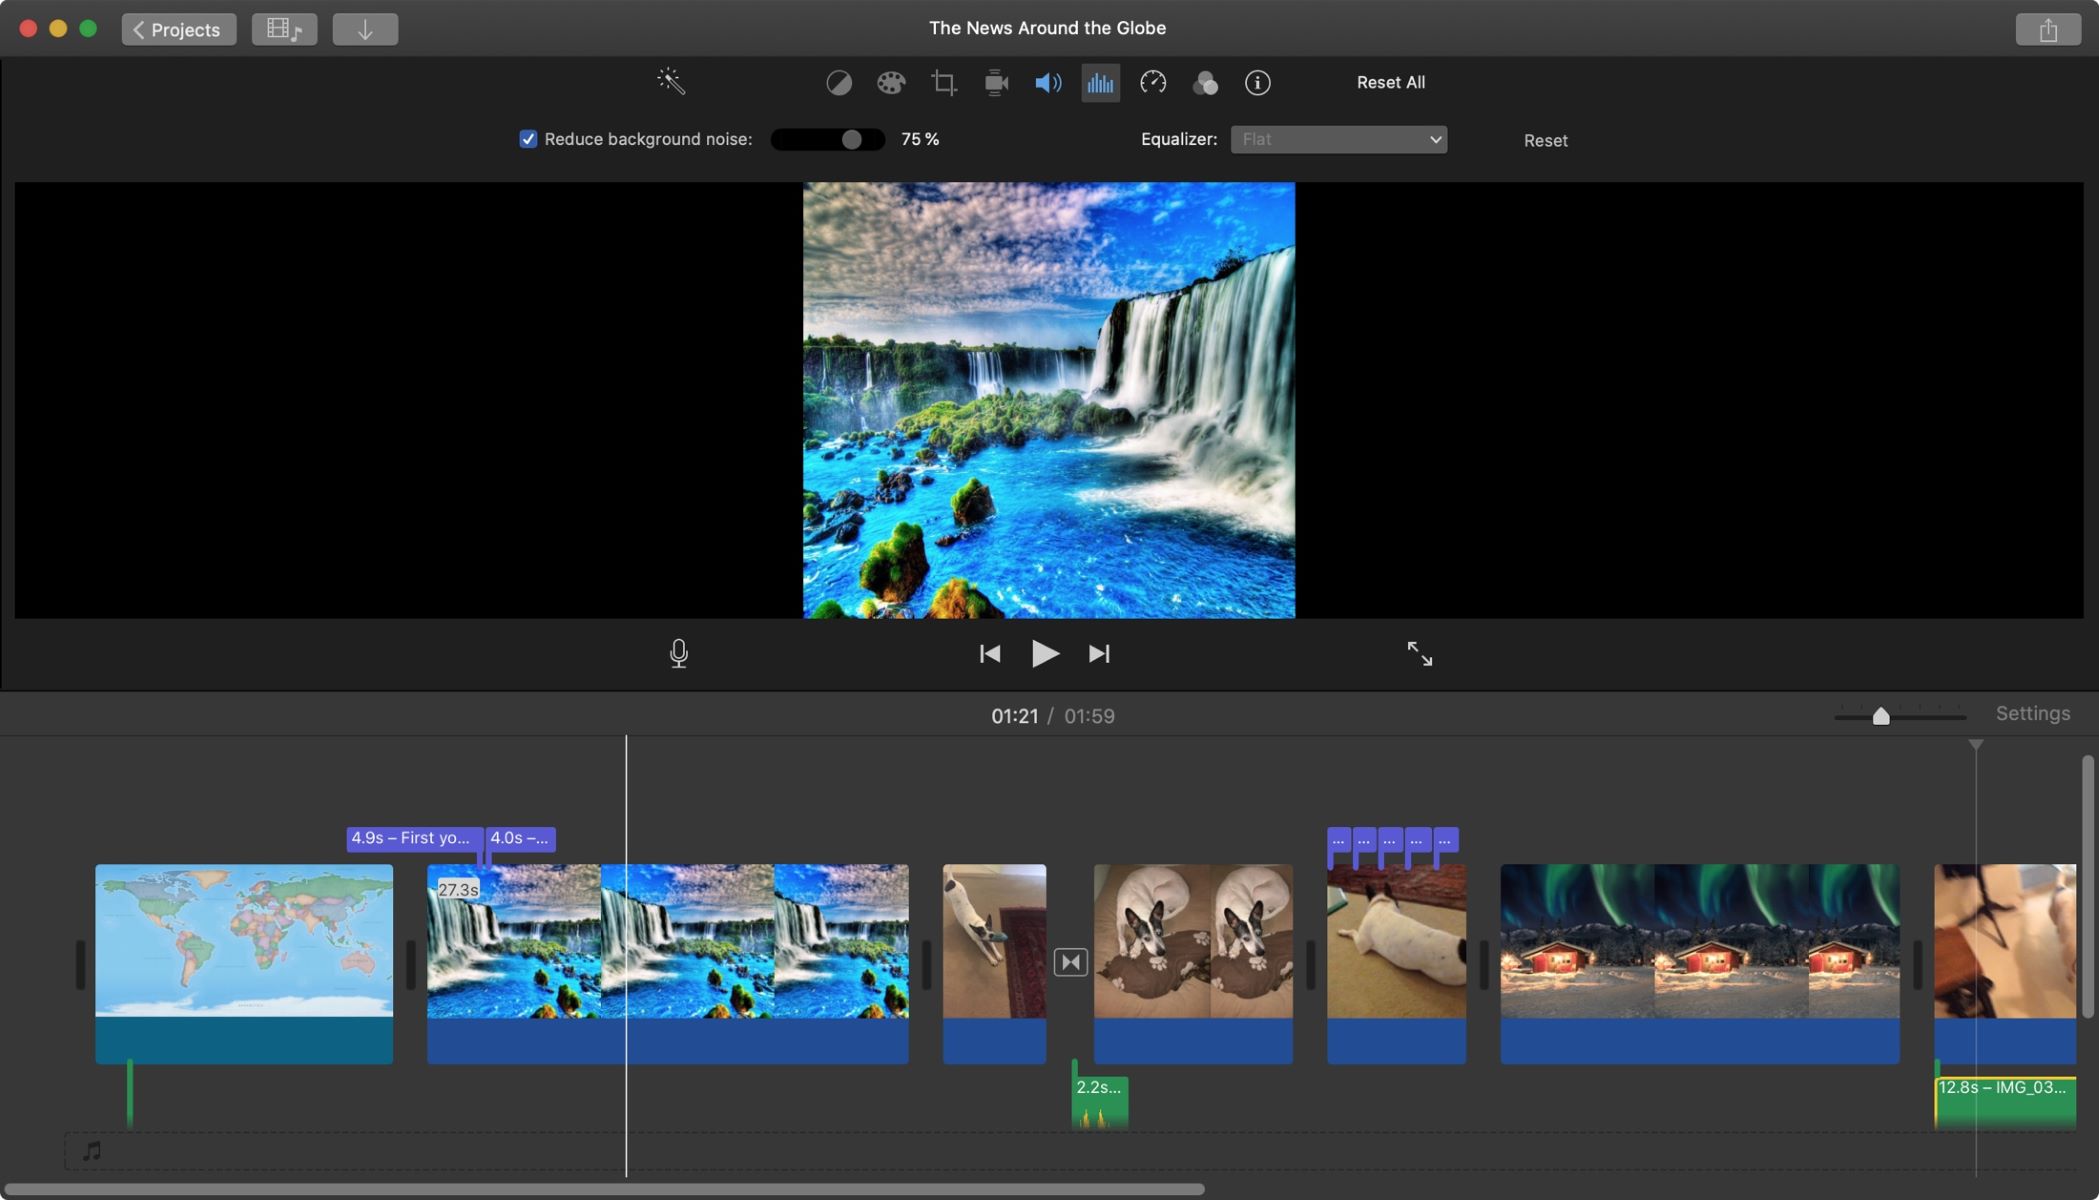
Step 4: Adjusting the audio levels
Once the audio has been detached from the video clip, it’s time to adjust the audio levels to ensure that the desired audio is prominent while minimizing or eliminating the background music.
Follow these steps to adjust the audio levels in iMovie:
- Select the detached audio track in the iMovie timeline.
- Click on the “Audio Adjustments” button, represented by a speaker icon, located at the top right corner of the iMovie interface.
- You will see a volume slider. Drag the slider to the left to decrease the volume of the background music, or to the right to increase the volume of the desired audio.
By adjusting the audio levels, you can control the relative loudness of the background music and the desired audio. This step is important to achieve the perfect balance and volume control within your video.
It’s recommended to preview the video clip to ensure that the audio levels are adjusted to your satisfaction. Make any additional adjustments as needed until you are happy with the audio balance.
Once you have successfully adjusted the audio levels, you are ready to move on to the next step and mute or delete the background music track.
Step 5: Muting or deleting the background music track
Now that you have adjusted the audio levels to your desired balance, it’s time to mute or delete the background music track from the video clip in iMovie. You have two options for removing the background music:
- Mute the background music track: If you want to keep the background music track in iMovie but silence it during specific segments, follow these steps:
- Select the detached audio track in the iMovie timeline.
- Click on the “Mute” checkbox in the audio adjustments panel.
- The background music track will be muted, and you will only hear the desired audio during those segments.
- Delete the background music track: If you want to completely remove the background music track from the video clip, follow these steps:
- Select the detached audio track in the iMovie timeline.
- Press the “Delete” key on your keyboard or right-click on the selected audio track and choose the “Delete” option from the context menu.
- The background music track will be permanently removed from the video clip, leaving only the desired audio.
Choose the option that best suits your editing needs and preferences. Keep in mind that deleting the background music track is irreversible, so make sure you have a backup or are confident in your decision before proceeding.
By muting or deleting the background music track, you can create a cleaner and more professional audio experience in your video. Once you have successfully removed the background music, you are ready to export the edited video without the distractions of unwanted audio.
Step 6: Exporting the edited video without background music
After making all the necessary edits and removing the background music from your video clip, the final step is to export the edited video without the unwanted audio. Follow these steps to export your video in iMovie:
- Click on the “File” menu at the top of the screen.
- From the dropdown menu, select the “Share” option.
- Choose the desired export option based on your preferences. You can select options such as “File,” “YouTube,” “Vimeo,” or any other platform you want to share your video on.
- Customize the export settings if needed, such as the resolution, format, and quality of the exported video.
- Specify the destination folder where you want to save the exported video.
- Click on the “Next” or “Export” button to start the exporting process.
iMovie will now process the edited video and export it without the background music. The time it takes to export the video will depend on the length and complexity of the project, as well as your computer’s processing power.
Once the export is complete, you can play the video to ensure that the background music has been successfully removed. Congratulations! You have now successfully cut the background music from your video using iMovie.
Remember to save your project file in iMovie for future reference. This will allow you to make further edits or adjustments if necessary.
With your edited video ready for sharing or further use, you can now showcase your creativity and storytelling skills without the distractions of unwanted background music.
Conclusion
Cutting background music in iMovie is a straightforward process that allows you to create a professional and polished video without the distraction of unwanted audio. By following the steps outlined in this tutorial, you can easily remove or adjust the background music in your video clips, achieving the desired audio balance and enhancing the overall quality of your project.
Remember, the key steps include importing the video clip, splitting it into smaller segments, detaching the audio, adjusting the audio levels, and finally muting or deleting the background music track. These steps give you the flexibility and control to customize your video’s audio to your preferences.
iMovie, with its user-friendly interface, is a powerful tool that empowers both beginners and experienced video editors to create professional-looking videos. Whether you are editing a vlog, a short film, or a promotional video, iMovie provides the necessary features and functionality to cut background music and create engaging content.
Once you have completed the editing process and are satisfied with the result, don’t forget to export your video without the background music. Whether you choose to share it on social media platforms, upload it to a video streaming service, or use it for personal or professional purposes, exporting the edited video is the final step to showcase your work to the world.
Now that you have learned how to cut background music in iMovie, you are equipped with the knowledge to create seamless, captivating videos that deliver your message effectively. So, go ahead and explore the possibilities that iMovie offers, unleash your creativity, and bring your videos to life!