Home>Production & Technology>Background Music>How To Apply Background Music In Premiere Pro
Background Music
How To Apply Background Music In Premiere Pro
Modified: January 22, 2024
Learn how to easily apply background music in Premiere Pro with step-by-step instructions. Enhance your videos with the perfect soundtrack.
(Many of the links in this article redirect to a specific reviewed product. Your purchase of these products through affiliate links helps to generate commission for AudioLover.com, at no extra cost. Learn more)
Table of Contents
- Introduction:
- Understanding Background Music in Premiere Pro:
- Importing Background Music:
- Creating a New Sequence:
- Dragging Background Music to the Timeline:
- Adjusting the Volume Levels:
- Trimming the Background Music:
- Applying Audio Effects to the Background Music:
- Mixing Multiple Background Tracks:
- Exporting the Final Video with Background Music:
- Conclusion:
Introduction:
Background music plays a crucial role in setting the mood and enhancing the overall viewing experience of a video. Whether you are creating a short film, a promotional video, or a vlog, incorporating the right background music can greatly impact the audience’s engagement and emotional connection with the content.
When it comes to video editing, Adobe Premiere Pro is one of the most powerful and widely used tools in the industry. It offers a range of features that allow you to seamlessly integrate background music into your videos, making them more captivating and professional.
In this article, we will explore how to apply background music in Premiere Pro effectively. From importing the music files to adjusting the volume levels and applying audio effects, we will guide you through the step-by-step process of adding background music to your video projects.
Whether you’re a beginner looking to enhance your video editing skills or an experienced professional seeking to fine-tune your audio elements, this comprehensive guide will provide you with the knowledge and techniques to create compelling videos with the perfect background music.
So let’s dive in and discover the world of background music in Adobe Premiere Pro!
Understanding Background Music in Premiere Pro:
Before we jump into the process of applying background music in Premiere Pro, it’s essential to understand the role and significance of background music in video editing.
The purpose of background music is to enhance the emotional impact of a video by creating a specific atmosphere or setting a particular tone. It can evoke feelings of excitement, suspense, nostalgia, or joy, depending on the intended message of the video. By carefully selecting and incorporating the right background music, you can amplify the viewer’s experience and effectively convey your message.
In Premiere Pro, background music is added as an audio track that runs alongside the video footage. This allows you to synchronize the music with the visuals and adjust its volume and timing as needed.
When choosing background music for your video, it’s essential to consider the genre, mood, tempo, and length that align with the overall tone and theme of your project. You can opt for pre-existing royalty-free music or create your own compositions to ensure that you have the right to use the music without any copyright issues.
Additionally, it’s crucial to find a balance between the background music and other audio elements, such as dialogue or sound effects. The background music should complement and support the narrative without overpowering or distracting from the main content.
By understanding the impact and purpose of background music in the context of video editing, you can make informed decisions and implement creative choices that enhance the overall quality and impact of your videos.
Importing Background Music:
Now that we have a good understanding of the importance of background music in Premiere Pro, let’s explore how to import your chosen music into your project.
1. Launch Premiere Pro and open your project or start a new project if you haven’t already.
2. In the Media Browser panel, navigate to the folder where your background music files are stored.
3. Select the desired music file(s) and click on the “Import” button. You can also simply drag and drop the files into the Project panel.
4. Once imported, the music files will appear in the Project panel. You can now easily access and arrange them as needed.
5. It’s worth noting that Premiere Pro supports various audio file formats, including MP3, WAV, and AIFF. If your music files are in a different format, you may need to convert them to a supported format before importing.
By following these simple steps, you can import your background music files into Premiere Pro and have them ready for editing and integration into your project.
Now that we have our music imported, let’s move on to the next step: creating a new sequence to work with.
Creating a New Sequence:
Once you have imported your background music into Premiere Pro, the next step is to create a new sequence. A sequence is where you will combine your video footage, audio, and other elements to create your final video.
Here’s how you can create a new sequence:
1. In the Project panel, right-click on the background music file that you want to use and select “New Sequence From Clip.” This will automatically create a sequence with the correct settings based on the audio file’s attributes.
2. Alternatively, you can create a new sequence manually by going to the File menu, selecting “New,” and then choosing “Sequence.” In the New Sequence dialog box, you can specify the settings for your sequence, such as the resolution, frame rate, and duration.
3. Once you have created a new sequence, it will appear in the Timeline panel. You can rename the sequence to something descriptive by right-clicking on it and selecting “Rename.”
4. To ensure that your sequence matches the settings of your video footage, you can drag and drop a video clip onto the New Item button at the bottom of the Project panel. This will create a sequence with the same settings as the video clip.
Creating a new sequence allows you to have a dedicated space to work on your video project while keeping your background music organized and ready for editing. It ensures that your music and video elements are properly aligned and synchronized.
Now that we have our sequence set up, let’s move on to the next step: dragging the background music to the timeline.
Dragging Background Music to the Timeline:
With your new sequence created, it’s time to bring your background music into the timeline. The timeline is where you will arrange and edit your audio and video clips to create a cohesive final product.
Here’s how to drag your background music to the timeline:
1. Locate your background music file in the Project panel.
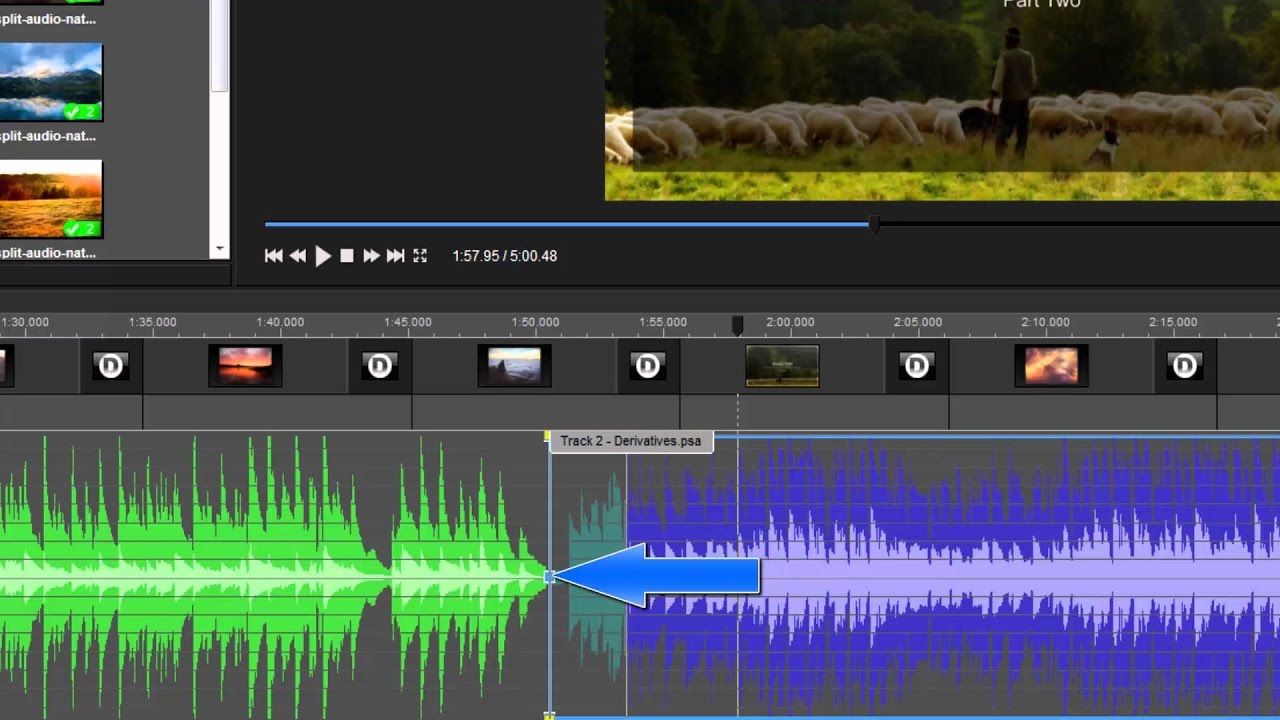
2. Click and drag the music file from the Project panel onto the timeline in the desired track. The music file will appear as a green audio waveform on the timeline.
3. Position the music clip on the timeline according to where you want the music to start playing in your video. You can adjust the position by dragging the clip left or right on the timeline.
4. If needed, you can extend or shorten the duration of the music clip by clicking and dragging its edges on the timeline.
By dragging the background music clip onto the timeline, you have successfully added it to your project. It is now ready for further adjustments, such as adjusting volume levels, trimming, or applying effects.
Now that our background music is on the timeline, let’s move on to the next step: adjusting the volume levels to ensure a balanced mix between the background music and other audio elements.
Adjusting the Volume Levels:
Having the right balance between your background music and other audio elements is crucial for creating a professional and engaging video. Premiere Pro provides several options for adjusting the volume levels of your background music to achieve the desired mix.
Here’s how to adjust the volume levels:
1. Select the background music clip on the timeline by clicking on it.
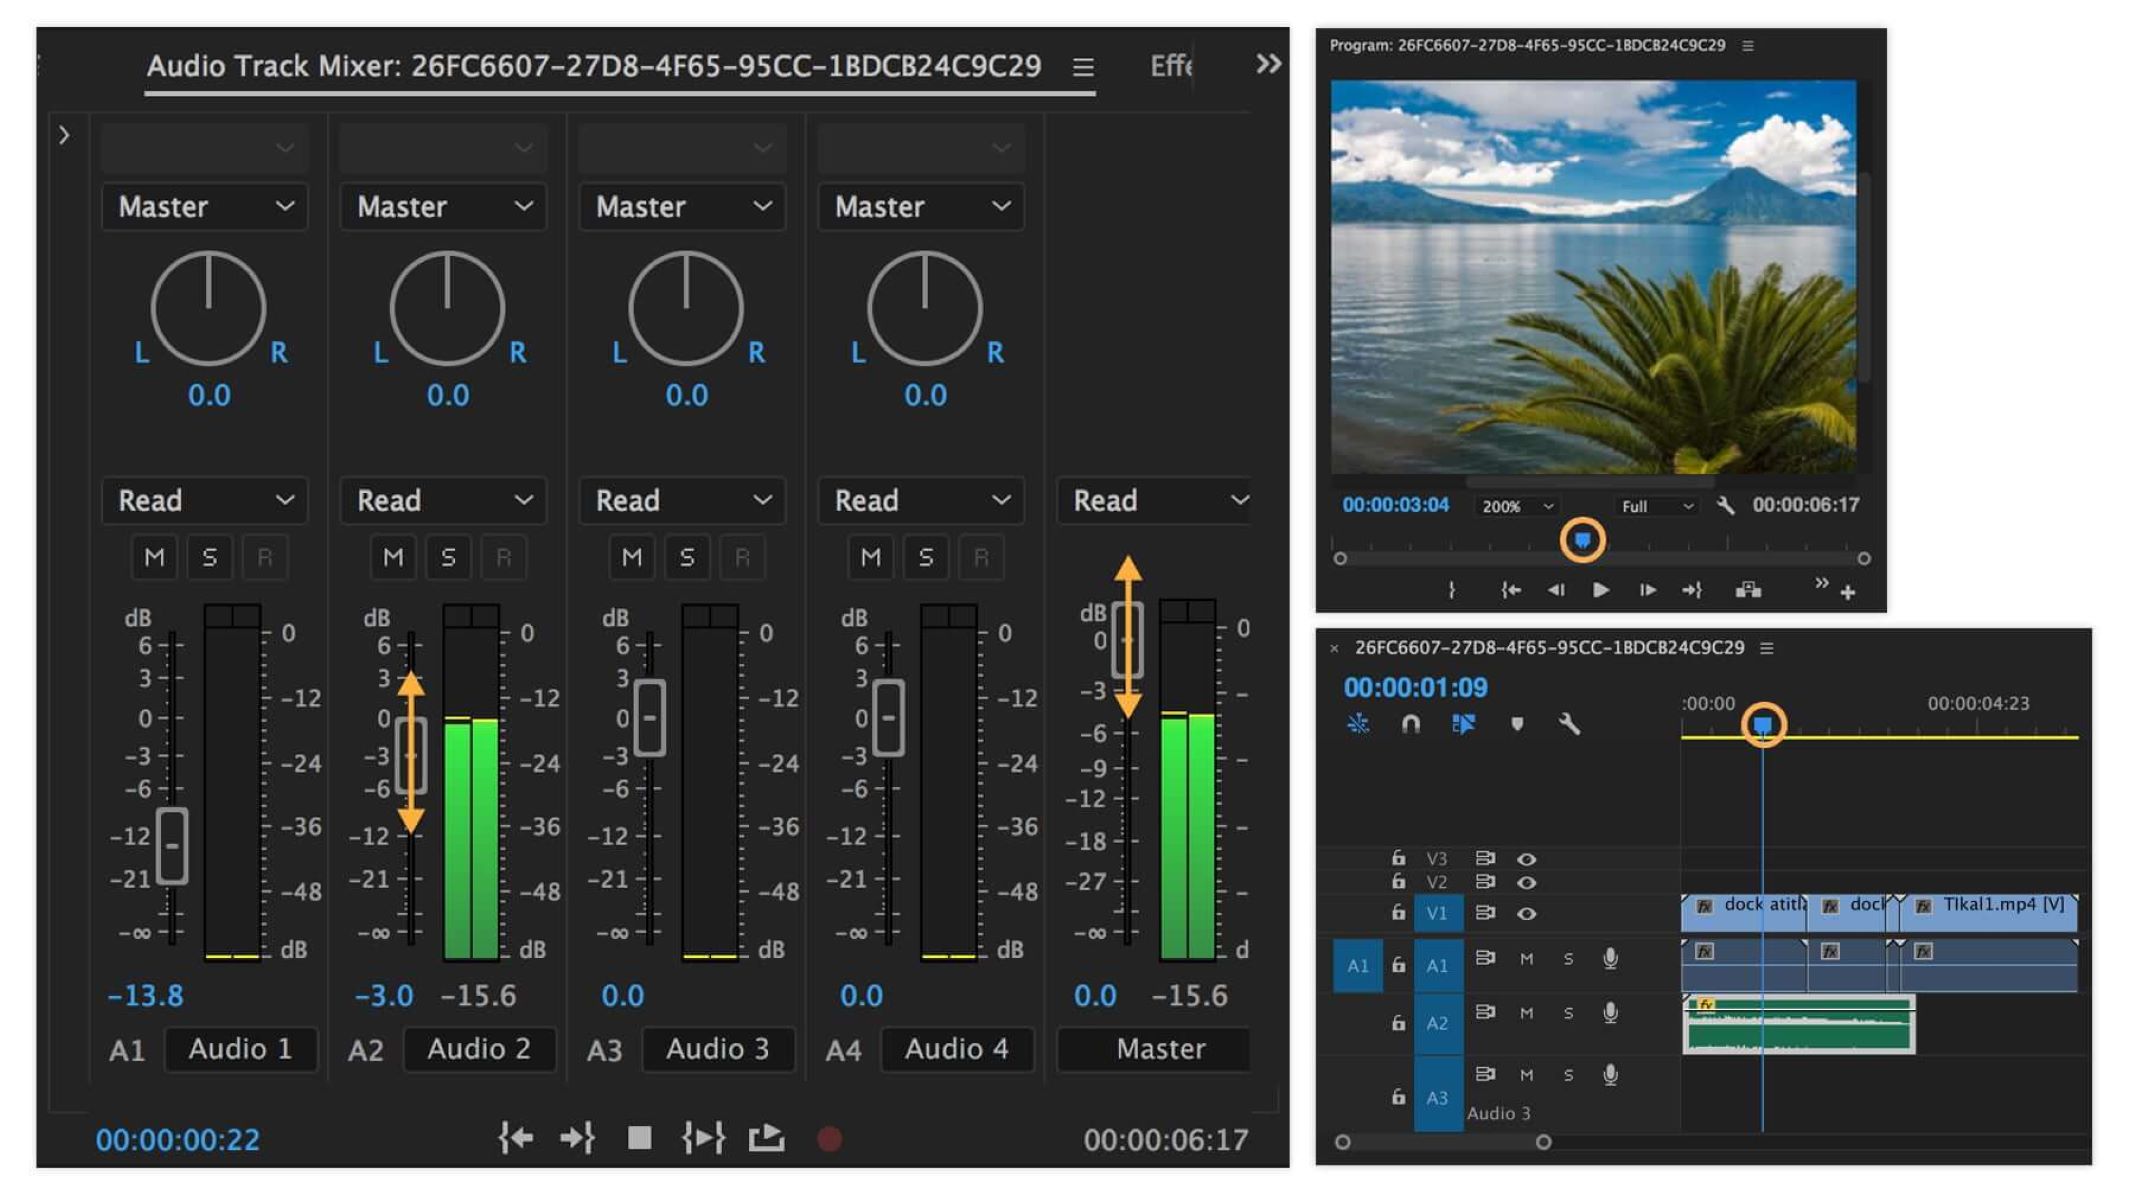
2. In the Effect Controls panel, you will find the Volume section. Here, you can adjust the overall volume level of the clip by using the slider or entering a specific value.
3. To fine-tune the volume level at specific points in the clip, you can add keyframes. Keyframes allow you to set different volume levels at different points in the clip.
4. To add a keyframe, click on the stopwatch icon next to the Volume level in the Effect Controls panel. This will create a keyframe at the current playhead position.
5. Move the playhead to a different point in the clip where you want to adjust the volume level. Change the Volume value as desired or add another keyframe by clicking on the stopwatch icon again.
6. Repeat the process for other sections of the clip where you want to modify the volume levels. This allows you to create a dynamic and well-balanced audio mix throughout your video.
Adjusting the volume levels ensures that your background music is audible and complements the overall audio composition without overpowering other audio elements or competing with dialogue or sound effects.
Now that we have adjusted the volume levels let’s move on to the next step: trimming the background music to fit the desired duration of the video.
Trimming the Background Music:
Trimming the background music is necessary to ensure that it aligns perfectly with the desired duration of your video. By removing any unnecessary portions of the music, you can create a seamless and polished audio experience for your viewers.
Here’s how to trim the background music:
1. Select the background music clip on the timeline by clicking on it.
2. To trim the beginning or end of the clip, hover your cursor over the edge of the clip until it changes into a bracket icon.
3. Click and drag the bracket icon inwards to remove the unwanted portion. Premiere Pro will automatically adjust the duration of the clip accordingly.
4. Alternatively, you can use the “Trim Start” and “Trim End” buttons in the Program Monitor to precisely trim the clip.
5. Play back the video and adjust the trim points as needed until the background music seamlessly fits the overall duration of your video.
Trimming the background music allows you to eliminate any sections that may not be relevant or could potentially disrupt the flow of your video. It ensures that the music aligns perfectly with the visual elements and maintains a cohesive narrative.
Now that we have trimmed the background music, let’s move on to the next step: applying audio effects to enhance the overall sound quality and make it more impactful.
Applying Audio Effects to the Background Music:
Applying audio effects to the background music in Premiere Pro can help enhance its sound quality and add creative elements to the overall audio mix. These effects can range from simple adjustments like equalization and reverb to more advanced effects like delay or distortion.
Here’s how to apply audio effects to the background music:
1. Select the background music clip on the timeline by clicking on it.
2. In the Effect Controls panel, you will find a variety of audio effects that you can apply to the clip.
3. To apply an effect, click on the “fx” button next to the effect name and choose the desired effect from the dropdown menu.
4. Adjust the settings of the effect as needed to achieve the desired sound. You can control parameters such as intensity, frequency, or duration.
5. Experiment with different effects and settings to find the ones that best complement your video and enhance the mood or tone of the background music.
Applying audio effects allows you to add depth, texture, and personality to your background music. It can help create a unique audio experience that captivates the audience and adds an extra layer of professionalism to your video.
Now that we have applied audio effects to the background music, let’s move on to the next step: mixing multiple background tracks to create a richer and more intricate audio composition.
Mixing Multiple Background Tracks:
Adding multiple background tracks to your video can bring a new level of depth and complexity to the audio composition. By combining different elements, such as music, sound effects, or ambient sounds, you can create a rich and immersive audio experience for your viewers.
Here’s how to mix multiple background tracks in Premiere Pro:
1. Import all the background tracks you want to use into your project and add them to the timeline in separate audio tracks.
2. Adjust the volume levels of each track to create a balanced mix. Ensure that no track overpowers the others and that they complement each other harmoniously. You can use the same volume adjustment techniques mentioned earlier.
3. Experiment with panning to create a sense of space and movement. By adjusting the panning position of each track, you can make it appear to come from a specific direction, adding a realistic and immersive element to the audio.
4. Consider using keyframes to control the volume and panning of specific tracks at different points in your video. This can help emphasize certain moments or create transitions between different sections.
5. Use audio effects strategically to enhance specific tracks or create unique sonic textures. Apply effects individually to each track or experiment with applying the effect to the master track to affect the entire audio mix.
Mixing multiple background tracks requires careful attention to detail and a good ear for balancing the different elements. By taking the time to craft a well-designed audio blend, you can create a more dynamic and engaging video.
Now that we have explored mixing multiple background tracks, let’s move on to the final step: exporting the final video with background music.
Exporting the Final Video with Background Music:
After you have completed the editing process and fine-tuned the background music in your video, it’s time to export the final product. Premiere Pro offers a variety of export options to ensure that your video, along with its accompanying background music, can be shared and enjoyed by others.
Here’s how to export your video with background music:
1. Go to the File menu and select “Export” followed by “Media.” Alternatively, you can use the keyboard shortcut “Ctrl+M” (Windows) or “Command+M” (Mac).
2. In the Export Settings panel, choose the desired format for your video. Common formats include MP4, MOV, or AVI.
3. Configure the settings for your video, such as resolution, frame rate, and bitrate. Make sure you select the appropriate settings to maintain both video and audio quality.
4. In the Export Settings panel, scroll down to the Audio section. Check that the audio settings are configured correctly, ensuring that both the background music and any other audio elements are included.
5. Choose the destination folder where you want to save the exported video. Name the file and select the desired file format.
6. Click on the “Export” button to begin the export process. The time it takes to export will depend on the length and complexity of your video.
By following these steps, you can export your video with the background music intact. Once the export is complete, you can share your video on various platforms, such as social media or video hosting websites.
Always remember to comply with any copyright laws or licensing agreements when sharing videos with background music to avoid any legal issues.
Now that you have successfully exported the final video with background music, you can sit back and enjoy the fruits of your hard work and creativity.
Conclusion:
Adding background music to your videos is a powerful way to enhance their impact and engage your audience on a deeper level. Adobe Premiere Pro offers a range of tools and features that make it easy to apply background music to your projects, allowing you to create professional and captivating videos.
In this article, we have explored the process of applying background music in Premiere Pro, from importing the music files to adjusting volume levels, trimming, applying audio effects, mixing multiple tracks, and exporting the final video. By following these steps, you can create videos that not only look great but also sound fantastic.
Remember to choose background music that aligns with the tone and theme of your video, and always be mindful of copyright restrictions. Whether you opt for pre-existing royalty-free music or create your own compositions, the key is to find the right balance between the background music and other audio elements to create a cohesive and immersive experience.
By mastering the art of applying background music in Premiere Pro, you have the power to elevate your video projects and leave a lasting impression on your audience. So go ahead, get creative, and add that perfect soundtrack to your videos – the possibilities are endless!