Home>Production & Technology>Background Music>How To Make A Photo DVD With Background Music


Background Music
How To Make A Photo DVD With Background Music
Modified: January 22, 2024
Learn how to create a stunning photo DVD with the perfect background music. Step-by-step guide to add a touch of magic to your memories.
(Many of the links in this article redirect to a specific reviewed product. Your purchase of these products through affiliate links helps to generate commission for AudioLover.com, at no extra cost. Learn more)
Table of Contents
- Introduction
- Step 1: Gathering Materials
- Step 2: Organizing Photos and Music
- Step 3: Selecting Background Music
- Step 4: Creating a Slideshow with Background Music
- Step 5: Adding Transitions and Effects
- Step 6: Adjusting Slideshow Settings
- Step 7: Burning DVD with Photo Slideshow
- Step 8: Testing the Photo DVD
- Conclusion
Introduction
Creating a photo DVD with background music is a fantastic way to showcase and relive special memories. Whether it’s a collection of vacation photos, a celebration of a loved one’s milestone, or simply a compilation of your favorite snaps, a photo DVD with background music adds an extra layer of emotion and storytelling.
With advancements in technology, making a photo DVD has become easier than ever before. And the ability to add background music takes the experience to a whole new level. Imagine sitting back, watching your photos come to life on the big screen, accompanied by the perfect soundtrack that evokes all the right emotions.
In this article, we will guide you through the step-by-step process of creating a photo DVD with background music. From gathering the necessary materials to burning the DVD and everything in between, we’ve got you covered. So, dust off those old photo albums, select your favorite tracks, and let’s get started on this creative journey!
Step 1: Gathering Materials
Before you can start creating your photo DVD with background music, it’s important to gather all the necessary materials. Here’s what you’ll need:
- A computer: You’ll need a computer to complete the process of creating your photo DVD with background music. Make sure it has sufficient storage space and meets the minimum system requirements for the software you’ll be using.
- Photo and music files: Collect all the photos you want to include in your slideshow and store them in a folder on your computer. You can also have them organized in subfolders for easier access. Additionally, gather the music files you want as the background soundtrack for your photo DVD. Ensure that the music files are in a compatible format for the software you’ll be using.
- DVD burner: If your computer doesn’t have a built-in DVD burner, you’ll need an external DVD burner to write the finalized slideshow onto a DVD. Make sure the DVD burner is compatible with your computer and has the necessary software drivers installed.
- Blank DVDs: You’ll need blank DVDs to burn your finished slideshow onto. Ensure you have enough blank DVDs based on the duration and size of your slideshow.
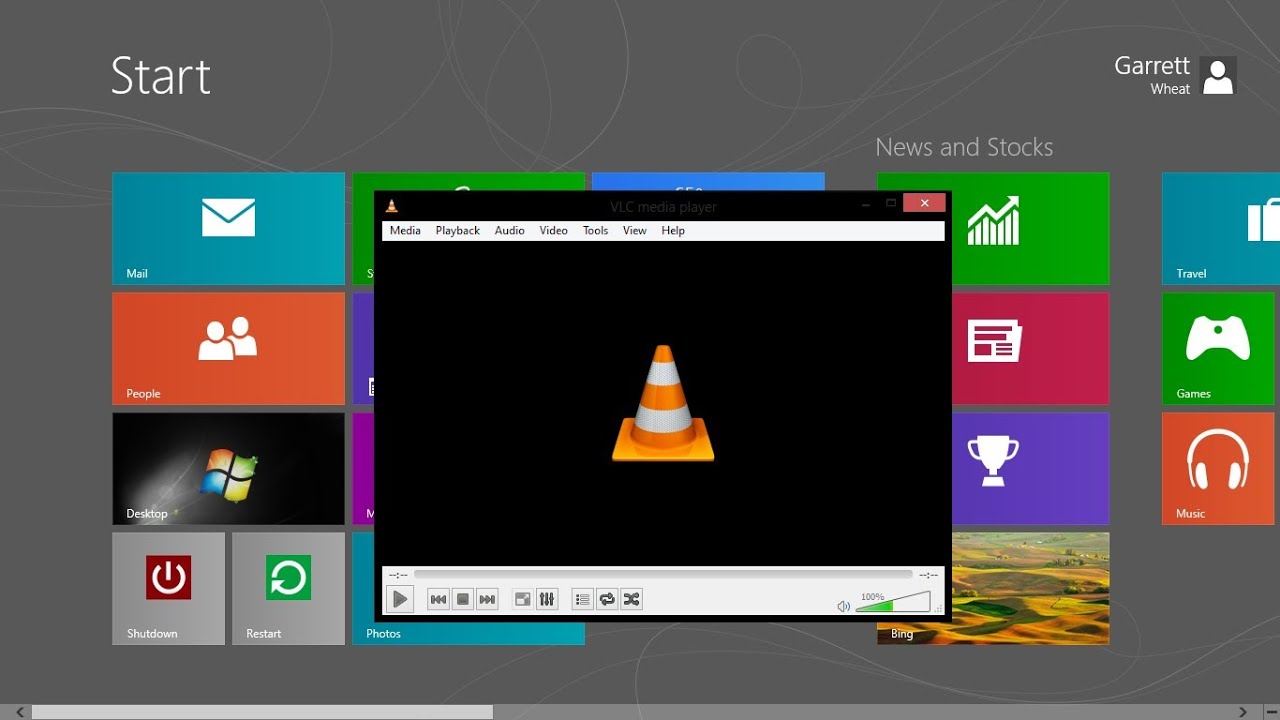
- Software: Choose a reliable software program that allows you to create photo slideshows with background music. Some popular options include ProShow Gold, Adobe Spark, and Windows Movie Maker. Make sure you download and install the software on your computer for the next steps.
- Optional: If you want to enhance your photo DVD with special effects or text overlays, you may consider using additional software or plugins. However, these are not necessary to create a basic photo DVD with background music.
Once you have gathered all these materials, you’re ready to move on to the next step, which involves organizing your photos and music in preparation for the slideshow creation process.
Step 2: Organizing Photos and Music
Now that you have gathered all the materials needed, it’s time to organize your photos and music for the photo DVD slideshow. Follow these steps to make sure everything is in order:
- Create a new folder: Start by creating a new folder on your computer specifically for your photo DVD project. This will help keep all your files organized and easily accessible.
- Copy your photos: Take the photos you want to include in your slideshow and copy them into the newly created folder. You can arrange them in the desired order or leave them unsorted for now; you can always rearrange them later.
- Sort and rename files: If you have a large number of photos, it’s a good idea to sort them into subfolders based on themes, events, or timelines. This will make it easier to locate specific photos later on. Additionally, consider renaming your files descriptively to ensure clarity and avoid any confusion.
- Add music files: Copy your chosen background music files into the same folder. It’s recommended to keep the music files in the same folder as your photos to avoid any issues with file paths when creating the slideshow.
- Optional editing: If you want to make any adjustments or enhancements to your photos before creating the slideshow, now is the time to do it. You can use photo editing software to crop, resize, or enhance the images to your liking.
- Backup your files: It is always a good practice to make a backup of your photos and music files before proceeding. You can either copy them to an external hard drive or cloud storage for added security and peace of mind.
By organizing your photos and music in a systematic manner, you’ll be able to easily access and manage them during the slideshow creation process. With everything properly organized, you’re now ready to move on to the next step of selecting the perfect background music for your photo DVD.
Step 3: Selecting Background Music
The soundtrack you choose for your photo DVD plays a crucial role in setting the mood and enhancing the overall viewing experience. Follow these steps to select the perfect background music for your slideshow:
- Consider the theme: Think about the theme or the story you want to convey through your photo DVD. Is it a romantic getaway, a family reunion, or a celebration? Consider the emotions and feelings you want to evoke and choose music that aligns with that theme.
- Match the pace: Take into account the tempo and pace of your photos when selecting background music. For a slideshow with faster-paced photos, you might opt for upbeat and energetic tracks. If your photos are more tranquil and serene, you might lean towards softer and more melodic tunes.
- Avoid copyrighted music: While it may be tempting to use popular songs in your photo DVD, keep in mind that these are protected by copyright laws. Instead, look for royalty-free music or use licensed tracks that give you the necessary permissions for public use. There are various websites and services available that provide a wide range of royalty-free music options.
- Consider the length: Take note of the duration of your slideshow and choose music that matches or slightly exceeds that duration. This will ensure that your music doesn’t abruptly end before your slideshow is finished.
- Blend transitions: Pay attention to the transitions between photos and make sure the music flows smoothly from one track to another. If there are abrupt changes or jarring transitions, it can disrupt the viewing experience.
- Test different options: Don’t be afraid to experiment with different music tracks. Try out different genres, moods, or instrumentations to find the perfect fit for your photos. You can even create a short sample slideshow with a few photos to see how well the music complements the visuals.
Remember, the background music should enhance and complement your photos rather than overpower them. It should add an emotional and immersive touch to your slideshow. Once you have selected the ideal background music, you’re ready to proceed to the next step of creating your photo DVD with the chosen soundtrack.
Step 4: Creating a Slideshow with Background Music
Now that you have your photos organized and background music selected, it’s time to bring them together and create a captivating slideshow. Here’s how you can create a slideshow with background music:
- Launch the software: Open the software you downloaded for creating slideshows on your computer. Different software programs may have slight variations in their interface, but the basic steps remain the same.
- Create a new project: Start a new project within the software and import the photos from the folder where you organized them. You can usually do this by selecting the “Import” or “Add Photos” option and navigating to the folder where your photos are stored.
- Arrange the order: Arrange the photos in the order you desire by dragging and dropping them into the timeline or storyboard view of the software. You can take advantage of features such as adding captions, changing the duration of each photo, or adjusting the transitions between them.
- Add background music: Look for the option to add background music or audio in the software. You can usually import your selected music track by clicking on the “Add Music” or “Import Audio” button and selecting the desired file from your folder.
- Synchronize the music: Sync the photos with the background music by adjusting the timing. Most slideshow software allows you to easily align the transitions and duration of each photo with the music track. This ensures a harmonious progression between the visuals and the soundtrack.
- Preview and make adjustments: Take a moment to preview your slideshow with the background music. Pay attention to the timing, transitions, and overall flow of the photos and music. If necessary, make any adjustments to ensure a seamless and engaging experience.
Throughout this process, make use of the software’s features to enhance your slideshow. You can add effects, text overlays, and even incorporate motion or zoom effects to make your photos come to life. Just be mindful of not overdoing it and allowing the photos and music to take center stage.
Once you are satisfied with your slideshow, you are now ready to move on to the next step: adding transitions and effects to make your photo DVD even more visually appealing.
Step 5: Adding Transitions and Effects
Adding transitions and effects to your photo DVD can elevate the visual experience and make your slideshow more captivating. Follow these steps to enhance your slideshow:
- Explore transition options: Most slideshow software provides a variety of transition effects to choose from, such as fades, dissolves, slides, or flips. Browse through the available options and choose transitions that complement the theme and mood of your photos. Aim for smooth and seamless transitions that enhance the flow of your slideshow.
- Apply transitions between photos: Once you have selected your desired transitions, apply them between each photo in your slideshow. The software will usually have a simple drag-and-drop or click-to-apply feature. Preview your slideshow to ensure that the transitions work well with your chosen music and photos.
- Add effects sparingly: Effects like filters, color enhancements, or image rotations can add a creative touch to your slideshow. However, it’s important to use these effects sparingly and selectively. Overusing effects can distract from the main focus of your photos and make the slideshow appear cluttered.
- Timing and duration: Adjust the timing and duration of the transitions to ensure a smooth and natural flow from one photo to the next. Pay attention to the pace of your music as well, as it should sync harmoniously with the transitions and effects.
- Preview and make adjustments: Preview your slideshow with the added transitions and effects to see how they enhance the overall visual impact. Make any necessary adjustments to the timing, duration, or choice of transitions to ensure a cohesive and visually appealing presentation.
Remember, the goal of adding transitions and effects is to enhance the storytelling aspect of your photo DVD, not to overpower or distract from the main focus: your photos and background music. Keep the visual elements in balance with the narrative and emotion of your slideshow.
Once you are satisfied with the transitions and effects, you can proceed to the next step: adjusting the settings of your slideshow before burning it onto a DVD.
Step 6: Adjusting Slideshow Settings
Before finalizing your slideshow and burning it onto a DVD, it’s important to adjust the settings to ensure optimal playback and viewing experience. Here’s what you need to do:
- Aspect ratio and resolution: Set the aspect ratio and resolution of your slideshow based on the output device or platform you intend to use. For DVDs, the standard aspect ratio is 4:3, while for widescreen displays or online platforms, the recommended ratio is 16:9. Choose the resolution that matches the capabilities of your playback device.
- Transition and slide duration: Fine-tune the timing of your transitions and the overall duration of each photo or slide. Aim for a smooth and consistent pace that matches the rhythm of your background music. Avoid transitions that are too short or too long, as they can disrupt the flow of your slideshow.
- Text and caption settings: If you have added text or captions to your photos, ensure that they are easily readable and placed in appropriate areas of the screen. Adjust the font style, size, and color to ensure maximum legibility, especially when viewed on a TV or projector.
- Preview and test playback: Before proceeding to the next step, take the time to preview your slideshow with the adjusted settings. Check for any issues with timing, readability, or visual quality. Test the playback on different devices or platforms to ensure compatibility and optimal viewing.
- Save or export your slideshow: Once you are satisfied with the settings, save or export your slideshow in the desired format. The software you are using will typically provide options for saving as a video file, burning to a DVD, or exporting to other digital formats.
By adjusting these settings, you can ensure that your slideshow is optimized for the intended viewing experience. Taking the time to fine-tune these details will contribute to a polished and professional final product.
Now that your slideshow settings are adjusted to perfection, you’re ready for the next step: burning your photo DVD with the captivating slideshow and background music you’ve created.
Step 7: Burning DVD with Photo Slideshow
After all the hard work you’ve put into creating your photo DVD with background music, it’s time to bring it to life by burning it onto a DVD. Here’s how you can do it:
- Insert a blank DVD: Start by inserting a blank DVD into your computer’s DVD burner. Make sure the DVD is compatible with your burner and has sufficient storage capacity for your slideshow.
- Select the burning software: Open your preferred DVD burning software or the software you used to create the slideshow. Look for the option to create a video DVD or burn a DVD project. Select this option to begin the burning process.
- Add your slideshow project: Within the DVD burning software, locate the option to add your slideshow project. This will usually involve selecting the video file or project file you saved earlier. Import your slideshow into the burning software.
- Choose DVD settings: The burning software will provide options for customizing the DVD settings. This includes selecting the video format (NTSC or PAL), setting the DVD menu style, and specifying any additional features like chapter markers or subtitles.
- Burn the DVD: Once you’ve set the DVD settings to your preference, proceed to the final step and click on the “Burn” or “Start” button to begin the DVD burning process. The software will take care of converting and burning your slideshow onto the DVD.
- Finalize the DVD: After the burning process is complete, the software will prompt you to finalize the DVD. This step ensures that the DVD can be played on different DVD players and devices. Follow the prompts to finalize the DVD.
Depending on the speed of your DVD burner and the length and complexity of your slideshow, the burning process may take some time. Be patient and let the software complete the process. Once the DVD is finalized, you can remove it from the computer and test it on a DVD player or compatible device to ensure everything is working as expected.
Now that you have successfully burned your photo DVD, it’s time to move on to the final step: testing the photo DVD to ensure it meets your expectations.
Step 8: Testing the Photo DVD
Now that you have your photo DVD with the slideshow and background music, it’s important to test it to ensure that everything has been successfully transferred and plays smoothly. Follow these steps to test your photo DVD:
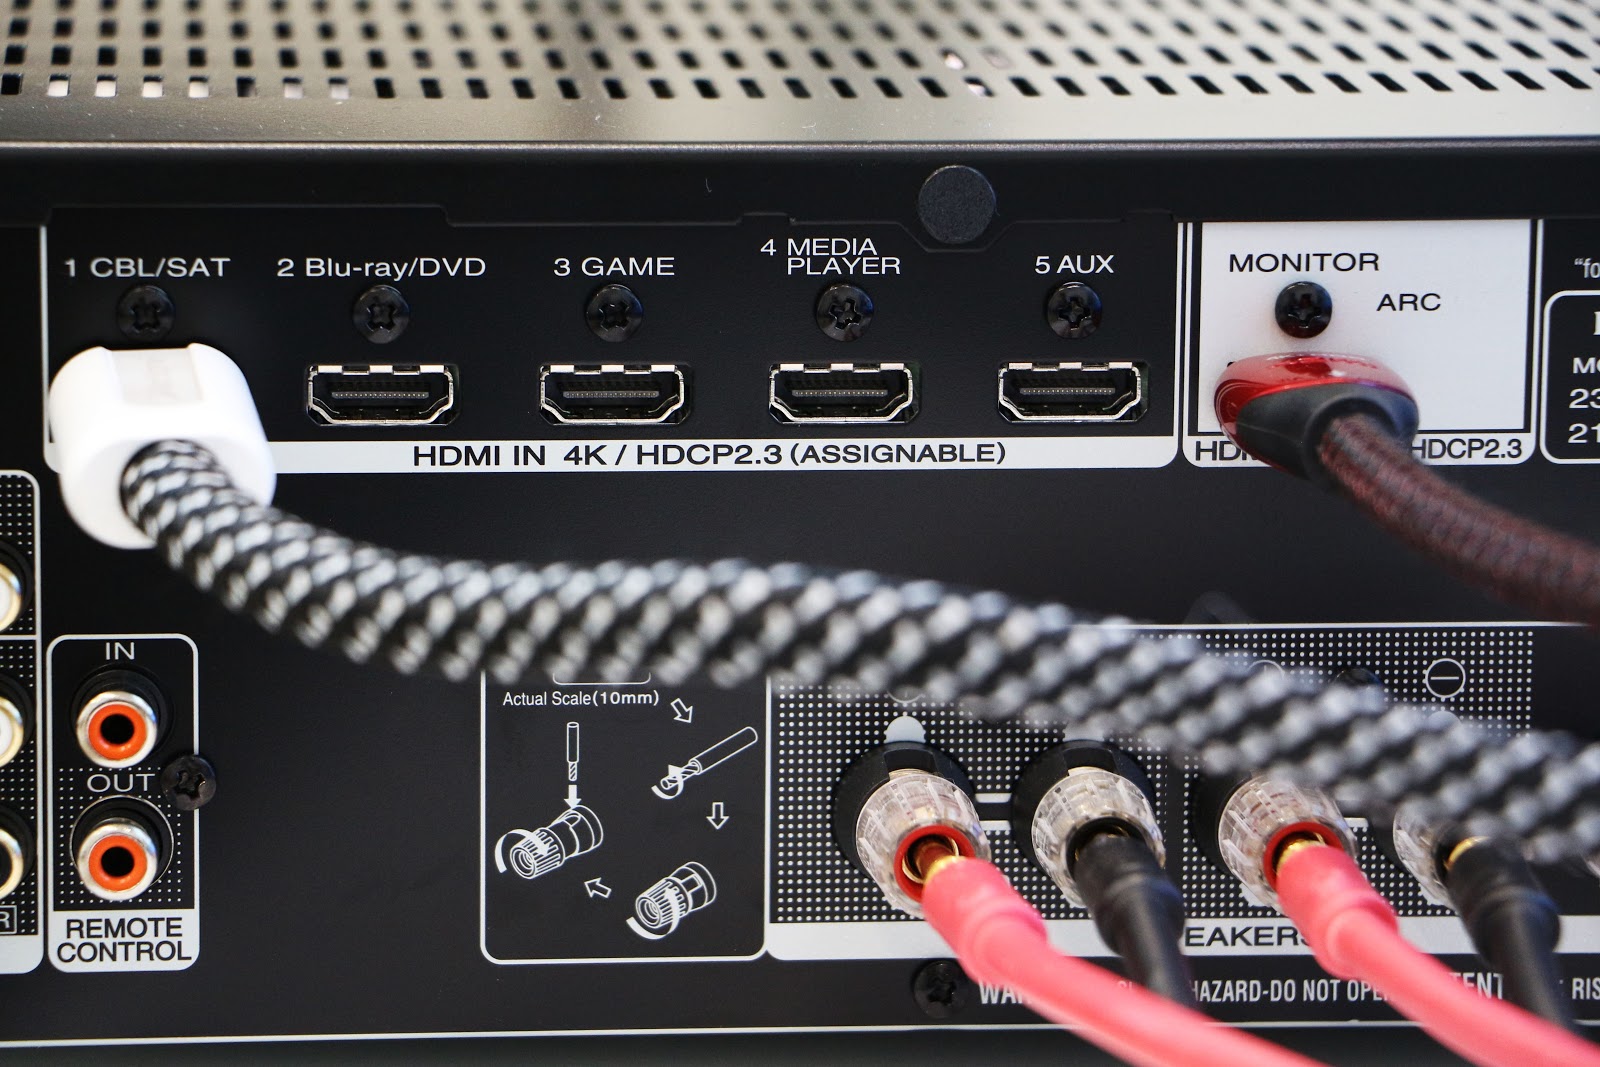
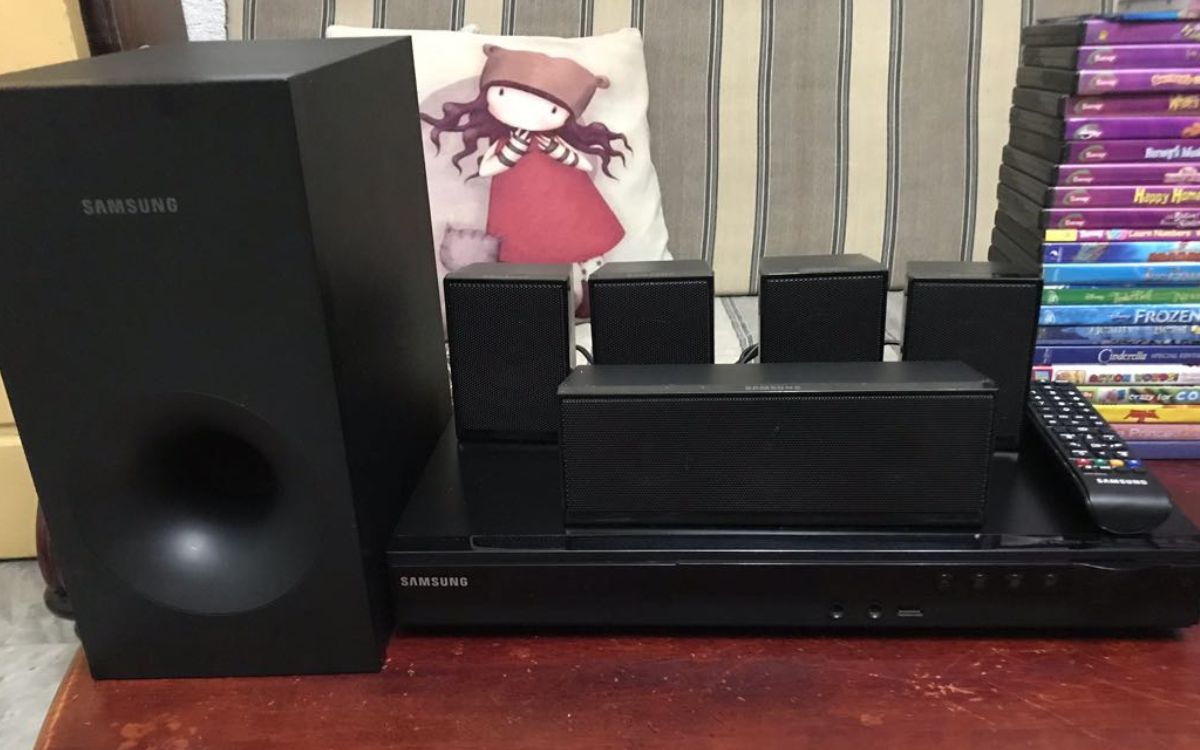
- Connect your DVD player: Connect your DVD player to your TV or any other compatible device. Make sure all the necessary cables are properly connected and the DVD player is powered on.
- Insert the photo DVD: Gently insert the photo DVD that you burned into the DVD player’s tray. Close the tray and wait for the DVD player to read the disc.
- Access the DVD menu: Most photo DVDs will have a menu screen that allows you to navigate and select the desired options. Use your DVD player’s remote control or the buttons on the DVD player itself to access the DVD menu.
- Navigate the slideshow: Once you are in the DVD menu, navigate to the slideshow option and select it. Your photo slideshow should start playing on the TV screen, accompanied by the background music you selected.
- Check for smooth playback: Pay close attention to the playback of your slideshow. Make sure the photos transition smoothly and the background music plays without any glitches or interruptions. Check for any errors or issues with the timing or synchronization.
- Test additional features: If your photo DVD includes additional features such as chapter markers, subtitles, or menu navigation, make sure to test these as well. Ensure that chapters are easily accessible, subtitles are clear and synchronized, and menu navigation functions as intended.
- Review overall quality: Take a moment to review the overall quality of your photo DVD. Pay attention to the image resolution, color accuracy, and audio quality. Adjust your TV settings if necessary to optimize the viewing experience.
If you encounter any issues during the testing process, take note of them and consider troubleshooting to resolve the problem. This may involve checking the compatibility of your DVD player, double-checking the settings and format of your DVD, or revisiting the burning process. Make any necessary adjustments or corrections before finalizing your photo DVD.
Once you’re satisfied that your photo DVD is playing correctly and meets your expectations, it’s time to sit back, relax, and enjoy sharing your cherished memories with family and friends.
Conclusion
Creating a photo DVD with background music is a wonderful way to transform your collection of photos into a captivating and emotional slideshow. With the right materials, organization, and software, you can bring your memories to life and share them with others in a unique and engaging way.
In this article, we walked through the step-by-step process of creating a photo DVD with background music. From gathering the necessary materials and organizing your photos and music to selecting the perfect background music and creating a visually stunning slideshow, each step contributes to the final result.
We explored the importance of selecting background music that complements the theme and pace of your photos, as well as adding transitions and effects to enhance the visual experience. Adjusting the settings and burning the DVD are crucial steps to ensure that your photo DVD plays smoothly and is compatible with various playback devices.
However, it’s important to remember that the creation of a photo DVD is not just about the technical aspects. It’s about preserving and sharing moments that hold special meaning to you. The combination of photos and background music can evoke emotions, tell stories, and create lasting memories for both you and your audience.
So, take the time to carefully curate your photos, choose the right soundtrack, and experiment with the creative features available in the software. Let your photo DVD become a work of art that reflects your personal vision and the significance of the moments captured.
Now that you have all the knowledge and steps at your disposal, it’s time to unleash your creativity and start creating your own captivating photo DVD with background music. Gather your photos, select your favorite tracks, and embark on a journey of storytelling and nostalgia.
Happy creating and sharing!

