Home>Production & Technology>Background Music>How To Add Background Music To Slideshow
Background Music
How To Add Background Music To Slideshow
Published: October 25, 2023
Learn how to add background music to your slideshow for a captivating experience. Enhance your presentation with our step-by-step guide and create a lasting impression.
(Many of the links in this article redirect to a specific reviewed product. Your purchase of these products through affiliate links helps to generate commission for AudioLover.com, at no extra cost. Learn more)
Table of Contents
Introduction
Welcome to the world of background music and slideshow presentations. Adding background music to your slideshows can greatly enhance the overall viewing experience for your audience. It can create a mood, set the tone, and make your presentation more engaging and memorable. Whether you are creating a slideshow for a personal event or a professional presentation, incorporating background music can take your slideshow to the next level.
Adding background music to a slideshow used to be a complicated and time-consuming process, requiring technical expertise. However, with the advancements in technology and the availability of user-friendly software, it has become easier than ever to add background music to your slideshows.
Throughout this article, we will guide you through the steps of adding background music to your slideshow, from choosing the right software to finalizing your masterpiece. So, whether you are a beginner or an experienced user, if you want to add that extra bit of flair to your slideshows, keep reading!
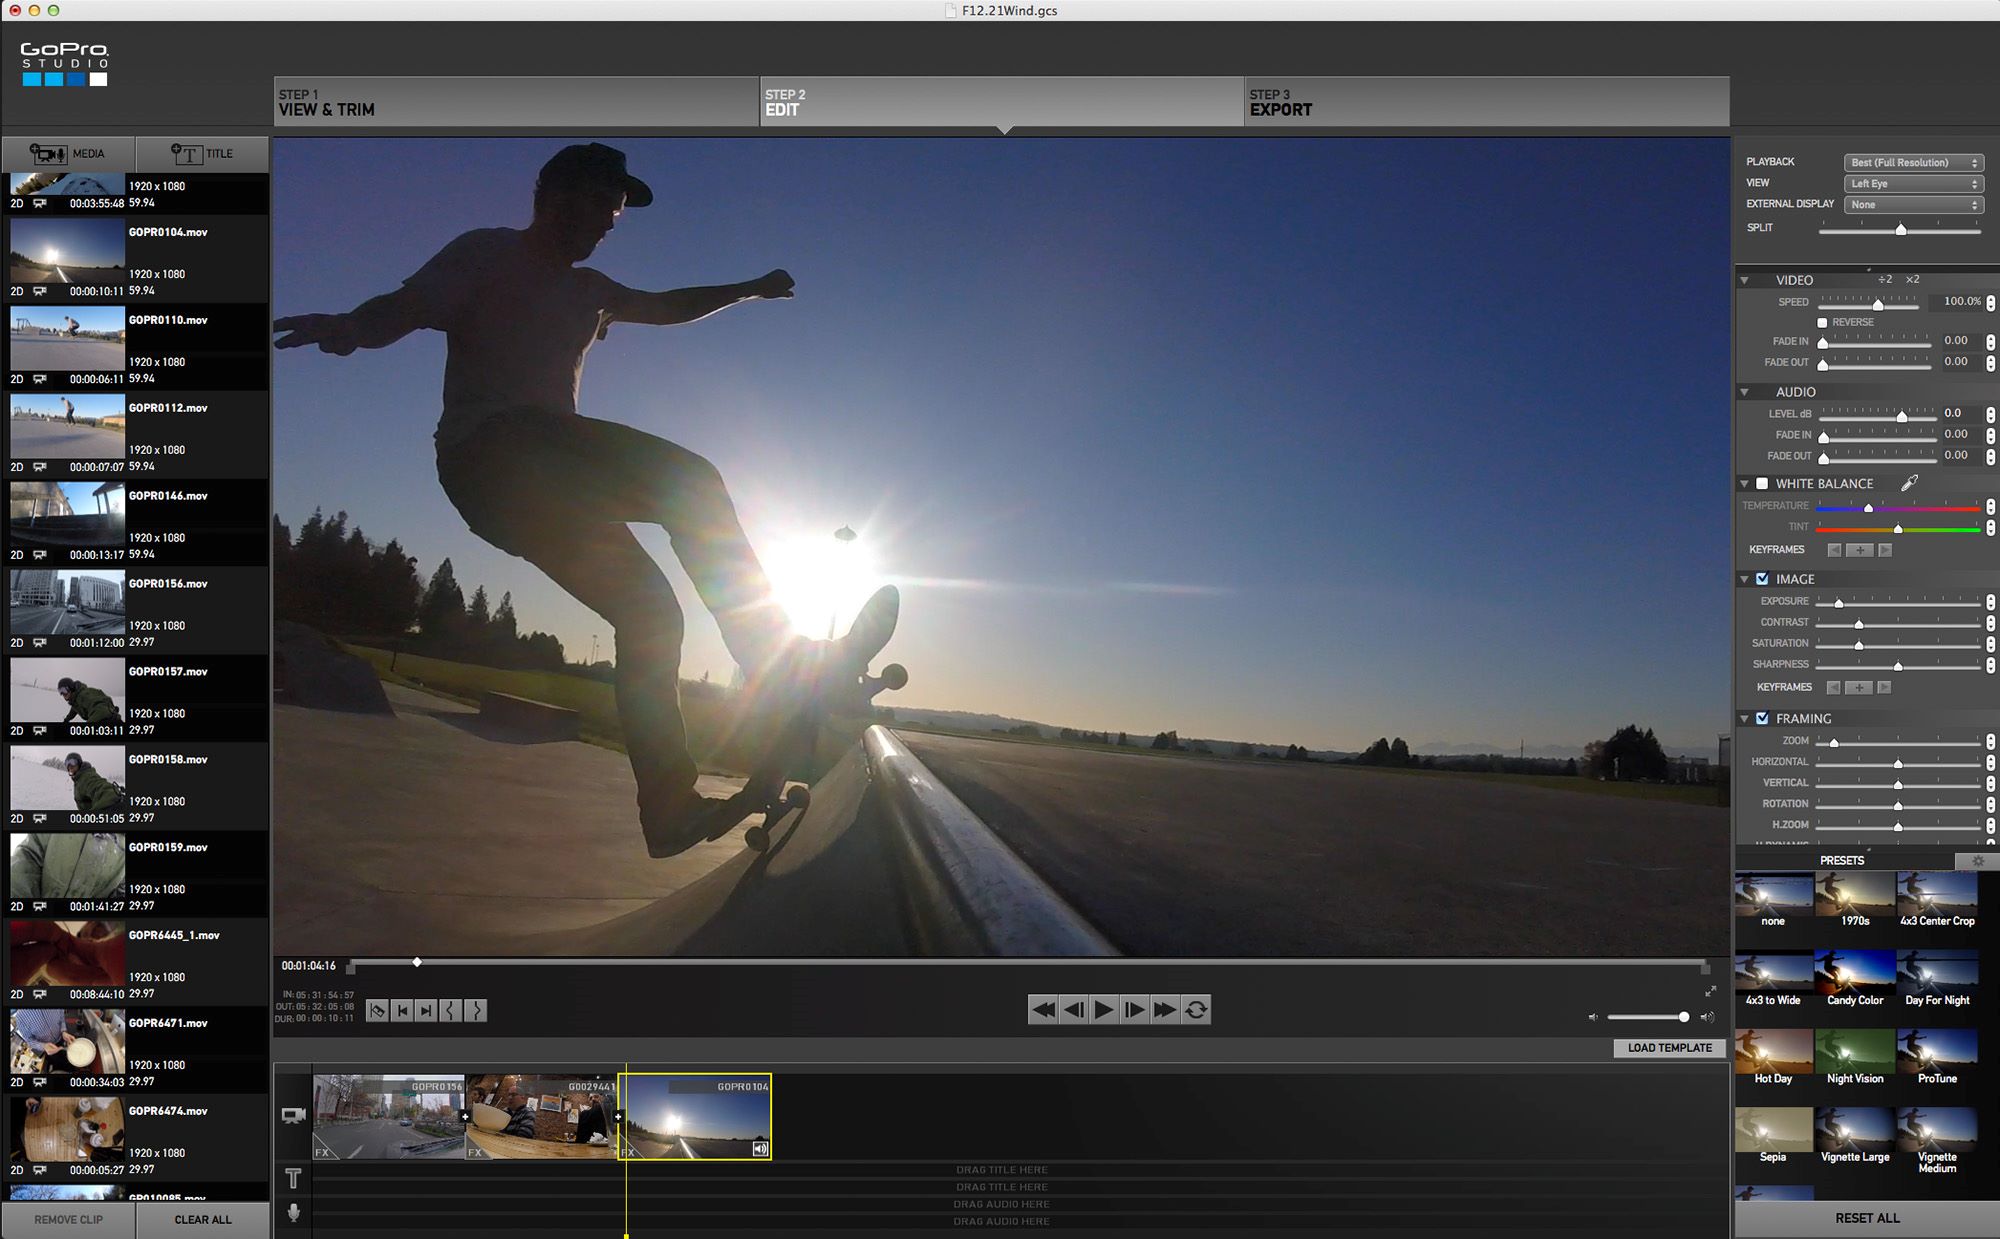
Step 1: Choosing the Right Software
The first and most crucial step in adding background music to your slideshow is selecting the right software. There are numerous slideshow creation tools available, each offering different features and capabilities. It’s important to choose a software that not only allows you to add background music but also provides a user-friendly interface and meets your specific needs.
One popular software option is Microsoft PowerPoint. It is widely used and offers a variety of features, including the ability to add audio and music to your slideshows. PowerPoint allows you to import audio files and sync them with your slides, giving you full control over the timing and duration of the background music.
Another option is Apple Keynote, which is the equivalent of PowerPoint for Mac users. Keynote provides a seamless integration with iTunes, making it easy to select and add music to your slideshows. It offers a range of customization options, allowing you to adjust the volume, fade in and out, and set looping options for the background music.
If you prefer online tools, there are also web-based slideshow creators that offer the ability to add background music. Some popular options include Adobe Spark, Canva, and Slideful. These platforms provide pre-designed templates and intuitive interfaces, making it easy to create visually appealing slideshows with accompanying music.
Before making a final decision, consider your specific requirements and the level of customization you desire. Some software options offer more advanced features, such as audio editing capabilities or the ability to mix multiple tracks. Take the time to explore different software options, read reviews, and compare their features to ensure you select the one that best aligns with your needs.
Once you have chosen the software that suits your requirements, you can move on to the next steps of adding background music to your slideshow. In the following sections, we will guide you through the process, ensuring that you can seamlessly integrate music into your slideshows.
Step 2: Gathering Music and Slideshow Files
Now that you have chosen the right software, it’s time to gather the music and slideshow files that you will be using for your presentation. Before you proceed, it’s important to ensure that you have the necessary permissions to use the music, especially if you plan to share your slideshow publicly.
Start by selecting the appropriate music for your slideshow. Consider the theme, tone, and mood you want to convey. Will the slideshow be sentimental and touch the heartstrings of your audience, or will it be upbeat and energetic? Take some time to search for the right tracks that complement your content and enhance the overall message you want to convey.
You have various options when it comes to sourcing music for your slideshow. You can use royalty-free music from platforms such as YouTube Audio Library, SoundCloud, or even stock music libraries like PremiumBeat or Epidemic Sound. These platforms offer a wide range of music tracks that you can use without worrying about copyright issues.
If you prefer to use popular songs or copyrighted tracks, you may need to obtain the necessary licenses or permissions from the copyright owners. This can involve contacting the artists, purchasing the tracks from online music stores, or utilizing platforms that offer licensed music specifically for slideshow use.
Once you have gathered the music files, ensure that they are in a compatible format for your chosen software. Most slideshow creation tools support common audio file formats such as MP3 or WAV. If your music files are in a different format, you may need to convert them to ensure compatibility.
Next, collect the slideshow files that you will be using in conjunction with the background music. These can include images, videos, and any other media files that you want to incorporate into your presentation. Organize them in a well-structured folder on your computer for easy access during the creation process.
By carefully gathering all the necessary music and slideshow files, you will be well-prepared to seamlessly integrate them into your presentation. With this step complete, you can now move on to the next stage of importing the slideshow files into your chosen software.
Step 3: Importing Slideshow Files
With your music and slideshow files ready, it’s time to import them into your chosen software. The process may vary depending on the software you’re using, but the general steps remain similar.
Open your slideshow creation software and create a new project or open an existing project if you have one. Look for the option to import files, which is usually located in the toolbar or menu.
Click on the “Import” or “Add Files” button, and a window will appear where you can browse and select the slideshow files you want to add. Navigate to the folder where you have stored your slideshow files and select them all or choose the specific files you want to include.
After selecting the files, click on the “Open” or “Import” button, and the software will begin importing the files into your project. Depending on the size and number of files, it may take some time to complete the import process.
Once the importing is done, you should see your slideshow files displayed in the software’s interface. At this point, you can arrange the files in the desired order and make any necessary adjustments to the timing or transitions between slides.
Remember to save your project regularly to avoid losing any changes or progress. Most software provides an auto-save feature, but it’s still recommended to manually save your project at regular intervals.
With the slideshow files imported and arranged in the desired order, you’re ready to move on to the exciting part of adding the background music to your presentation.
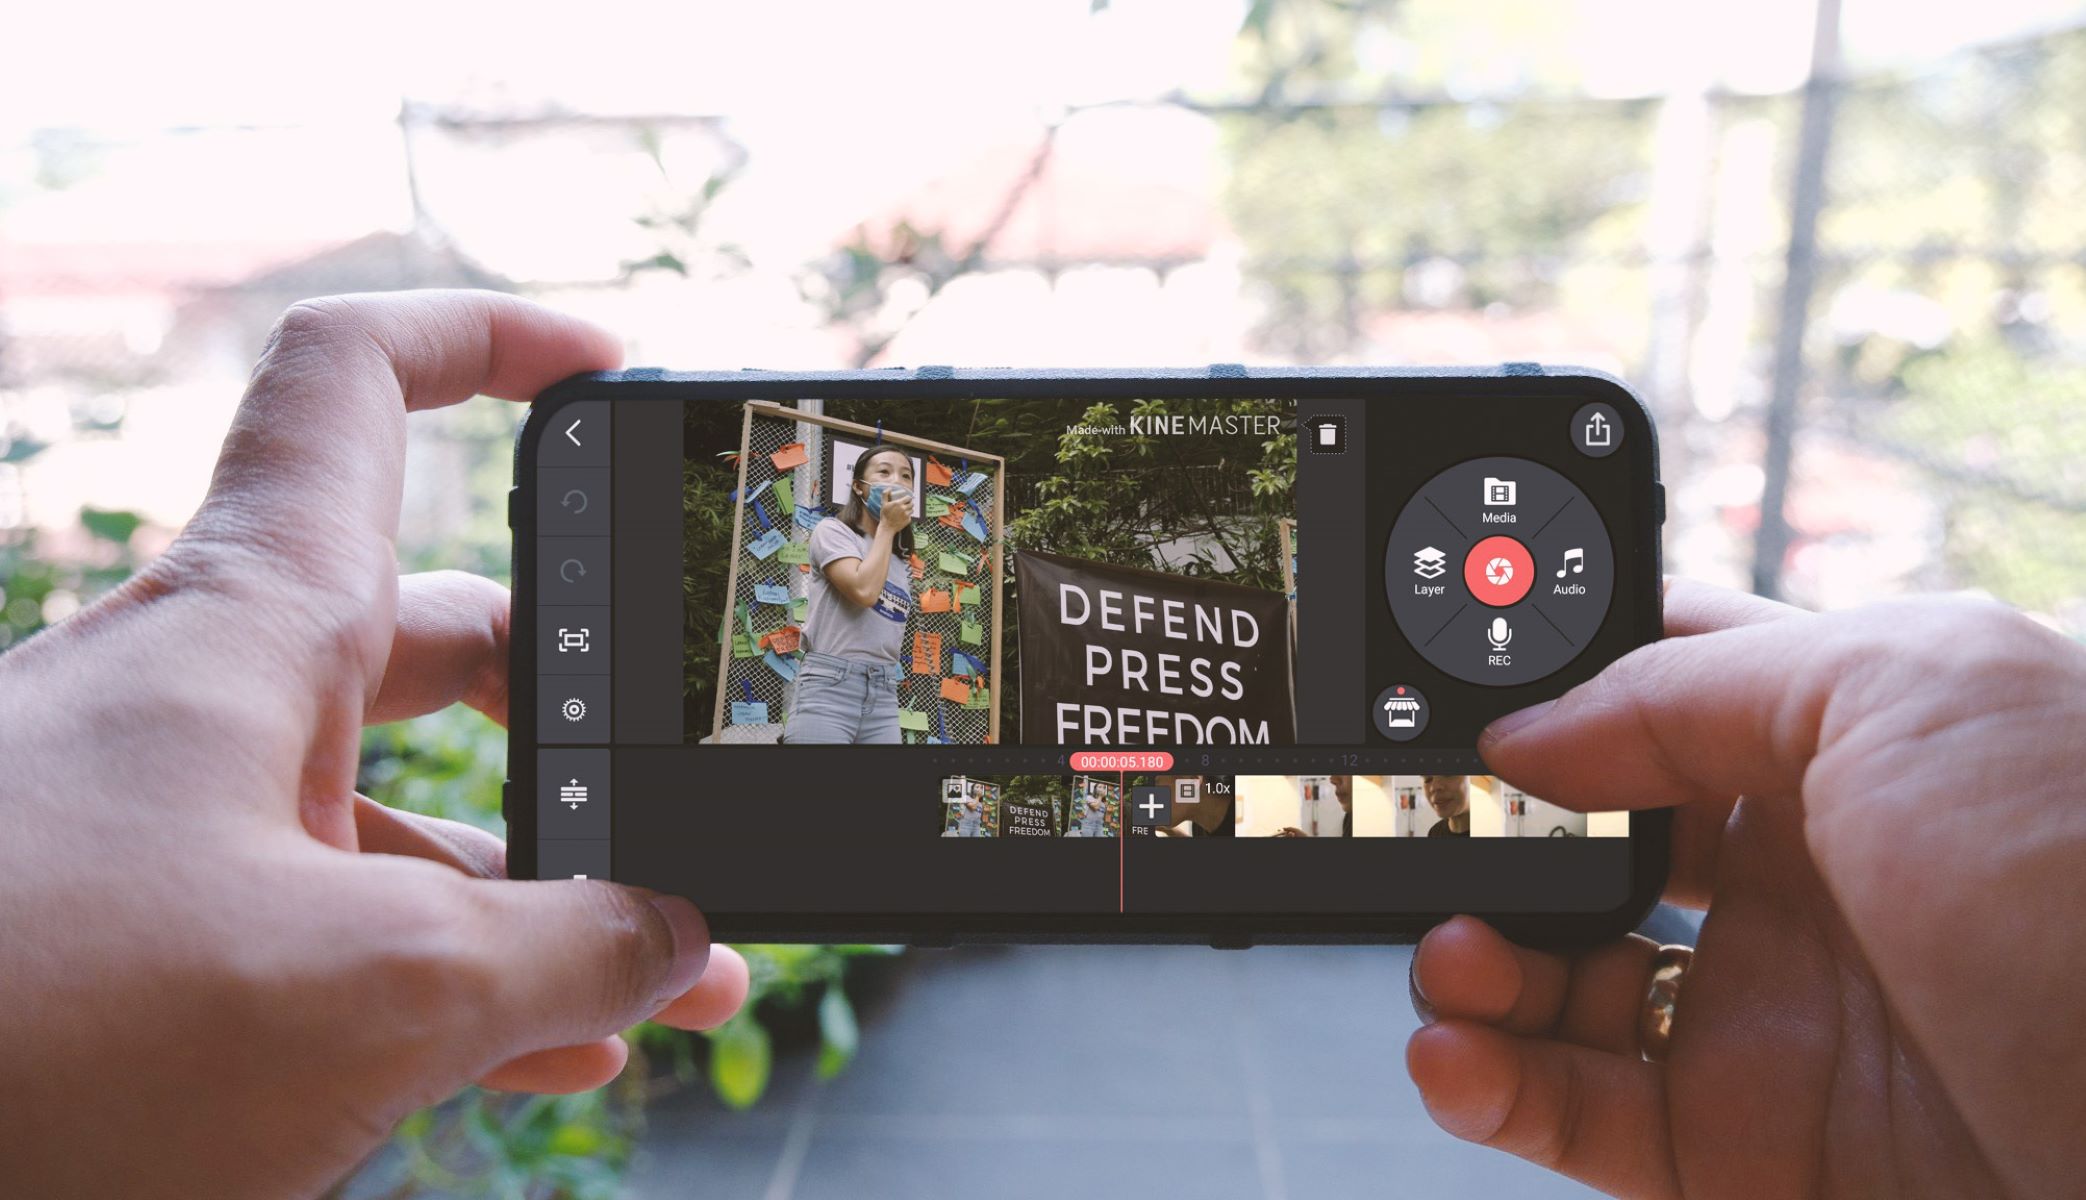
Step 4: Adding Background Music
Now that your slideshow files are imported and arranged, it’s time to add the background music to your presentation. This step will bring your slideshow to life and create a captivating audiovisual experience for your audience.
In your chosen software, look for the option to add audio or background music. This option is typically located in the toolbar or menu, and it may be represented by an icon or a text label such as “Audio” or “Music”. Click on this option to open the audio settings.
Once the audio settings menu is open, browse for the music file that you want to use as your background music. Select the file and click on “Open” or “Import” to add it to your presentation.
The software will place the music track on a separate audio track or layer, separate from your slideshow files. This allows you to have full control over the volume and timing of the background music in relation to your slides.
Drag and drop the music track to the desired position on the timeline or adjust its starting point manually. This will determine when the music starts playing in relation to your slideshow content. You can also extend or shorten the duration of the music track to match the length of your presentation.
By default, the background music may start playing automatically when you preview or present your slideshow. If you prefer to have more control over the music playback, check if your software offers options to set the music to start on a specific slide or at a particular point in the presentation.
If you have multiple music tracks or want to mix different audio elements, some software allows you to layer or blend them together. This can create a more dynamic and unique audio experience for your slideshow.
Remember to preview your slideshow and listen to the background music to ensure that it fits well with the visuals and creates the desired impact. Make any necessary adjustments to the volume levels or timing to achieve the perfect balance between your slideshow content and the background music.
With the background music successfully added to your slideshow, you’re almost ready to finalize your presentation. But before you do, let’s explore the next step of adjusting the music settings for a more professional and polished result.
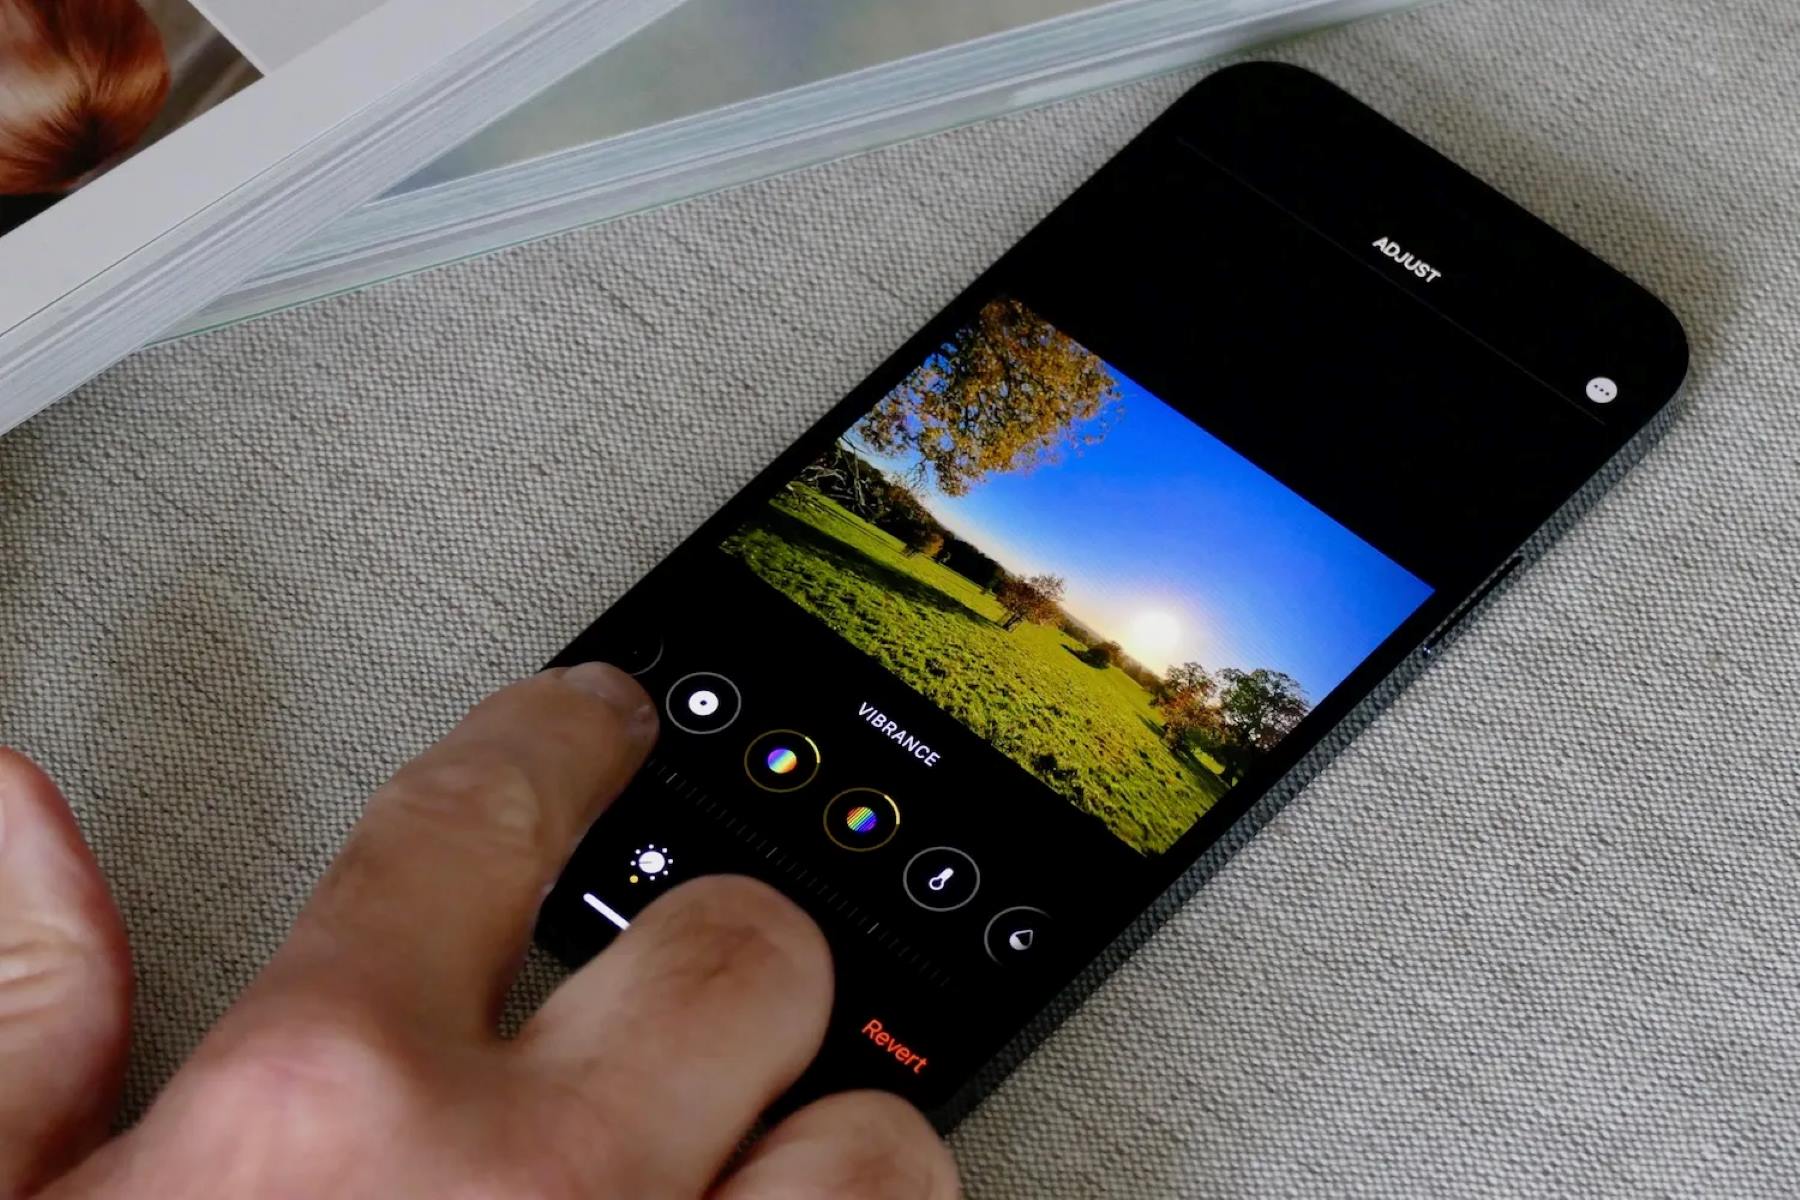
Step 5: Adjusting the Music Settings
Now that you have added the background music to your slideshow, it’s time to fine-tune the music settings to ensure that it complements your presentation perfectly. Adjusting the music settings will help you create a more immersive and polished audio experience for your audience.
One of the essential settings to consider is the volume level of the background music. You want the music to be audible but not overpowering, allowing your audience to focus on both the visuals and the audio. Most software provides a volume control slider or option that allows you to adjust the music’s volume. Experiment with different volume levels and find the balance that works best for your slideshow.
Another important setting is the fade in and fade out effect. Fading in the music at the beginning and fading it out at the end can create a smooth and seamless transition, preventing any sudden or jarring changes in the audio. Look for options that allow you to add fade in and fade out effects to your background music.
If your slideshow has specific sections or slides that require different music or audio elements, explore the options to set specific music tracks or audio files to play only on those slides. This can be useful for emphasizing certain moments or themes within your presentation.
Some software offers advanced audio editing features, allowing you to trim or cut sections of the music track if needed. This can be useful if you want to shorten the music or remove any unnecessary parts that may disrupt the flow of your slideshow.
Also, consider the looping options for the background music. Depending on the length of your slideshow, you may want the music to loop seamlessly so that it continues playing throughout the entire presentation. Look for options that allow you to set the music to loop or repeat until the end of the slideshow.
Take the time to experiment with different music settings and preview your slideshow with the adjusted settings. Pay attention to the overall impact, the smoothness of transitions, and the cohesiveness between the visuals and the background music. Make any necessary tweaks until you are satisfied with the final result.
With the music settings adjusted to perfection, you’re now ready to move on to the final step of previewing and finalizing your slideshow.
Step 6: Previewing and Finalizing Your Slideshow
You’ve reached the final step of the process – previewing and finalizing your slideshow. This step is crucial as it allows you to fine-tune any remaining details and ensure that everything is in place before sharing or presenting your slideshow.
Before proceeding, take a moment to save your project once again, ensuring that all the changes and adjustments you’ve made are preserved. This step gives you peace of mind and ensures that you can easily return to your project later if necessary.
Now, take some time to go through your entire slideshow, paying attention to the synchronization between the music and the visuals. Preview the slideshow as if you were your audience, and try to immerse yourself in the experience. Look out for any potential issues, such as music overpowering your narration or slides not transitioning smoothly.
If you notice any issues or areas for improvement, go back to the respective slides and make the necessary adjustments. You may need to reposition elements, fine-tune timings, or adjust volume levels once again. Be meticulous in ensuring that every aspect of your slideshow, including the background music, is as seamless and engaging as possible.
After you’re satisfied with the preview and have addressed any concerns, it’s time to finalize your slideshow. Check for any remaining tweaks or revisions you want to make, such as adding additional effects, transitions, or captions.
Consider the format you want to save your slideshow in. Most software offers options to save your presentation as a video file, which can be easily shared and played on various devices. Alternatively, you may choose to save it in a format compatible with specific platforms or devices if you have a specific distribution method in mind.
Once you’ve selected your desired format, follow the software’s instructions for exporting or saving your slideshow. Depending on the length and complexity of your presentation, this process may take a few moments to complete.
Finally, take a moment to revisit the saved slideshow file and double-check that everything looks and sounds as expected. Open it on different devices or platforms to ensure compatibility and verify that the background music plays seamlessly.
Congratulations! You have successfully added background music to your slideshow and finalized your presentation. Now, it’s time to share your creation with your audience, whether it’s through email, social media, or a live presentation. Sit back, relax, and enjoy the positive impact that the background music brings to your slideshow.
Remember, practice makes perfect, so don’t be afraid to experiment and refine your skills in adding background music to your future slideshows. With each project, you’ll gain more experience and discover new creative ways to elevate your presentations through the power of music.
Conclusion
Adding background music to your slideshow can transform a simple presentation into a captivating and memorable experience. By following the steps outlined in this guide, you have learned how to choose the right software, gather music and slideshow files, import them into your chosen software, add background music, adjust music settings, and preview and finalize your slideshow.
Remember that the key to creating an impactful slideshow lies in selecting the appropriate music that aligns with your content and evokes the desired emotions. Take the time to explore different music options and ensure you have the necessary permissions to use the chosen tracks.
While adding background music can enhance your slideshow, be mindful of striking the right balance between the audio and visual elements. The music should enhance your message and engage your audience without overpowering or distracting from the content.
Regularly preview and fine-tune your slideshow to ensure that the background music is perfectly synchronized with the visuals and creates a seamless audiovisual experience. Make use of the features and settings provided by your chosen software to adjust volume levels, apply fade-in and fade-out effects, and loop the music smoothly.
By mastering the art of adding background music to your slideshows, you can captivate your audience, evoke emotions, and make a lasting impression. So, go ahead and unleash your creativity, experiment with different techniques, and create stunning slideshows that leave a lasting impact.
Now that you have the knowledge and tools at your disposal, it’s time to embark on your slideshow creation journey. Let the power of background music take your presentations to new heights and make them truly unforgettable.