Home>Production & Technology>Background Music>How To Easily Add Background Music To Podcast Garageband
Background Music
How To Easily Add Background Music To Podcast Garageband
Modified: January 22, 2024
Learn how to effortlessly enhance your podcast with background music using Garageband. Step-by-step guide for adding engaging tunes to elevate your podcast listening experience.
(Many of the links in this article redirect to a specific reviewed product. Your purchase of these products through affiliate links helps to generate commission for AudioLover.com, at no extra cost. Learn more)
Table of Contents
Introduction
Welcome to our guide on how to easily add background music to your podcast using Garageband. Background music can enhance the overall listening experience, create a mood or atmosphere, and make your podcast more engaging and professional. With Garageband, a popular digital audio workstation for Mac users, you can seamlessly incorporate background music into your podcast episodes.
Whether you’re a seasoned podcaster or just getting started, adding background music can elevate the quality of your content. It helps to set the tone, transitions between segments, and creates a more immersive experience for your audience. Plus, it can make your podcast stand out from the rest.
In this article, we will walk you through the step-by-step process of adding background music to your podcast using Garageband. No prior experience with audio editing is necessary, as we will cover the basics and provide helpful tips along the way.
So, if you’re ready to take your podcast to the next level and create a more captivating listening experience, let’s dive into the world of Garageband and background music!
Step 1: Open Garageband
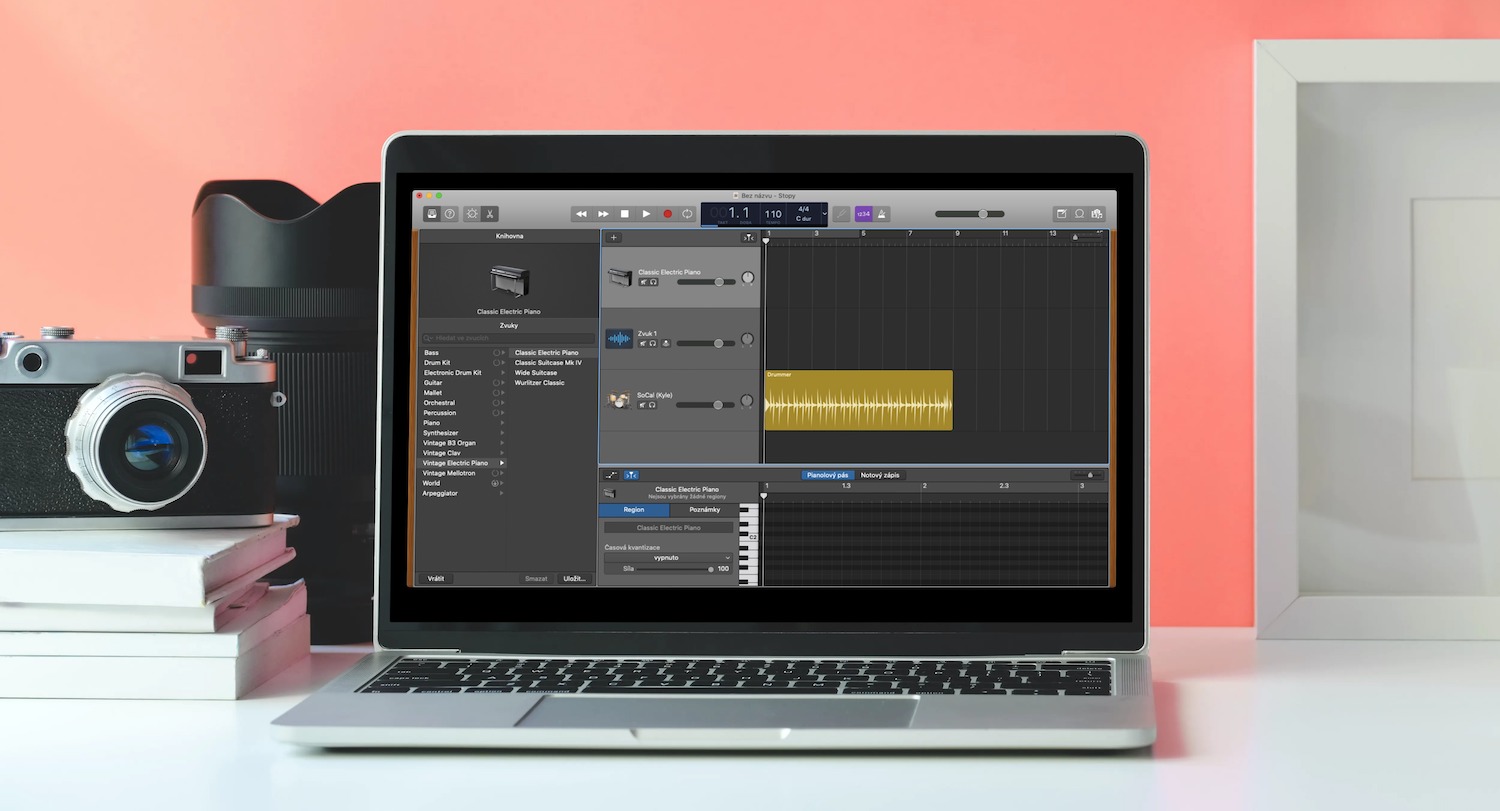
The first step in adding background music to your podcast is to open Garageband. Garageband is a versatile and user-friendly audio editing software available for Mac users. If you don’t already have Garageband installed on your computer, you can download it for free from the Mac App Store.
Once you have Garageband installed, locate the application in your Applications folder or search for it using Spotlight. Click on the Garageband icon to launch the program.
Upon opening Garageband, you will be greeted with a window displaying various project templates. Garageband offers a range of project types, but for our purpose of adding background music to a podcast, we will select the “Podcast” template.
To choose the “Podcast” template, click on “New Project” or go to “File” > “New” > “New Project.” In the project templates window, scroll down until you find the “Podcast” option and click on it.
By selecting the “Podcast” template, Garageband will provide you with a pre-configured project layout specifically designed for podcasting. This template includes tracks for your voice recordings, background music, and other audio elements that you may want to add.
Once you’ve selected the “Podcast” template, click on “Choose” to proceed. Garageband will create a new project using this template, and you will be taken to the main Garageband interface.
Congratulations! You have successfully opened Garageband and selected the “Podcast” template, setting the stage for adding background music to your podcast. In the next step, we will guide you through importing your desired background music into the project.
Step 2: Create a New Podcast Project
Now that you have opened Garageband and selected the “Podcast” template, it’s time to create a new project for your podcast. A project in Garageband serves as a container for all your podcast episodes, including your background music.
To create a new podcast project, follow these simple steps:
- In the Garageband interface, you will see the main window with various sections, such as the Timeline, Track headers, and Library.
- Click on the “New Track” button located in the Track headers section, which looks like a plus (+) symbol.
- A dropdown menu will appear, presenting you with different track types. Select “Software Instrument” from the list.
- A dialog box will appear, providing you with options to customize the track. Make sure the instrument is set to “None” and the track type is set to “No Effects” since we only want to add background music.
- Click on the “Create” button to complete the process. Garageband will create a new software instrument track for your background music.
You now have a dedicated track in your podcast project for adding your background music. This track will be used to import and manage your desired audio files.
Repeat the above steps if you want to create additional tracks for different elements of your podcast, such as your voice recordings or sound effects.
Creating a new podcast project and adding tracks is an essential step in organizing your audio files and separating your background music from other podcast elements. In the next step, we will guide you through the process of importing your background music into the project.
Step 3: Import Background Music
Now that you have set up your podcast project in Garageband, it’s time to import your desired background music into the project. Garageband provides several options for importing audio files, making it easy to add your favorite tracks to your podcast episodes.
Follow these steps to import background music:
- In the Garageband interface, locate the Library section on the right-hand side of the window. This section contains various options and tools for managing your audio files.
- Click on the loop icon (represented by a musical note) in the Library section to open the Loop Browser.
- The Loop Browser allows you to browse through Garageband’s extensive library of audio loops and samples. You can search for specific genres, moods, or instruments to find the perfect background music for your podcast.
- Alternatively, if you have your own background music files saved on your computer, you can import them by clicking on the browser icon in the Library section and navigating to the location of your audio files.
- Once you have found the background music you want to use, simply drag and drop it onto the software instrument track you created in Step 2. Garageband will automatically add the background music to your project.
Garageband supports various audio file formats, including MP3, WAV, AIFF, and more. This gives you the freedom to choose the perfect background music from your own collection or the Garageband library.
Remember to experiment with different tracks and find the one that complements your podcast content. You can always preview the background music by selecting it in the Loop Browser and clicking on the play button.
With your background music imported into your podcast project, you’re one step closer to creating a more captivating listening experience for your audience. In the next step, we will show you how to adjust the volume of the background music to achieve a perfect balance.
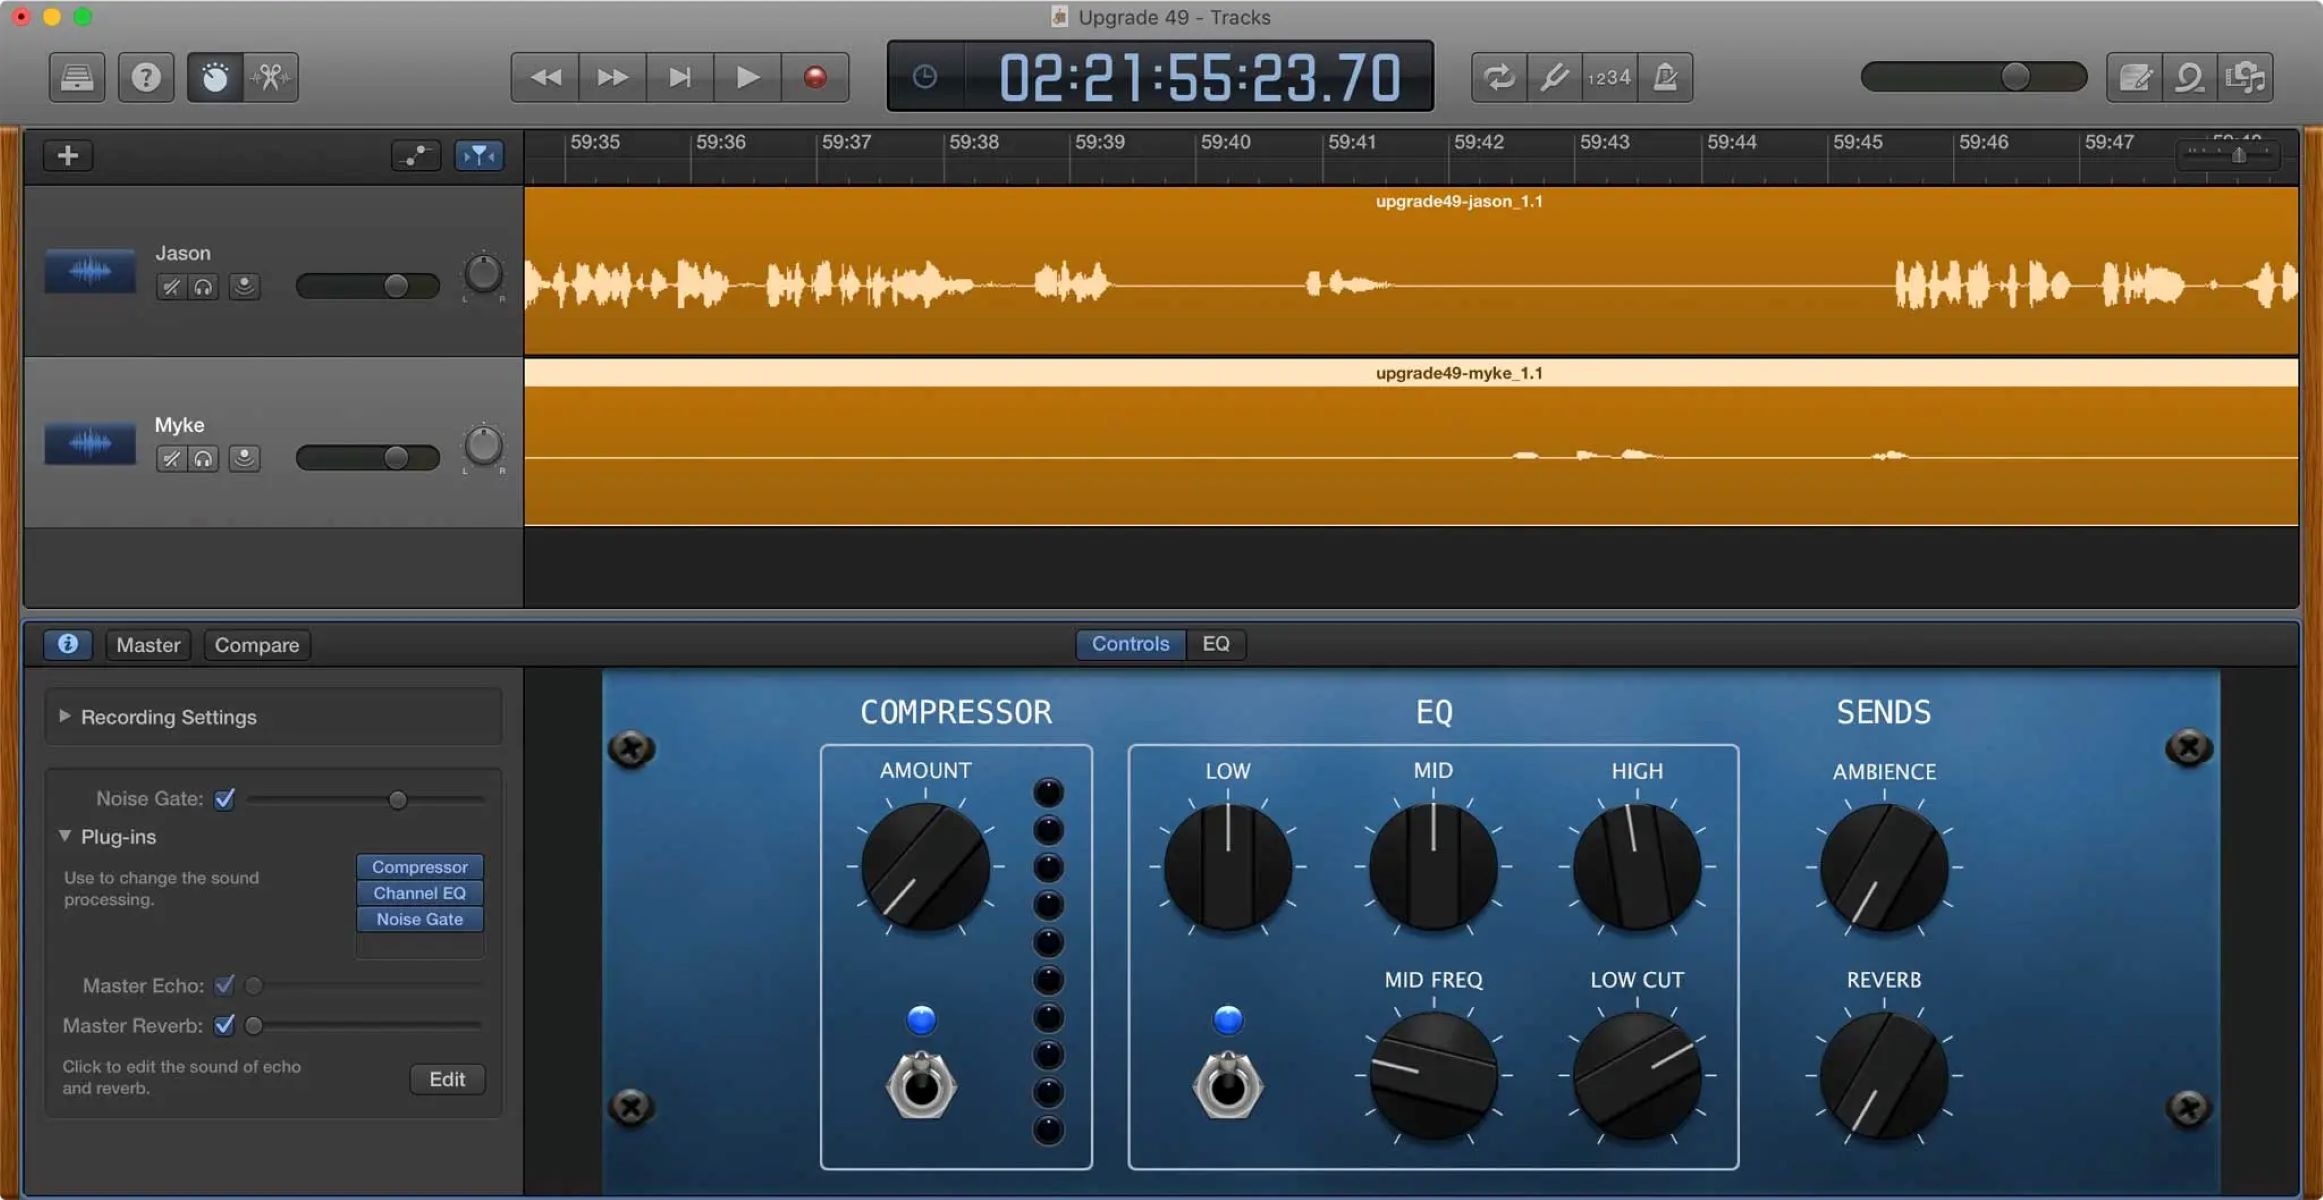
Step 4: Adjust Music Volume
Once you have imported your background music into your podcast project in Garageband, it’s important to adjust the music’s volume to ensure it blends well with your podcast content. Properly balancing the volume levels between your background music and other audio elements is crucial for a professional-sounding podcast.
Here’s how you can adjust the volume of your background music in Garageband:
- In the Garageband interface, locate the software instrument track where you imported your background music.
- Click on the small disclosure triangle icon, usually found on the left side of the track header, to reveal additional options.
- Expand the “Smart Controls” section by clicking on the “Show/Hide Smart Controls” button in the top-right corner of the Garageband window.
- In the Smart Controls panel, you will find various controls and settings for adjusting the music’s volume, tone, and effects.
- Locate the “Master Volume” slider in the Smart Controls panel and adjust it to increase or decrease the volume of your background music. You can listen to the changes in real-time while making adjustments.
- It’s important to find the right balance between your background music and your voice recordings. Ensure that the background music doesn’t overpower your voice and that it enhances the overall listening experience.
Garageband also provides the option to add global effects, such as compression or equalization, to further fine-tune the sound of your background music. These effects can be accessed by clicking on the “Track Effects” button in the Smart Controls panel.
Remember to play back your podcast project and listen to how the background music interacts with your voice recordings. Make necessary adjustments to the volume levels until you achieve a harmonious balance.
Once you are satisfied with the volume adjustments, you are ready to move on to the next step, where we will guide you through the process of editing your podcast content.
Step 5: Edit Podcast Content
With your background music adjusted and properly integrated into your podcast project in Garageband, it’s time to edit your podcast content. This step involves adding your voice recordings, removing any unwanted sections, and arranging the elements to create a cohesive and engaging podcast episode.
Follow these steps to edit your podcast content:
- In the Garageband interface, locate the podcast track where you want to add your voice recordings. This track should be separate from the software instrument track containing your background music.
- Click on the small disclosure triangle icon next to the track header to reveal additional options.
- To add your voice recordings, you can either click on the red Record button in the control bar at the top of the Garageband window or import pre-recorded audio files by dragging and dropping them onto the podcast track.
- Once your voice recordings are added, you can trim any unnecessary sections by selecting the region you want to remove and pressing the delete key.
- Use the editing tools provided in Garageband, such as the split tool and drag handles, to fine-tune the timing and arrangement of your podcast segments.
- Take advantage of Garageband’s features like the built-in equalizer and effects to enhance the sound quality of your voice recordings.
- Consider adding additional audio elements, such as sound effects or transitions, to further enhance the production value of your podcast.
- Listen to your edited podcast episode in its entirety to ensure a seamless flow and make any necessary adjustments.
Editing your podcast content allows you to create a well-paced and engaging episode. By combining your voice recordings with the carefully selected background music, you can create a professional-sounding podcast that captivates your audience.
Once you are satisfied with the editing of your podcast content, we can move on to the final step: exporting and sharing your podcast episode.
Step 6: Export and Share Podcast
After you have edited your podcast content and fine-tuned the background music in Garageband, it’s time to export and share your podcast episode with the world. Garageband offers several options for exporting your final podcast project in various file formats, making it easy to distribute your content across different platforms.
Here’s how you can export and share your podcast episode from Garageband:
- In the Garageband interface, go to the “Share” menu at the top of the screen and select “Export Podcast to Disc.” Alternatively, you can use the shortcut Command+E.
- A dialog box will appear, prompting you to choose the export settings for your podcast episode. You can specify the file name, location, and format of the exported file.
- If you plan on hosting your podcast on popular platforms like iTunes or Spotify, it’s recommended to export your episode as an MP3 file. This format is widely compatible and ensures optimal playback on various devices.
- Choose the desired export options and click on the “Export” button to begin the exporting process. Garageband will render and save your podcast episode as a standalone audio file.
- Once the export is complete, you can locate the exported file in the specified location on your computer.
With your podcast episode exported, you can now share it with your audience. Here are a few ways you can distribute your podcast:
- Upload the episode to a podcast hosting platform, such as Libsyn, Podbean, or Anchor. These platforms will generate an RSS feed for your podcast, making it easy for listeners to subscribe and receive future episodes.
- Submit your podcast to popular podcast directories, including iTunes, Spotify, Google Podcasts, and Stitcher. These directories allow users to discover and subscribe to your podcast.
- Promote your podcast episode on social media platforms, your website, or through email newsletters to reach your existing followers and attract new listeners.
- Consider collaborating with other podcasters or influencers in your niche to cross-promote each other’s episodes and expand your reach.
Remember to optimize your podcast episode titles, descriptions, and tags with relevant keywords to improve its visibility in search results. This will help potential listeners find your podcast more easily.
By exporting and sharing your podcast episode, you can connect with your audience, build a loyal following, and showcase your creativity and expertise.
Congratulations! You have successfully added background music to your podcast using Garageband and learned how to export and share your final episode. Now it’s time to let your podcast shine and make an impact in the podcasting world.
Conclusion
Adding background music to your podcast can significantly enhance the listening experience for your audience. With the help of Garageband, you can easily incorporate background music into your podcast episodes and create a more engaging and professional atmosphere.
In this comprehensive guide, we have walked you through the step-by-step process of adding background music to your podcast using Garageband. We covered everything from opening Garageband and creating a new podcast project to importing background music, adjusting volume levels, editing your podcast content, and finally, exporting and sharing your podcast episode.
By following these steps, you can create a seamless blend of your voice recordings and carefully selected background music. This combination will help set the mood, create transitions, and provide a more immersive experience for your listeners.
Remember to choose background music that complements the tone and theme of your podcast. Experiment with different tracks and ensure that the volume levels are properly balanced, allowing your voice to take center stage while the music enhances the overall ambiance.
Once you have completed the editing process, export your podcast episode as an MP3 file and share it with your audience. Utilize podcast hosting platforms, directories, social media, and collaborations to expand your reach and attract new listeners.
As you continue your podcasting journey, don’t be afraid to explore different genres, experiment with sound effects, and continuously refine your podcast episodes. The addition of background music can elevate the quality of your content and help you create a memorable listening experience for your audience.
Now that you have the knowledge and tools to add background music to your podcast, it’s time to let your creativity flourish. Embrace the power of Garageband and background music, and take your podcast to new heights!