Home>Production & Technology>Background Music>How To Add Background Music In Voice Recording

Background Music
How To Add Background Music In Voice Recording
Modified: March 5, 2024
Learn how to enhance your voice recordings by adding background music. This step-by-step guide will help you create a professional and engaging audio experience.
(Many of the links in this article redirect to a specific reviewed product. Your purchase of these products through affiliate links helps to generate commission for AudioLover.com, at no extra cost. Learn more)
Table of Contents
- Introduction
- Why Add Background Music in Voice Recording?
- Choosing the Right Background Music
- Preparing Your Voice Recording Setup
- Selecting and Downloading Background Music
- Importing Background Music into Your Editing Software
- Adjusting the Volume Levels
- Syncing the Background Music with the Voice Recording
- Adding Fade-in and Fade-out Effects
- Exporting and Saving the Final Recording
- Conclusion
Introduction
Welcome to the world of background music in voice recording! Have you ever listened to a podcast, audiobook, or radio show and wondered how they create an immersive and captivating experience? One key element that can enhance the overall impact of a voice recording is the addition of background music.
Background music serves as an audio backdrop that sets the tone, creates emotional depth, and engages the listener on a subconscious level. It can add energy, suspense, or tranquility to the narration, making the content more dynamic and memorable.
In this article, we will explore why adding background music to your voice recordings can be beneficial, as well as provide step-by-step guidance on how to do it effectively. Whether you’re a podcaster, voice-over artist, or content creator looking to elevate your audio productions, this article will provide you with the knowledge and tools you need to incorporate background music seamlessly.
From choosing the right music, to adjusting volume levels, to syncing it with your voice recording, we’ll cover all the essential steps to create a polished and professional final product.
So let’s dive in and discover the art of adding background music to your voice recordings!
Why Add Background Music in Voice Recording?
Background music has the power to transform an ordinary voice recording into an extraordinary one. Here are a few reasons why you should consider adding background music to your voice recordings:
- Captivating the Listener: Background music can captivate the listener right from the start. It creates a pleasant auditory experience that draws the listener in and keeps them engaged throughout the recording.
- Setting the Mood: The right choice of background music can set the mood and enhance the emotional impact of your content. Whether you’re aiming for excitement, suspense, or relaxation, the music can reinforce the desired mood.
- Auditory Branding: If you have a brand or a specific image you want to convey, incorporating background music can help reinforce your brand identity. It adds an extra layer of professionalism and consistency to your voice recordings.
- Enhancing Storytelling: Background music can elevate storytelling by adding depth and texture to the narration. It can emphasize key moments, build tension, or evoke specific emotions that enhance the overall storytelling experience.
- Avoiding Monotony: Voice recordings without any background music can sometimes sound monotonous or dull. By adding music, you can break up the audio and provide variation, making the content more interesting and engaging.
- Creating a Memorable Experience: When the right background music is paired with your voice recording, it creates a memorable experience for your listeners. It helps to create a connection and leaves a lasting impression in their minds.
Adding background music to your voice recordings is a creative and effective way to enhance the overall quality and impact of your audio content. It adds a professional touch and elevates the listener’s experience, making your recordings more enjoyable and memorable.
Now that we understand the importance of background music, let’s move on to the next section, where we’ll discuss how to choose the right music for your voice recordings.
Choosing the Right Background Music
When it comes to selecting the right background music for your voice recordings, there are a few key considerations to keep in mind. Here are some tips to help you choose the perfect music:
- Match the Mood: Consider the mood and tone of your voice recording. Do you want the music to be uplifting, relaxing, dramatic, or suspenseful? Select music that aligns with the emotions and atmosphere you want to create.
- Consider the Content: Think about the content of your recording. If it’s a light-hearted conversation, you may opt for upbeat and cheerful music. For a serious or informative piece, choose music that is more subtle and in the background.
- Avoid Distractions: While background music adds depth and interest, it should never overpower or distract from the main focus, which is the voice recording. Ensure that the music complements the narration without overpowering it.
- Use Royalty-Free Music: It’s essential to use royalty-free music or obtain the necessary licenses to avoid any copyright infringement. There are numerous websites and libraries that offer a wide range of royalty-free music for commercial use.
- Listen and Experiment: Take the time to listen to different music tracks and experiment with different combinations. Pay attention to how the music and voice recording complement each other and create the desired impact.
- Consider the Pace and Energy: The tempo and energy of the music should align with the pace of your voice recording. If the narration is fast-paced, choose music with a higher tempo. For a slower narrative, opt for more tranquil music.
- Be Consistent: If you’re creating a series of voice recordings, strive for consistency in the choice of background music. This helps to strengthen your brand identity and create a cohesive listening experience for your audience.
Remember, the right background music serves as a supporting component to your voice recording. It should enhance and complement the content without overpowering it. Taking the time to choose the appropriate music will greatly enhance the overall impact and quality of your recordings.
Now that we have learned how to choose the right background music, let’s move on to the next section where we will explore the steps to prepare your voice recording setup.
Preparing Your Voice Recording Setup
Before you can add background music to your voice recording, it’s important to ensure that your recording setup is properly prepared. Here are some key steps to follow:
- Select a Quiet Environment: Find a quiet and controlled environment for your recording. Look for a space with minimal background noise, such as a dedicated recording studio, a quiet room at home, or a soundproofed area. This will help ensure a clean and professional recording.
- Choose the Right Microphone: Select a high-quality microphone that suits your recording needs. Consider factors like microphone type (condenser, dynamic, or lavalier), connectivity (USB or XLR), and polar pattern (cardioid, omnidirectional, or bi-directional) based on your specific requirements.
- Position the Microphone Properly: Position the microphone correctly for optimal audio capture. Typically, you should place the microphone a few inches away from your mouth to avoid plosives (vocal pops) and maintain a consistent volume level.
- Ensure Good Acoustic Treatment: Minimize echo and reverb in your recording space by using acoustic treatment. This can include adding sound-absorbing panels to the walls, using a reflection filter around the microphone, or even recording inside a closet filled with clothes for additional sound isolation.
- Test and Adjust Audio Levels: Before recording, test and adjust your audio levels to ensure they are balanced and clear. Avoid clipping or distorted audio by monitoring the input levels and making necessary adjustments to maintain a healthy signal-to-noise ratio.
- Consider Pop Filters and Windshields: To further improve audio quality, use a pop filter to minimize plosive sounds caused by excessive airflow hitting the microphone. Additionally, consider using a windshield or foam cover to reduce any wind noise if recording outdoors or in a windy environment.
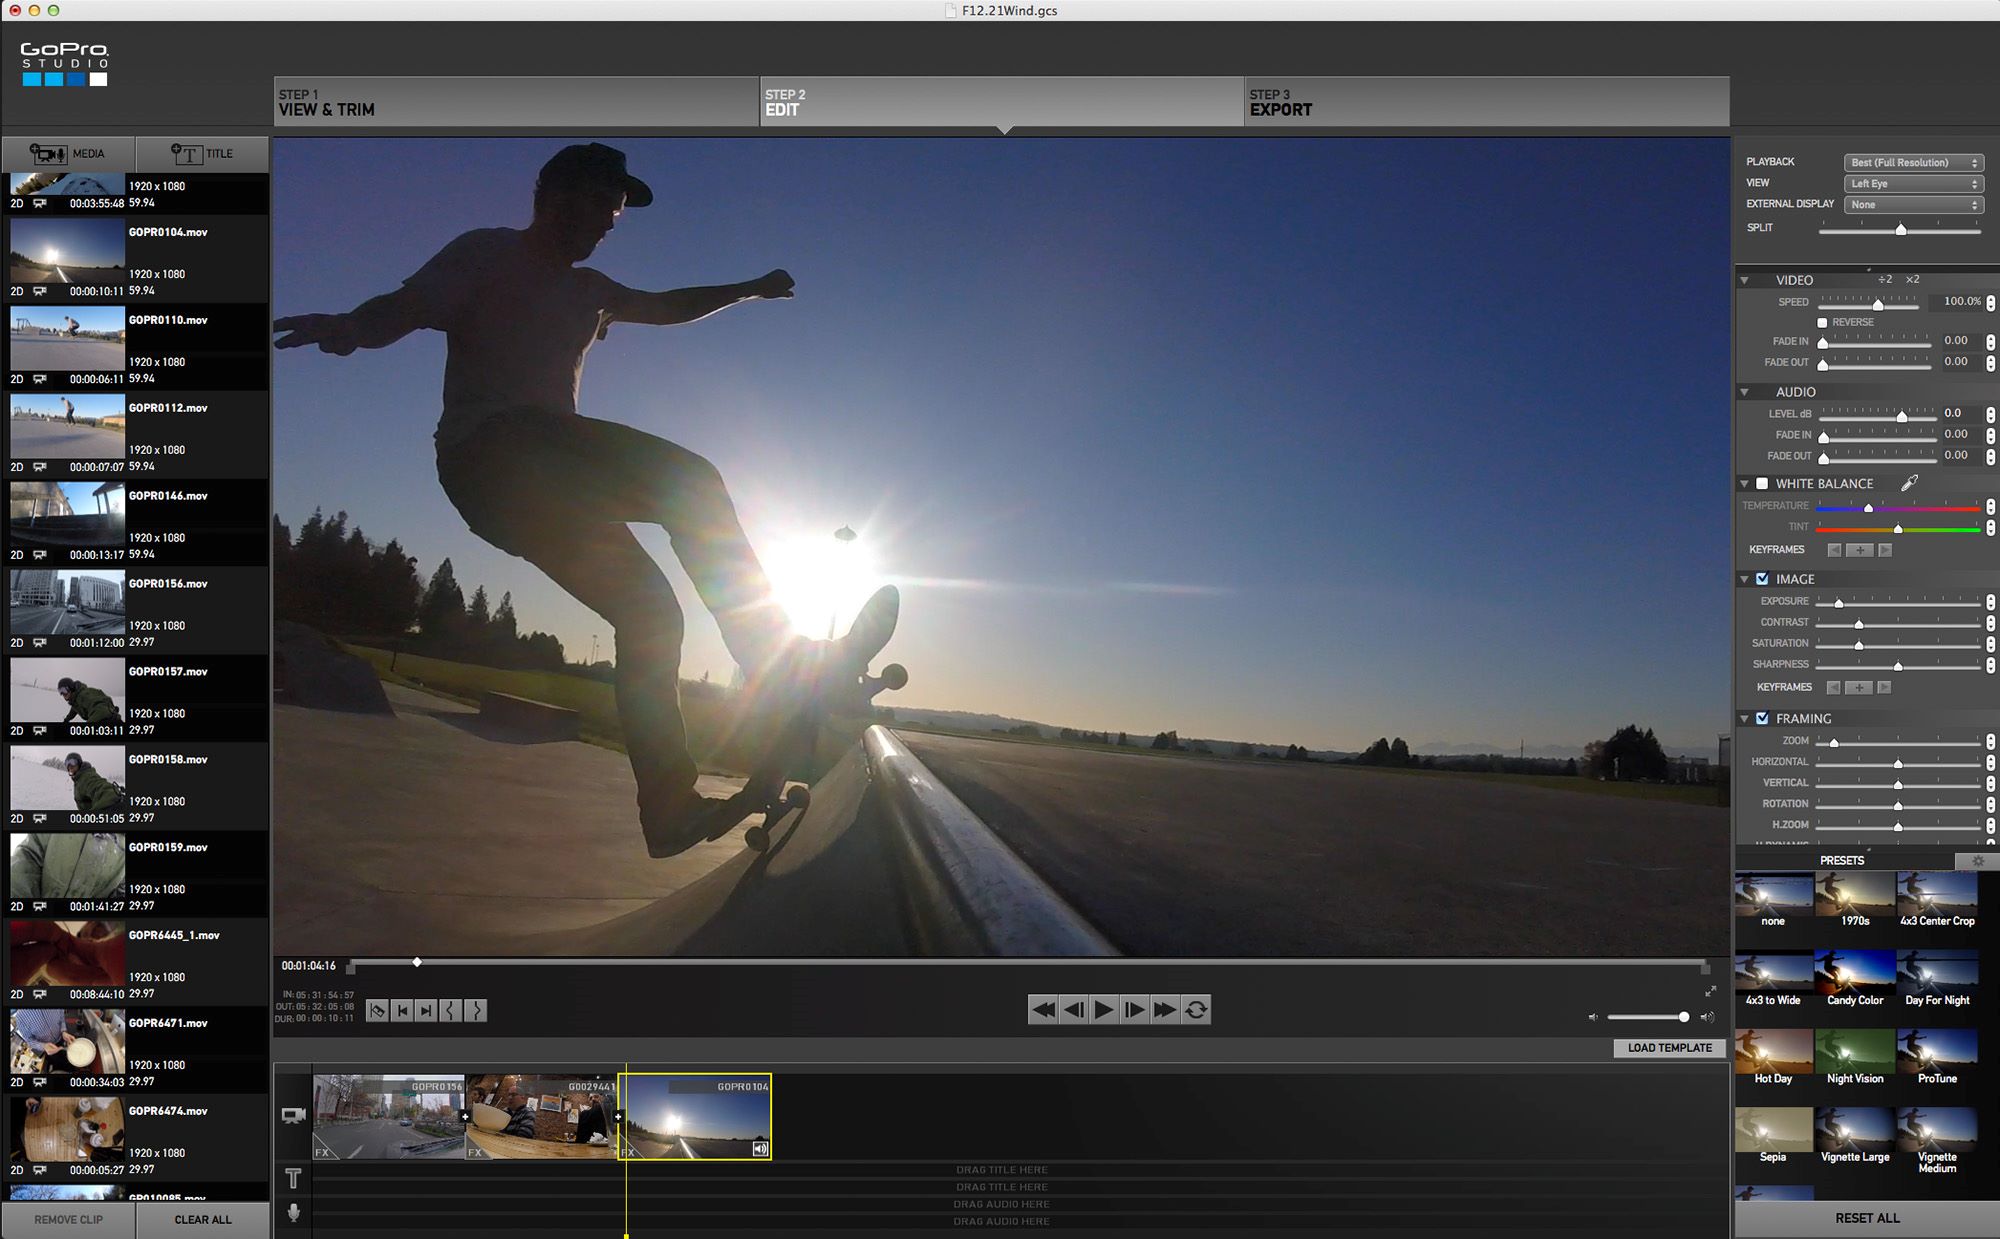
- Use a Digital Audio Workstation (DAW): Invest in a reliable DAW software, such as Adobe Audition, Audacity, or GarageBand. This will allow you to record, edit, and mix your voice recording and background music seamlessly.
- Ensure Consistent Settings: Set your recording parameters consistently throughout your voice recordings. This includes maintaining the same sample rate (e.g., 44.1kHz), bit depth (e.g., 16-bit or 24-bit), and audio format (e.g., WAV or MP3) for all your recordings.
By properly preparing your voice recording setup, you’ll ensure the best possible audio quality and make the process of adding background music much smoother. Once your setup is ready, it’s time to move on to the next step: selecting and downloading the perfect background music for your recording.
Selecting and Downloading Background Music
Now that your voice recording setup is ready, it’s time to select and download the perfect background music for your project. Here are the steps to follow:
- Determine the Style and Genre: Consider the style and genre of music that would best complement your voice recording. Whether you’re looking for ambient, jazz, orchestral, or electronic music, identify the genre that suits the mood and atmosphere you want to create.
- Search Royalty-Free Music Libraries: Browse through reputable royalty-free music libraries to find tracks that match your criteria. Some popular options include Epidemic Sound, Artlist, and PremiumBeat. These platforms offer a wide range of high-quality tracks that are cleared for commercial use.
- Listen and Evaluate: Take the time to listen to the music tracks that catch your attention. Pay attention to the melody, instrumentation, tempo, and overall feel of each track. Consider how well they align with your voice recording and the emotions you want to evoke.
- Consider Custom Music: If you have specific requirements or prefer a more unique sound, consider working with a composer or music producer to create custom background music. This allows you to have a tailor-made composition that perfectly matches your voice recording.
- Check Licensing Terms: Before downloading any music, carefully review the licensing terms provided by the music library. Ensure that the license allows for use in commercial projects and that you are compliant with any attribution requirements or restrictions.
- Download High-Quality Files: Once you’ve selected the background music tracks, download the high-quality files provided by the music library. It’s recommended to choose lossless formats like WAV or FLAC to maintain the best audio quality.
- Organize Your Music Library: Create a designated folder on your computer to keep all your background music files organized. This will make it easier to access and import the files into your editing software when needed.
Remember, the music you choose should enhance your voice recording without overpowering it. It should seamlessly blend with the narration, setting the desired mood and creating an engaging listening experience for your audience.
Now that you have selected and downloaded the background music for your project, it’s time to move on to the next step: importing the music into your editing software.
Importing Background Music into Your Editing Software
Now that you have selected and downloaded the background music for your voice recording, it’s time to import it into your chosen editing software. Here are the steps to follow:
- Open Your Editing Software: Launch your digital audio workstation (DAW) or editing software such as Adobe Audition, Audacity, or GarageBand.
- Create a New Project or Session: Create a new project or session in your editing software. Set the project settings to match your desired audio format, sample rate, and bit depth.
- Locate the Background Music Files: Navigate to the folder where you stored your downloaded background music files. Make sure they are easily accessible.
- Import the Music Files: Use the import or drag-and-drop function in your editing software to import the background music files into your project. They will appear as separate tracks in your timeline or workspace.
- Arrange the Music Tracks: Rearrange the music tracks as needed to align with your voice recording. If you have multiple music tracks, you can layer them or stagger them to create a more dynamic and textured background.
- Sync the Music with Your Voice Recording: Align the start of the background music with the beginning of your voice recording. Use the editing tools in your software to adjust the timing if needed, ensuring that the music flows smoothly with the narration.
- Trim and Extend the Music: Trim or extend the background music tracks to match the duration of your voice recording. Use fade-in and fade-out effects to smoothly transition the music in and out, avoiding abrupt starts and stops.
- Adjust the Music Volume: Adjust the volume levels of the background music to ensure it remains in the background and does not overpower the voice recording. Use automation or keyframe adjustments to control the volume and create a balanced audio mix.
- Preview and Fine-Tune: Play back your voice recording with the background music to preview the final result. Make any necessary adjustments to the timing, volume, or effects to achieve the desired blend between the narration and the music.
Remember, the goal is to create a seamless integration of the background music with your voice recording. Take your time to align and fine-tune the music tracks to enhance the overall impact and quality of your audio production.
Once you have imported and synchronized the background music, it’s time to move on to the next step: adjusting the volume levels for a perfect balance between the music and the voice recording.
Adjusting the Volume Levels
After you have imported the background music into your editing software and synchronized it with your voice recording, it’s important to adjust the volume levels to achieve a balanced and cohesive audio mix. Here are the steps to follow:
- Identify the Ideal Volume: Listen to your voice recording and determine the ideal volume at which the narration should be heard. This will serve as a reference point for adjusting the background music volume.
- Separate the Music and Voice Tracks: If your editing software allows for it, separate the background music track(s) and the voice recording track(s) into different channels or layers. This will give you greater control over the volume adjustments.
- Adjust the Music Volume: Lower the volume of the background music track(s) so that it remains in the background and doesn’t overpower the narration. Gradually increase or decrease the volume until it blends harmoniously with the voice recording.
- Use Automation or Keyframing: To achieve a more nuanced and dynamic mix, use automation or keyframing techniques in your editing software. This allows you to control the music volume at different sections of the voice recording, creating moments of emphasis or subtlety as needed.
- A/B Test with the Ideal Volume: Periodically switch between the adjusted background music volume and the ideal volume of the narration to ensure a balanced mix. This will help you make fine adjustments and ensure that neither the music nor the voice recording dominates the overall audio experience.
- Listen for Clarity and Cohesion: Continuously listen to the mix to ensure that the voice recording remains clear, intelligible, and prominent, while the background music adds depth and enhances the overall experience. Make sure they blend seamlessly together without any distractions or inconsistencies.
- Make Final Adjustments: After fine-tuning the volume levels, make any additional adjustments as needed. This may include applying equalization (EQ) or compression to the music or voice tracks to further enhance the clarity and balance.
Remember, the goal is to achieve a perfect balance where the background music enhances the voice recording without overpowering it. Take your time to experiment, listen critically, and make adjustments until you’re satisfied with the mix.
Now that you have adjusted the volume levels, it’s time to add fade-in and fade-out effects to ensure smooth transitions between the background music and the voice recording.
Syncing the Background Music with the Voice Recording
Once you have adjusted the volume levels of your background music and voice recording, the next step is to ensure that the music remains in sync with the narration. Here is a guide on how to synchronize the background music with your voice recording:
- Review the Timing: Listen to your voice recording and identify key moments, pauses, and transitions where you want the background music to coincide. This could include the beginning and end of sections, emotional shifts, or dramatic moments.
- Align the Start: Ensure that the background music starts at the right time. Use the editing tools in your software to adjust the position of the music track(s) so that it begins precisely where you want it to, synchronizing with the narration.
- Match the Tempo: If your chosen background music has a discernible beat or tempo, be mindful of matching it with the pace and rhythm of your voice recording. This will help create a cohesive and harmonious audio experience.
- Transition Smoothly: Pay attention to smooth transitions between music and voice sections. Use crossfades or fade-in/fade-out effects to blend the background music with the narration. This will avoid any abrupt or jarring shifts between music and voice.
- Enhance Emotional Moments: Use the background music to enhance emotional moments in your voice recording. Increase the intensity or volume of the music during impactful moments to elicit stronger emotional responses from your listeners.
- Timing Adjustments: Fine-tune the timing of the background music by making precise edits or using automation. This can help align the music with specific cues or enhance the overall flow of the narration.
- Listen and Refine: Continuously listen to the synced version of your voice recording with the background music. Pay attention to any inconsistencies or areas that may require further adjustments. Make refinements as necessary to ensure a seamless integration.
By syncing the background music with your voice recording, you create a cohesive and immersive audio experience for your listeners. It enhances the emotional impact of your content and adds another layer of engagement to your production.
Now that you have successfully synced the background music with your voice recording, it’s time to add fade-in and fade-out effects to ensure smooth transitions between sections.
Adding Fade-in and Fade-out Effects
To create smooth and seamless transitions between sections of your voice recording and the background music, it’s important to add fade-in and fade-out effects. This will ensure that the music gradually comes in and fades out, avoiding sudden changes or abrupt endings. Here’s how you can add these effects:
- Select the Music Track: Identify the section of the music track where you want to apply the fade-in or fade-out effect. This is typically at the beginning or end of the track, but you can also apply it at other transition points within the piece.
- Access the Envelope or Automation Controls: Use the envelope or automation controls in your editing software to manipulate the volume levels of the music track. These controls allow you to create gradual changes in volume over time.
- Apply Fade-in Effect: To add a fade-in effect, set the initial volume level of the music track to be low or muted at the beginning. Then, gradually increase the volume over a short duration, such as a few seconds. This creates a smooth and gradual fade-in effect.
- Apply Fade-out Effect: Similarly, to add a fade-out effect, lower the volume of the music track gradually over a specified duration towards the end. The music will gradually diminish until it reaches silence, blending seamlessly with the voice recording.
- Adjust Timing and Curves: Fine-tune the timing and curves of the fade-in and fade-out effects to suit the desired transition. Depending on the software you’re using, you may have options to adjust the duration and shape of the fade-in/fade-out curves to achieve a customized effect.
- Listen and Refine: Play back your voice recording with the added fade-in and fade-out effects. Pay attention to the transitions and ensure they are smooth and natural. Make any necessary adjustments to the timing or volume levels to refine the transitions further if needed.
- Preview the Final Result: Take the time to listen to the entire production, paying particular attention to how the fade-in and fade-out effects work alongside the voice recording. Make any final tweaks to ensure a seamless and polished outcome.
By adding fade-in and fade-out effects, you create a professional and polished audio production. These effects help create smooth transitions and maintain the focus on the narration while subtly introducing and concluding the background music.
Now that you have added the fade-in and fade-out effects, it’s time to export and save the final recording, ready to share with your audience.
Exporting and Saving the Final Recording
Once you have completed the editing process and are satisfied with the final mix of your voice recording with background music, it’s time to export and save the final recording. Follow these steps to ensure a high-quality and compatible export:
- Select the Export Options: In your editing software, navigate to the export or render settings. Choose the desired audio format, such as WAV or MP3, depending on your specific requirements or the platforms where you’ll be sharing your recording.
- Choose the Bitrate: Select the appropriate bitrate for your export. Higher bitrates preserve more audio details but result in larger file sizes. Consider the balance between file size and audio quality based on the intended distribution platform and the storage limitations you may have.
- Set Audio Parameters: Ensure that the export settings match the project settings, such as the sample rate and bit depth. This will maintain consistency and prevent any unintentional changes or quality loss during the export process.
- Name and Choose Location: Give your final recording a descriptive name and choose the folder or directory where you want to save it. Create a separate folder to store your exported recordings to keep them organized.
- Export the Recording: Initiate the export process and allow your editing software to generate the final recording. Depending on the length and complexity of your project, this process may take a few moments.
- Listen and Verify: Once the export is complete, listen to the exported file to ensure it matches your expectations. Pay attention to the overall audio quality, volume levels, and the seamless integration between the voice recording and the background music.
- Backup and Store: Make backup copies of your final recording and store them in a safe location. Consider using cloud storage, external hard drives, or other reliable backup solutions to protect your work from data loss or accidental deletion.
By exporting and saving the final recording, you have a finished product that can be shared and distributed to your intended audience. Whether you plan to publish it on a podcast platform, share it on social media, or use it for other purposes, the exported file is ready to go.
Congratulations! You have successfully added background music to your voice recording and completed the process of exporting and saving the final recording. Now it’s time to share your audio creation with the world and captivate your audience with its immersive and professional sound.
Finally, let’s conclude this article and summarize what we have learned throughout the process.
Conclusion
Congratulations on completing your journey into the world of background music in voice recording! By incorporating background music into your voice recordings, you have taken your audio productions to the next level, creating a more immersive and engaging experience for your listeners.
Throughout this article, we explored the importance of adding background music and how it enhances the mood, storytelling, and overall impact of your voice recordings. We discussed the process of choosing the right music, preparing your recording setup, selecting and downloading the music, and importing it into your editing software.
We also covered how to adjust the volume levels, sync the background music with your voice recording, and add fade-in and fade-out effects for smooth transitions. Lastly, we discussed the final steps of exporting and saving your recording to share it with your audience.
Remember to always consider the mood, genre, and content of your voice recording when selecting the perfect background music. Take your time to fine-tune the volume levels, synchronize the music with your narration, and apply fade-in and fade-out effects for a polished and cohesive audio mix.
Whether you’re a podcaster, voice-over artist, or content creator, the addition of background music can elevate your productions and leave a lasting impression on your audience. It helps create a memorable experience, enhances storytelling, and sets the tone for your content.
Now armed with your newfound knowledge, go forth and explore the art of incorporating background music into your voice recordings. Be creative, experiment, and continue refining your skills to create impactful and captivating audio content.
By investing the time and effort into adding background music, you have the power to transform your voice recordings into extraordinary audio experiences. So, let the music play and let your voice be heard!