Home>Events & Info>Acapella>How To Make Acapella With Adobe Audition
Acapella
How To Make Acapella With Adobe Audition
Published: January 3, 2024
Learn how to create acapella music easily using Adobe Audition. Discover step-by-step instructions and techniques to isolate vocals and remove instrumentals.
(Many of the links in this article redirect to a specific reviewed product. Your purchase of these products through affiliate links helps to generate commission for AudioLover.com, at no extra cost. Learn more)
Table of Contents
Introduction
Welcome to this guide on how to create an acapella track using Adobe Audition. Acapella music, characterized by its pure vocal sound without any instrumental accompaniment, has gained popularity in various genres, from pop to hip-hop to electronic music. Creating acapella tracks can be a great way to showcase your vocal talents or remix existing songs.
Adobe Audition is a powerful software that allows you to manipulate audio files and extract vocals from songs. In this tutorial, we will walk you through the step-by-step process of creating an acapella using Adobe Audition.
Please note that creating acapella tracks requires some technical expertise and may take time and practice to perfect. However, with the right tools and techniques, you can achieve impressive results and breathe new life into your favorite songs.
Before we dive into the steps, make sure you have Adobe Audition installed on your computer. If you don’t have it yet, you can download a free trial from the Adobe website.
Now, let’s get started with the first step: importing the audio track.
Step 1: Importing the Audio Track
The first step in creating an acapella track is to import the audio file into Adobe Audition. Here’s how you can do it:
- Launch Adobe Audition on your computer.
- Click on the “File” menu and select “Open” to browse for the audio file you want to work with. Alternatively, you can drag and drop the file directly into the Audition workspace.
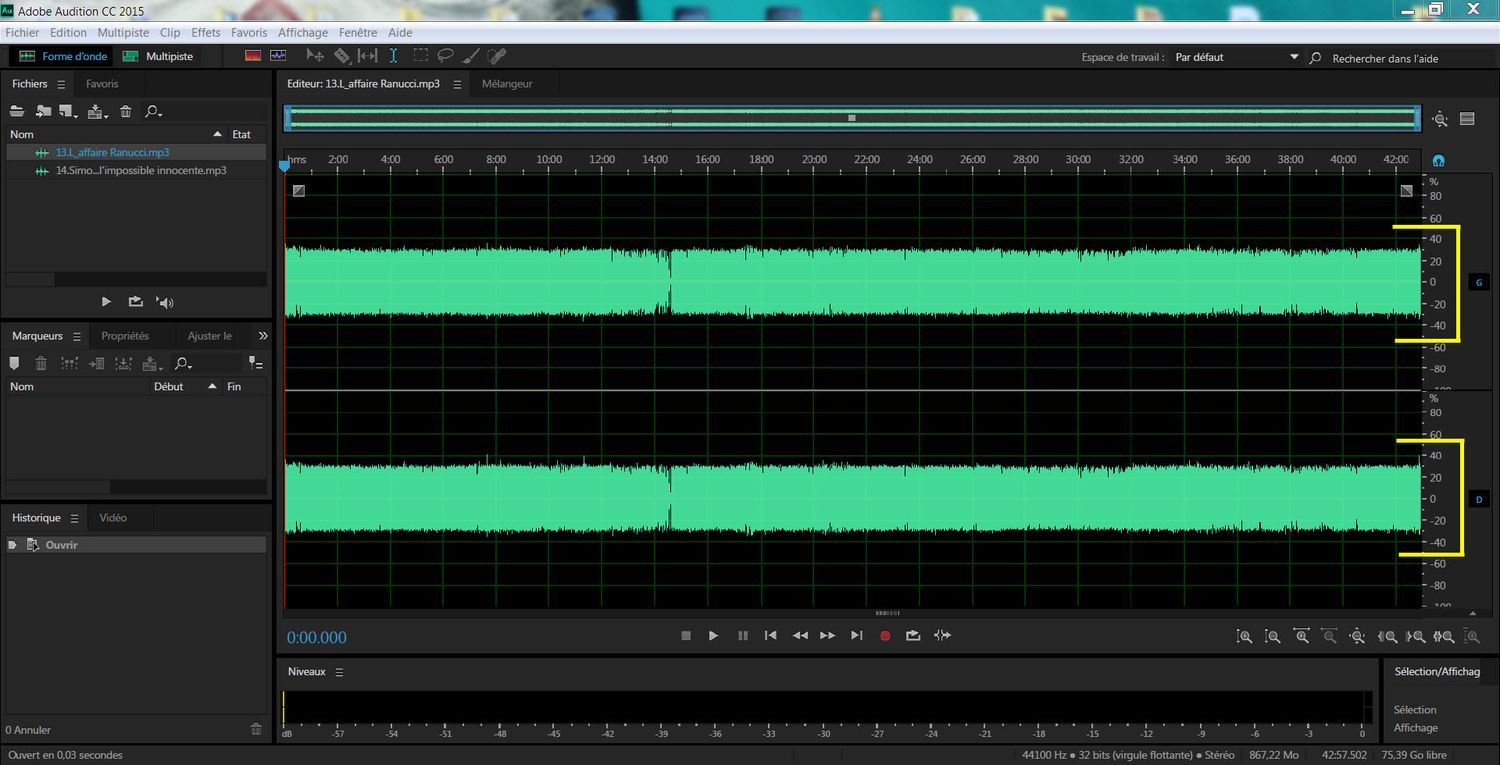
- Once you’ve selected the audio file, it will open in the waveform editor in Audition.
It’s important to choose a high-quality audio file for best results. Look for a version of the song that has minimal background noise and is as close to the original studio recording as possible.
Now that you have imported the audio track, let’s move on to the next step: isolating the vocals.
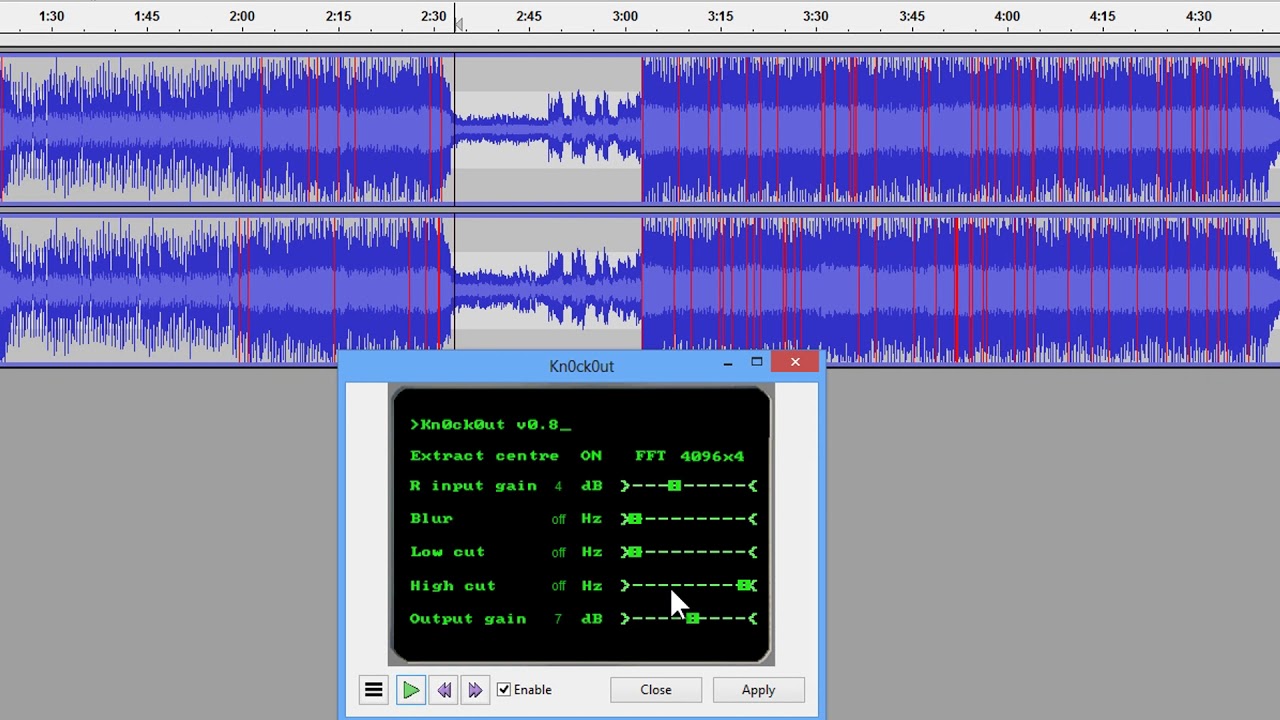
Step 2: Isolating the Vocals
Once you have imported the audio track into Adobe Audition, the next step is to isolate the vocals from the rest of the music. Here’s how you can do it:
- Select the entire audio track by clicking and dragging over the waveform.
- Go to the “Effects” menu and choose “Noise Reduction/Restoration” followed by “Capture Noise Print”. This will analyze the audio and capture the background noise that we want to remove.
- After capturing the noise print, go back to the “Effects” menu and choose “Noise Reduction/Restoration” followed by “Noise Reduction (Process)”. Adjust the “Reduction” slider to reduce the background noise while preserving the vocal quality. You can preview the changes in real-time by clicking on the “Preview” button.
- Once you are satisfied with the noise reduction, click on “OK” to apply the changes to the audio.
By following these steps, you can effectively isolate the vocals and minimize any distracting background noise. However, keep in mind that complete vocal isolation may not always be possible, especially if the vocals are mixed very closely with the music. In such cases, a certain level of residual music might remain in the acapella track.
Now that you have successfully isolated the vocals, let’s move on to step 3: removing background noise.
Step 3: Removing Background Noise
After isolating the vocals, the next step in creating an acapella track is to remove any remaining background noise. Here’s how you can do it using Adobe Audition:
- Select the vocal track by clicking and dragging over the waveform.
- Go to the “Effects” menu, choose “Noise Reduction/Restoration,” and then select “Hiss Reduction”. This will help reduce any hissing or high-frequency noise in the vocals.
- In the Hiss Reduction panel, adjust the sliders for “Noise Reduction” and “Frequency Smoothing” until you achieve the desired balance between removing noise and preserving the vocal quality. You can preview the changes in real-time to fine-tune the settings.
- Once you are satisfied with the noise reduction, click on “OK” to apply the changes to the audio.
In addition to hissing, you may also encounter other types of background noise, such as clicks, pops, or hums. Adobe Audition provides various tools and effects to tackle these issues. You can experiment with tools like “Click/Pop Eliminator” and “DeHummer” to further refine the acapella track.
Remember, the goal is to remove as much background noise as possible while maintaining the quality and clarity of the vocals. Be mindful not to overdo the noise reduction, as it may adversely affect the vocal sound.
With the background noise removed, let’s move on to step 4: enhancing the vocal sound.
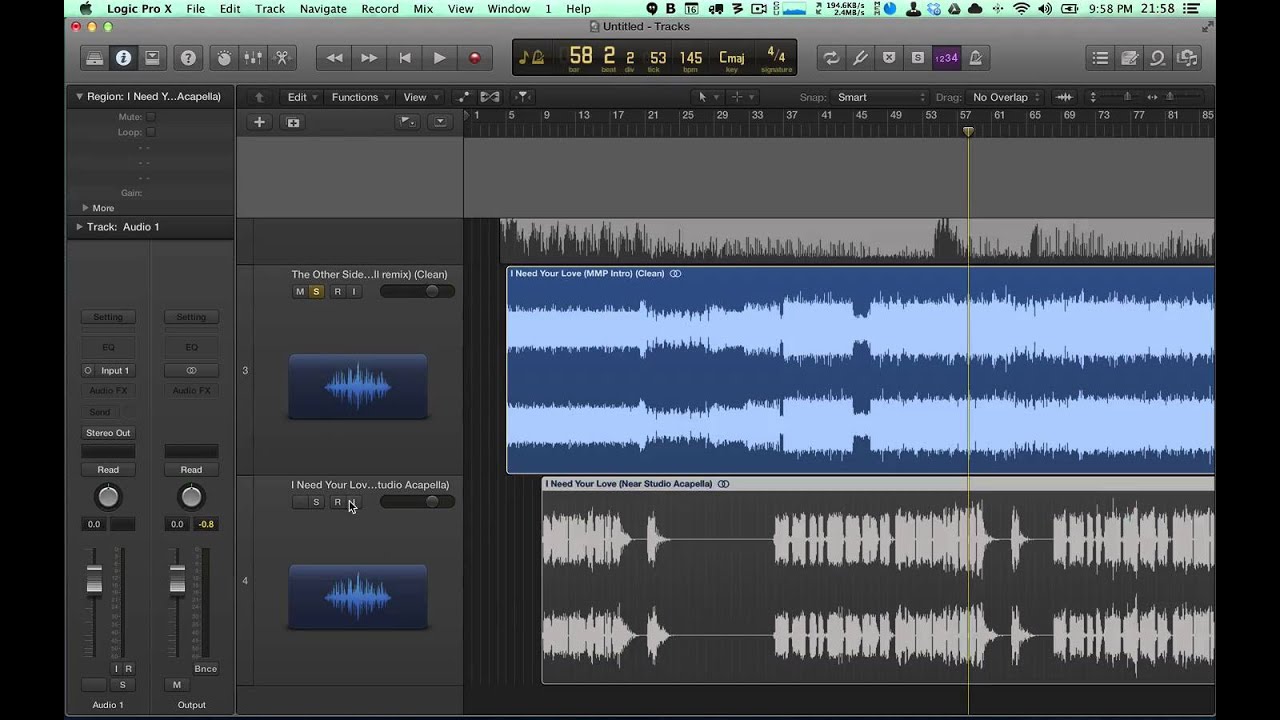
Step 4: Enhancing the Vocal Sound
Once you have removed the background noise from the vocals, the next step is to enhance the overall sound to make the acapella track more polished and professional. Here are some techniques you can use in Adobe Audition:
- Apply equalization (EQ): Use the EQ effects in Audition to adjust the frequency balance of the vocals. You can boost or cut specific frequencies to emphasize certain aspects of the vocals, such as clarity and presence.
- Use compression: Apply compression to even out the dynamic range of the vocals. This helps to make the softer parts louder and the louder parts softer, resulting in a more balanced and controlled vocal performance.
- Add reverb or other effects: Experiment with reverb, delay, or other effects to add depth and ambience to the vocals. Be creative but remember to use these effects subtly to avoid overpowering the vocals.
- Correct pitch and timing: If needed, use the pitch correction tools in Audition to fix any pitch issues in the vocals. Additionally, you can use the time stretching and alignment features to adjust the timing and sync the vocals perfectly.
It’s important to approach these enhancements with a critical ear and make adjustments that enhance the natural qualities of the vocals without sounding artificial or overproduced. The goal is to bring out the best qualities of the vocals and ensure they shine in the acapella track.
Once you are satisfied with the enhancements, it’s time for the final step: exporting the acapella track.
Step 5: Exporting the Acapella Track
After you have completed the necessary adjustments and enhancements to the acapella track, the final step is to export it as a standalone audio file. Here’s how you can do it in Adobe Audition:
- Make sure you have saved your project file to preserve all the edits and modifications you have made.
- Go to the “File” menu and select “Export” or “Export Audio”.
- In the Export options, choose the desired audio format, such as WAV or MP3, and select the quality settings you prefer.
- Specify the destination folder where you want to save the exported acapella track.
- Click on “Export” or “OK” to start the export process.
While exporting, it’s crucial to keep in mind the desired file format and quality settings. Consider factors like file size and compatibility with other devices or platforms.
Once the export is complete, you now have your acapella track ready to use or share. You can incorporate it into your own productions, remixes, or share it with others who appreciate acapella music.
Congratulations! You have successfully created an acapella track using Adobe Audition. Remember, practice and experimentation are key to mastering this technique and achieving the desired results.
Take your time to fine-tune your editing skills, explore advanced features in Adobe Audition, and continue to refine your acapella tracks. With dedication and creativity, you can produce stunning acapella performances and bring a unique vocal experience to your music.
Enjoy your acapella journey and happy vocal isolation!
Conclusion
Creating an acapella track can be a rewarding and exciting process, allowing you to showcase your vocal talents or explore new possibilities for remixing songs. With Adobe Audition, you have a powerful tool at your disposal to isolate vocals, remove background noise, and enhance the overall sound of your acapella track.
Throughout this guide, we have covered the step-by-step process of creating an acapella using Adobe Audition, from importing the audio track to exporting the final acapella file. Remember, practice makes perfect, and it may take time to master the techniques and achieve the desired results.
As you embark on your acapella journey, don’t be afraid to experiment and explore different ways to enhance the vocal sound. Play around with EQ, compression, and effects to bring out the best qualities of the vocals while maintaining their natural essence.
Keep in mind that creating a high-quality acapella track requires attention to detail and a critical ear. Strive for a balance between removing background noise and preserving the integrity and character of the vocals. Avoid excessive processing that may result in an unnatural or artificial sound.
Lastly, have fun with the process! Acapella music offers a unique opportunity to fully appreciate the power and beauty of the human voice. So embrace your creativity, explore new possibilities, and enjoy the journey of creating captivating acapella tracks.
Now it’s time to get started! Import your favorite song into Adobe Audition and let your vocals take center stage. Good luck!