Home>Production & Technology>MIDI>How To Set Up MIDI Keyboard In FL Studio
MIDI
How To Set Up MIDI Keyboard In FL Studio
Modified: February 22, 2024
Learn how to set up your MIDI keyboard in FL Studio with our step-by-step guide. Connect, configure, and start making music with MIDI today!
(Many of the links in this article redirect to a specific reviewed product. Your purchase of these products through affiliate links helps to generate commission for AudioLover.com, at no extra cost. Learn more)
Table of Contents
Introduction
Setting up a MIDI keyboard in FL Studio opens up a world of creative possibilities for music producers and enthusiasts. MIDI, which stands for Musical Instrument Digital Interface, allows for seamless communication between electronic musical instruments, computers, and music production software like FL Studio. By connecting a MIDI keyboard to FL Studio, you can harness the power of this versatile technology to play virtual instruments, record melodies, and control various parameters within the software.
In this comprehensive guide, we will walk you through the process of setting up your MIDI keyboard in FL Studio, providing step-by-step instructions and valuable tips to ensure a smooth and rewarding experience. Whether you're a seasoned music producer or a novice enthusiast, this guide will empower you to unleash the full potential of your MIDI keyboard within the FL Studio environment.
Are you ready to embark on a journey that will elevate your music production capabilities? Let's dive into the intricacies of connecting and configuring your MIDI keyboard in FL Studio, unlocking a world of musical expression and creativity at your fingertips.
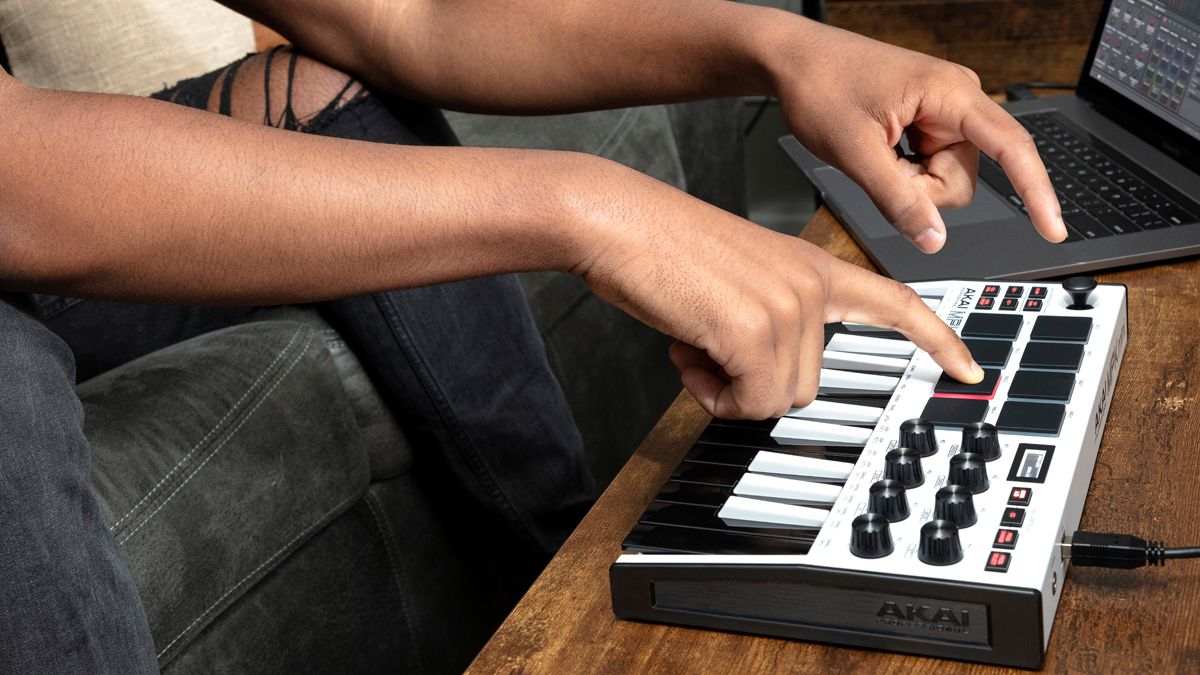
Step 1: Connecting the MIDI Keyboard to Your Computer
The first crucial step in integrating your MIDI keyboard with FL Studio involves establishing a physical connection between the keyboard and your computer. This process is relatively straightforward and requires a few key components to ensure seamless communication between the two devices.
1.1. USB Connection
Many modern MIDI keyboards feature USB connectivity, allowing for direct and hassle-free connection to your computer. Simply locate the USB port on your MIDI keyboard and plug it into an available USB port on your computer. Once connected, your computer should automatically detect the MIDI keyboard as a new device, and the necessary drivers will be installed.
1.2. MIDI Ports
If your MIDI keyboard does not have USB connectivity, it may feature traditional MIDI ports, including MIDI IN and MIDI OUT. In this case, you will need a MIDI interface to facilitate the connection between the keyboard and your computer. Connect the MIDI OUT port of your keyboard to the MIDI IN port of the interface using a standard MIDI cable. Then, connect the MIDI interface to an available USB port on your computer. This setup enables the transmission of MIDI data between your keyboard and computer.
1.3. Powering Up
Once the physical connection is established, power on your MIDI keyboard. Some keyboards draw power directly from the computer via USB, while others may require a separate power source. Ensure that your MIDI keyboard is powered on and ready to communicate with your computer.
By following these steps, you have successfully connected your MIDI keyboard to your computer, laying the foundation for the next phase of configuring FL Studio to recognize and utilize the MIDI input. With the physical connection established, you are now poised to delve into the software settings and unleash the full potential of your MIDI keyboard within FL Studio.
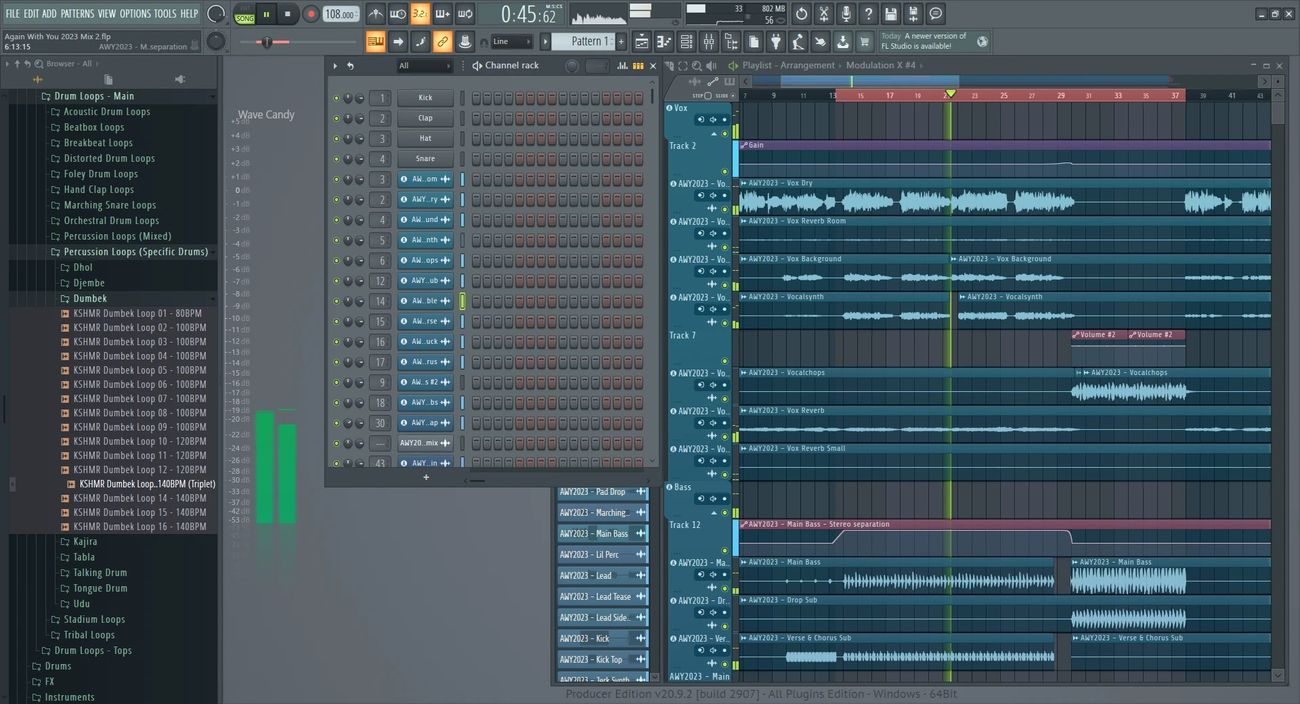
Step 2: Configuring FL Studio for MIDI Input
Once your MIDI keyboard is physically connected to your computer, the next essential step is configuring FL Studio to recognize and effectively utilize the MIDI input. This pivotal configuration process enables FL Studio to interpret the signals from your MIDI keyboard, allowing you to play virtual instruments, record MIDI data, and control various parameters within the software.
2.1. Accessing the MIDI Settings
To initiate the configuration process, launch FL Studio on your computer. Once the software is open, navigate to the "Options" menu located at the top of the interface. From the dropdown menu, select "MIDI Settings" to access the MIDI configuration panel. This is where you will define the MIDI input settings and establish the communication between your MIDI keyboard and FL Studio.
2.2. Selecting the MIDI Input Device
Within the MIDI settings panel, locate the section that allows you to choose the MIDI input device. Your connected MIDI keyboard should appear as an available input device in the dropdown menu. Select your MIDI keyboard from the list to designate it as the primary MIDI input device for FL Studio.
2.3. Enabling MIDI Input
After selecting your MIDI keyboard as the input device, ensure that MIDI input is enabled within FL Studio. This step is crucial for activating the bidirectional communication between your MIDI keyboard and the software. Look for an option to enable MIDI input within the MIDI settings panel and ensure that it is toggled on.
2.4. Setting MIDI Channels
Depending on the capabilities of your MIDI keyboard and the complexity of your music production setup, you may need to configure MIDI channels within FL Studio. This step involves assigning specific MIDI channels to different instruments or tracks within the software. By defining the MIDI channels, you can control multiple virtual instruments and parameters using your MIDI keyboard.
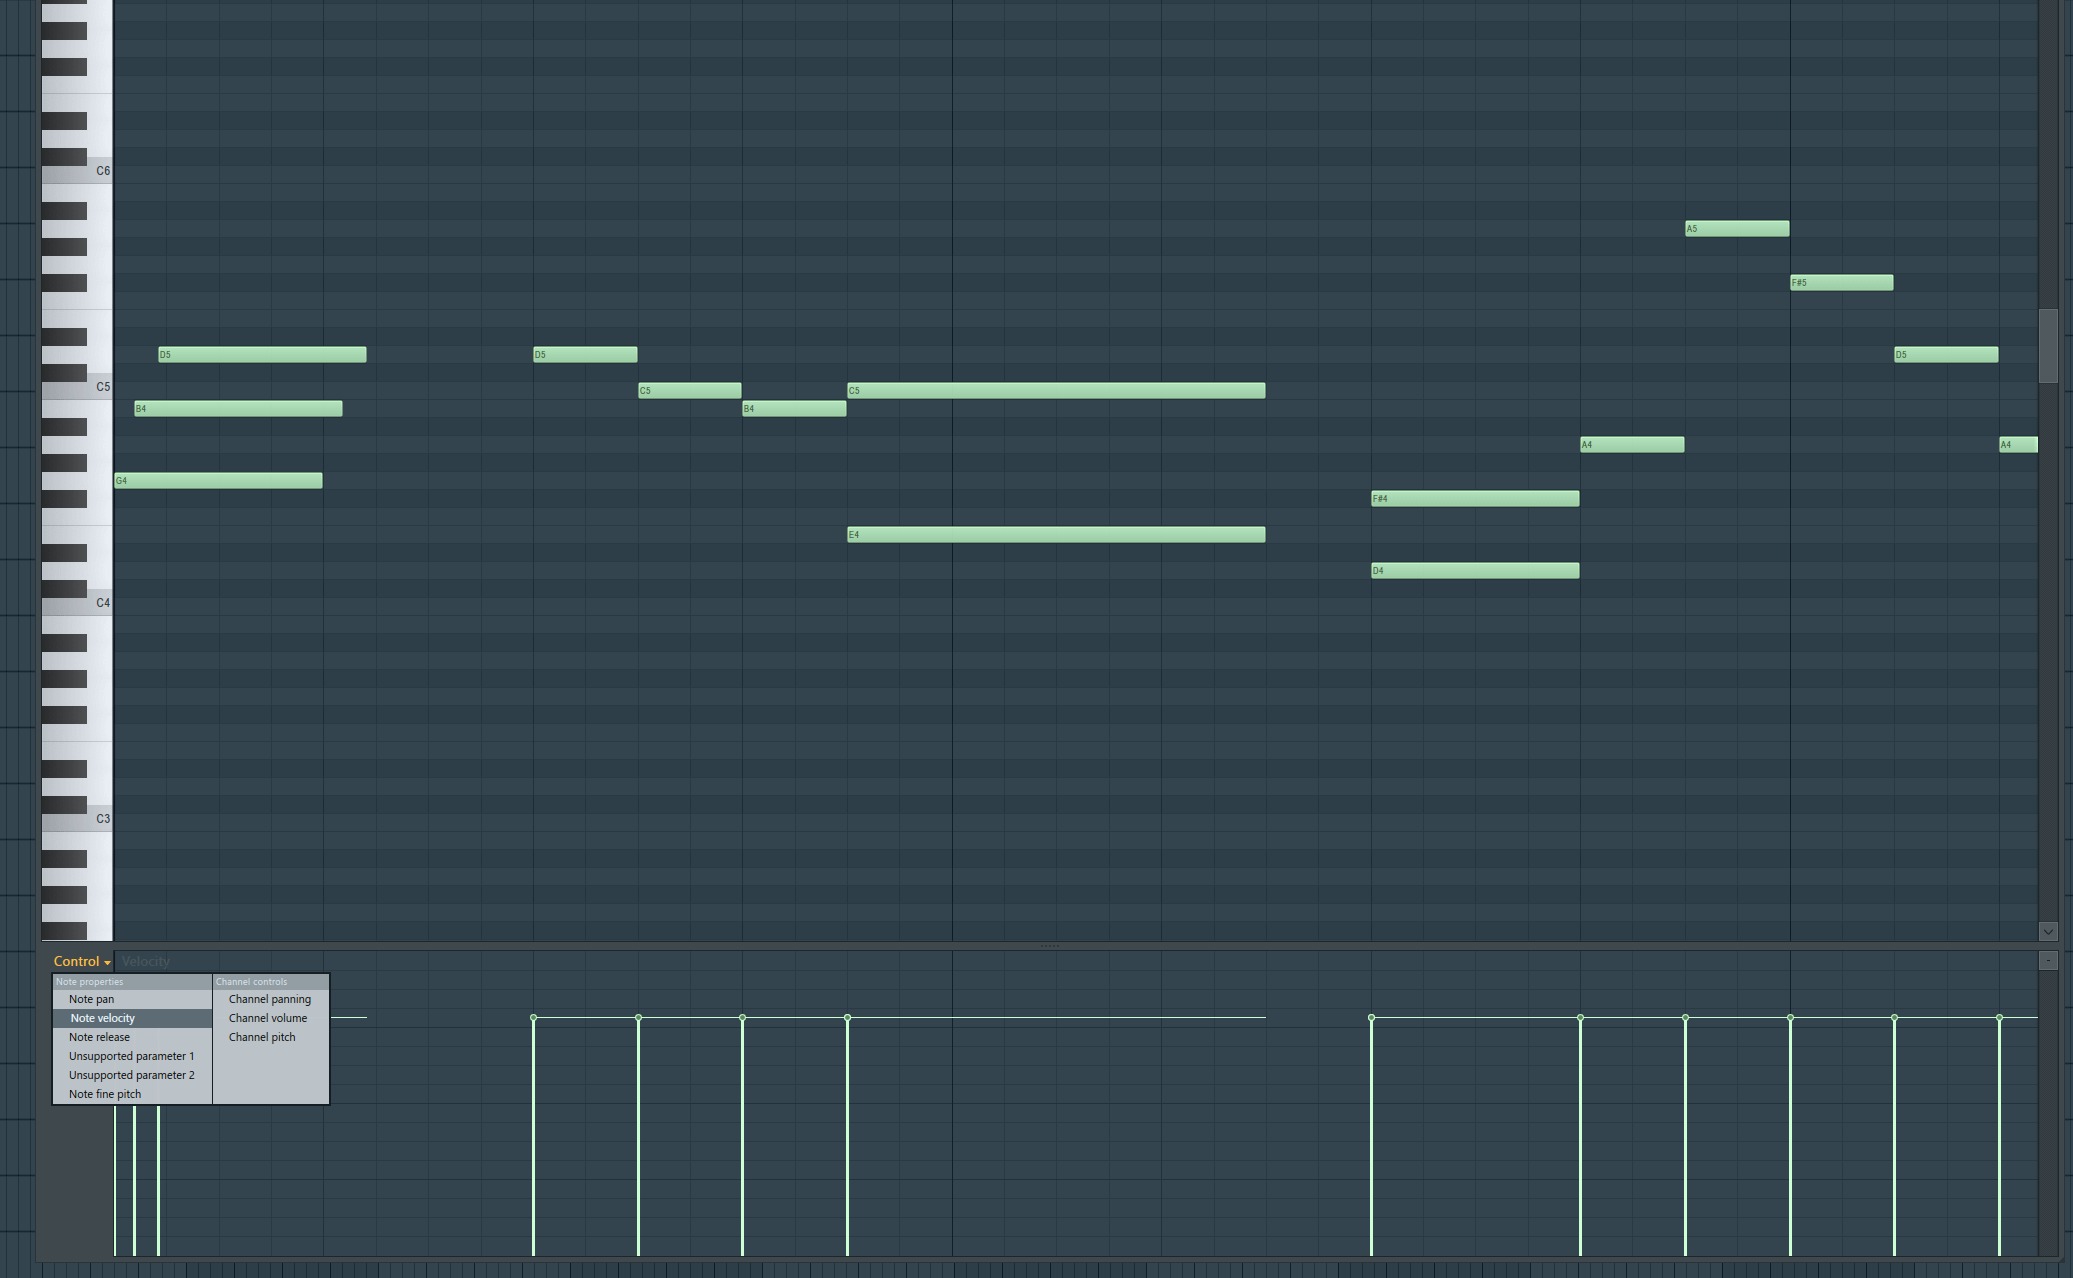
2.5. Testing MIDI Input
To verify that FL Studio is successfully configured to receive MIDI input from your keyboard, play a few notes on the MIDI keyboard. Observe the software interface for any visual indicators that MIDI data is being received. You should see the MIDI input signal reflected in FL Studio, confirming that the configuration process was executed effectively.
By meticulously following these steps, you have effectively configured FL Studio to recognize and utilize the MIDI input from your keyboard. This seamless integration paves the way for a dynamic and expressive music production experience, empowering you to harness the full potential of your MIDI keyboard within the FL Studio environment.
Step 3: Assigning MIDI Channels and Instruments
After configuring FL Studio to recognize your MIDI keyboard's input, the next crucial step is assigning MIDI channels and instruments within the software. This pivotal process enables you to allocate specific MIDI channels to different virtual instruments or tracks, effectively controlling and playing these instruments using your MIDI keyboard.
3.1. Understanding MIDI Channels
MIDI channels serve as communication pathways that allow MIDI data to be transmitted between devices. In the context of FL Studio, understanding MIDI channels is essential for orchestrating multiple virtual instruments and ensuring that each instrument responds to distinct MIDI input from your keyboard. Each MIDI channel can be assigned to a unique instrument or track, enabling you to create intricate musical arrangements and control various sound sources.
3.2. Assigning MIDI Channels
Within FL Studio, the process of assigning MIDI channels involves linking specific MIDI channels from your keyboard to individual virtual instruments or tracks. This can be accomplished through the software's interface, where you have the flexibility to designate MIDI channels based on your creative preferences and production requirements. By assigning MIDI channels, you establish a direct correspondence between your MIDI keyboard and the virtual instruments, allowing for seamless control and performance.
3.3. Configuring Virtual Instruments
Once MIDI channels are assigned, you can proceed to configure the virtual instruments within FL Studio. This entails selecting and loading the desired instruments onto separate tracks, aligning them with the designated MIDI channels. By doing so, you create a musical framework where each MIDI channel corresponds to a specific instrument, enabling you to play and manipulate these instruments in real time using your MIDI keyboard.
3.4. Testing MIDI Channel Assignments
To ensure that the MIDI channels are correctly assigned and aligned with the intended virtual instruments, perform a test by playing your MIDI keyboard. As you engage with different keys and triggers, observe the corresponding virtual instruments within FL Studio to verify that the MIDI input is accurately triggering the assigned instruments. This testing phase allows you to fine-tune the MIDI channel assignments, ensuring a seamless and responsive musical interaction between your keyboard and the virtual instruments.
By meticulously executing the process of assigning MIDI channels and instruments within FL Studio, you establish a cohesive and dynamic framework for musical expression and production. This strategic configuration empowers you to leverage the full potential of your MIDI keyboard, seamlessly integrating it with virtual instruments and unlocking a world of creative possibilities within the FL Studio environment.
Step 4: Testing Your MIDI Keyboard
With your MIDI keyboard connected and FL Studio configured to recognize its input, the final step involves testing the functionality of your MIDI keyboard within the software environment. This pivotal phase allows you to validate the seamless integration of your MIDI keyboard with FL Studio, ensuring that it accurately translates your musical input into dynamic and expressive digital output.
4.1. Playing Virtual Instruments
Initiate the testing process by selecting a virtual instrument within FL Studio. Whether it's a synthesizer, piano, drum kit, or any other virtual instrument of your choice, load it onto a track and prepare to engage with it using your MIDI keyboard. As you play different keys and triggers on the MIDI keyboard, observe how the virtual instrument responds in real time. The goal is to ascertain that your MIDI keyboard effectively triggers the corresponding sounds and articulations within the selected virtual instrument, validating the seamless communication between the hardware and software components.
4.2. Recording MIDI Data
In addition to playing virtual instruments, testing your MIDI keyboard involves recording MIDI data within FL Studio. Activate the recording functionality within the software and begin playing melodies, chords, and sequences on your MIDI keyboard. As you perform, observe how FL Studio accurately captures and records the MIDI data, preserving your musical input as actionable MIDI sequences within the software. This testing phase validates the bidirectional flow of MIDI data, affirming that your keyboard's performance is accurately translated into digital MIDI information that can be manipulated and edited within FL Studio.
4.3. Parameter Control
Beyond playing and recording, testing your MIDI keyboard should encompass the control of various parameters within FL Studio. This may include adjusting virtual instrument settings, manipulating effects parameters, or modulating sound characteristics in real time. Utilize the knobs, sliders, and modulation wheels on your MIDI keyboard to interact with these parameters, observing how FL Studio responds to your tactile input. The seamless control and manipulation of parameters through your MIDI keyboard validate its versatility as a dynamic tool for shaping and sculpting digital audio within the software environment.
4.4. Fine-Tuning and Exploration
As you progress through the testing phase, take the opportunity to fine-tune and explore the capabilities of your MIDI keyboard within FL Studio. Experiment with different virtual instruments, delve into advanced MIDI mapping options, and explore the expressive potential of features such as aftertouch and velocity sensitivity. By immersing yourself in this exploratory process, you gain a deeper understanding of how your MIDI keyboard seamlessly integrates with FL Studio, unlocking a world of creative expression and musical control.
By meticulously testing your MIDI keyboard within FL Studio, you validate its functionality as a versatile and expressive tool for music production. The successful completion of this testing phase affirms the harmonious synergy between your MIDI keyboard and FL Studio, empowering you to embark on a creative journey where your musical ideas seamlessly manifest within the digital realm.
Conclusion
In conclusion, the process of setting up a MIDI keyboard in FL Studio represents a transformative journey that empowers music producers and enthusiasts to seamlessly bridge the physical and digital realms of music creation. By meticulously following the steps outlined in this guide, you have embarked on a path that culminates in the harmonious integration of your MIDI keyboard with FL Studio, unlocking a myriad of creative possibilities and expressive capabilities.
Through the meticulous process of connecting your MIDI keyboard to your computer, configuring FL Studio for MIDI input, assigning MIDI channels and instruments, and thoroughly testing the functionality of your MIDI keyboard within the software, you have established a dynamic and responsive musical ecosystem where your creative impulses flow seamlessly from your fingertips into the digital domain.
The successful setup of your MIDI keyboard in FL Studio lays the foundation for a rich and immersive music production experience. With the ability to play and control virtual instruments, record intricate melodies, and manipulate a diverse array of parameters using your MIDI keyboard, you are poised to embark on a journey of sonic exploration and artistic expression.
Furthermore, the integration of your MIDI keyboard with FL Studio transcends mere technical configuration; it represents a convergence of artistry and technology, where your musical intentions materialize with precision and depth. The tactile interaction with your MIDI keyboard becomes a catalyst for innovation, allowing you to sculpt and shape digital soundscapes with unparalleled nuance and emotive resonance.
As you venture forth into the realm of music production within FL Studio, the seamless integration of your MIDI keyboard serves as a conduit for creativity, enabling you to transcend conventional boundaries and explore the boundless horizons of sonic artistry. Whether you are crafting intricate compositions, experimenting with electronic textures, or orchestrating emotive melodies, your MIDI keyboard stands as a versatile instrument of expression, seamlessly interfacing with the intuitive workflow of FL Studio.
In essence, the successful setup of your MIDI keyboard in FL Studio marks the inception of a dynamic partnership between human creativity and technological innovation. This partnership empowers you to craft immersive sonic landscapes, channel your musical vision into tangible form, and embark on a journey of artistic discovery where the boundaries between imagination and realization dissolve into a symphony of boundless possibilities.