Home>Instruments>Drums>How To Remove Drums From A Sample In FL Studio
Drums
How To Remove Drums From A Sample In FL Studio
Published: February 7, 2024
Learn how to easily remove drums from any sample in FL Studio using simple techniques. Follow our step-by-step guide to achieve the perfect sound without the drums.
(Many of the links in this article redirect to a specific reviewed product. Your purchase of these products through affiliate links helps to generate commission for AudioLover.com, at no extra cost. Learn more)
Table of Contents
Introduction
Removing drums from a sample can be a game-changer for music producers and audio engineers. Whether you want to create a karaoke version of a song, isolate specific elements for a remix, or clean up a drum track for better mixing, the ability to extract or reduce drum sounds from a recording is a valuable skill. In this article, we will explore the process of removing drums from a sample using FL Studio, a popular digital audio workstation known for its versatile features and user-friendly interface.
Drums are a fundamental component of most music genres, providing rhythm, energy, and impact to a song. However, there are situations where you may need to diminish or eliminate the drum elements from a track. Traditional methods of drum removal often involved complex phase cancellation techniques or expensive hardware processors. Fortunately, advancements in audio software technology have made this process more accessible and efficient, allowing users to achieve impressive results with the right tools and know-how.
In the following sections, we will delve into the concept of drum removal, discussing the underlying principles and challenges associated with this task. We will then explore how FL Studio's built-in tools and plugins can be utilized to effectively attenuate or extract drum sounds from a sample. Additionally, we will provide valuable tips and considerations to optimize the drum removal process, empowering you to achieve professional-grade results within FL Studio.
Whether you're a seasoned music producer looking to refine your sound or an aspiring enthusiast eager to explore the intricacies of audio manipulation, mastering the art of drum removal in FL Studio can open up a world of creative possibilities. By understanding the techniques and tools at your disposal, you can take control of your music production workflow and elevate the quality of your projects. Join us on this sonic journey as we uncover the secrets of removing drums from a sample in FL Studio.
Understanding Drum Removal
Drum removal, also known as drum isolation or drum extraction, refers to the process of reducing or eliminating the percussive elements from an audio recording, leaving behind other musical components such as vocals, bass, and instrumentation. This technique is particularly useful in scenarios where individual elements of a song need to be isolated for remixing, sampling, or mixing purposes.
At its core, drum removal involves the separation of drum sounds from the rest of the audio spectrum. This task presents a unique set of challenges due to the complex nature of drum patterns and the wide frequency range occupied by percussive instruments. Drums typically encompass a broad spectrum of frequencies, including powerful low-end kick drums, snappy snares, and shimmering cymbals, making their isolation a non-trivial endeavor.
One of the primary methods for drum removal involves exploiting the stereo field and phase relationships within a mix. When a song is mixed, the drums are often panned to the center of the stereo image, while other instruments and vocals are distributed across the left and right channels. By manipulating the phase and stereo positioning of the audio signals, it is possible to attenuate or cancel out the drum sounds, effectively isolating the remaining musical elements.
It’s important to note that complete drum removal is often challenging to achieve without impacting other parts of the mix. Since the frequencies of drum instruments can overlap with those of other musical elements, the process of isolating drums may introduce artifacts or affect the overall tonal balance of the audio. As a result, a balance must be struck between minimizing the drum sounds and preserving the integrity of the remaining music.
Furthermore, the success of drum removal depends on the quality and characteristics of the source material. Factors such as the mix’s complexity, the recording quality, and the presence of reverb and effects can influence the effectiveness of drum removal techniques. Understanding these variables is essential for implementing the most suitable approach to achieve the desired results.
As we delve into the practical aspects of drum removal in FL Studio, it’s crucial to grasp the underlying principles and challenges associated with this process. By gaining a deeper understanding of drum removal techniques, you can approach the task with clarity and precision, ultimately enhancing your ability to manipulate audio with finesse and creativity.
Using FL Studio’s Tools for Drum Removal
FL Studio provides a range of powerful tools and plugins that can be harnessed to attenuate or extract drum sounds from a sample. Understanding how to leverage these features effectively is essential for achieving optimal results in drum removal tasks.
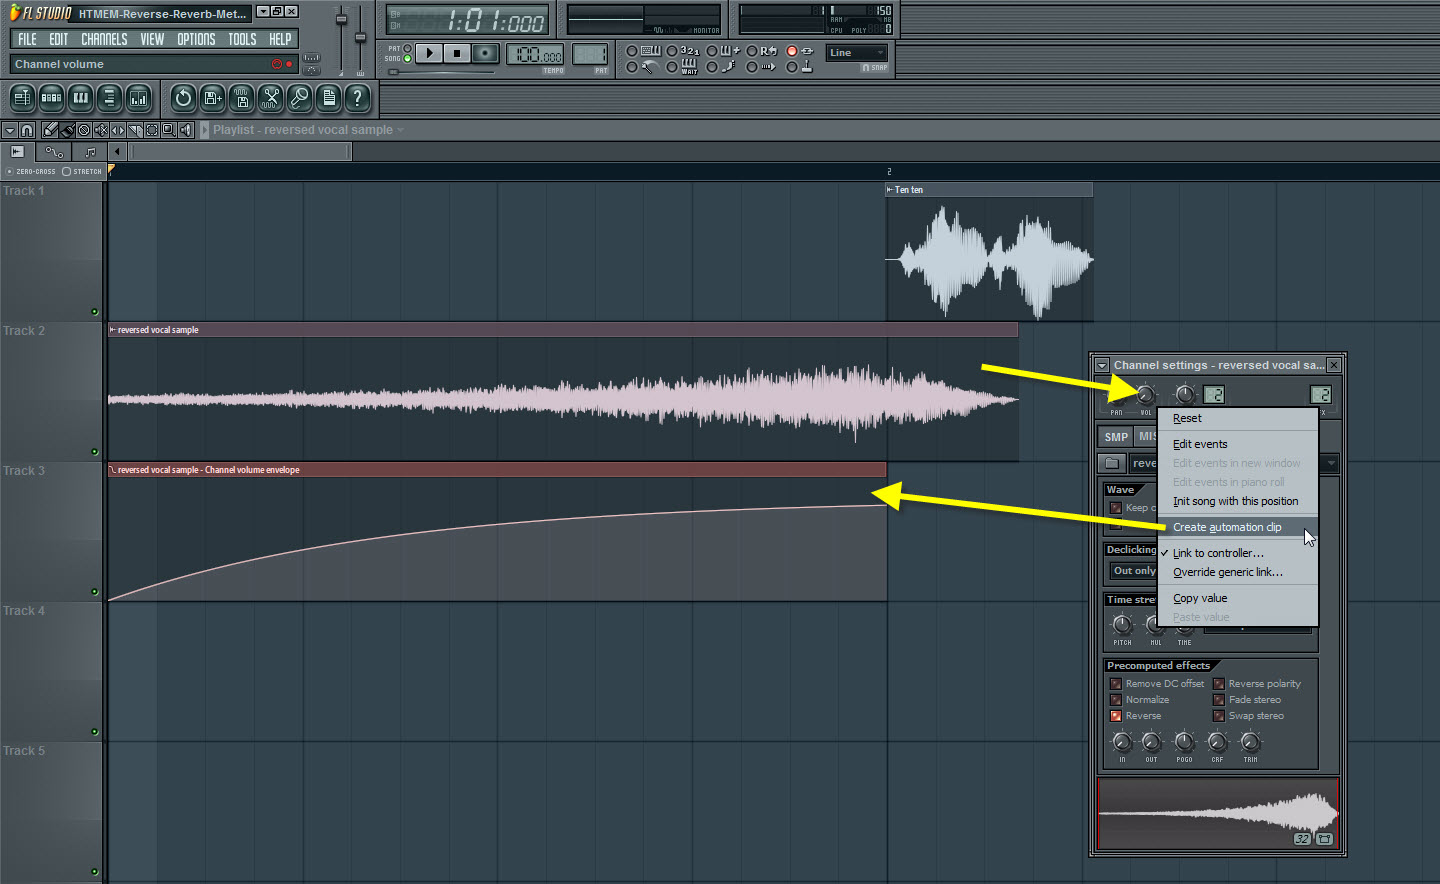
One of the fundamental techniques for drum removal in FL Studio involves utilizing the “Phase Inversion” method. This method exploits the phase relationships between the left and right channels of a stereo mix to cancel out common elements, such as centered drums, while preserving the differences, such as vocals and other instruments that are panned differently. To apply this technique, users can duplicate the original audio track, invert the phase of one of the duplicates, and then mix the two tracks together. By adjusting the phase-inverted track’s volume and polarity, it is possible to attenuate or remove the drum sounds, leaving behind the desired audio elements.
FL Studio also offers a powerful plugin known as “Fruity Stereo Shaper,” which enables users to manipulate the stereo image of an audio signal. By adjusting the phase and stereo width parameters, producers can alter the spatial characteristics of the audio, potentially aiding in the isolation of drum sounds. Additionally, the plugin provides a “Phase Offset” control, allowing for precise adjustments to the phase relationships within the stereo field, which can be instrumental in the drum removal process.
Another valuable tool within FL Studio is the “Fruity Parametric EQ 2,” a versatile equalizer plugin that can be employed to sculpt the frequency response of an audio signal. When removing drums from a sample, users can utilize EQ adjustments to target and attenuate specific drum frequencies, such as the kick drum’s low-end thump or the snare’s midrange punch. By carefully identifying and reducing the prominent drum frequencies, the overall impact of the percussive elements can be diminished, facilitating cleaner isolation of the remaining musical components.
Furthermore, FL Studio’s “Stereo Enhancer” plugin offers functionalities that can aid in the drum removal process. By adjusting the stereo separation and phase parameters, users can manipulate the spatial positioning of audio signals, potentially influencing the prominence of drum sounds within the mix. This tool can be particularly useful in scenarios where the drums are predominantly centered in the stereo field, allowing for targeted adjustments to mitigate their impact on the overall audio.
By harnessing these tools and techniques within FL Studio, producers and audio engineers can navigate the intricacies of drum removal with precision and creativity. Understanding the capabilities of these features empowers users to tailor their approach to the specific characteristics of the source material, ultimately enhancing their ability to extract, attenuate, or manipulate drum sounds effectively.
Additional Tips for Drum Removal in FL Studio
While FL Studio offers a robust set of tools for drum removal, certain additional tips and considerations can further optimize the process, leading to more refined and satisfactory results.
- Utilize Mid-Side Processing: FL Studio’s compatibility with mid-side processing techniques can be advantageous for drum removal. By isolating the center (mid) and side components of a stereo signal, producers can apply specific processing to the centered drums, allowing for targeted attenuation or extraction. Plugins such as “Fruity Stereo Enhancer” and “Fruity Stereo Shaper” can facilitate mid-side manipulation, offering enhanced control over the stereo image and phase relationships.
- Experiment with Multiband Processing: Leveraging multiband processing tools within FL Studio, such as the “Maximus” plugin, enables users to apply frequency-dependent dynamics and equalization. This capability can be utilized to target and process specific frequency bands where drum elements reside, providing a more surgical approach to drum removal. By carefully configuring the multiband parameters, producers can tailor the processing to mitigate the impact of drums without affecting other frequency regions.
- Consider Layering and Blending: In scenarios where complete drum removal proves challenging, exploring the option of layering and blending alternative drum-free segments with the original audio can yield favorable outcomes. By identifying sections of the mix with minimal drum presence and seamlessly blending them with the primary track, users can mitigate the prominence of drum sounds while preserving the integrity of the remaining music. FL Studio’s editing and arrangement capabilities facilitate seamless integration of multiple audio segments, allowing for creative experimentation in achieving the desired balance.
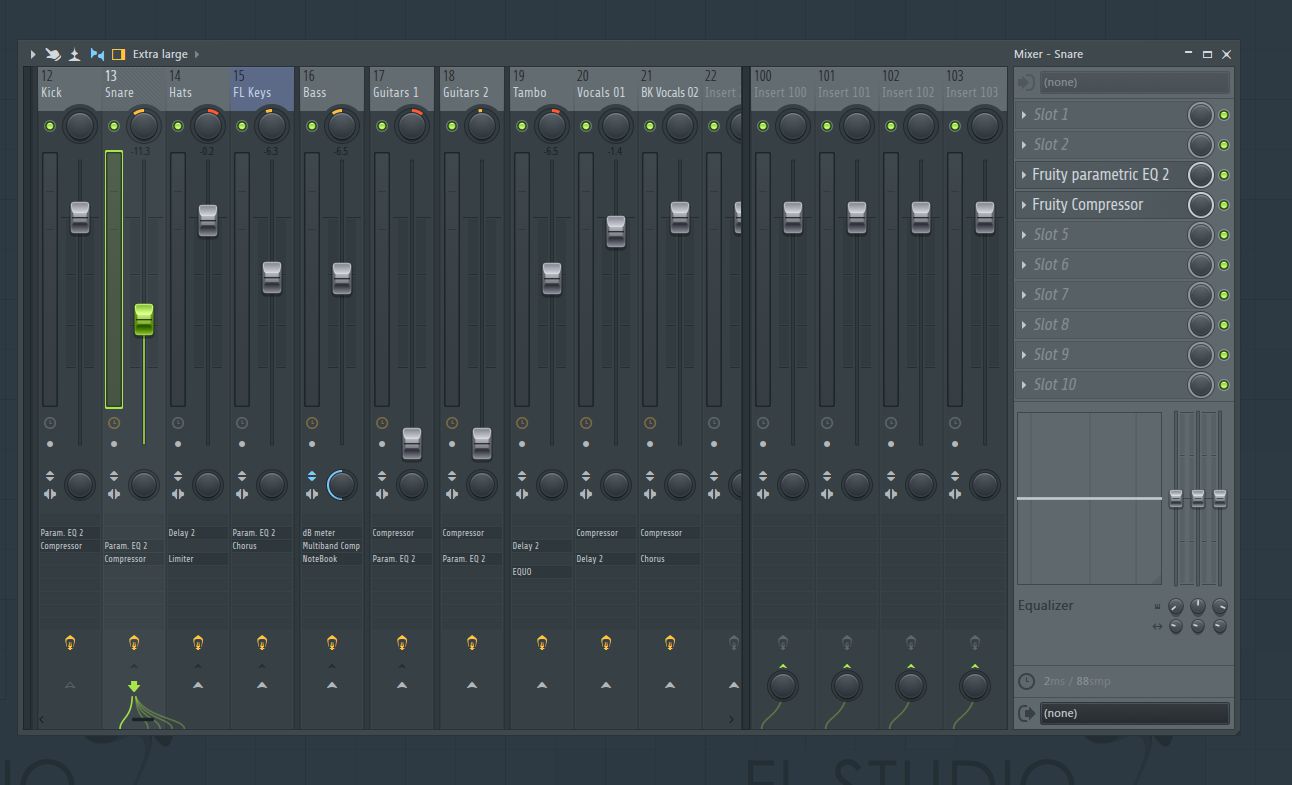
- Employ Dynamic Processing: Dynamic processing tools, such as compression and expansion, can be employed strategically to manage the dynamics of drum elements within a mix. By applying dynamic processing with precise settings, users can attenuate the transient peaks and sustain of the drums, effectively reducing their impact on the overall audio. FL Studio’s native dynamics processors, including the “Fruity Limiter” and “Fruity Compressor,” offer versatile controls for shaping the dynamics of individual tracks or the entire mix, contributing to refined drum removal outcomes.
By integrating these additional tips and techniques into the drum removal workflow, producers and audio engineers can expand their creative toolkit within FL Studio, elevating their ability to manipulate and refine audio content with finesse and artistry.
Conclusion
Mastering the art of drum removal in FL Studio unlocks a realm of creative possibilities for music producers and audio enthusiasts. By understanding the principles and techniques involved in isolating or attenuating drum sounds from a sample, users can exercise greater control over their audio productions, fostering innovation and experimentation.
FL Studio’s arsenal of tools and plugins provides a versatile platform for tackling the complexities of drum removal with precision and finesse. From phase inversion and mid-side processing to dynamic manipulation and frequency sculpting, the software offers a comprehensive suite of features tailored to address the challenges of drum isolation effectively.
As users navigate the process of drum removal, it is essential to approach the task with a discerning ear and a willingness to experiment. The nuances of each audio sample demand a thoughtful and adaptive approach, where a combination of techniques, tools, and creative ingenuity can yield optimal results. Whether attenuating the impact of drums to create a karaoke version, isolating specific elements for remixing, or refining the drum track for seamless integration into a mix, FL Studio empowers users to realize their sonic vision with precision and artistry.
Furthermore, the additional tips and considerations presented in this article serve as valuable resources for enhancing the drum removal process. By exploring mid-side processing, multiband manipulation, layering and blending, and dynamic processing, users can expand their repertoire of techniques, refining their ability to achieve nuanced and polished drum removal outcomes.
Ultimately, the journey of drum removal in FL Studio is a testament to the boundless potential of audio manipulation and creative expression. As users harness the capabilities of FL Studio’s tools and delve into the intricacies of drum removal, they embark on a path of innovation, discovery, and sonic craftsmanship. With each successful extraction or attenuation of drum elements, new avenues of creativity unfold, paving the way for transformative musical experiences and compelling sonic narratives.
Embrace the art of drum removal in FL Studio, and embark on a sonic odyssey where the boundaries of possibility are redefined, and the essence of music is reshaped with every nuanced adjustment and refined manipulation.