Home>Production & Technology>MIDI>How To Map A MIDI Keyboard In FL Studio

MIDI
How To Map A MIDI Keyboard In FL Studio
Modified: March 9, 2024
Learn how to map a MIDI keyboard in FL Studio to enhance your music production. Discover MIDI mapping techniques and optimize your workflow for better results.
(Many of the links in this article redirect to a specific reviewed product. Your purchase of these products through affiliate links helps to generate commission for AudioLover.com, at no extra cost. Learn more)
Table of Contents
Introduction
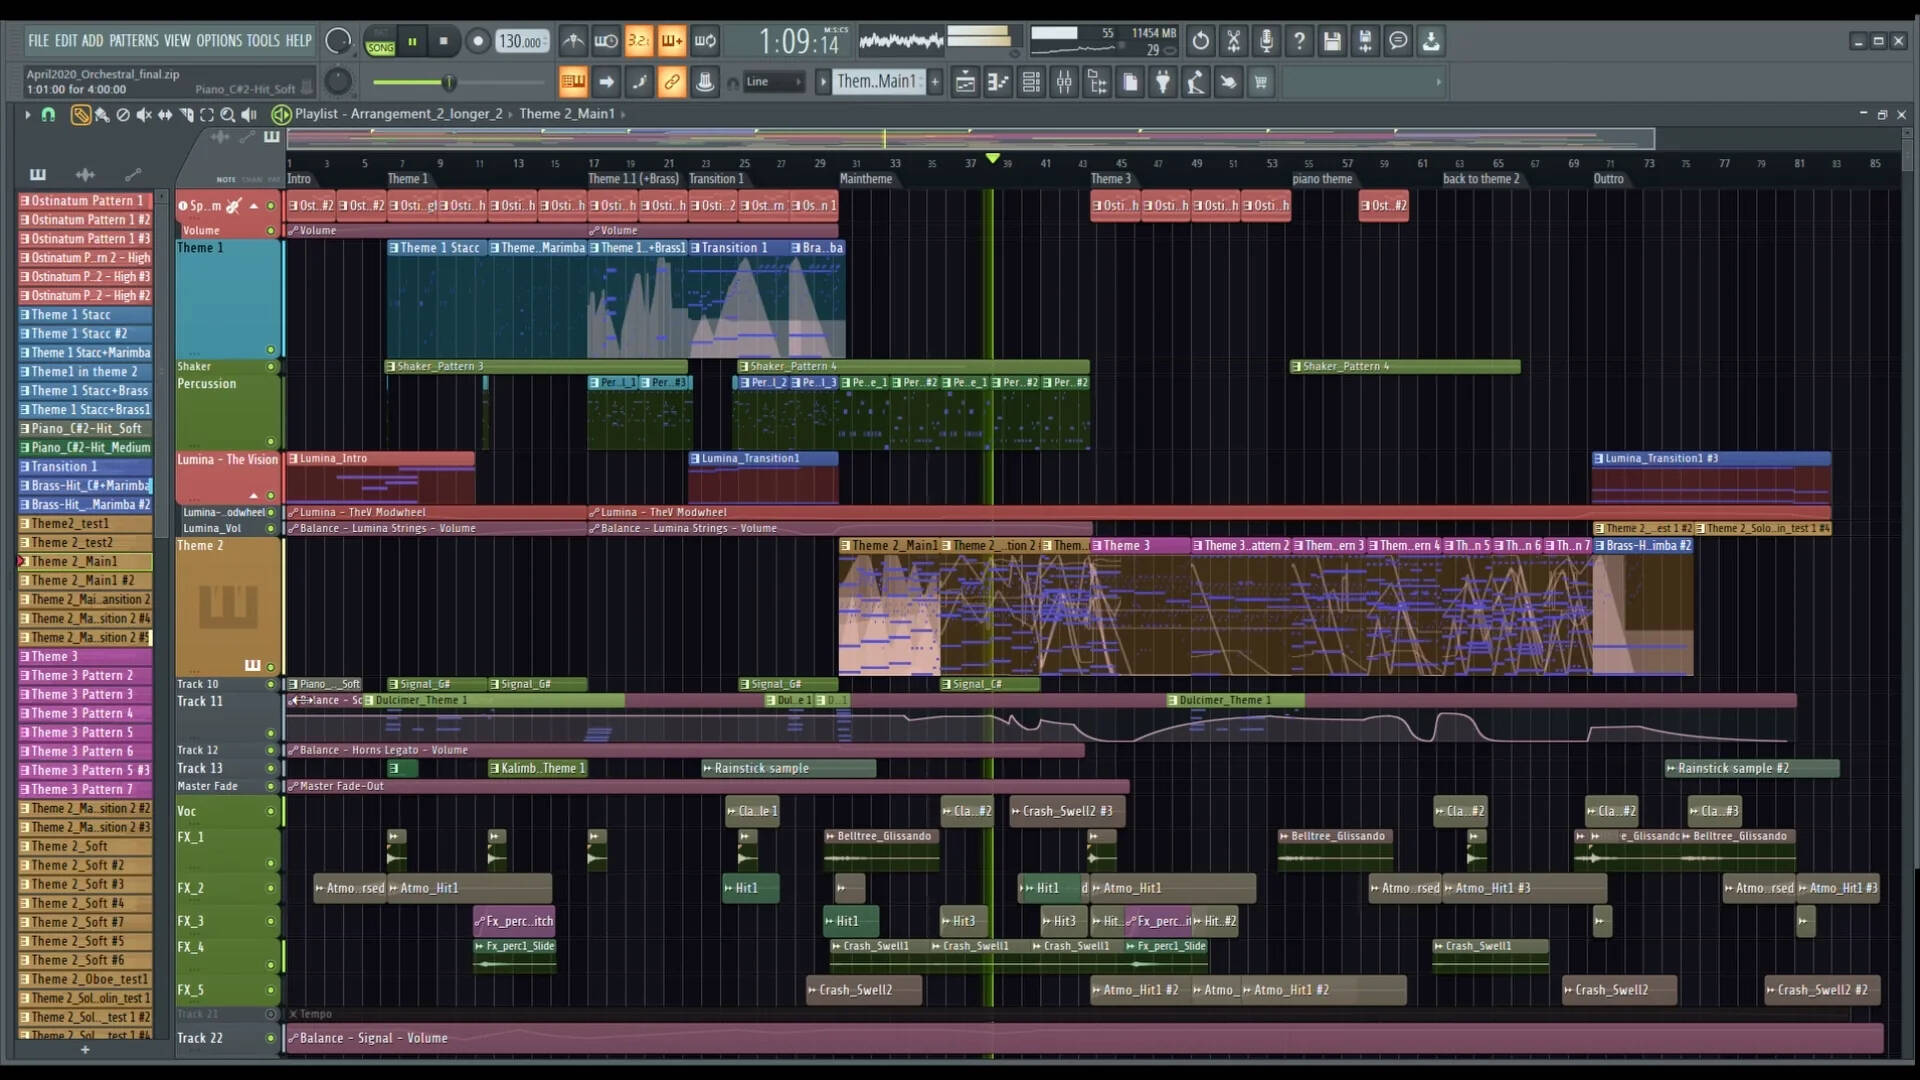
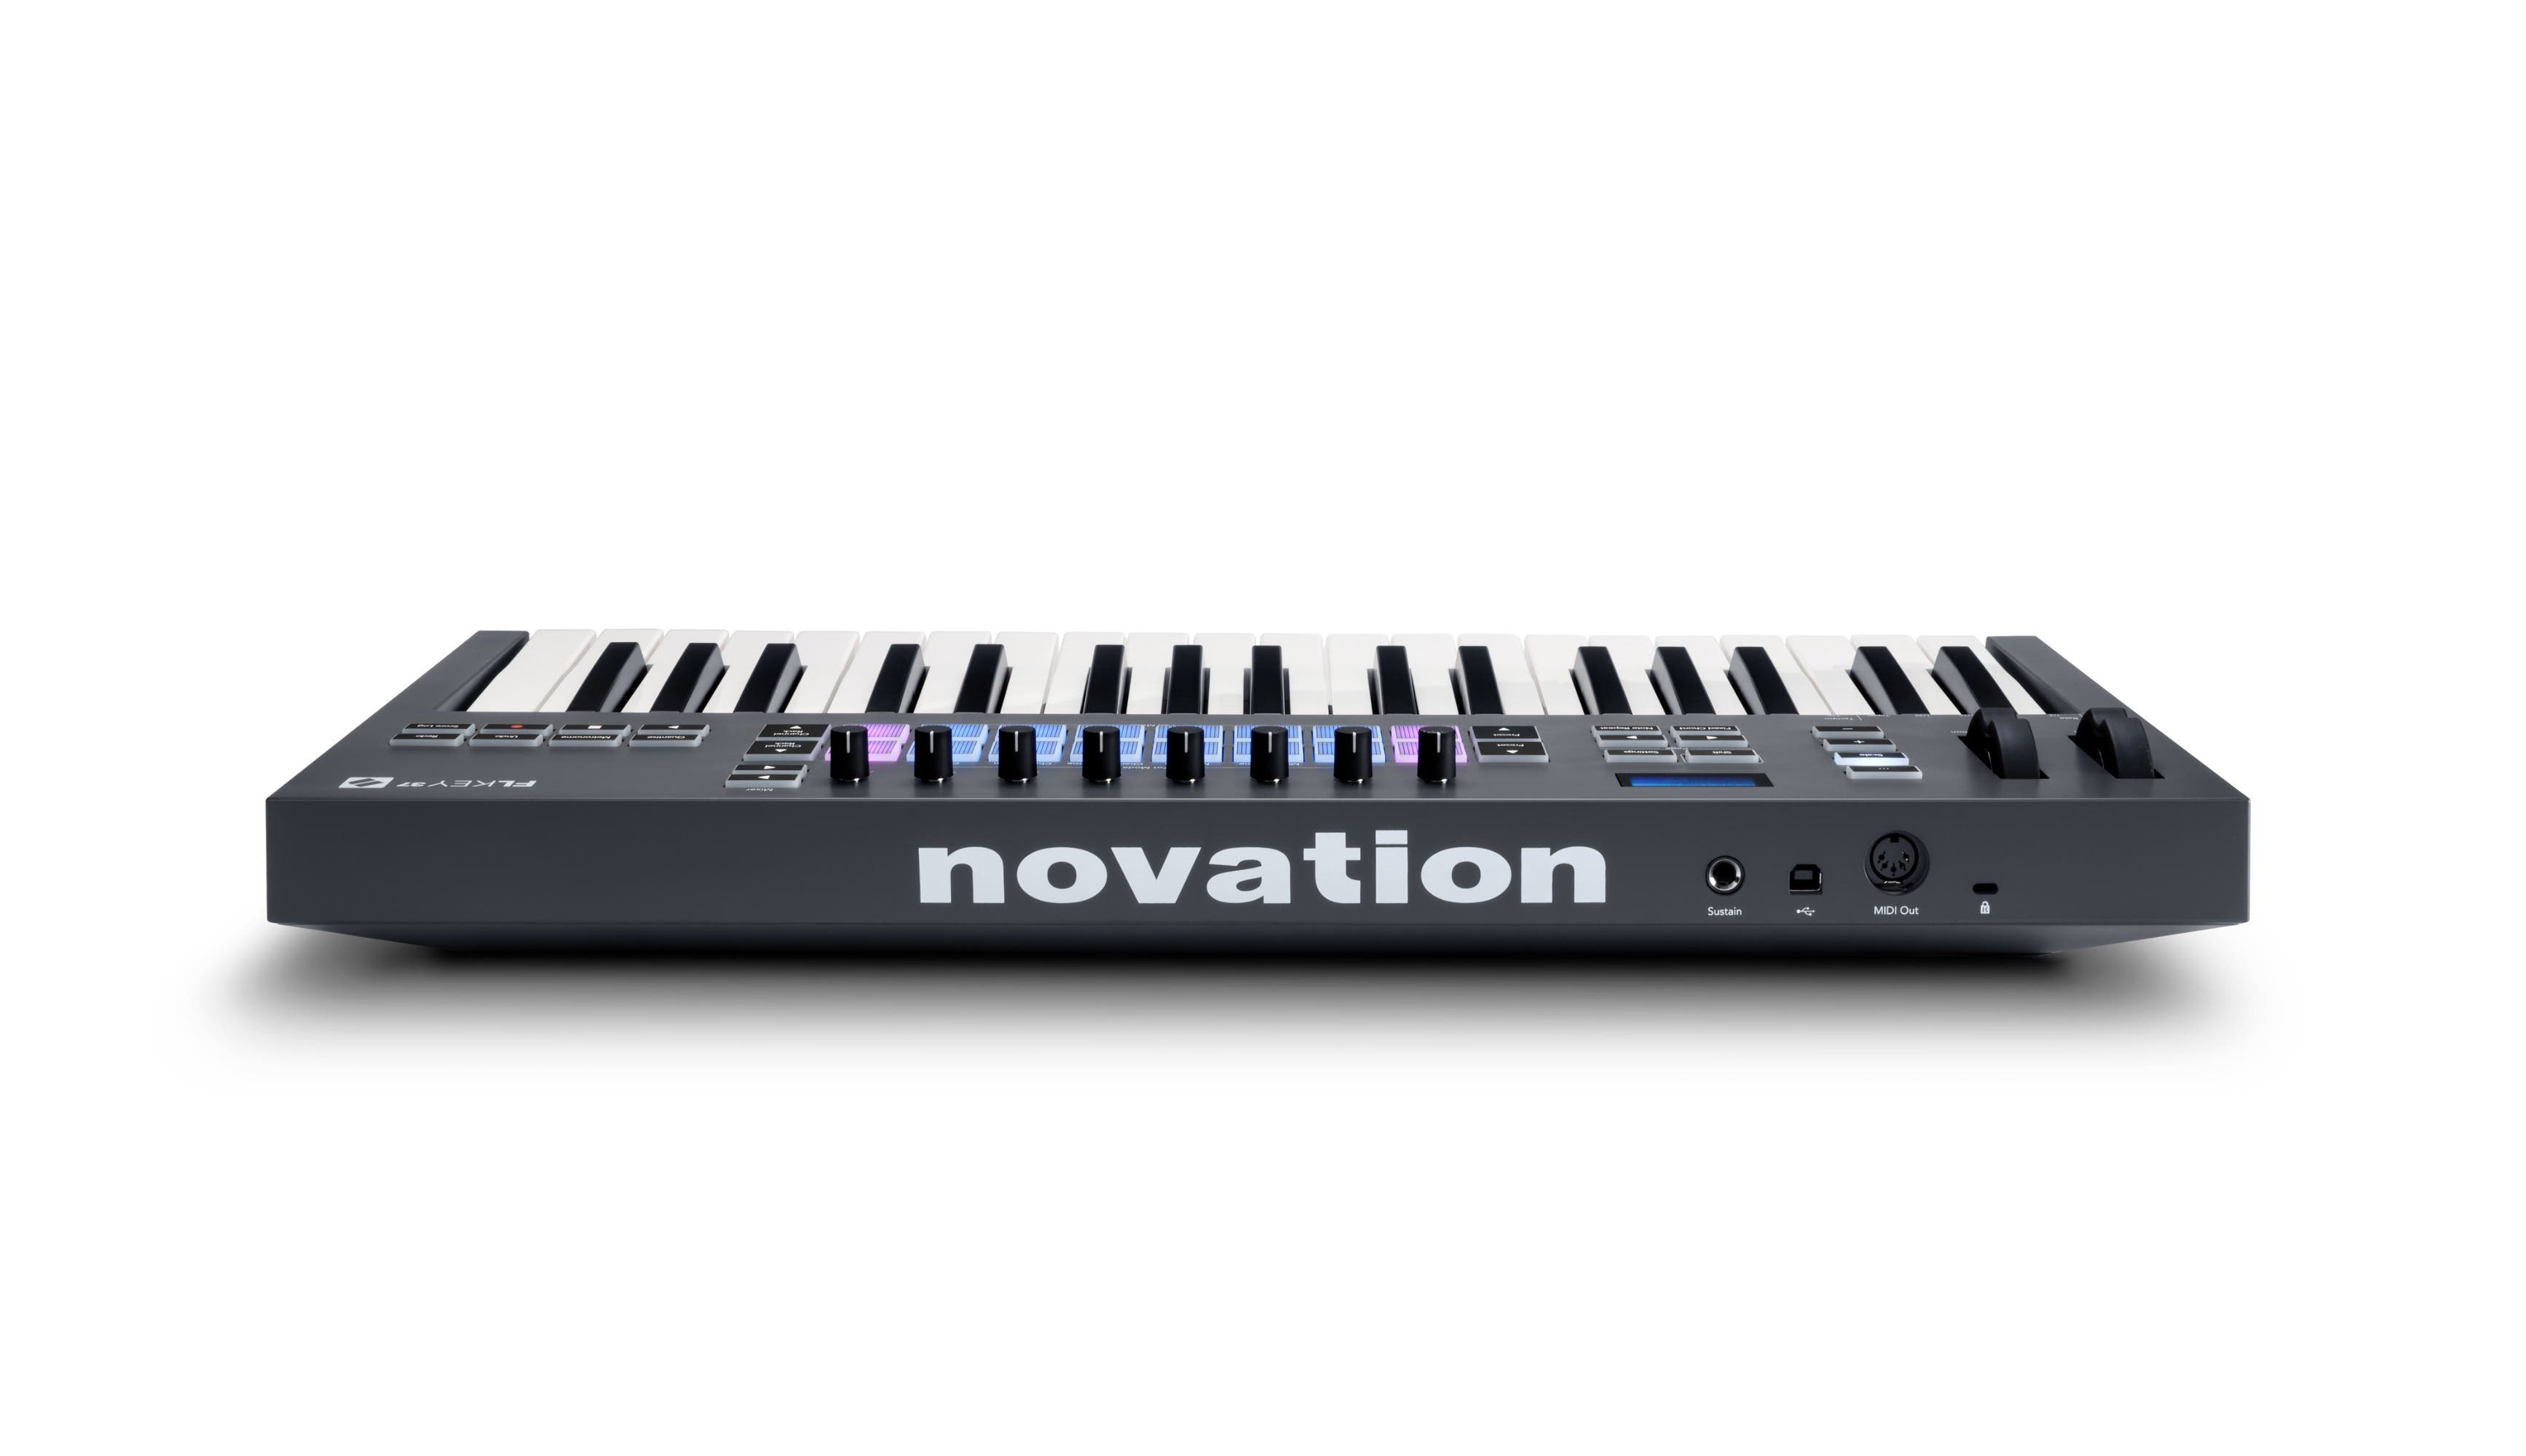
Mapping a MIDI keyboard in FL Studio is a fundamental process for musicians and producers looking to integrate the expressive capabilities of a physical keyboard into their digital audio workstation (DAW). By mapping a MIDI keyboard, users can unlock a world of creativity, allowing for intuitive and dynamic control over virtual instruments, effects, and various parameters within FL Studio.
Whether you're a seasoned musician or just starting your music production journey, understanding how to map a MIDI keyboard in FL Studio can significantly enhance your workflow and overall music-making experience. With the ability to assign specific functions to different keys, knobs, and sliders on your MIDI keyboard, you can tailor the control scheme to match your preferred playing style and production needs.
In this comprehensive guide, we will walk through the process of setting up and mapping a MIDI keyboard in FL Studio, covering everything from the initial hardware connections to testing the mapped functions. By the end of this tutorial, you will have a solid grasp of how to seamlessly integrate your MIDI keyboard with FL Studio, empowering you to harness its full potential as a versatile music production tool.
Let's dive into the intricacies of MIDI keyboard mapping in FL Studio, unlocking a world of creative possibilities and streamlining your music production workflow.
Setting Up Your MIDI Keyboard
Before delving into the intricacies of MIDI keyboard mapping in FL Studio, it's crucial to ensure that your MIDI keyboard is properly set up and connected to your computer. This initial step forms the foundation for seamless integration and effective mapping within FL Studio.
-
Physical Connection: Begin by connecting your MIDI keyboard to your computer using a USB cable or MIDI interface, depending on the available connectivity options. Ensure that the keyboard is powered on and ready for operation.
-
Driver Installation: In some cases, your computer may require specific drivers to recognize and communicate with the MIDI keyboard. If prompted, install the necessary drivers to establish a stable connection between the keyboard and your computer.
-
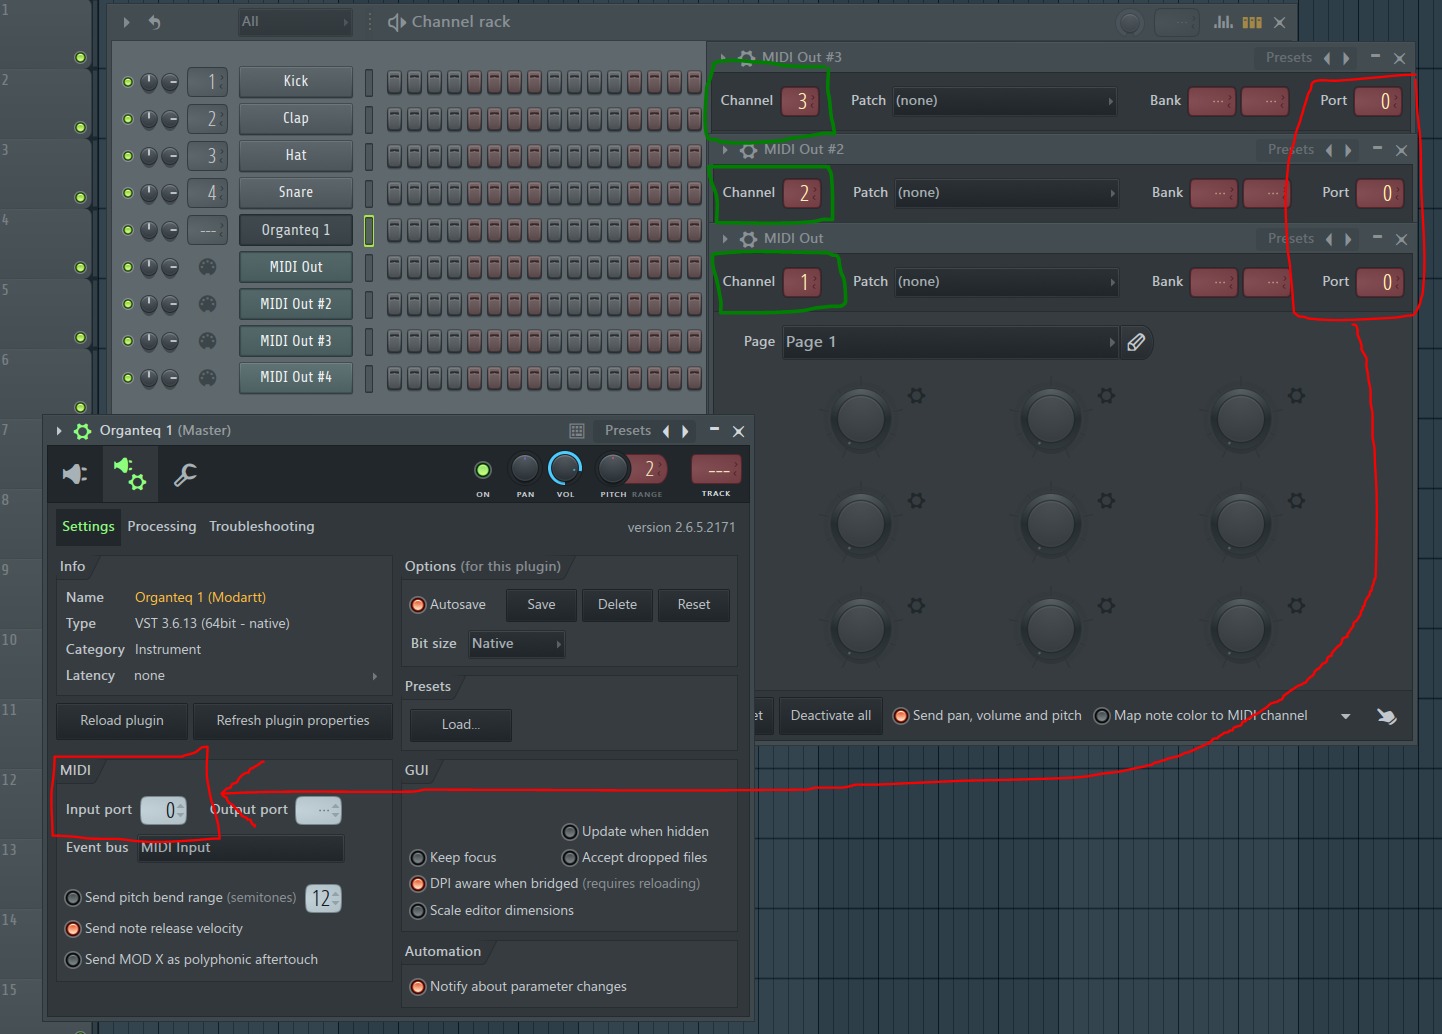
FL Studio Configuration: Launch FL Studio and navigate to the "Options" menu. Select "MIDI Settings" to access the MIDI configuration panel. Here, you can verify that your MIDI keyboard is detected by FL Studio. If your keyboard is not listed, ensure that the appropriate drivers are installed and that the device is properly connected to your computer.
-
MIDI Input Configuration: Once your MIDI keyboard is recognized by FL Studio, you can proceed to configure the MIDI input settings. In the MIDI settings panel, select your MIDI keyboard from the list of available input devices. Verify that the input port is correctly assigned to your MIDI keyboard to establish a direct communication channel between the hardware and FL Studio.
-
Testing the Connection: After configuring the MIDI input settings, test the connection by pressing keys on your MIDI keyboard. You should see corresponding input signals registering in FL Studio, indicating that the keyboard is successfully communicating with the software.
By following these steps, you can ensure that your MIDI keyboard is properly set up and ready for mapping within FL Studio. Establishing a reliable connection between your MIDI keyboard and FL Studio is essential for the subsequent mapping process, enabling seamless integration and precise control over various aspects of music production within the DAW. With the physical and software connections in place, you are now prepared to delve into the intricacies of mapping your MIDI keyboard in FL Studio, unlocking its full potential as a versatile music production tool.
Mapping Your MIDI Keyboard in FL Studio
Now that your MIDI keyboard is successfully set up and recognized by FL Studio, it's time to delve into the process of mapping its various controls to specific functions within the DAW. Mapping a MIDI keyboard involves assigning specific keys, knobs, sliders, and other physical controls to different parameters, such as instrument articulations, effects parameters, mixer settings, and more. This customization allows for intuitive and expressive control over your music production workflow, mirroring the tactile experience of traditional instruments while harnessing the flexibility of digital technology.
1. Instrument Mapping
Begin by selecting the virtual instrument or plugin you wish to control with your MIDI keyboard. Once the instrument is loaded into FL Studio, access the "MIDI Settings" panel and navigate to the "Plugin Options" section. Here, you can assign specific MIDI channels and control parameters to your keyboard, enabling direct interaction with the chosen instrument. For example, you can map the modulation wheel to control the instrument's vibrato intensity or assign specific keys to trigger different articulations, providing a dynamic and responsive playing experience.
2. Mixer and Effects Mapping
In addition to instrument control, you can map your MIDI keyboard to manipulate mixer settings and effects parameters within FL Studio. By accessing the mixer and effects panels, you can assign MIDI controls to adjust volume levels, panning, and effect parameters in real time. This level of customization empowers you to create dynamic and nuanced mixes, seamlessly blending different elements of your music with precision and fluidity.
3. Custom Mapping and Macros
FL Studio offers extensive flexibility for custom MIDI mapping, allowing you to create personalized control schemes tailored to your specific workflow and creative preferences. Through the use of macros, you can assign multiple parameters to a single control on your MIDI keyboard, enabling complex and synchronized adjustments with a single gesture. This level of customization is invaluable for streamlining your music production process and fostering a more intuitive and expressive interaction with your virtual instruments and effects.
By mapping your MIDI keyboard in FL Studio, you unlock a world of creative possibilities, seamlessly integrating the tactile responsiveness of a physical instrument with the boundless potential of digital music production. The process of mapping your MIDI keyboard is a highly personalized endeavor, allowing you to tailor the control scheme to match your unique playing style and production requirements. With a deep understanding of MIDI mapping in FL Studio, you can elevate your music production experience, infusing your compositions with expressive nuances and dynamic control.
Testing Your MIDI Keyboard Mapping
Once you have mapped your MIDI keyboard in FL Studio, it's essential to thoroughly test the assigned functions and controls to ensure seamless integration and optimal performance. The testing phase allows you to validate the accuracy of the mapped parameters, verify the responsiveness of the MIDI keyboard, and fine-tune the control scheme to align with your musical workflow. By rigorously testing your MIDI keyboard mapping, you can confidently leverage its capabilities to enhance your music production process.
1. Functional Validation
Begin the testing process by systematically evaluating each mapped function and control on your MIDI keyboard. Trigger different keys, manipulate knobs and sliders, and engage various buttons to verify that they correspond accurately to the assigned parameters within FL Studio. For instrument mapping, ensure that key articulations, modulation controls, and pitch bend functions respond as expected, reflecting the expressive nuances of your playing. Similarly, test the mapped controls for mixer settings and effects parameters to confirm their seamless integration with your music production environment.
2. Real-Time Performance
Test the MIDI keyboard mapping in real-time performance scenarios to gauge its responsiveness and suitability for dynamic music production. Play a variety of musical passages, incorporating different playing techniques and expressive gestures to assess the fluidity and precision of the mapped controls. This real-world testing allows you to experience the direct impact of your MIDI keyboard mapping on the musical output, providing valuable insights into its effectiveness in capturing and translating your musical intentions within FL Studio.
3. Iterative Refinement
As you test the MIDI keyboard mapping, take note of any areas that may require refinement or adjustment. Fine-tune the sensitivity of controls, reassign parameters to better align with your playing style, and optimize the overall responsiveness of the mapped functions. This iterative refinement process is crucial for customizing the MIDI keyboard mapping to suit your specific musical needs, ensuring that it enhances your creative expression and streamlines your music production workflow.
4. Integration with Workflow
Evaluate how the MIDI keyboard mapping integrates with your overall music production workflow within FL Studio. Consider its impact on your efficiency, creativity, and the seamless interaction between physical and digital elements of your setup. By testing the MIDI keyboard mapping in the context of your workflow, you can identify opportunities for further optimization and customization, ultimately enhancing your ability to translate musical ideas into compelling compositions.
By rigorously testing your MIDI keyboard mapping in FL Studio, you can validate its effectiveness, refine its performance, and seamlessly integrate it into your music production process. This thorough testing ensures that your MIDI keyboard becomes a natural extension of your musical creativity, empowering you to explore new sonic territories and expressively shape your compositions with precision and fluidity.
Troubleshooting Common Issues
Even with careful setup and mapping, users may encounter common issues when working with MIDI keyboards in FL Studio. Understanding how to troubleshoot these issues can help maintain a smooth and efficient music production workflow.
1. Latency and Delay
One prevalent issue is latency, causing a delay between pressing a key on the MIDI keyboard and hearing the sound in FL Studio. To address this, ensure that your audio interface's buffer settings are optimized for low latency. Additionally, adjusting the audio driver settings within FL Studio can help minimize latency and improve real-time responsiveness.
2. Unresponsive Controls
If certain controls on the MIDI keyboard appear unresponsive or erratic, it may be due to conflicting MIDI assignments or hardware issues. Check for conflicting MIDI mappings within FL Studio and ensure that the MIDI keyboard's firmware is up to date. Cleaning the physical controls, such as keys and sliders, can also resolve unresponsiveness attributed to dirt or debris.
3. MIDI Signal Dropout
Intermittent loss of MIDI signal can disrupt the communication between the MIDI keyboard and FL Studio. To troubleshoot signal dropout, inspect the MIDI cables for any damage or looseness. Additionally, verifying the power supply to the MIDI keyboard and ensuring a stable USB connection can help mitigate signal dropout issues.
4. Firmware and Driver Updates
Outdated firmware or drivers can lead to compatibility issues and unexpected behavior. Regularly check for firmware updates provided by the MIDI keyboard manufacturer and install the latest drivers compatible with your operating system. Keeping the firmware and drivers up to date can resolve many technical glitches and ensure seamless integration with FL Studio.
5. MIDI Channel Conflicts
Conflicting MIDI channels can result in unexpected behavior, such as triggering unintended functions or instruments. Review the MIDI channel assignments within FL Studio and on the MIDI keyboard to ensure they align correctly. Resolving MIDI channel conflicts can restore the intended functionality of the MIDI keyboard's controls.
6. Software Configuration Errors
In some cases, misconfigured settings within FL Studio can lead to issues with MIDI keyboard mapping. Double-check the MIDI input and output settings in FL Studio to ensure they correspond to the MIDI keyboard's specifications. Verifying the software configuration can rectify mapping discrepancies and restore the intended control mappings.
By familiarizing yourself with these common troubleshooting techniques, you can effectively address issues that may arise when mapping a MIDI keyboard in FL Studio. Through proactive problem-solving and meticulous attention to detail, you can maintain a seamless and productive music production environment, leveraging the full potential of your MIDI keyboard within FL Studio.

