Home>Production & Technology>MIDI>How To Play MIDI Keyboard On PC

MIDI
How To Play MIDI Keyboard On PC
Modified: March 9, 2024
Learn how to play MIDI keyboard on your PC and create music with ease. Follow our step-by-step guide for setting up and using MIDI on your computer.
(Many of the links in this article redirect to a specific reviewed product. Your purchase of these products through affiliate links helps to generate commission for AudioLover.com, at no extra cost. Learn more)
Table of Contents
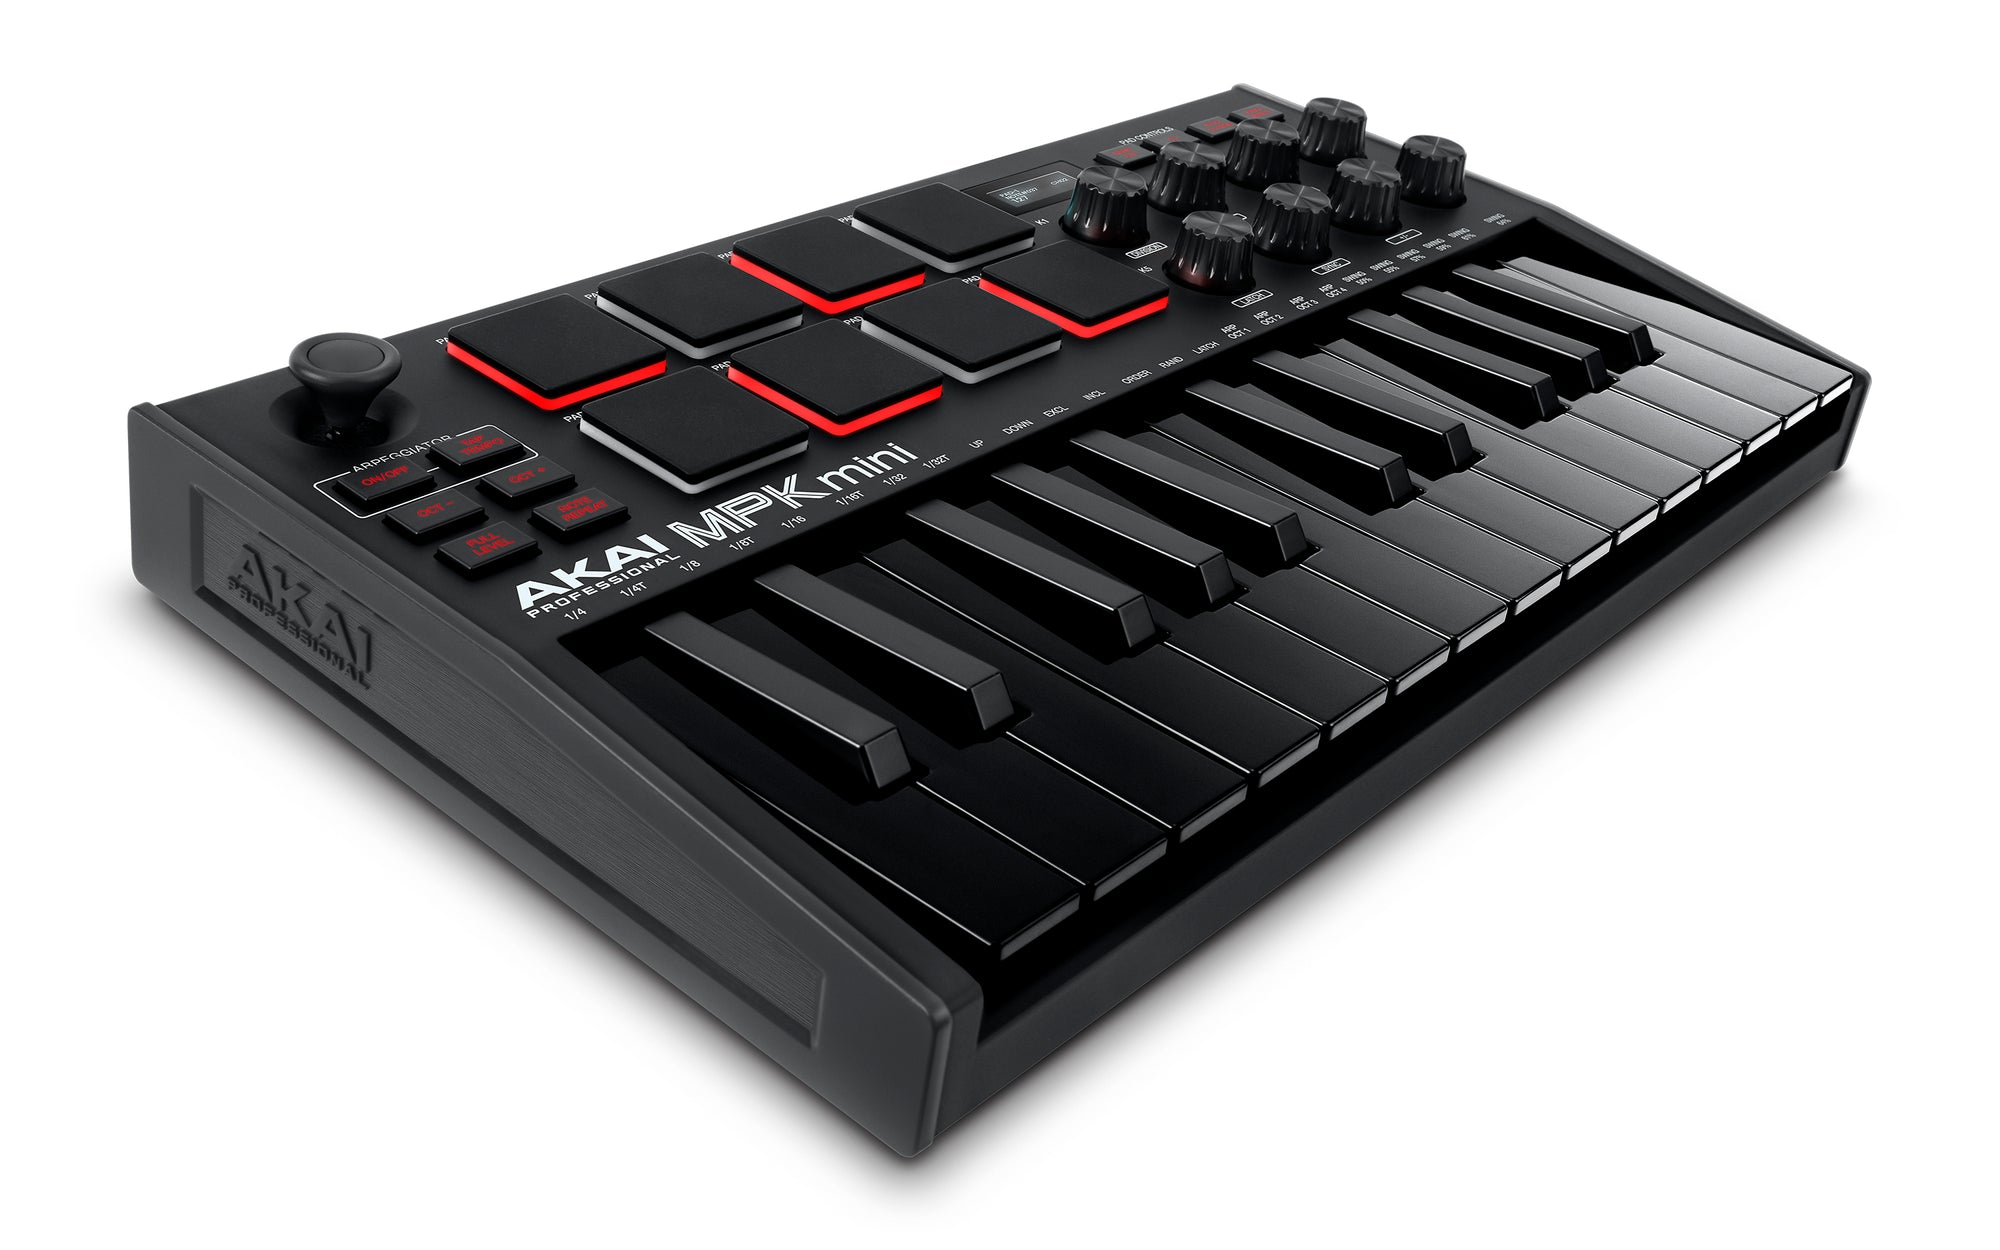
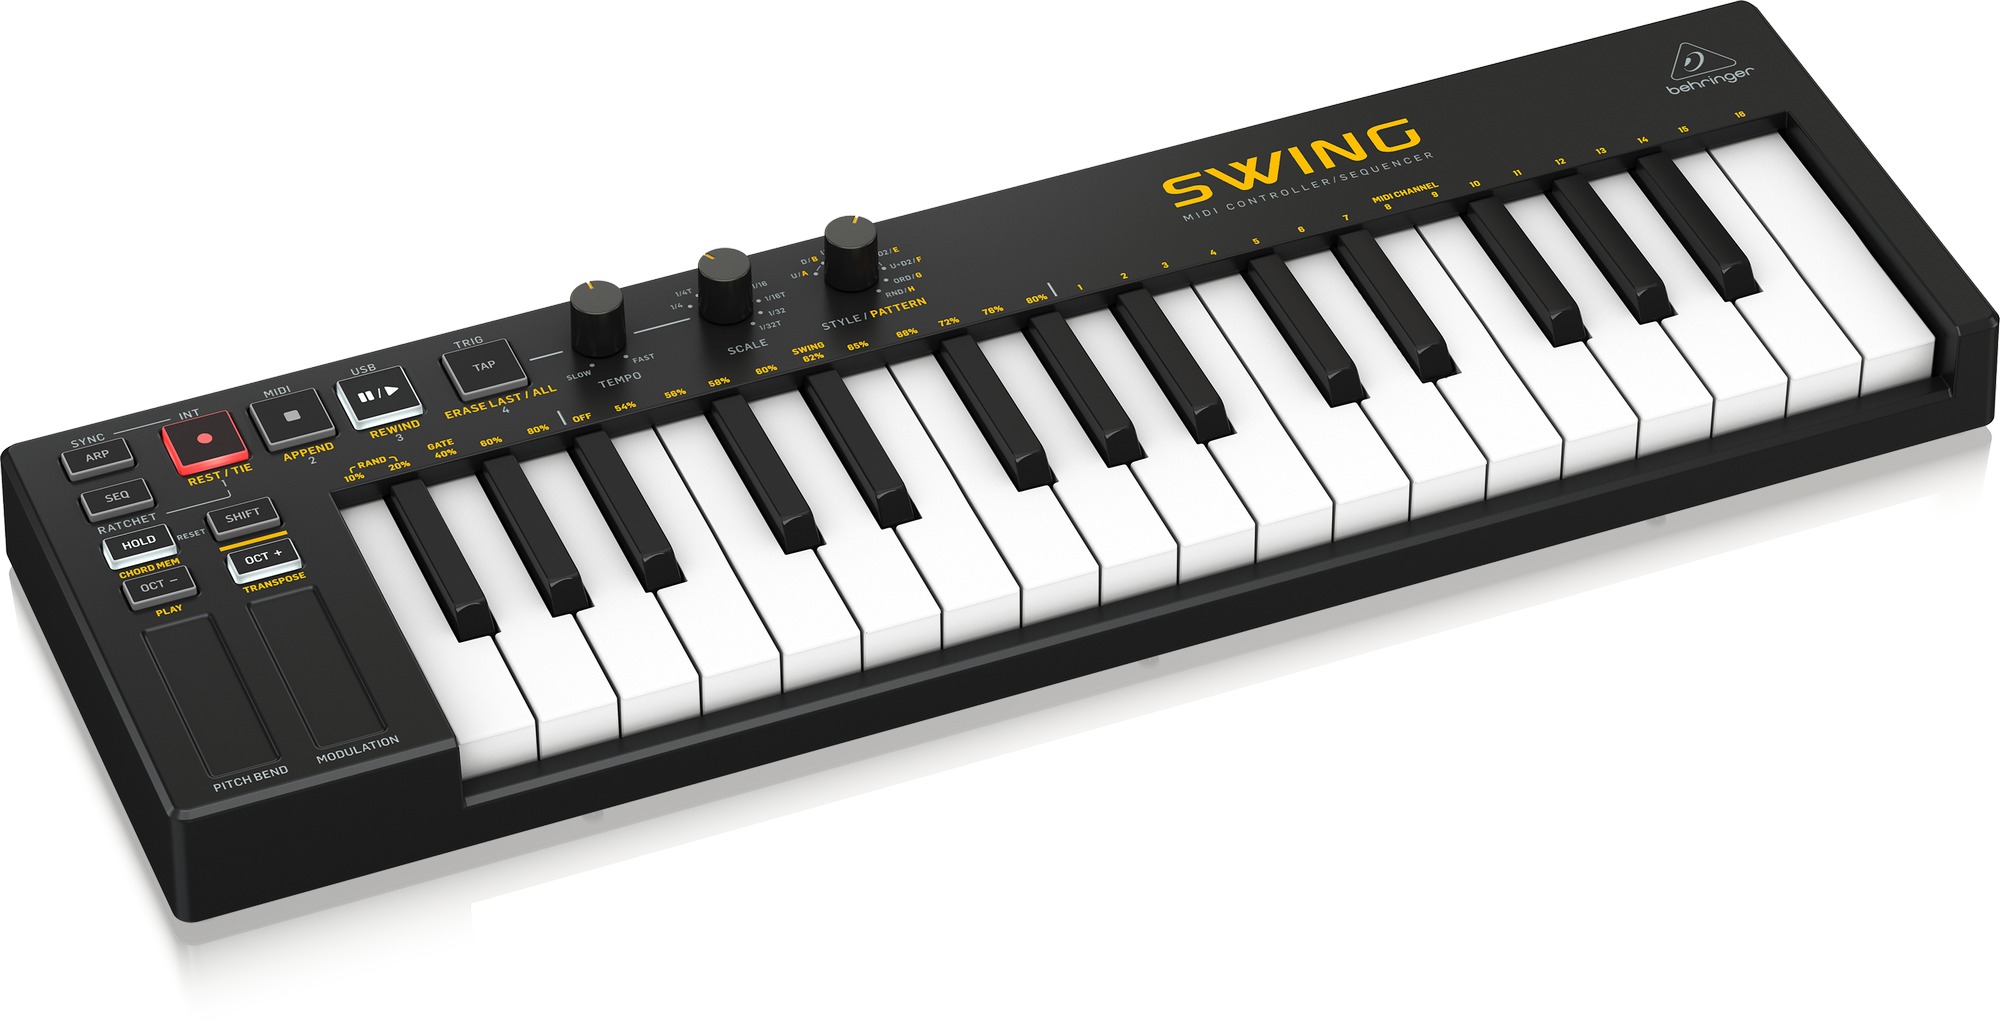
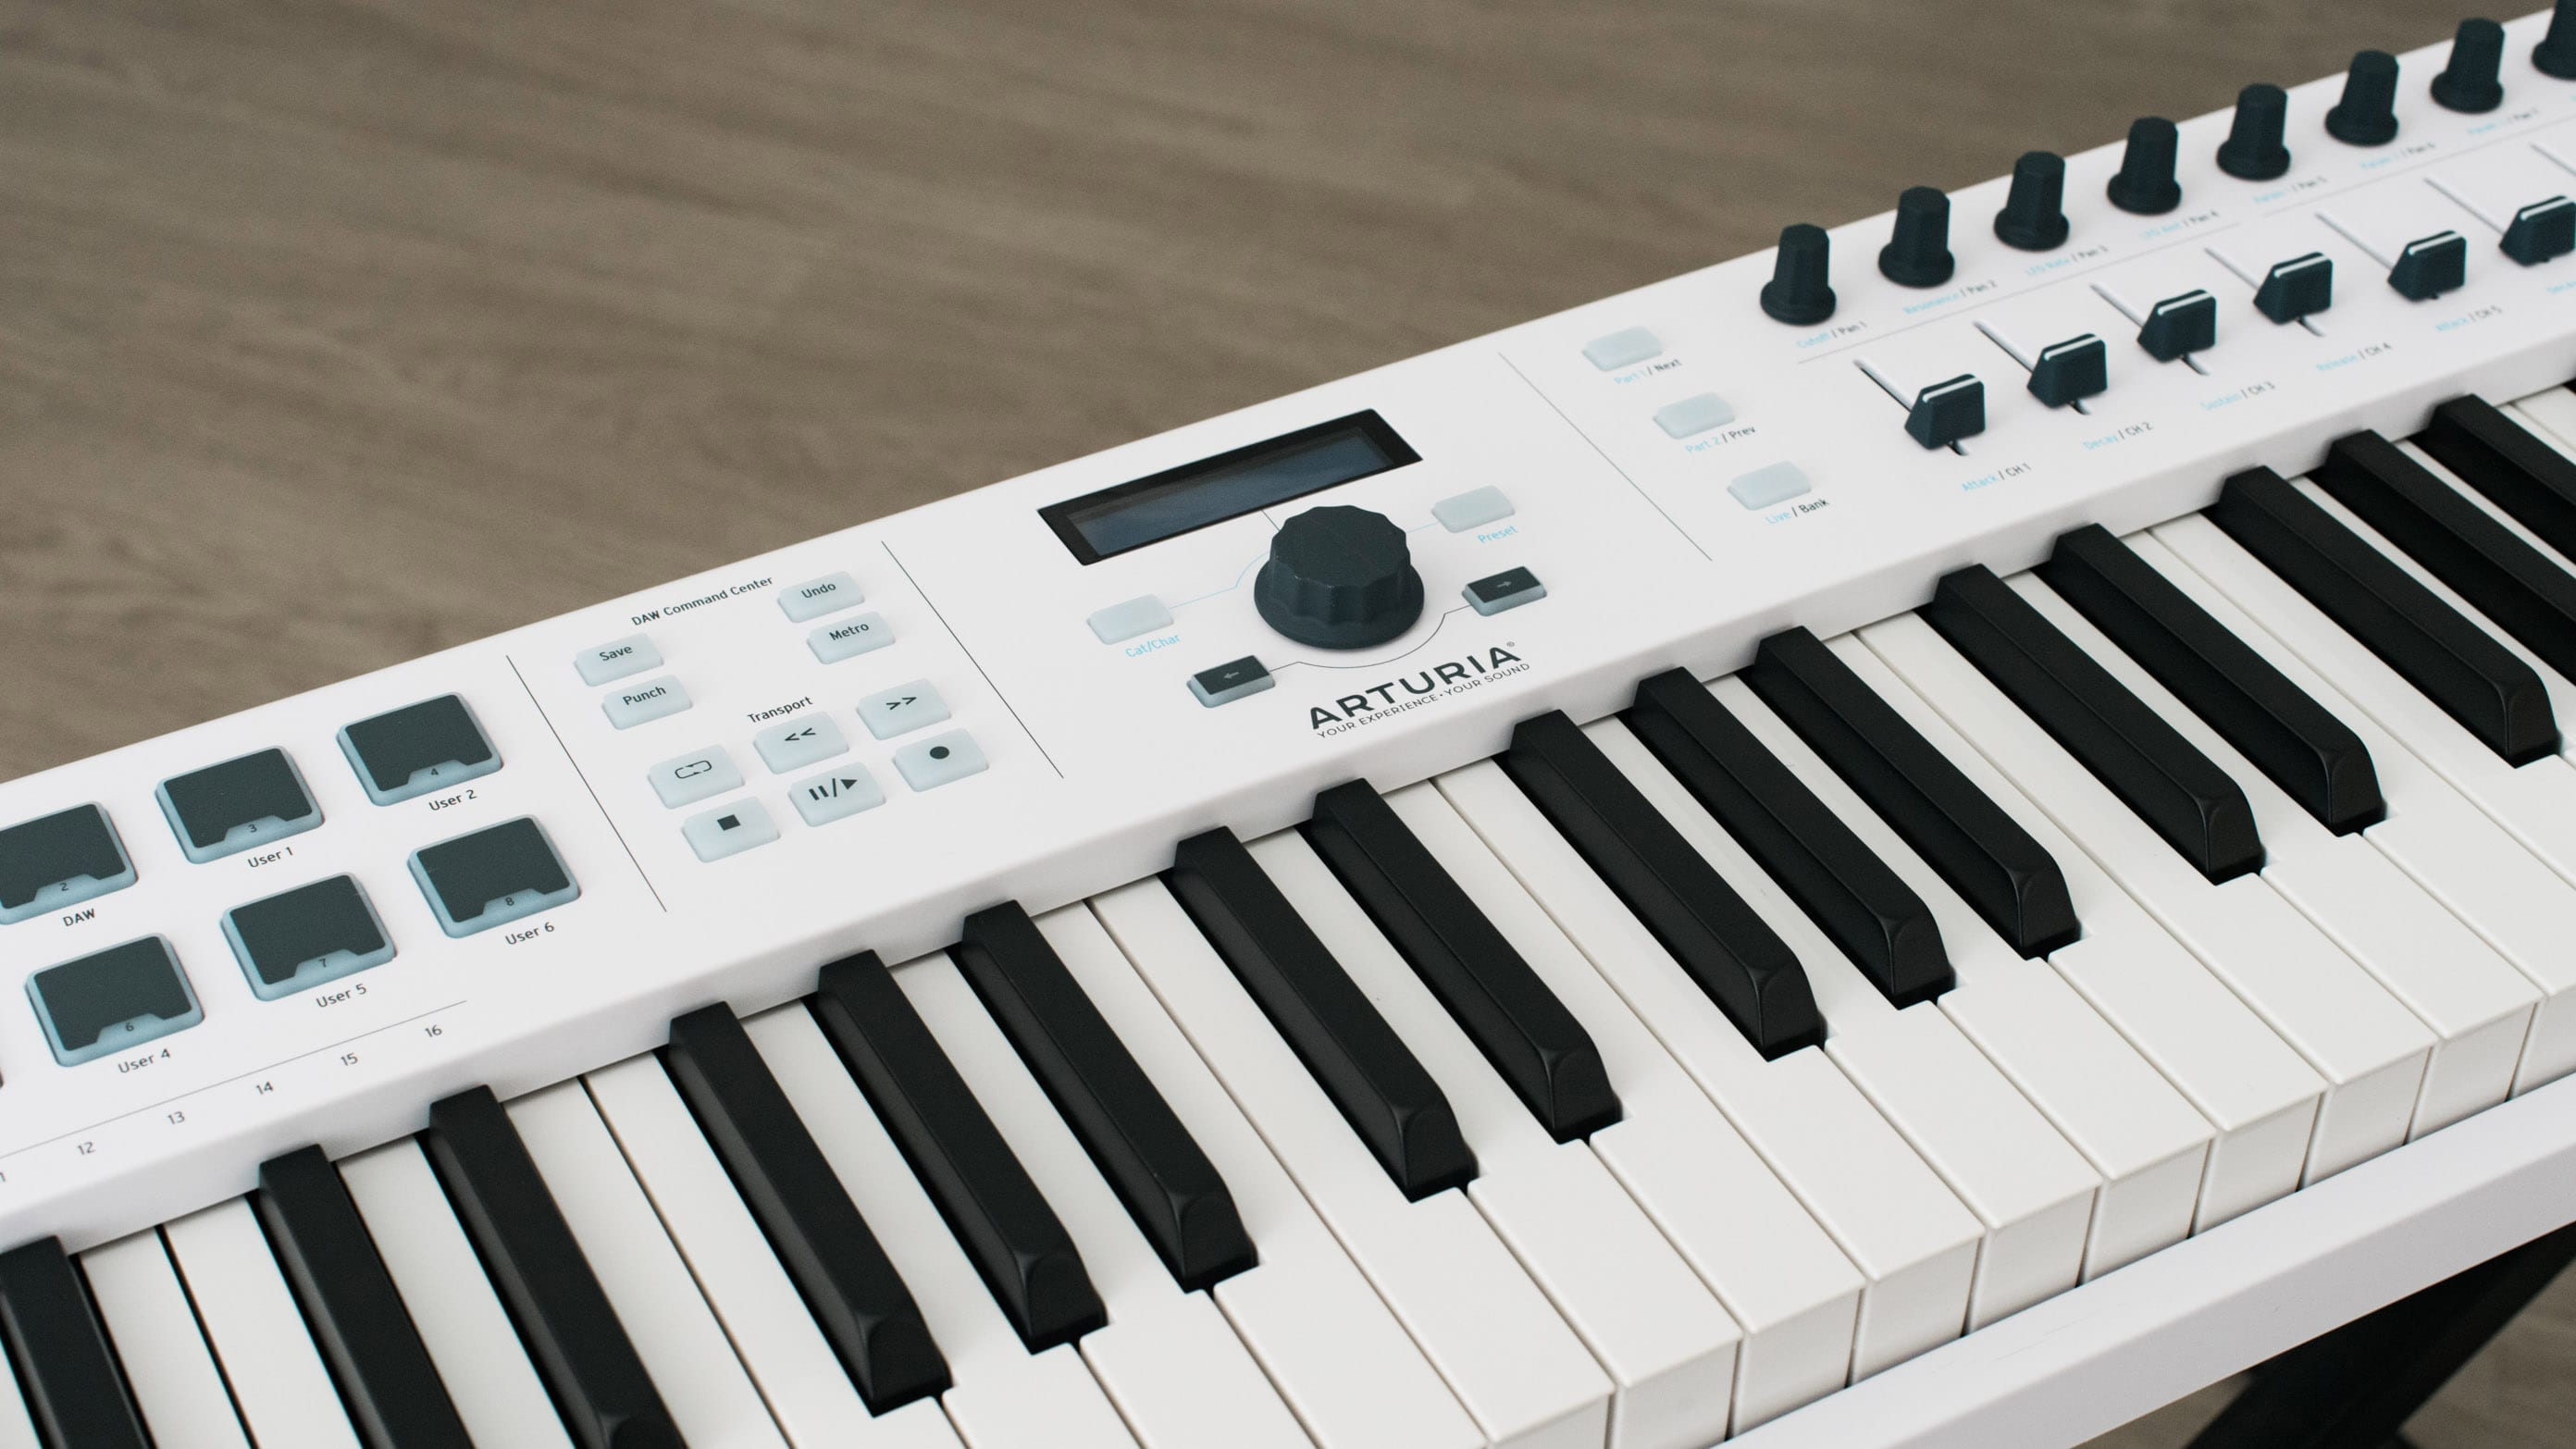
Choosing the Right MIDI Keyboard for PC
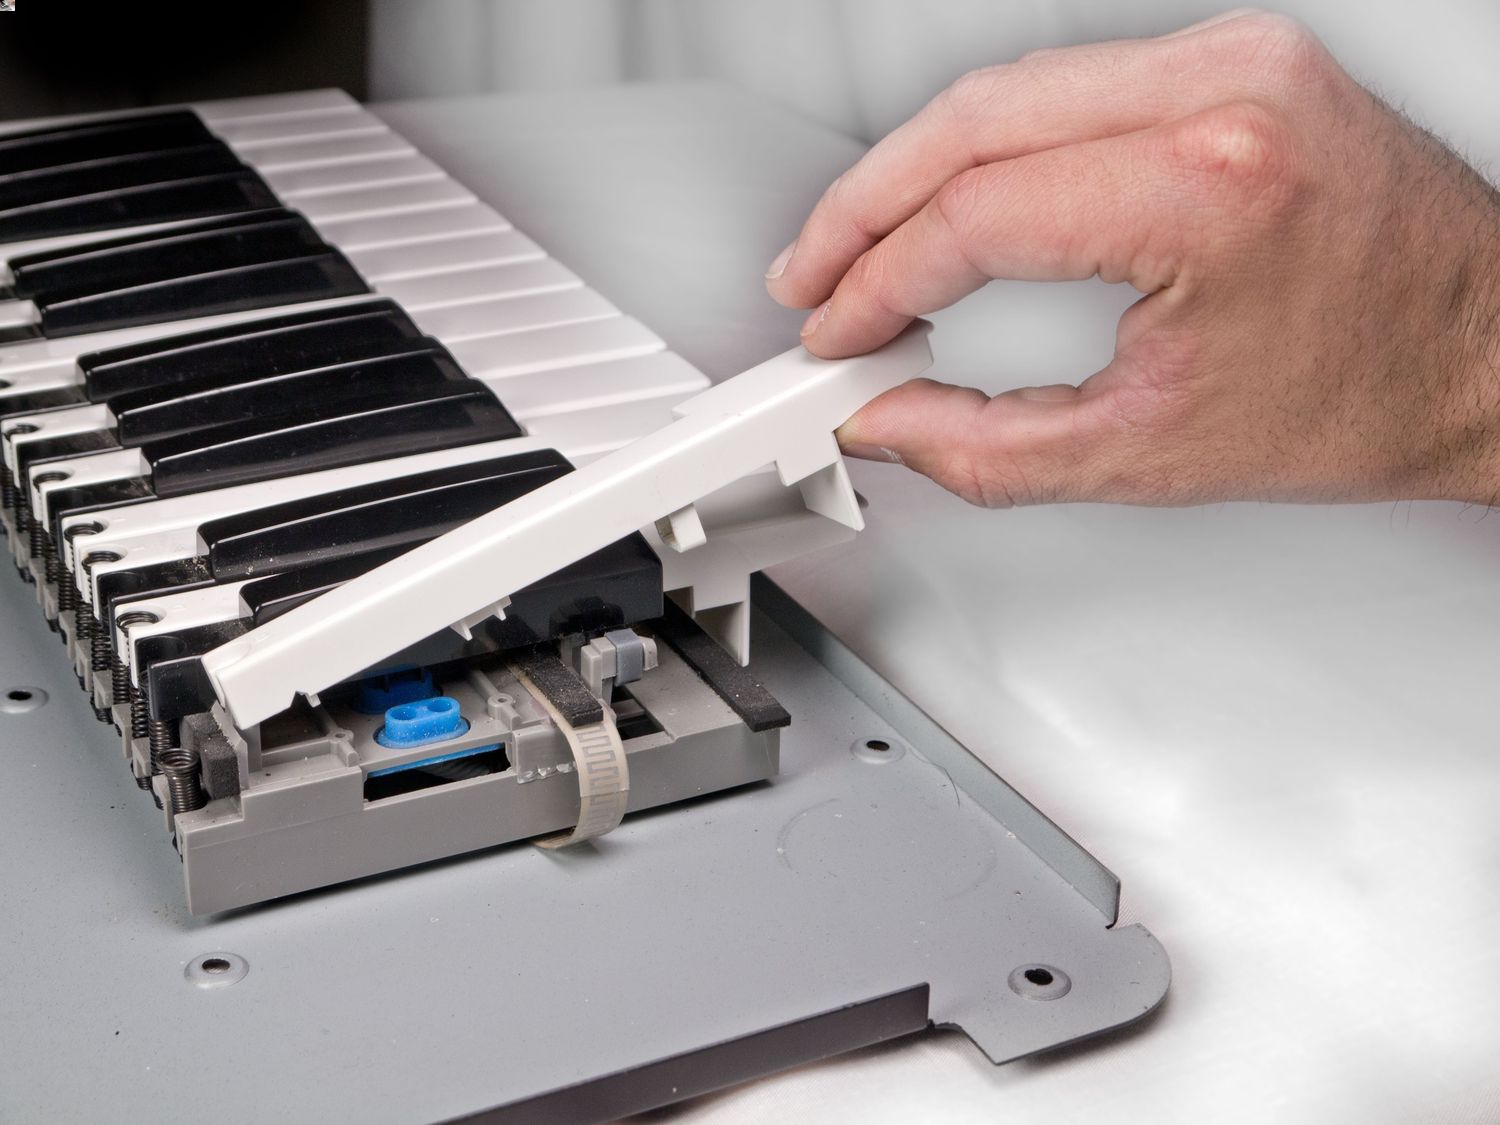
When it comes to choosing the right MIDI keyboard for your PC, there are several factors to consider to ensure that you find the best fit for your needs. MIDI keyboards, also known as MIDI controllers, come in various shapes, sizes, and functionalities. Here's a comprehensive guide to help you navigate the options and make an informed decision.
-
Keyboard Size and Key Count
- The size of the keyboard is a crucial consideration. MIDI keyboards come in various sizes, from compact 25-key models to full-sized 88-key pianos. If you're a traveling musician or have limited space, a smaller keyboard might be more practical. However, if you're a pianist or require a wider range, a full-sized keyboard would be more suitable.
-
Key Action and Sensitivity
- Key action refers to the feel and response of the keys. There are three main types: weighted, semi-weighted, and synth action. Weighted keys simulate the feel of an acoustic piano, making them ideal for pianists. Semi-weighted keys offer a balance between piano-like feel and ease of playing, while synth action keys are lighter and more suitable for electronic music production.
-
Additional Features
- Consider the additional features that the MIDI keyboard offers. This may include drum pads, faders, knobs, and buttons. These features can enhance your music production workflow by providing quick access to various controls and sound manipulation options.
-
Compatibility and Connectivity
- Ensure that the MIDI keyboard is compatible with your PC. Most MIDI keyboards connect via USB, but some may offer MIDI ports for traditional connections. Additionally, check if the keyboard is compatible with your preferred digital audio workstation (DAW) software.
-
Budget and Brand
- Set a budget for your MIDI keyboard purchase and explore reputable brands that offer quality products within your price range. While there are budget-friendly options, investing in a higher-quality MIDI keyboard can provide better key action, durability, and overall performance.
By carefully considering these factors, you can narrow down your options and select a MIDI keyboard that seamlessly integrates with your PC setup, enhancing your music production experience. Whether you're a beginner or a seasoned musician, choosing the right MIDI keyboard for your PC is a crucial step towards unlocking your creative potential.
Installing MIDI Keyboard Drivers on PC
Installing MIDI keyboard drivers on your PC is a fundamental step to ensure seamless communication between the keyboard and your computer. The drivers serve as the intermediary that enables your operating system to recognize and interact with the MIDI keyboard effectively. Here's a detailed guide on how to install MIDI keyboard drivers on your PC, ensuring that you can start making music without any technical hiccups.
-
Check Manufacturer's Website: Before connecting your MIDI keyboard to your PC, visit the manufacturer's website to download the latest drivers for your specific model. Manufacturers often provide driver downloads and software updates on their websites to ensure compatibility with various operating systems.
-
Connect the MIDI Keyboard: Once you have downloaded the necessary drivers, connect your MIDI keyboard to your PC using a USB cable. Your operating system may attempt to install generic drivers automatically, but it's essential to install the manufacturer's specific drivers for optimal performance.
-
Driver Installation Process: After connecting the MIDI keyboard, navigate to the downloaded driver file and run the installation package. Follow the on-screen instructions to complete the driver installation process. This typically involves accepting the end-user license agreement, choosing the installation directory, and allowing the installation to proceed.
-
Reboot Your PC: After the driver installation is complete, it's advisable to reboot your PC to ensure that the changes take effect. Rebooting allows the operating system to recognize the newly installed drivers and integrate them into the system.
-
Verify Driver Installation: Once your PC has restarted, verify that the MIDI keyboard drivers have been installed successfully. You can do this by checking the device manager on your PC to ensure that the MIDI keyboard is listed without any warning symbols, indicating that the drivers are functioning properly.
-
Check for Firmware Updates: In addition to installing the drivers, it's beneficial to check for firmware updates for your MIDI keyboard. Firmware updates can address performance issues, add new features, and improve overall compatibility with your PC.
-
Test the MIDI Keyboard: To confirm that the drivers are installed correctly, open your preferred digital audio workstation (DAW) or MIDI software and test the MIDI keyboard. Ensure that the keyboard responds to input, such as pressing keys and using any additional controls or features.
By following these steps, you can successfully install MIDI keyboard drivers on your PC, establishing a stable and efficient connection between your MIDI keyboard and music production software. This process ensures that you can fully harness the creative potential of your MIDI keyboard, unleashing your musical ideas without technical obstacles.
Selecting and Setting up MIDI Software on PC
Selecting and setting up MIDI software on your PC is a pivotal step in unleashing the full potential of your MIDI keyboard for music production, composition, and performance. MIDI software, also known as digital audio workstations (DAWs) and MIDI sequencers, serves as the platform for creating, recording, editing, and arranging musical ideas with your MIDI keyboard. Here's a comprehensive guide to help you navigate the process of selecting and setting up MIDI software on your PC.
Choosing the Right MIDI Software
When selecting MIDI software for your PC, consider the following factors to ensure that it aligns with your music production needs and workflow:
-
Feature Set: Evaluate the feature set of the MIDI software. Look for essential functions such as MIDI recording, editing, quantization, virtual instrument support, and MIDI controller integration. Advanced features like automation, time-stretching, and audio recording capabilities may also be important, depending on your musical requirements.
-
User Interface: A user-friendly and intuitive interface can significantly impact your productivity and creativity. Consider the workflow and layout of the MIDI software to ensure that it complements your music production process.
-
Compatibility: Ensure that the MIDI software is compatible with your operating system. Additionally, check for compatibility with your MIDI keyboard to guarantee seamless integration and functionality.
-
Virtual Instruments and Effects: If you rely on virtual instruments and effects for your music production, assess the bundled virtual instruments and effects that come with the MIDI software. High-quality virtual instruments and effects can expand your sonic palette and enhance your music production capabilities.
Setting up MIDI Software
Once you've selected the MIDI software that best suits your needs, it's essential to set it up correctly on your PC to establish a seamless connection with your MIDI keyboard. Follow these steps to set up MIDI software on your PC:
-
Installation: Download and install the MIDI software on your PC, following the provided instructions. Ensure that you install any additional virtual instruments or effects that come with the software.
-
MIDI Configuration: Access the MIDI settings within the software to configure the MIDI input from your MIDI keyboard. This involves selecting the MIDI input device and ensuring that it is properly recognized by the software.
-
Audio Configuration: Configure the audio settings within the MIDI software to ensure that it interfaces with your audio interface or sound card. Set the input and output devices, sample rate, buffer size, and audio driver preferences for optimal performance.
-
MIDI Mapping: If your MIDI keyboard features assignable controls such as knobs, faders, or pads, you can map these controls within the MIDI software to manipulate various parameters and functions.
-
Testing and Calibration: Test the MIDI keyboard within the software to verify that it responds to input and triggers the desired actions. Additionally, calibrate the MIDI keyboard if the software offers calibration options to ensure accurate performance.
By meticulously selecting and setting up MIDI software on your PC, you can establish a robust platform for music production and creativity, seamlessly integrating your MIDI keyboard into your digital workspace. This strategic approach empowers you to harness the full potential of your MIDI keyboard and MIDI software, facilitating the realization of your musical visions with precision and fluidity.
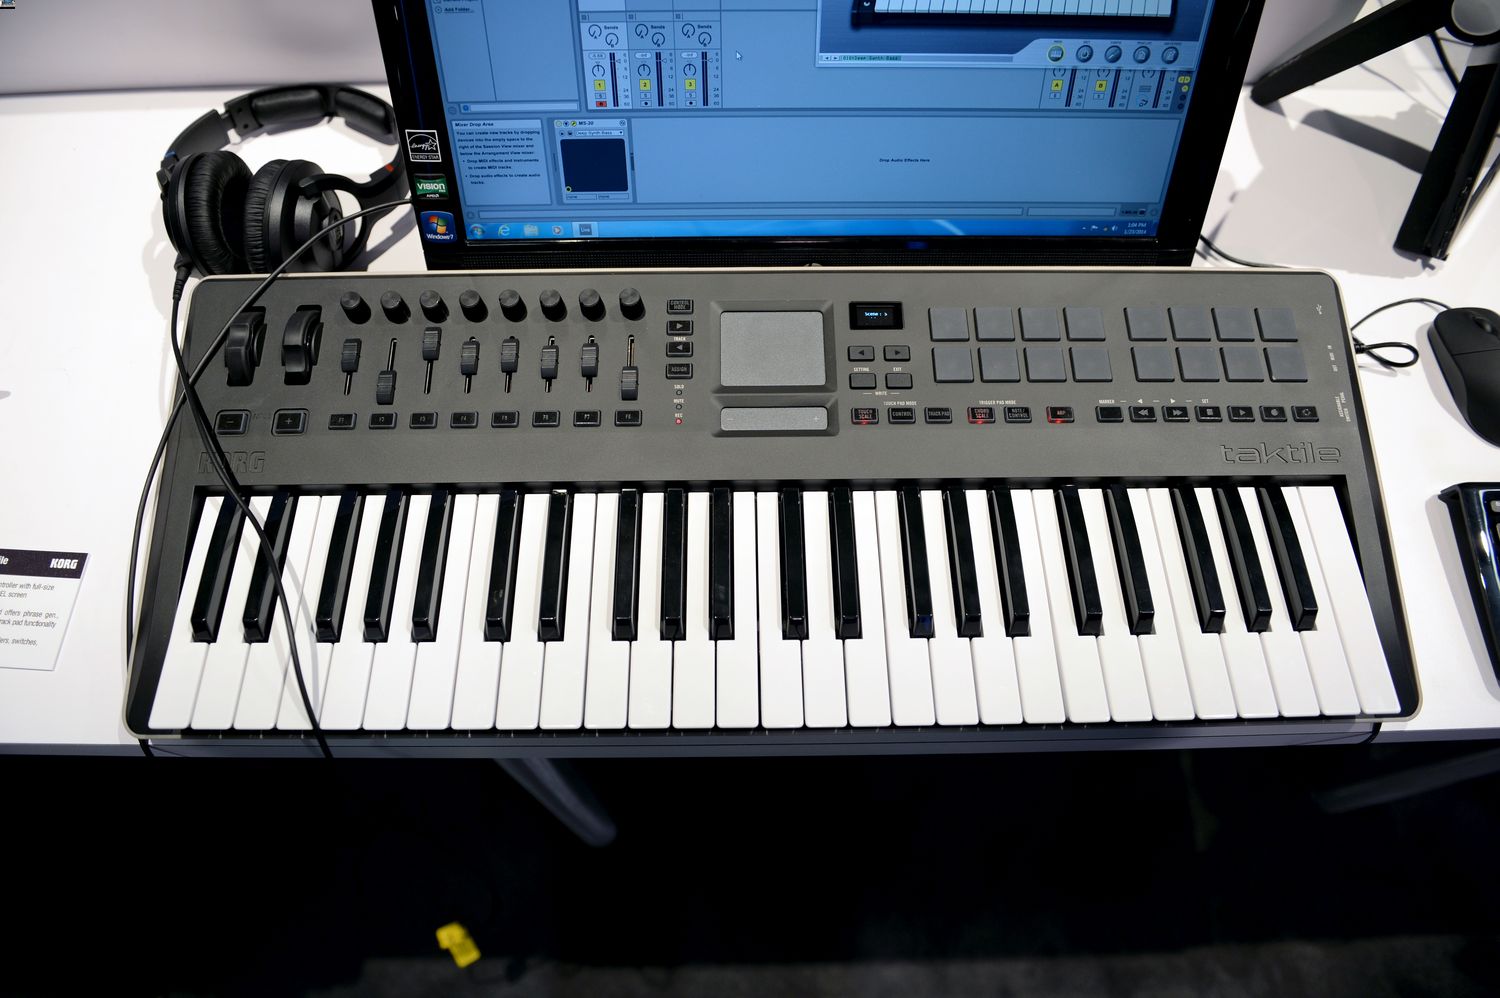
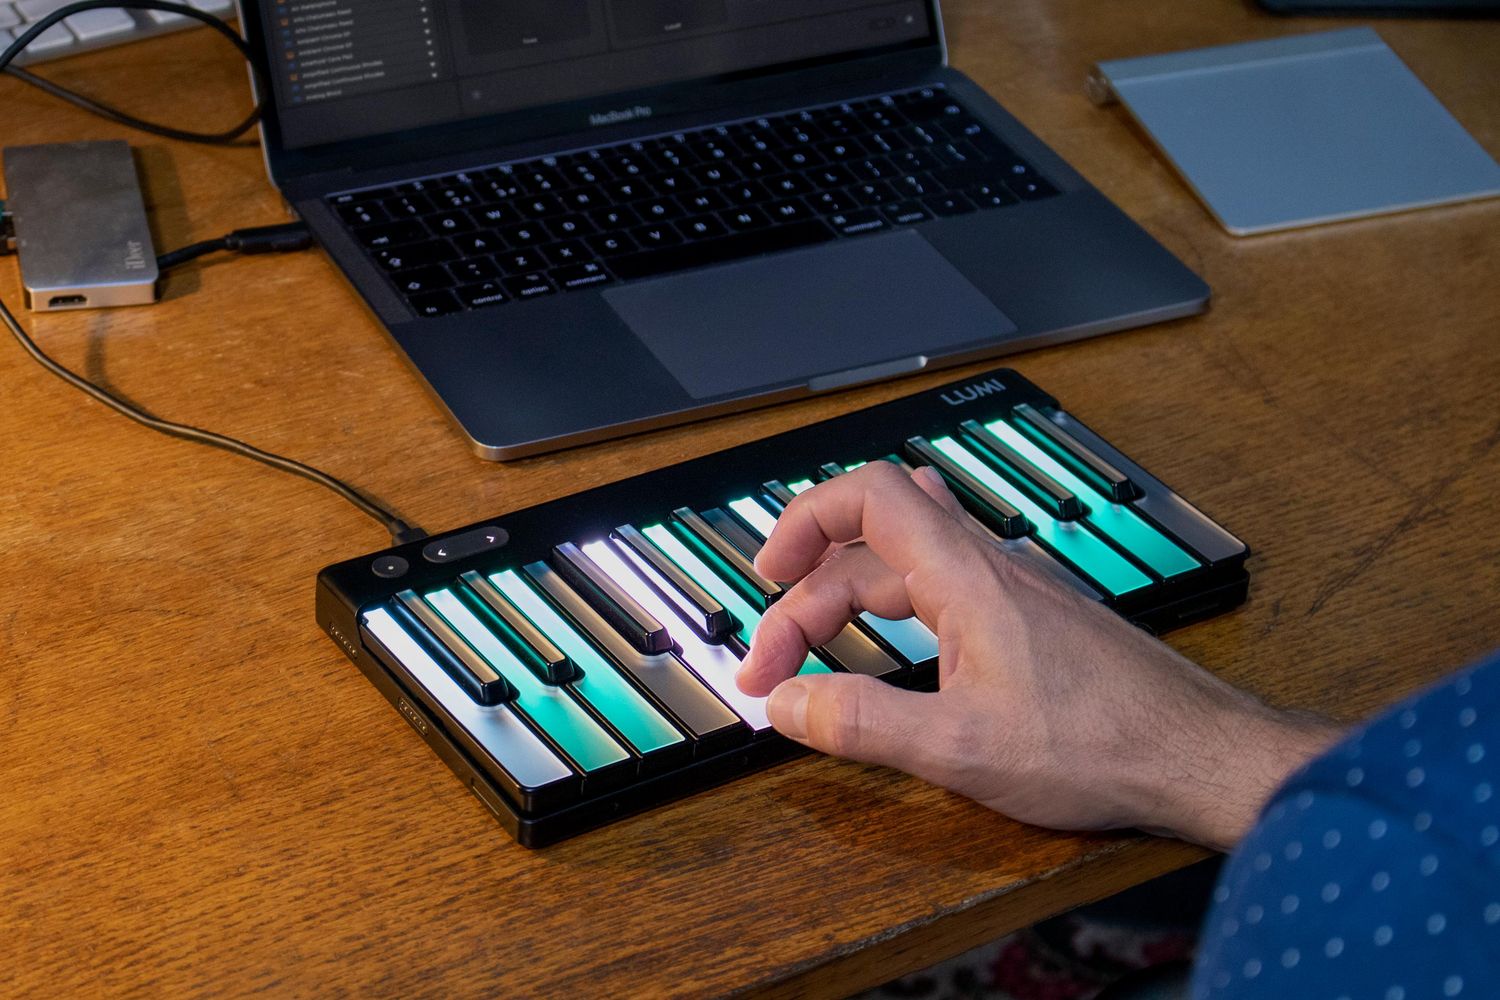
Connecting MIDI Keyboard to PC
Connecting your MIDI keyboard to your PC is a pivotal step in establishing a direct link between your musical instrument and the digital realm, enabling you to harness the expressive capabilities of your keyboard within your music production environment. Whether you're a composer, producer, or performer, the seamless integration of your MIDI keyboard with your PC opens up a world of creative possibilities. Here's a comprehensive guide to help you navigate the process of connecting your MIDI keyboard to your PC with ease and precision.
USB Connection
The most common method of connecting a MIDI keyboard to a PC is through a USB connection. Follow these steps to establish the USB connection:
-
USB Port: Locate an available USB port on your PC and ensure that it is accessible for connecting the MIDI keyboard.
-
USB Cable: Use a standard USB cable that is compatible with your MIDI keyboard. Most MIDI keyboards come with a USB Type-B connector for connecting to the PC.
-
Connectivity: Plug one end of the USB cable into the USB Type-B port on your MIDI keyboard and the other end into an available USB port on your PC.
-
Driver Recognition: Upon connecting the MIDI keyboard, your PC may automatically recognize the device and install the necessary drivers. In some cases, you may need to follow the driver installation process as provided by the manufacturer.
MIDI Ports
Some MIDI keyboards offer traditional MIDI connectivity using MIDI input and output ports. If your MIDI keyboard features MIDI ports, you can connect it to your PC using a MIDI interface. Follow these steps for MIDI port connection:
-
MIDI Interface: Acquire a MIDI interface that connects to your PC via USB and provides MIDI input and output ports. Ensure that the MIDI interface is compatible with your MIDI keyboard and PC operating system.
-
MIDI Cables: Use standard MIDI cables to connect the MIDI output port of your keyboard to the MIDI input port of the MIDI interface, and vice versa.
-
Driver Installation: Install the necessary drivers for the MIDI interface on your PC to enable communication between the MIDI keyboard and your music production software.
Testing the Connection
After establishing the physical connection between your MIDI keyboard and PC, it's essential to test the connection to ensure that the keyboard is recognized and responsive. Open your preferred digital audio workstation (DAW) or MIDI software and verify that the MIDI keyboard is detected as an input device. Test the keyboard by playing notes and verifying that the software registers the MIDI input.
By following these steps, you can seamlessly connect your MIDI keyboard to your PC, bridging the gap between tactile musical expression and digital music production. This connection empowers you to explore new sonic landscapes, capture inspired performances, and unlock the full potential of your MIDI keyboard within your music production workflow.
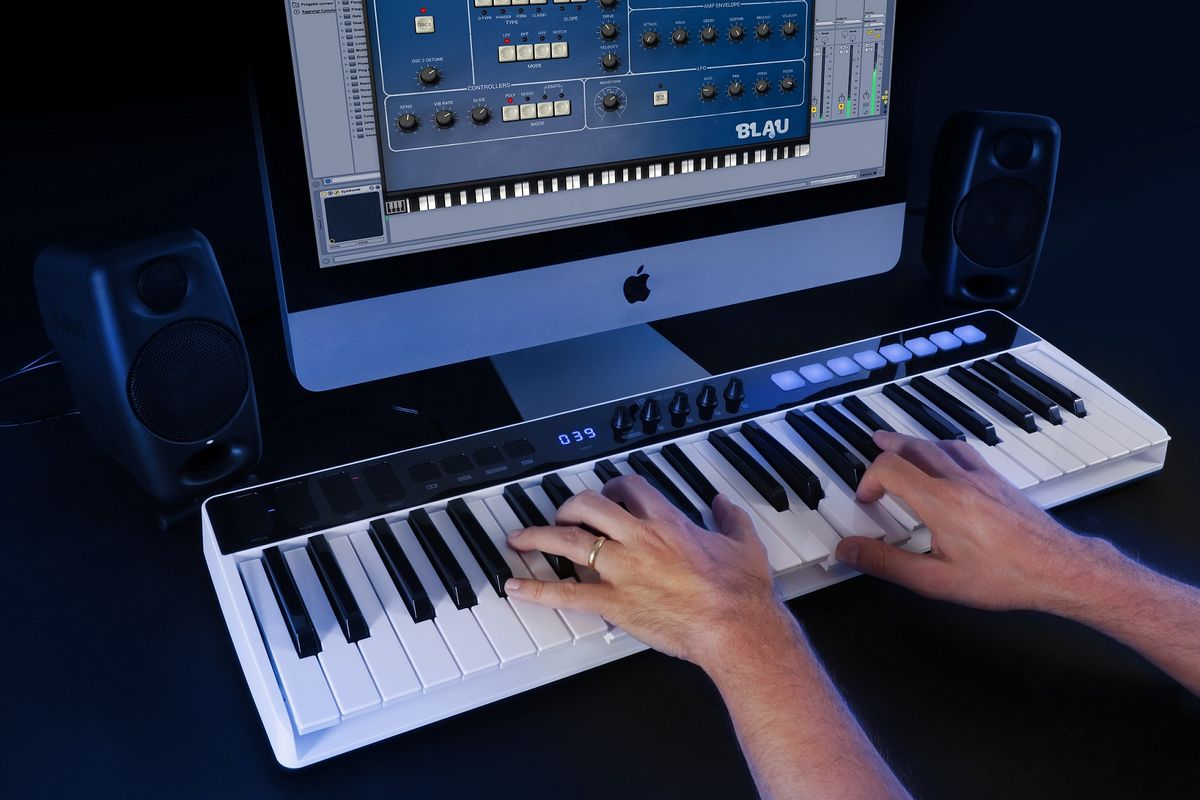
Playing and Recording MIDI Keyboard on PC
Playing and recording MIDI keyboard on your PC opens up a world of creative possibilities, allowing you to express your musical ideas with precision and fluidity. Whether you're a pianist, composer, or electronic music producer, the seamless integration of your MIDI keyboard with your PC empowers you to capture inspired performances, craft intricate compositions, and explore diverse sonic landscapes. Here's a comprehensive guide to help you navigate the process of playing and recording MIDI keyboard on your PC, enhancing your music production experience.
Playing MIDI Keyboard
Playing your MIDI keyboard on your PC involves using it as a controller for virtual instruments and software synthesizers, enabling you to produce a wide range of sounds and textures. Follow these steps to start playing your MIDI keyboard:
-
Selecting Virtual Instruments: Open your preferred digital audio workstation (DAW) or standalone virtual instrument software on your PC. Choose a virtual instrument or software synthesizer from your software library to assign to your MIDI keyboard.
-
MIDI Input Configuration: Access the MIDI settings within your software and select your MIDI keyboard as the input device. This allows the software to receive MIDI data from your keyboard when you play notes or trigger other controls.
-
Playing Technique: Use your MIDI keyboard to play notes, chords, and melodies, taking advantage of its key sensitivity and expressive capabilities. Explore different playing techniques, such as velocity-sensitive dynamics and modulations using pitch bend and modulation wheels.
-
Exploring Sound Design: Experiment with sound design by manipulating parameters within the virtual instrument or software synthesizer using the controls on your MIDI keyboard. This can include adjusting filter cutoff, resonance, envelope settings, and other sound-shaping parameters in real-time.
Recording MIDI Performances
Recording your MIDI performances on your PC allows you to capture your musical ideas, create intricate compositions, and refine your arrangements with precision. Follow these steps to start recording MIDI performances with your keyboard:
-
MIDI Track Setup: Create a new MIDI track within your DAW and assign the input to your MIDI keyboard. Ensure that the track is armed for recording and set the appropriate MIDI channel if your keyboard supports multiple channels.
-
Pre-roll and Count-In: Configure your recording preferences to include a pre-roll or count-in before recording starts. This allows you to prepare for your performance and ensures that your MIDI input is captured seamlessly.
-
Performing and Recording: Start playing your MIDI keyboard to perform the musical passage you want to record. Your performance will be captured as MIDI data on the recording track, preserving the nuances of your playing, including note velocities and timing.
-
Editing and Quantization: After recording, you can edit and refine your MIDI performance using the editing tools in your DAW. This may include quantizing notes to align with the grid, adjusting note lengths, and adding or modifying MIDI controller data for expressive phrasing.
By following these steps, you can seamlessly integrate your MIDI keyboard into your music production workflow, facilitating the realization of your musical visions with precision and creativity. Whether you're performing expressive piano passages, crafting intricate electronic compositions, or exploring new sonic territories, playing and recording MIDI keyboard on your PC empowers you to unleash your musical potential with seamless integration and expressive control.