Home>Instruments>Piano>How To Connect Piano Keyboard To PC
Piano
How To Connect Piano Keyboard To PC
Modified: March 9, 2024
Learn how to connect your piano keyboard to your PC and start making music with ease. Follow our step-by-step guide for a seamless setup.
(Many of the links in this article redirect to a specific reviewed product. Your purchase of these products through affiliate links helps to generate commission for AudioLover.com, at no extra cost. Learn more)
Table of Contents
Introduction
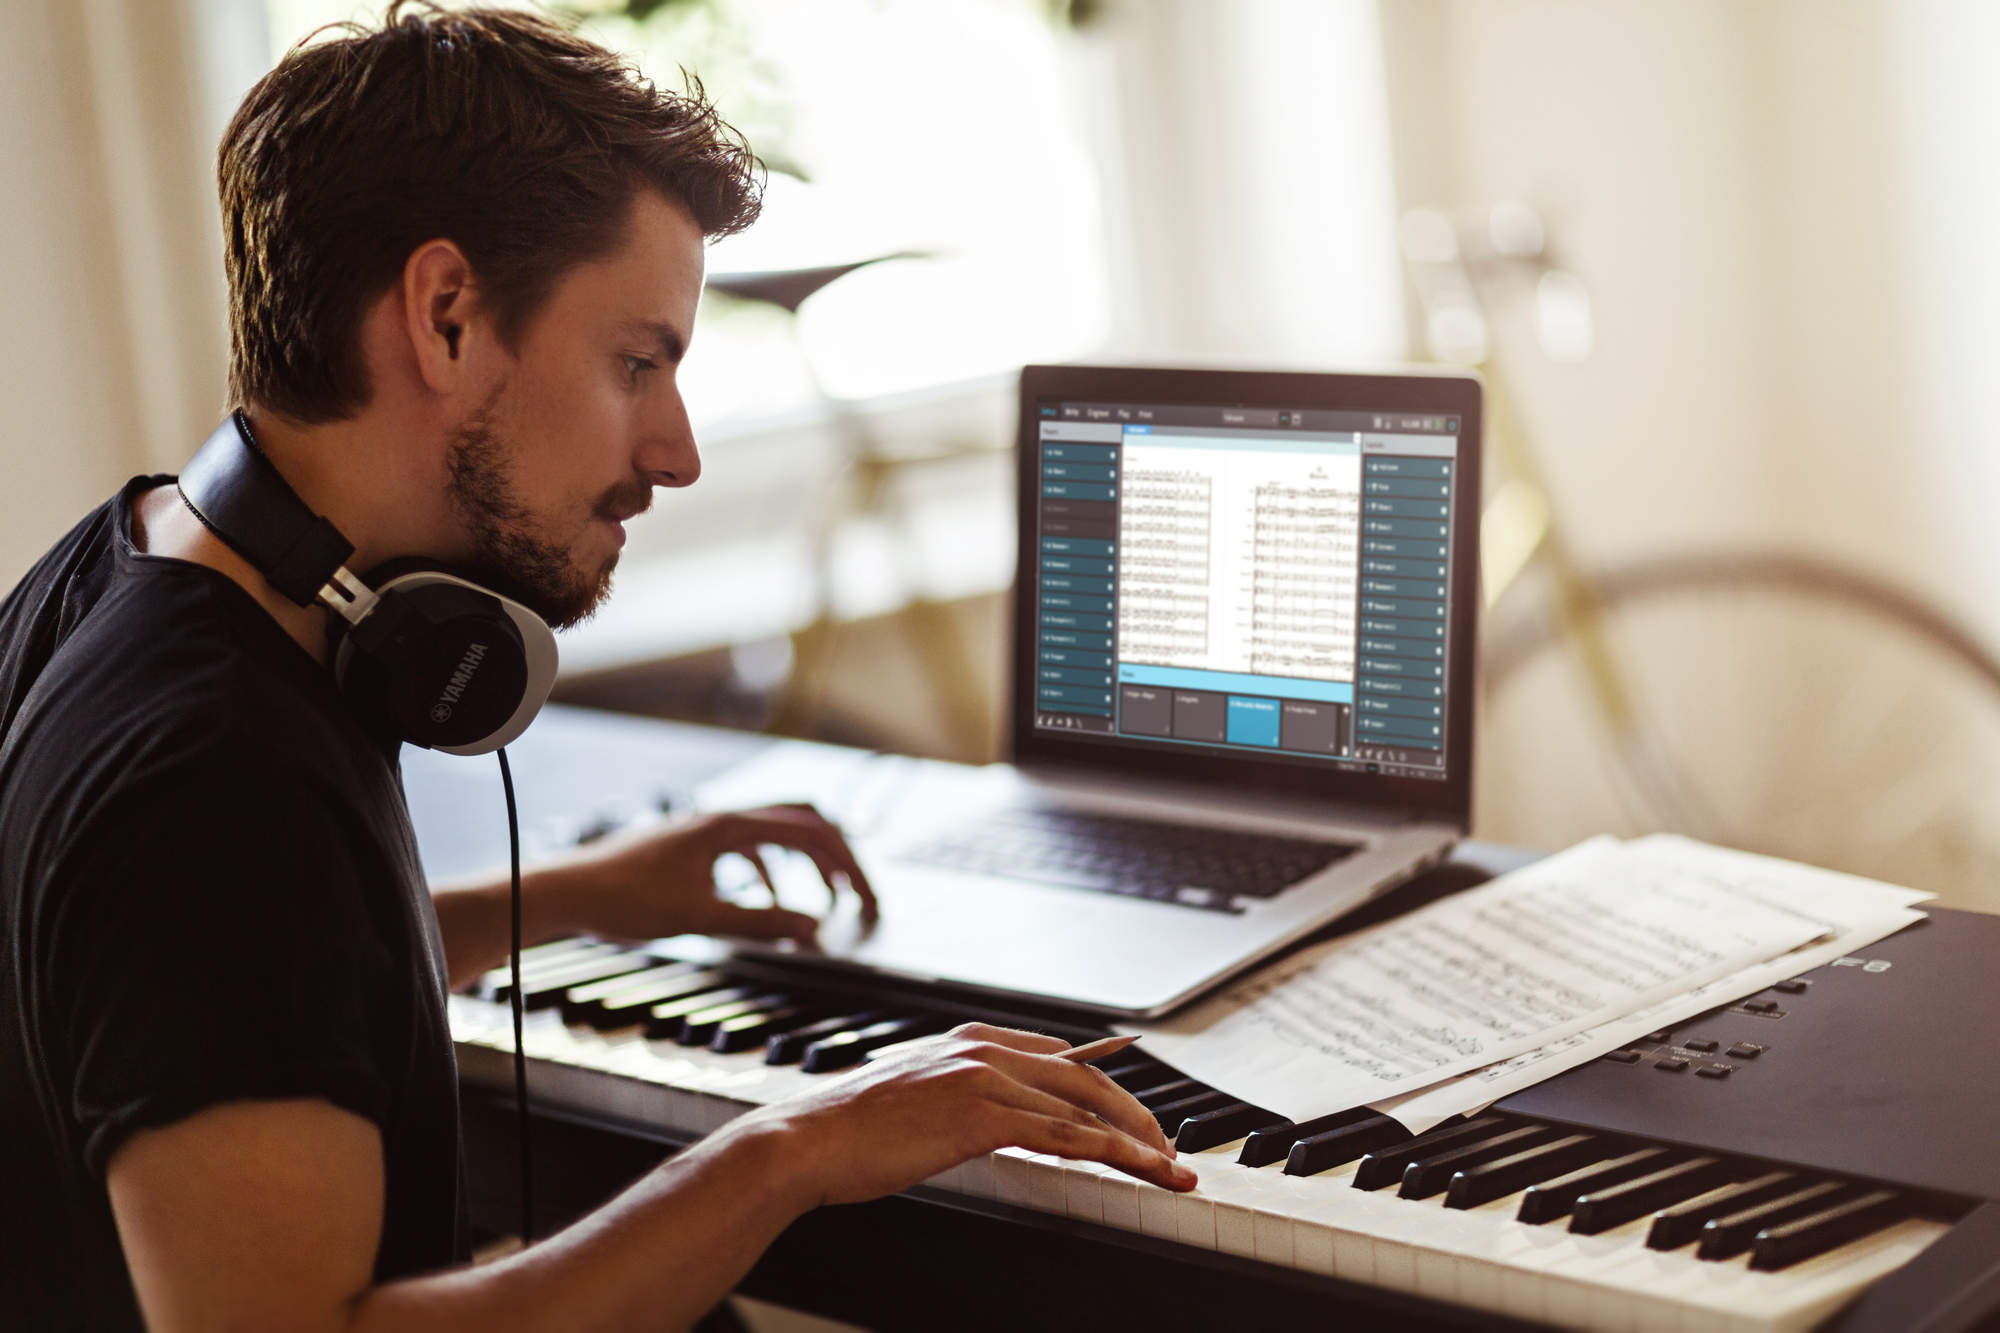
Connecting a piano keyboard to a PC opens up a world of possibilities for music enthusiasts, whether they are beginners honing their skills or seasoned musicians looking to enhance their compositions. By establishing this connection, individuals can leverage the power of digital audio workstations (DAWs) and other music software to create, record, and produce music directly from their keyboards. This guide will walk you through the process of connecting your piano keyboard to your PC, allowing you to unlock a new realm of musical creativity.
Before diving into the technical aspects of this endeavor, it’s important to underscore the transformative potential of this connection. By merging the timeless elegance of a piano keyboard with the boundless capabilities of modern music production software, musicians can seamlessly blend tradition with innovation, resulting in a harmonious fusion of artistry and technology. This synergy empowers musicians to explore diverse genres, experiment with soundscapes, and bring their musical visions to life with unprecedented precision and depth.
Whether you aspire to compose symphonies, produce electronic beats, or simply enjoy the therapeutic act of playing the piano through your computer, the process of connecting your piano keyboard to your PC marks the gateway to a rich tapestry of musical expression. With this in mind, let’s embark on this musical journey and unravel the steps required to establish a seamless connection between your piano keyboard and your PC.
Step 1: Gather Necessary Cables and Adapters
Before embarking on the process of connecting your piano keyboard to your PC, it’s essential to gather the requisite cables and adapters to facilitate a smooth and reliable connection. The specific cables and adapters needed may vary depending on the type of piano keyboard and the inputs available on your PC. Here’s a comprehensive breakdown of the essential components:
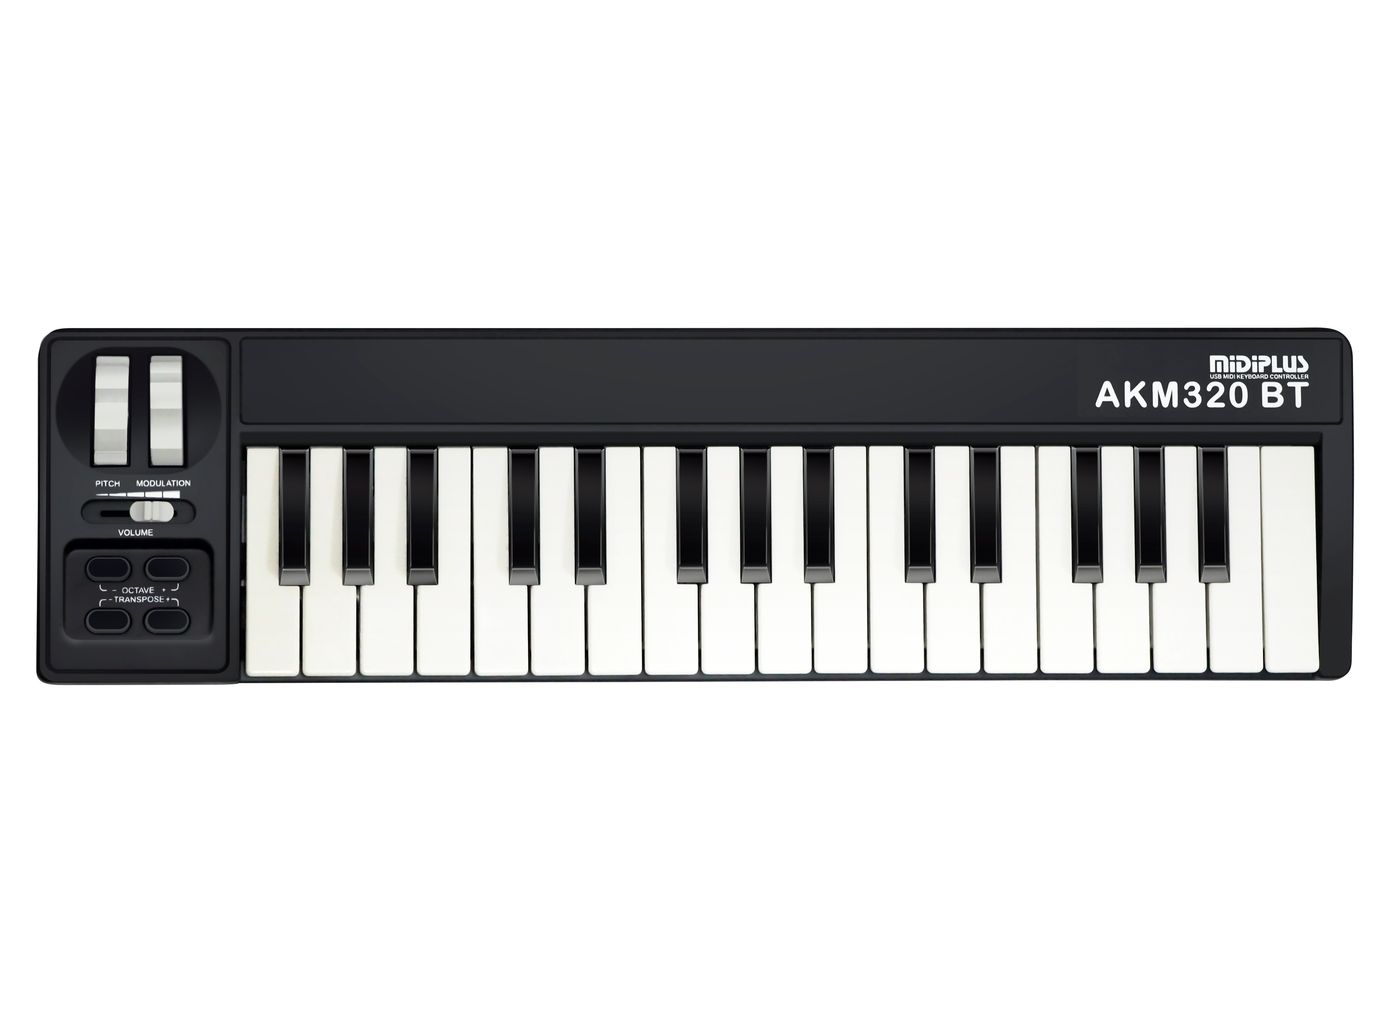
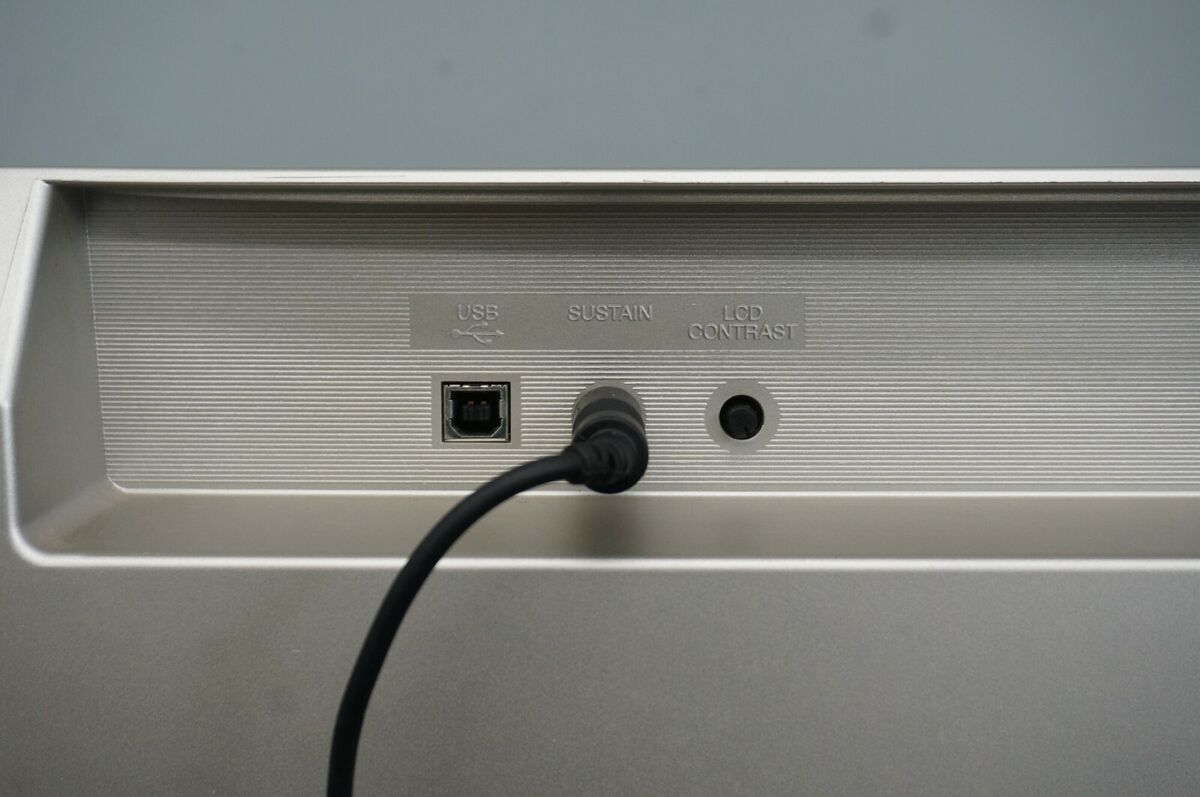
- USB Cable: Most modern digital pianos and keyboards feature a USB port, allowing for a direct connection to a computer. Ensure that you have a USB cable with the appropriate connectors to link your keyboard to your PC.
- MIDI Cables: If your keyboard predates the widespread use of USB connectivity, it may have MIDI (Musical Instrument Digital Interface) ports. In such cases, MIDI cables are indispensable for establishing a connection to your computer. You may require a MIDI to USB adapter to bridge the gap between your keyboard’s MIDI ports and your PC’s USB inputs.
- Audio Interface (Optional): For enhanced audio recording and playback capabilities, consider incorporating an audio interface into your setup. This device acts as a bridge between your keyboard and your PC, offering professional-grade audio inputs and outputs for pristine sound quality.
- Adapter (if necessary): Depending on the specific connectors featured on your keyboard and PC, you may need adapters to ensure compatibility and seamless connectivity. Be sure to verify the types of ports available on both devices and acquire any essential adapters accordingly.
By assembling these crucial cables and adapters, you’ll lay the groundwork for a successful connection between your piano keyboard and your PC. This preparatory step is pivotal in ensuring that you have the necessary tools to seamlessly integrate your keyboard into your digital music production environment. With these components in hand, you’re poised to progress to the subsequent steps and embark on the journey of connecting your piano keyboard to your PC.
Step 2: Install Necessary Software
Once you’ve gathered the essential cables and adapters, the next critical step in connecting your piano keyboard to your PC is to install the requisite software. The specific software you’ll need largely depends on your musical objectives and the functionality of your keyboard. Here are the primary types of software to consider:
- Driver Software: If your keyboard utilizes USB connectivity, it may require driver software to enable seamless communication with your PC. These drivers serve as the intermediary that allows your computer to recognize and interface with your keyboard effectively. Check the manufacturer’s website for the latest drivers compatible with your keyboard model and operating system.
- DAW (Digital Audio Workstation): A DAW is the cornerstone of modern music production, offering a comprehensive platform for recording, editing, and arranging musical compositions. Popular DAWs such as Ableton Live, FL Studio, and Logic Pro provide robust MIDI support, making them ideal for integrating your piano keyboard into your digital music production workflow.
- MIDI Utility Software: In some cases, MIDI utility software may be necessary to manage the MIDI data exchange between your keyboard and your PC. These programs facilitate MIDI routing, mapping, and configuration, allowing you to customize the behavior of your keyboard within your digital workspace.
Before proceeding with the installation of these software components, it’s advisable to research and select the most suitable options based on your specific musical requirements and the compatibility of your keyboard. Once you’ve identified the necessary software, follow the installation instructions provided by the respective manufacturers to ensure a seamless integration into your music production environment.
By installing the essential software, you’ll establish the digital infrastructure required to harness the full potential of your piano keyboard within your PC-based music production setup. This pivotal step sets the stage for the subsequent process of physically connecting your keyboard to your PC, paving the way for a harmonious convergence of musical artistry and technological innovation.
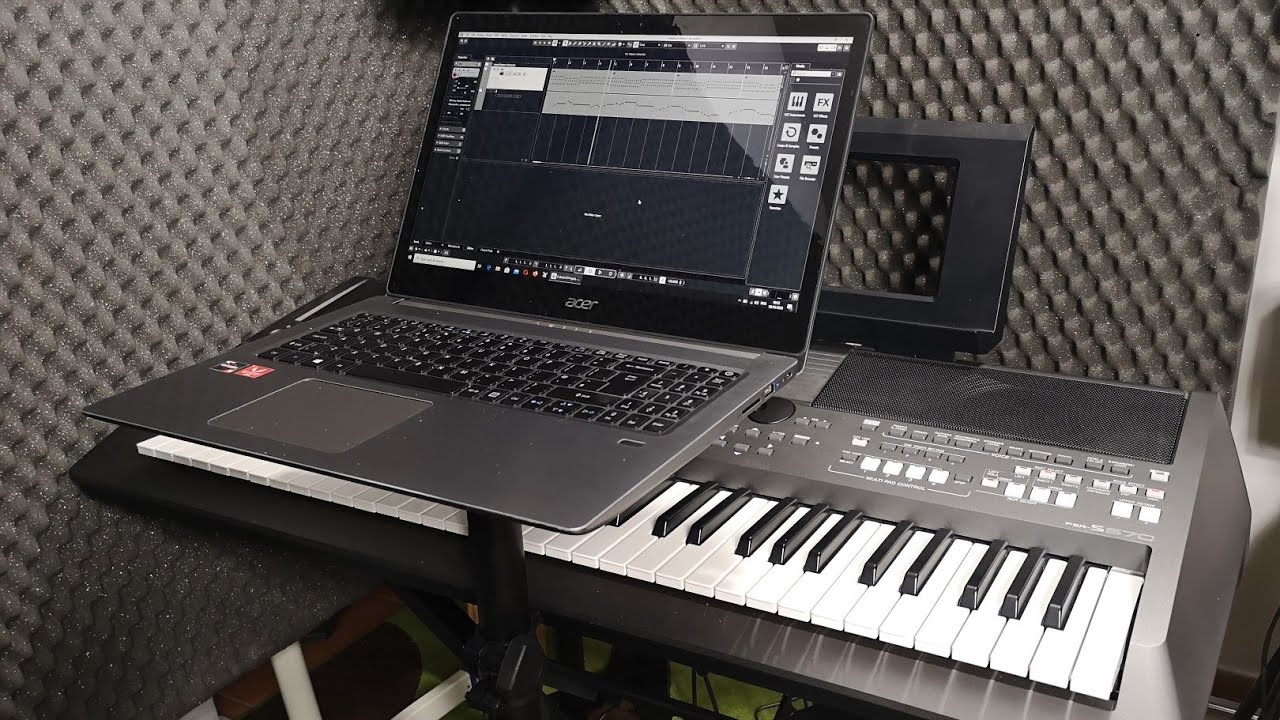
Step 3: Connect the Keyboard to the PC
With the necessary cables, adapters, and software in place, the time has come to physically connect your piano keyboard to your PC. This pivotal step involves establishing a seamless interface between your musical instrument and your digital workstation, enabling the exchange of MIDI data and audio signals. Follow these fundamental guidelines to ensure a successful connection:
- USB Connection: If your keyboard features a USB port, use the appropriate USB cable to connect it to an available USB port on your PC. Ensure that both devices are powered off before making the connection to prevent any potential electrical issues.
- MIDI Connection: For keyboards equipped with MIDI ports, utilize MIDI cables and any necessary adapters to establish a connection with your PC. Ensure that the MIDI IN and OUT ports on your keyboard are correctly linked to the corresponding ports on your MIDI interface or computer.
- Power On and Recognition: Once the physical connections are in place, power on your keyboard and PC. If you’ve installed driver software for your keyboard, your PC should automatically recognize the connected device and establish the necessary communication protocols.
- Configuration Check: Access the settings or preferences within your music software to verify that your keyboard is detected and configured correctly. Ensure that MIDI input and output channels are properly assigned, and that audio routing settings align with your desired setup.
By meticulously following these steps, you’ll forge a direct link between your piano keyboard and your PC, laying the groundwork for a seamless integration of musical expression and digital creativity. This connection empowers you to harness the full potential of your keyboard within your digital music production environment, enabling you to compose, record, and perform with unparalleled flexibility and precision.
With the physical connection established, you’re now poised to embark on the next phase of this musical journey: testing the connection and fine-tuning the settings to optimize the performance of your piano keyboard within your PC-based music production setup.
Step 4: Test the Connection
After successfully connecting your piano keyboard to your PC, it’s imperative to conduct a comprehensive test to ensure that the interface functions as intended. This critical step allows you to verify the seamless exchange of MIDI data, assess audio playback and recording capabilities, and confirm the responsiveness of your keyboard within your digital music production environment. Here’s a systematic approach to testing the connection:
- MIDI Input Test: Open your preferred music software and initiate a MIDI input test by playing notes on your keyboard. Verify that the software accurately registers the MIDI data transmitted by your keyboard, confirming that the connection is established and functioning properly.
- Audio Playback: Utilize your keyboard to trigger virtual instruments and sample libraries within your music software. Play different sounds and assess the audio playback quality to ensure that the integration between your keyboard and your PC yields pristine and responsive audio output.
- Recording Test: Record a short musical passage using your keyboard within your music software. Playback the recorded performance to evaluate the fidelity of the audio capture and ascertain that the recording process seamlessly incorporates your keyboard’s expressive nuances.
- Control Surface Functions: If your keyboard features control surface capabilities, such as knobs, sliders, or pads, test their functionality within your music software. Confirm that these elements are recognized and assignable within your digital workspace, enhancing your ability to manipulate sound parameters and effects in real-time.
By systematically testing the connection between your piano keyboard and your PC, you’ll gain confidence in the seamless integration of these components, ensuring that your digital music production environment leverages the full potential of your keyboard’s expressive capabilities. This comprehensive evaluation sets the stage for the final step: adjusting settings and preferences to optimize the performance and functionality of your piano keyboard within your PC-based music production setup.
With the successful completion of the testing phase, you’re poised to fine-tune the settings and preferences to tailor the integration of your piano keyboard with your PC to your specific musical workflow and creative objectives.
Step 5: Adjust Settings and Preferences
Having verified the successful connection and functionality of your piano keyboard within your PC-based music production environment, the final step involves fine-tuning settings and preferences to optimize the performance and integration of your keyboard. By customizing these parameters, you can tailor the behavior of your keyboard within your digital workspace to align with your creative workflow and musical objectives. Here are key aspects to consider when adjusting settings and preferences:
- MIDI Mapping: Configure MIDI mappings within your music software to assign specific functions and parameters to different elements of your keyboard, such as knobs, sliders, and pedals. This customization empowers you to control various aspects of your virtual instruments and effects directly from your keyboard, enhancing your real-time expressive capabilities.
- Velocity Curves: Adjust velocity curves to modulate the responsiveness of your keyboard keys, allowing you to fine-tune the dynamic range and sensitivity of your playing. By customizing velocity curves, you can ensure that your keyboard accurately captures the nuances of your performance, from gentle pianissimo passages to powerful fortissimo expressions.
- Audio Routing: Optimize audio routing settings to leverage the audio outputs of your keyboard within your music software. This may involve routing specific keyboard sounds or layers to individual tracks or channels, enabling precise control and manipulation of your instrument’s sonic palette during composition and production.
- Control Surface Integration: If your keyboard features control surface functions, explore the integration of these elements with your music software’s mixer, effects, and virtual instruments. Customize the assignment of knobs, sliders, and pads to streamline your workflow and enhance your ability to sculpt and modulate sounds with tactile precision.
By meticulously adjusting settings and preferences, you’ll refine the synergy between your piano keyboard and your PC-based music production setup, empowering you to unleash your creativity with unparalleled control and finesse. This personalized configuration ensures that your keyboard seamlessly integrates into your digital workspace, aligning with your artistic vision and musical aspirations.
With the settings and preferences finely tuned to your satisfaction, you’ve successfully completed the process of connecting and optimizing your piano keyboard within your PC-based music production environment. This transformative integration opens the door to a boundless realm of musical exploration, enabling you to compose, perform, and produce music with a harmonious fusion of tradition and technology.
Conclusion
Embarking on the journey of connecting your piano keyboard to your PC has unveiled a gateway to a world of musical possibilities, seamlessly merging the timeless allure of acoustic artistry with the boundless capabilities of digital music production. By following the systematic steps outlined in this guide, you’ve established a harmonious interface between your piano keyboard and your PC, setting the stage for a transformative convergence of tradition and innovation.
As you gathered the necessary cables and adapters, installed essential software, and meticulously connected your keyboard to your PC, you laid the foundation for a seamless integration that empowers you to compose, record, and perform with unparalleled flexibility and precision. The testing phase validated the successful exchange of MIDI data and audio signals, ensuring that your keyboard functions as a responsive and expressive instrument within your digital music production environment.
By adjusting settings and preferences to tailor the integration of your piano keyboard to your specific creative workflow, you’ve personalized the interface to align with your artistic vision and musical aspirations. This meticulous customization amplifies your ability to sculpt and shape sound, control virtual instruments, and capture the nuances of your performances with unparalleled finesse.
As you reflect on this transformative process, you’re now poised to embark on a musical odyssey, where the union of your piano keyboard and your PC unlocks a realm of boundless creativity and sonic exploration. Whether you’re composing symphonies, crafting electronic soundscapes, or simply reveling in the joy of playing the piano through your computer, this integration marks the beginning of a harmonious fusion of artistry and technology.
With your piano keyboard seamlessly integrated into your PC-based music production setup, you possess the tools to embark on a captivating musical journey, where tradition and innovation intertwine, and your creative vision flourishes amidst a symphony of digital possibilities.