Home>Production & Technology>MIDI>How To Hook Up MIDI Keyboard To Computer
MIDI
How To Hook Up MIDI Keyboard To Computer
Published: February 19, 2024
Learn how to connect your MIDI keyboard to your computer and start making music with ease. Follow our step-by-step guide for a seamless MIDI setup.
(Many of the links in this article redirect to a specific reviewed product. Your purchase of these products through affiliate links helps to generate commission for AudioLover.com, at no extra cost. Learn more)
Table of Contents
Introduction
So, you've got a shiny new MIDI keyboard and you're itching to unleash its full potential by connecting it to your computer. Whether you're a seasoned musician or just starting out, integrating your MIDI keyboard with your computer opens up a world of possibilities for music production, composition, and performance.
In this comprehensive guide, we'll walk you through the process of hooking up your MIDI keyboard to your computer, ensuring that you can seamlessly harness the power of digital music creation. By following these steps, you'll be well on your way to creating captivating melodies, crafting intricate compositions, and exploring the endless sonic landscapes that MIDI technology has to offer.
Let's dive into the nitty-gritty details of connecting your MIDI keyboard to your computer, from gathering the necessary cables and adapters to configuring the MIDI settings. Whether you're a tech-savvy music enthusiast or a curious beginner, this guide will equip you with the knowledge and skills to make the most of your MIDI keyboard and computer setup.
So, grab your MIDI keyboard, fire up your computer, and let's embark on this exciting journey of merging the analog and digital realms of music creation. Get ready to unlock the full potential of your MIDI keyboard as we delve into the step-by-step process of connecting it to your computer and unleashing a world of musical possibilities.
Step 1: Gather Necessary Cables and Adapters
Before diving into the exciting process of connecting your MIDI keyboard to your computer, it's crucial to gather the essential cables and adapters to ensure a seamless and reliable connection. Here's a detailed breakdown of the necessary components you'll need:
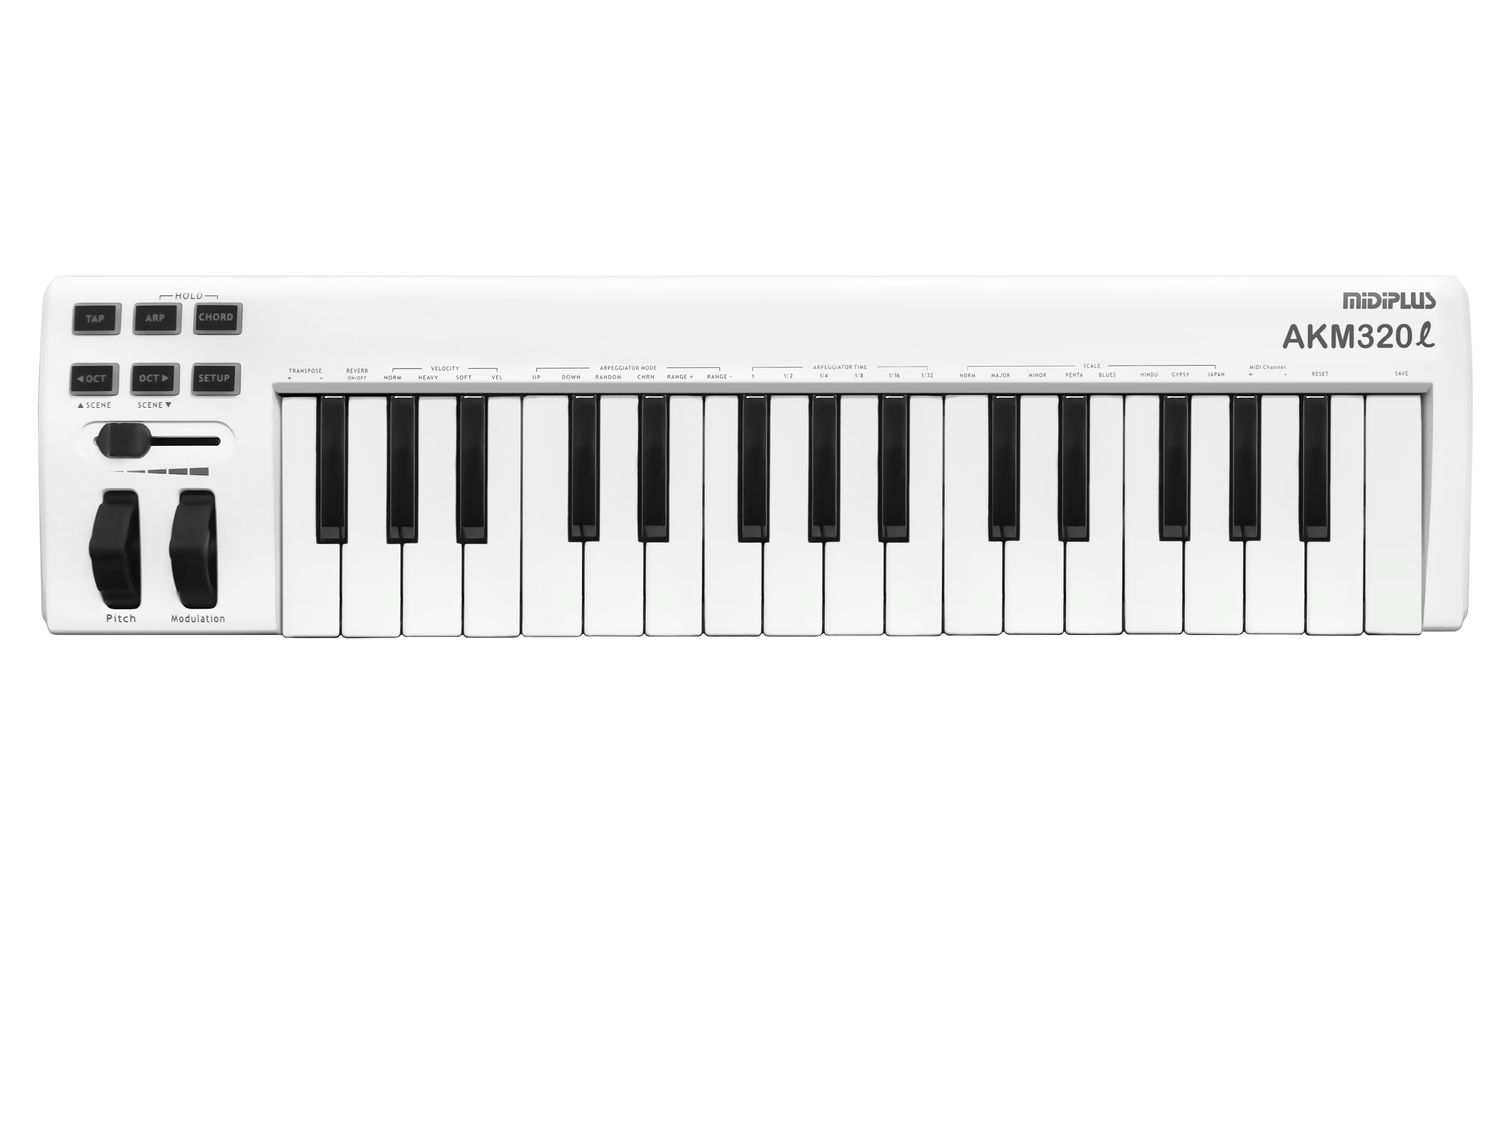
1. MIDI Cables:
The cornerstone of any MIDI setup, MIDI cables are essential for transmitting musical data between your keyboard and computer. These cables typically feature a 5-pin DIN connector, which is a standard interface for MIDI connections. Ensure that you have the appropriate length of MIDI cables to comfortably bridge the gap between your MIDI keyboard and computer.
2. USB MIDI Interface (if required):
If your MIDI keyboard only features traditional MIDI ports and your computer lacks MIDI connectivity, a USB MIDI interface becomes indispensable. This compact device serves as a bridge between your MIDI keyboard and computer, allowing seamless data transfer via a USB connection. Be sure to select a reliable USB MIDI interface that is compatible with your operating system to facilitate smooth communication between your MIDI keyboard and computer.
3. Power Adapters:
If your MIDI keyboard requires external power, ensure that you have the necessary power adapters or cables to supply it with the required voltage. This is particularly important for larger MIDI controllers or keyboards that may not draw power solely from the USB connection.
4. Computer Compatibility:
Verify the compatibility of your computer with the MIDI keyboard. Ensure that your computer has the requisite ports or USB connectivity to accommodate the MIDI interface or cables. Additionally, check for any specific system requirements or drivers needed for seamless integration with your MIDI keyboard.
By meticulously gathering these essential cables and adapters, you'll set the stage for a smooth and efficient connection between your MIDI keyboard and computer. This proactive approach ensures that you have all the necessary tools at your disposal to seamlessly merge the analog and digital domains of music creation.
With the required cables and adapters in hand, you're now ready to embark on the next step of connecting your MIDI keyboard to your computer, laying the foundation for a harmonious union of musical creativity and technological prowess.
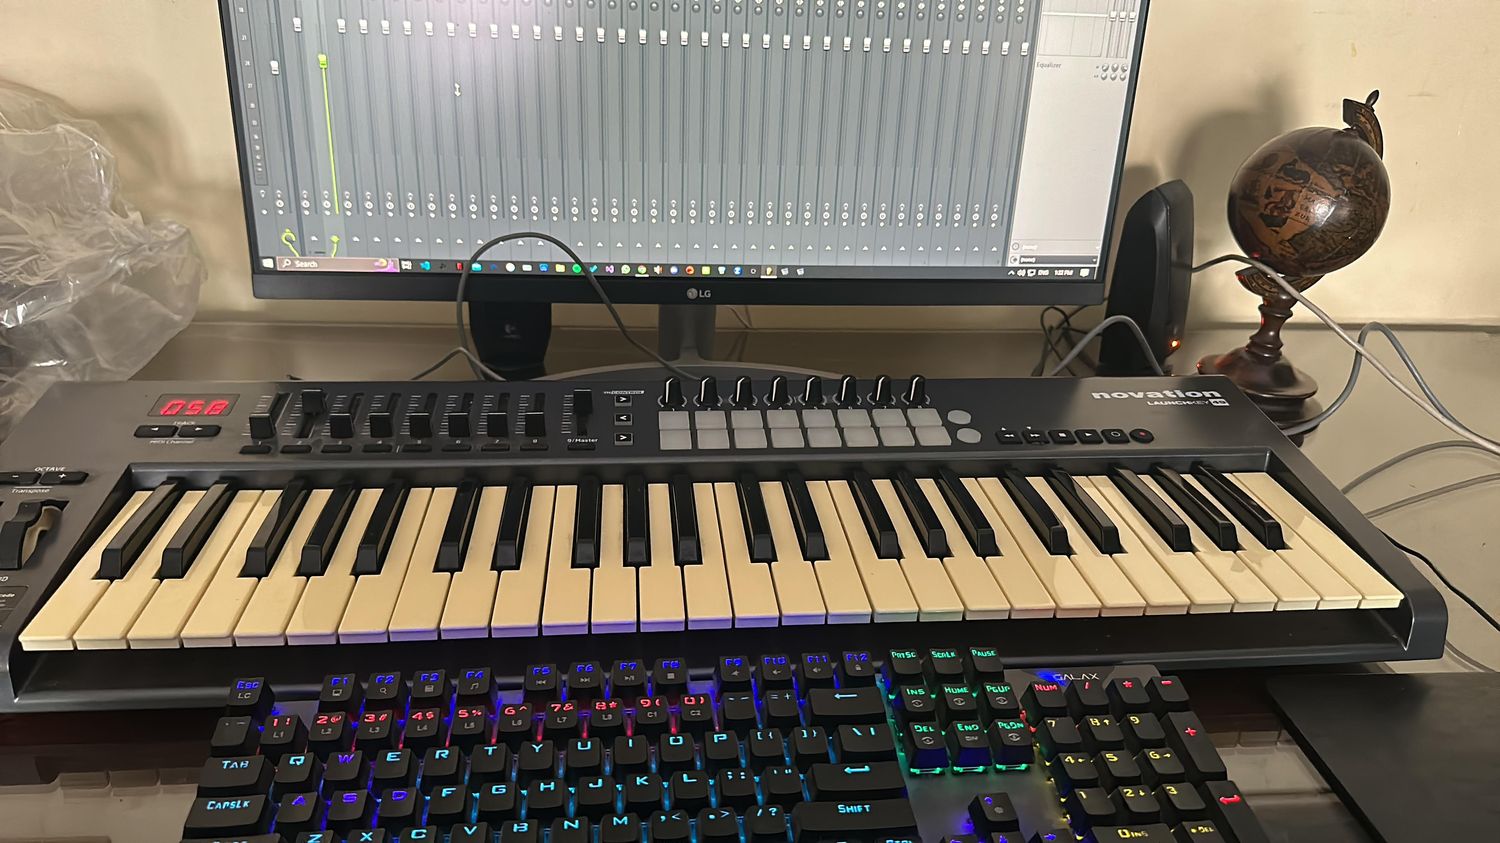
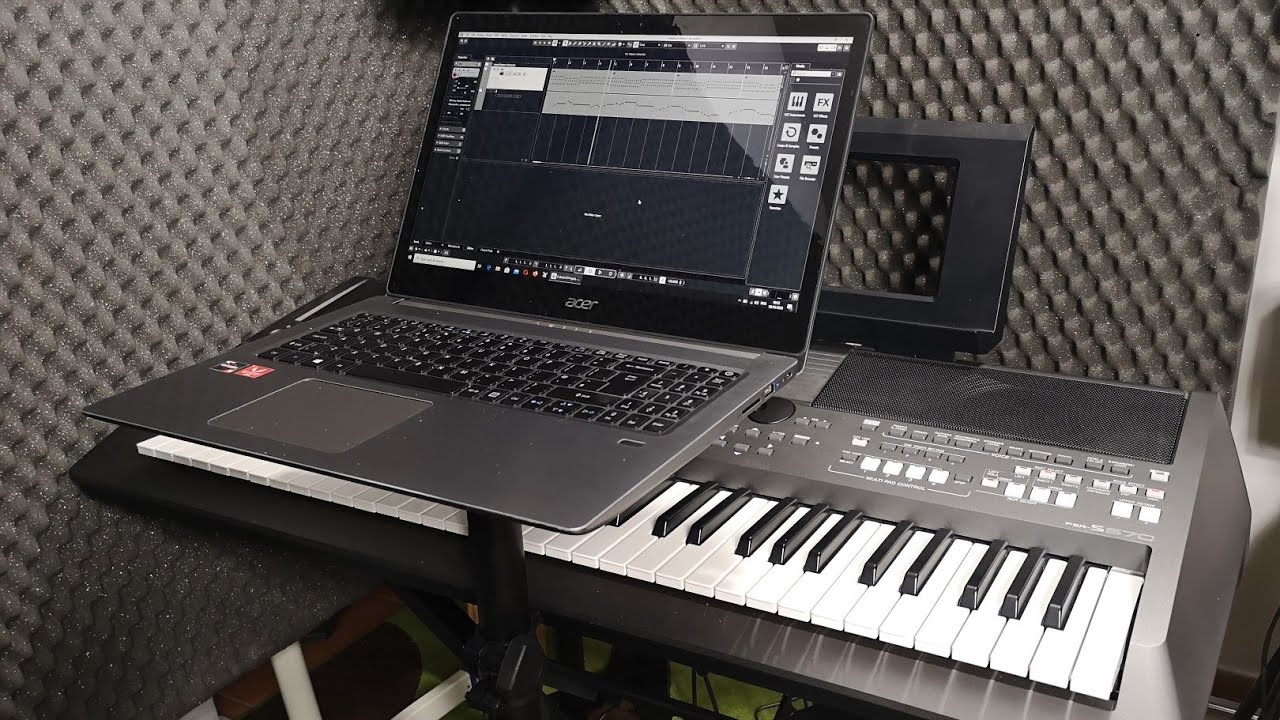
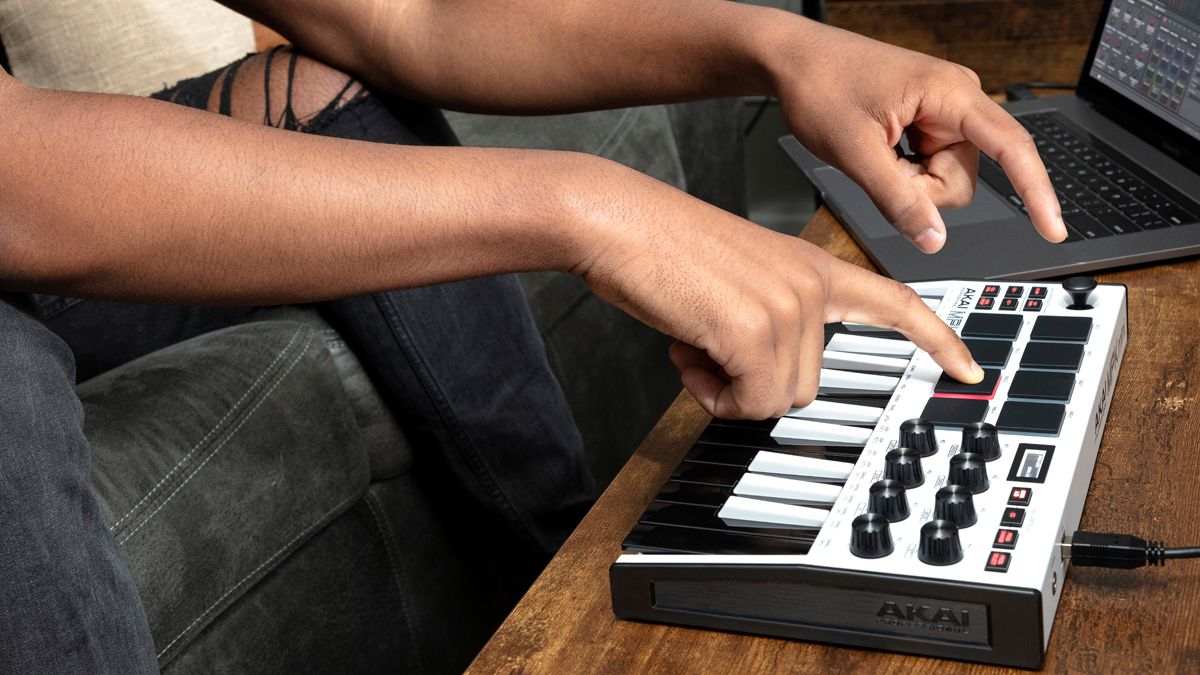
Step 2: Connect MIDI Keyboard to Computer
Now that you've assembled all the necessary cables and adapters, it's time to delve into the pivotal step of physically connecting your MIDI keyboard to your computer. This process lays the groundwork for seamless communication between your musical instrument and digital workstation, paving the way for boundless creative expression. Follow these detailed steps to establish a robust connection:
-
Locate MIDI Ports:
Begin by identifying the MIDI ports on your keyboard. Most MIDI keyboards feature MIDI OUT and MIDI IN ports, often accompanied by MIDI THRU. These ports facilitate the transmission of MIDI data between your keyboard and external devices, such as your computer. -
Use MIDI Cables:
Take your MIDI cables and connect the MIDI OUT port on your keyboard to the MIDI IN port of your USB MIDI interface or directly to the MIDI IN port on your computer if it has native MIDI connectivity. Ensure a secure and snug connection to minimize the risk of signal interruption. -
Power Up the Keyboard:
If your MIDI keyboard relies on external power, ensure that it's powered on using the appropriate adapter or power source. This step is crucial to activate the keyboard's functionality and enable it to communicate with your computer effectively. -
USB MIDI Interface (if applicable):
If you're using a USB MIDI interface, connect it to your computer using a USB cable. This establishes the vital link between your MIDI keyboard and computer, enabling seamless data transmission. -
Verify Connections:
Double-check all the connections to guarantee that the MIDI cables and USB interface are securely attached to their respective ports. A stable and reliable physical connection is essential to ensure uninterrupted MIDI data flow between your keyboard and computer.
By meticulously following these steps, you'll successfully establish a robust physical connection between your MIDI keyboard and computer. This fundamental link forms the backbone of your digital music setup, laying the groundwork for a harmonious fusion of analog creativity and digital innovation.
With the physical connection in place, you're now poised to embark on the subsequent steps, which involve installing MIDI drivers and configuring MIDI settings on your computer. These pivotal tasks will further solidify the bond between your MIDI keyboard and computer, setting the stage for a seamless and immersive music production experience.
Step 3: Install MIDI Drivers
Installing MIDI drivers is a crucial step in ensuring seamless communication between your MIDI keyboard and computer. MIDI drivers serve as the bridge that enables your computer to recognize and interface with your MIDI keyboard, facilitating the exchange of musical data. Without the appropriate MIDI drivers, your computer may not fully recognize or utilize the capabilities of your MIDI keyboard.
Here's a comprehensive guide to installing MIDI drivers:
-
Identify the Manufacturer's Website:
Begin by visiting the official website of the manufacturer of your MIDI keyboard. Manufacturers often provide dedicated support sections on their websites, offering a repository of drivers, software updates, and documentation specific to their products. -
Locate the Correct Drivers:
Navigate to the support or downloads section of the manufacturer's website and search for the MIDI drivers tailored to your specific MIDI keyboard model and your computer's operating system. It's crucial to download the correct drivers to ensure compatibility and optimal performance. -
Download and Install the Drivers:
Once you've identified the appropriate MIDI drivers for your setup, proceed to download them onto your computer. Follow the manufacturer's instructions for installing the drivers, which typically involve running an installer package or executable file. Ensure that you carefully read any accompanying documentation or release notes to understand the installation process fully. -
Restart Your Computer:
After successfully installing the MIDI drivers, it's advisable to restart your computer to allow the changes to take effect. This ensures that the newly installed drivers are fully integrated into your system, ready to facilitate seamless communication with your MIDI keyboard. -
Verify Driver Installation:
Upon rebooting your computer, verify that the MIDI drivers have been installed correctly. Check the device manager or system settings to confirm that your MIDI keyboard is recognized and listed without any warning indicators. This step ensures that the drivers have been successfully installed and that your computer can effectively communicate with your MIDI keyboard.
By meticulously following these steps, you'll successfully install the essential MIDI drivers, empowering your computer to establish a robust and reliable connection with your MIDI keyboard. This pivotal process lays the foundation for harnessing the full potential of your MIDI setup, enabling you to embark on a captivating musical journey fueled by seamless digital integration.
With the MIDI drivers seamlessly integrated into your computer, you're now poised to delve into the next critical step: configuring MIDI settings to optimize the performance and functionality of your MIDI keyboard within your digital audio workstation (DAW) or music production software. This pivotal task will further enhance the synergy between your MIDI keyboard and computer, unlocking a realm of creative possibilities for your musical endeavors.
Step 4: Configure MIDI Settings on Computer
Configuring MIDI settings on your computer is a pivotal step in optimizing the performance and functionality of your MIDI keyboard within your digital audio workstation (DAW) or music production software. By fine-tuning the MIDI settings, you can ensure seamless communication, precise control, and enhanced creative capabilities. Here's a detailed guide to configuring MIDI settings on your computer:
-
Access MIDI Settings in your DAW:
Open your preferred digital audio workstation or music production software and navigate to the MIDI settings or preferences menu. This is where you can customize and fine-tune the MIDI parameters to suit your specific requirements. -
Select MIDI Input and Output Devices:
Within the MIDI settings, designate your MIDI keyboard as the primary input device. This enables your DAW to recognize incoming MIDI data from your keyboard. Additionally, specify the MIDI output device to ensure that your DAW can transmit MIDI data back to your keyboard if necessary. -
Assign MIDI Channels and Mapping:
If your MIDI keyboard supports multiple MIDI channels, configure the MIDI settings to correspond with the channels used for different tracks or instruments in your DAW. This allows for independent control and manipulation of various elements within your music production environment. -
Calibrate MIDI Controllers and Parameters:
Take advantage of the MIDI settings to calibrate and customize the behavior of MIDI controllers on your keyboard, such as knobs, sliders, and modulation wheels. This process involves mapping specific MIDI controllers to parameters within your DAW, granting you precise control over various aspects of your music production. -
Enable MIDI Thru and Local Control:
Depending on your workflow and setup preferences, you may need to enable or disable MIDI Thru and Local Control functions within the MIDI settings. MIDI Thru allows for the direct pass-through of MIDI data from your keyboard to external devices, while Local Control determines whether the keyboard's internal sounds are active when connected to your DAW. -
Test MIDI Connectivity and Response:
After configuring the MIDI settings, perform a comprehensive test to ensure that your MIDI keyboard responds accurately within your DAW. Verify that MIDI data is transmitted and received as intended, and fine-tune any settings that require adjustments to achieve optimal performance.
By meticulously configuring the MIDI settings on your computer, you empower your MIDI keyboard to seamlessly integrate with your music production environment, unlocking a realm of creative possibilities and expressive control. This tailored configuration ensures that your MIDI keyboard becomes a versatile and responsive tool for translating your musical ideas into captivating compositions and performances.
With the MIDI settings meticulously configured, you're now primed to embark on the final step: testing the MIDI keyboard connection to validate its seamless integration with your computer and music production software. This pivotal test will serve as the ultimate confirmation of a successful MIDI setup, setting the stage for a harmonious union of analog inspiration and digital innovation in your music creation journey.
Step 5: Test MIDI Keyboard Connection
Testing the MIDI keyboard connection serves as the definitive confirmation of a successful integration between your MIDI keyboard and computer. This crucial step ensures that your MIDI setup operates seamlessly, allowing you to validate the transmission of MIDI data, assess responsiveness, and affirm the harmonious union of analog creativity and digital innovation. Here's a comprehensive guide to testing your MIDI keyboard connection:
-
MIDI Input Validation:
Begin by playing notes or triggering MIDI commands on your keyboard. Verify that your digital audio workstation (DAW) or music production software registers the incoming MIDI data. This validation confirms that your computer accurately captures the musical input from your keyboard, laying the groundwork for expressive control and musical exploration. -
MIDI Output Confirmation:
Create a simple MIDI sequence or pattern within your DAW and send it to your MIDI keyboard. This step ensures that your keyboard accurately receives and interprets MIDI data from your computer. By confirming the bidirectional MIDI communication, you establish a reliable feedback loop between your keyboard and computer, enabling seamless interaction and creative expression. -
Controller and Parameter Response:
Test the responsiveness of MIDI controllers and parameters on your keyboard, such as modulation wheels, pitch bend, and assignable knobs. Verify that these controllers effectively manipulate corresponding elements within your DAW, demonstrating precise control and expressive capabilities. This assessment ensures that your MIDI keyboard serves as a versatile tool for shaping and sculpting your musical ideas. -
Polyphony and Multi-Timbral Capabilities:
If your MIDI keyboard supports polyphony and multi-timbral operation, explore its ability to handle multiple simultaneous notes and control different MIDI channels independently. Create layered or split keyboard configurations within your DAW to assess the keyboard's polyphonic and multi-timbral performance, ensuring that it seamlessly accommodates complex musical arrangements and compositions. -
Sustain and Pedal Functions:
Test the functionality of sustain pedals and other pedal-based controls connected to your MIDI keyboard. Verify that your DAW accurately responds to sustain pedal input and other pedal-based commands, allowing for nuanced and expressive performance techniques. This validation ensures that your MIDI keyboard effectively translates pedal-based articulations into your digital music environment.
By meticulously conducting these tests, you validate the seamless integration of your MIDI keyboard with your computer and music production software, affirming its role as a versatile and responsive tool for musical creativity. This comprehensive assessment serves as the ultimate validation of a successful MIDI setup, empowering you to embark on a captivating musical journey fueled by the boundless possibilities of MIDI technology.